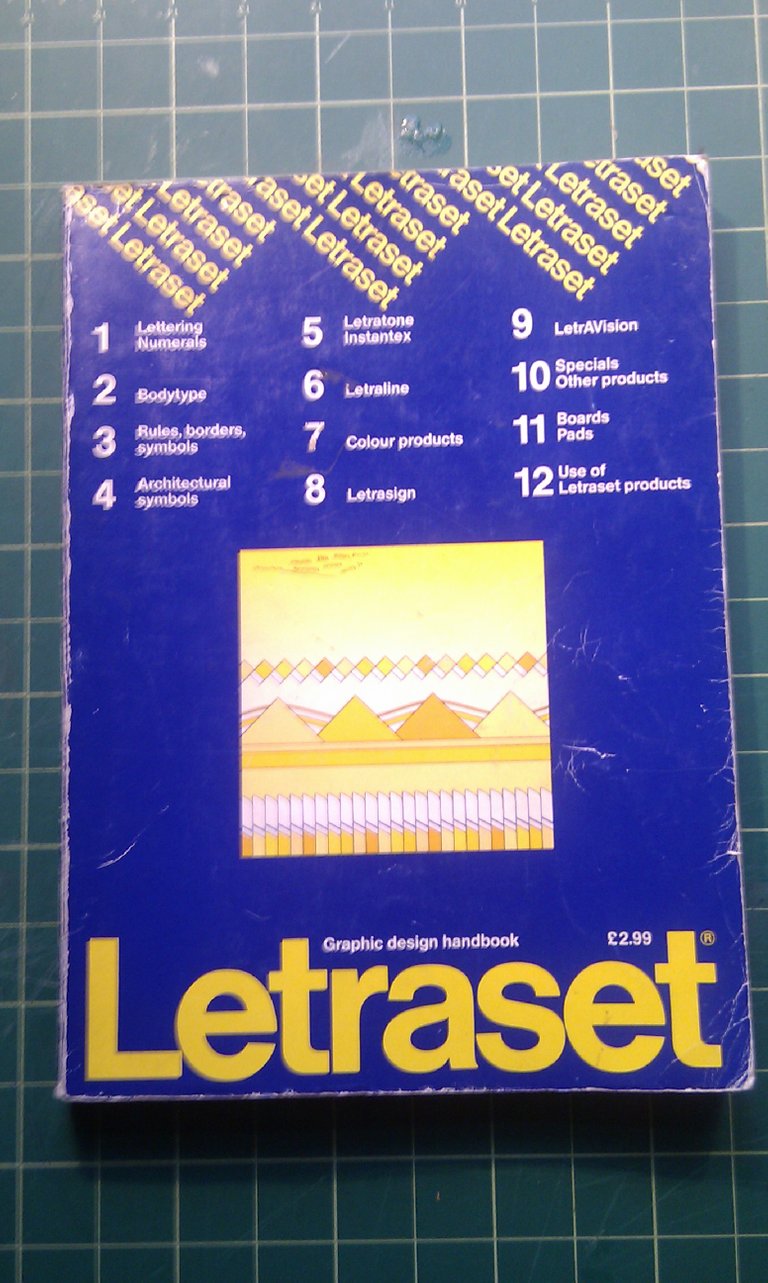
I can never find year planners that I like, so I usually draw one up myself, and do all the numbers in Letraset. If you're not already familiar with it, Letraset is a dry transfer, made in sheets, and doing enveything from letters and numbers to flags and architectural details. There's an interesting history of the brand here. Once common across graphic design studios, Letraset is now pretty much just collected by design geeks and hipsters. Why bother when you have photoshop?
I digress. I keep my Letraset in a boring plastic wallet that's seen better days. So I want a fancy new box for my Letraset! I can't find one the right size, so I'm making one. It'll be covered in fabric for extra strength, to hide all the unattractive inside joins, and for fanciness.
Letraset Bible.
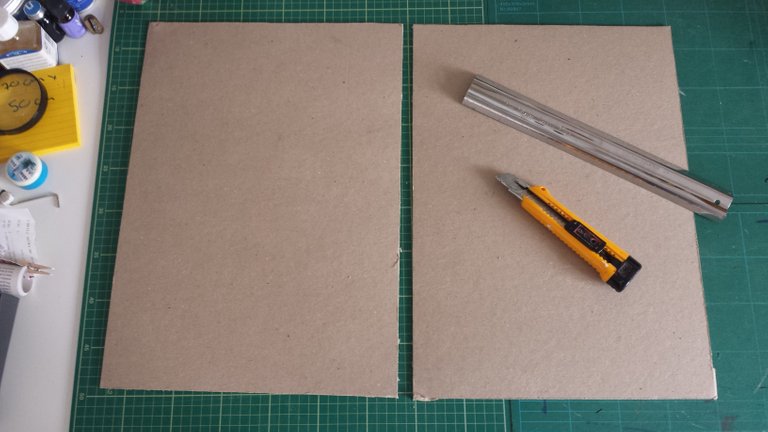
Constructing the cardboard box - base and lid. The sheets of Letraset are about A3 size, so I cut these two pieces of strong card to be bigger than that.
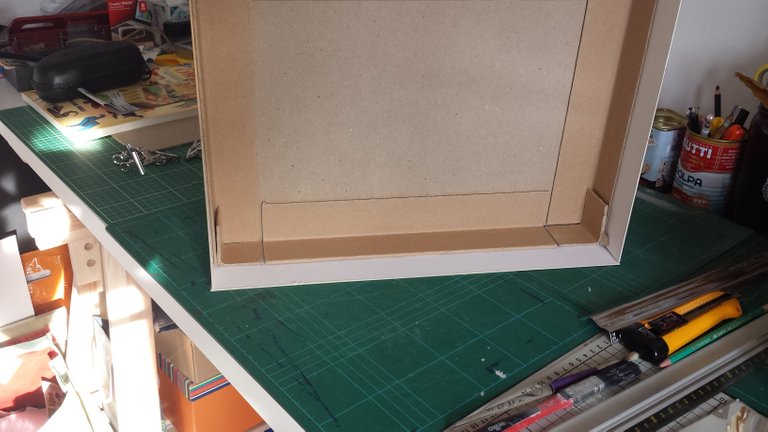
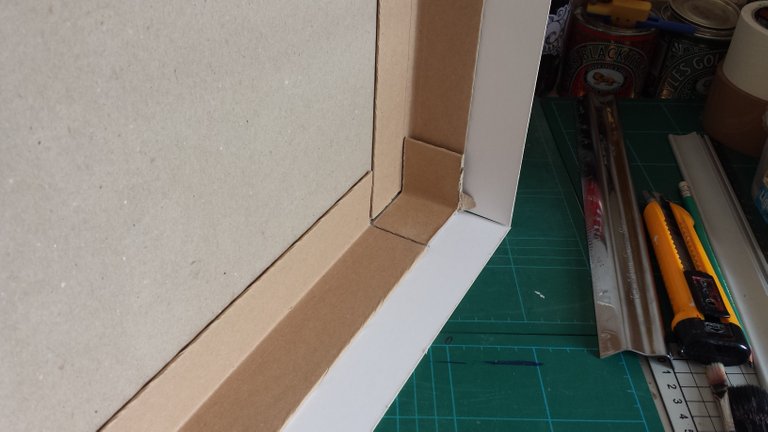
These sturdy cardboard corners will help brace the structure.
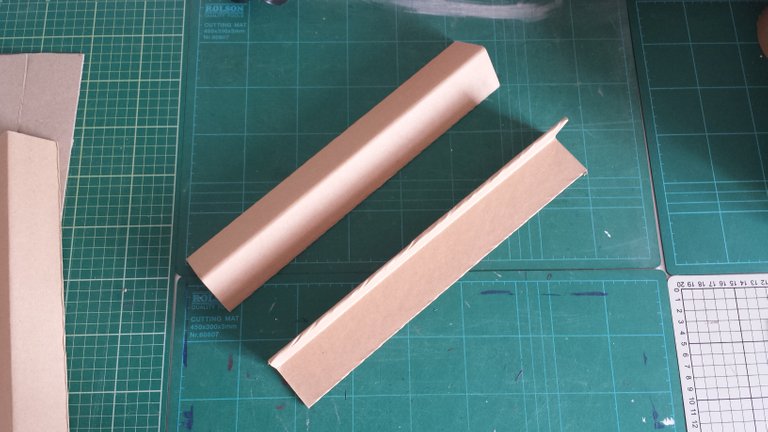
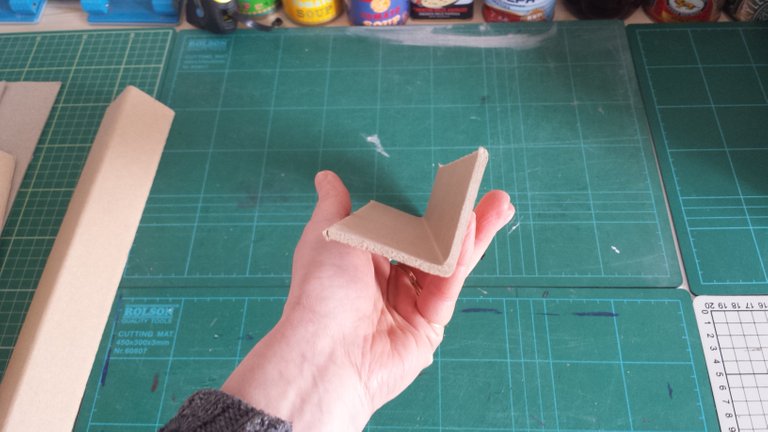
The side of the box will be stuck to these corners.
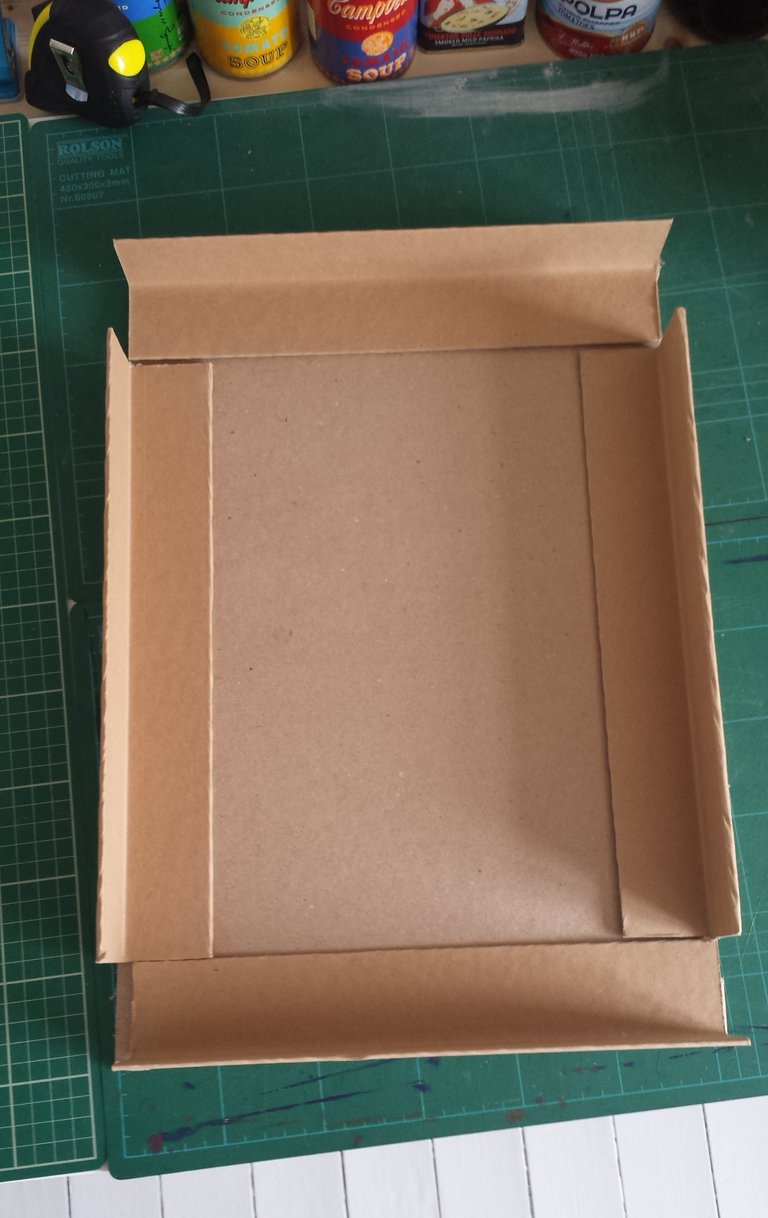
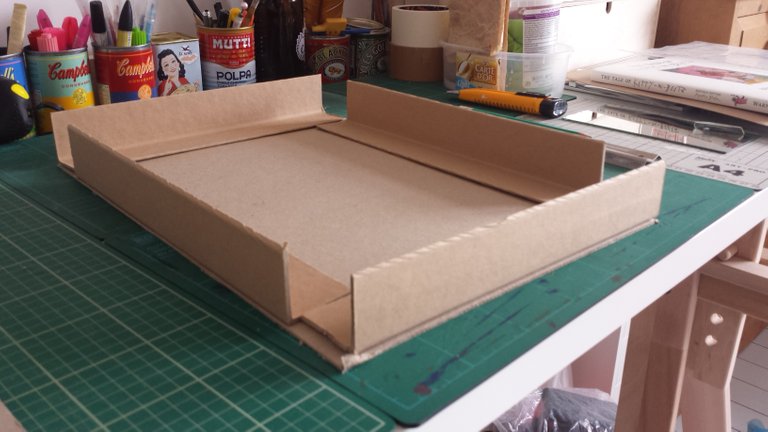
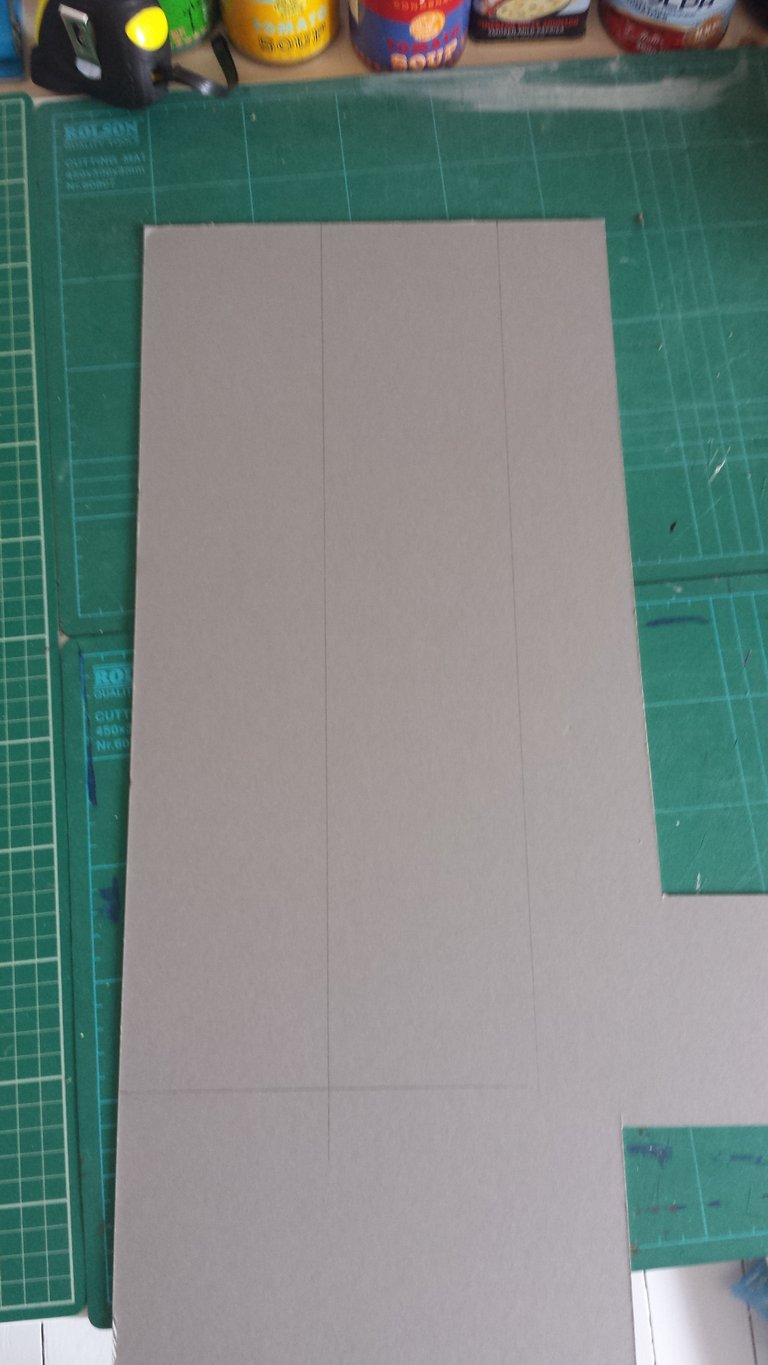
Drawing out what will be the sides.
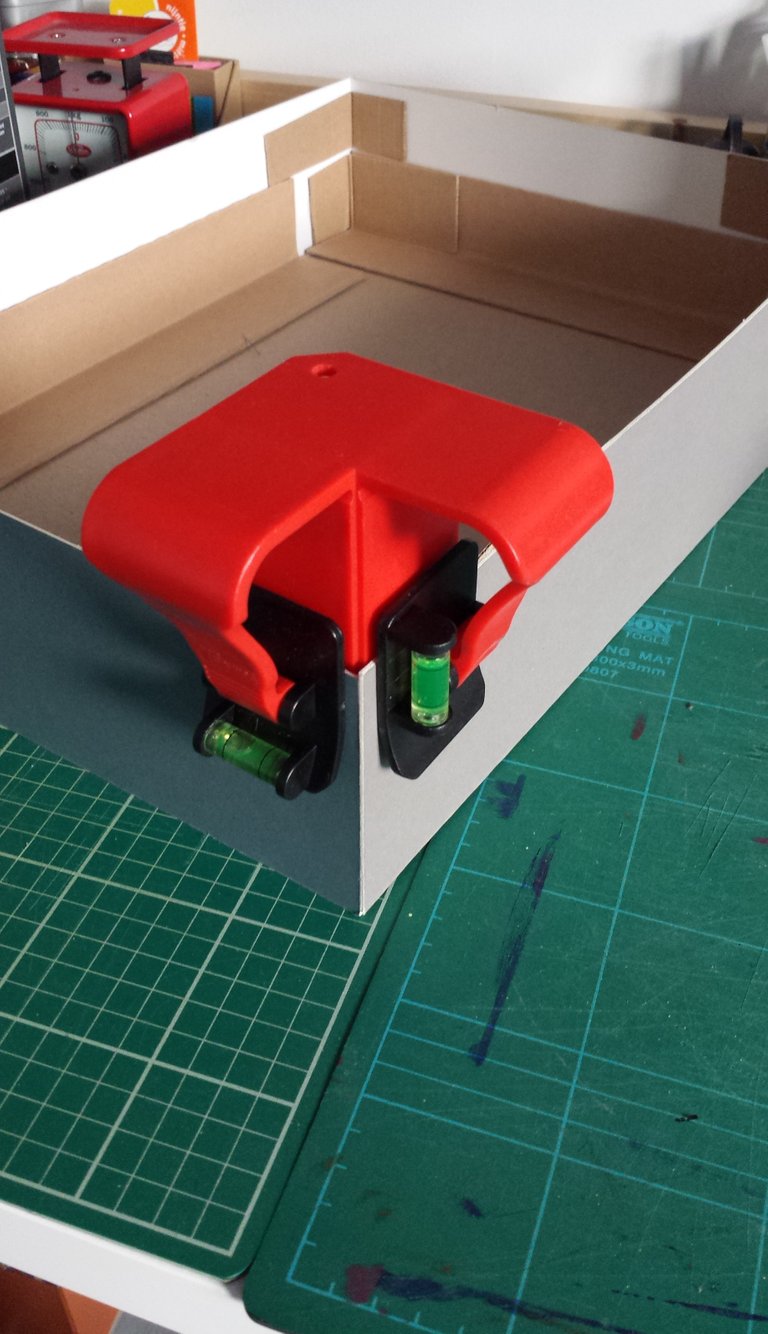
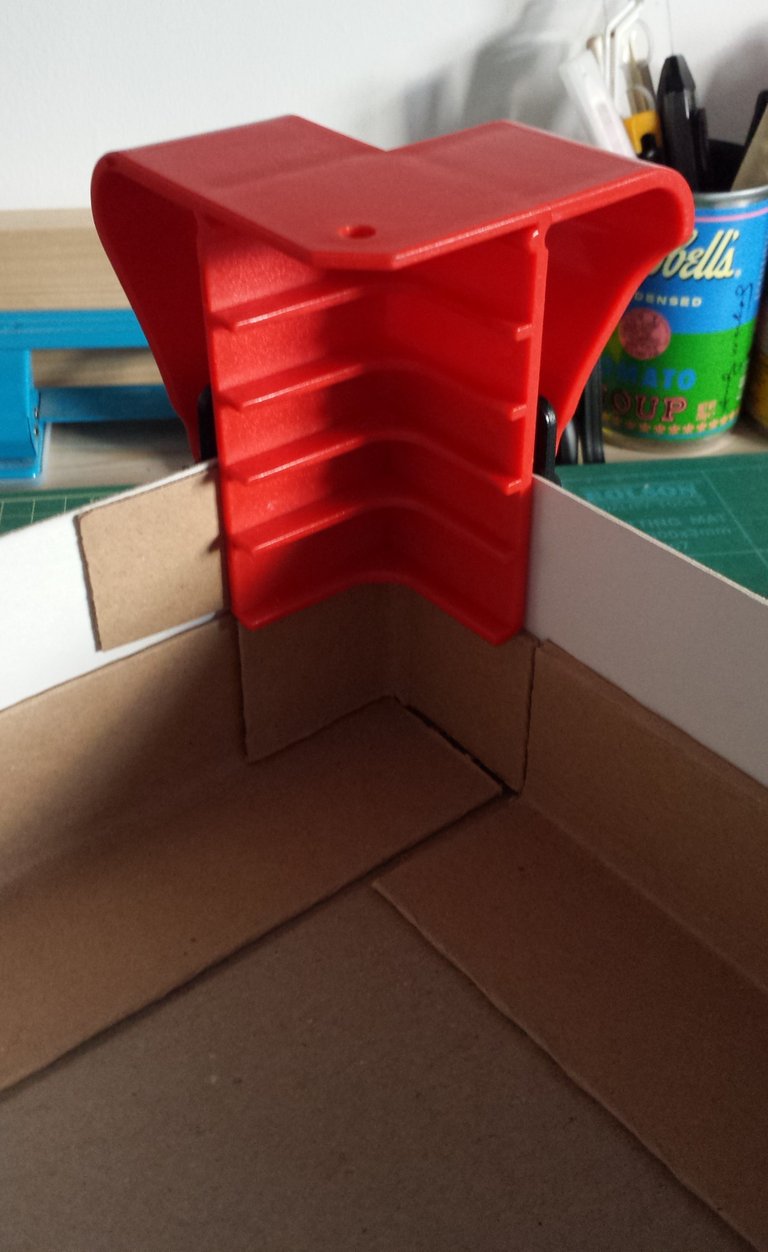
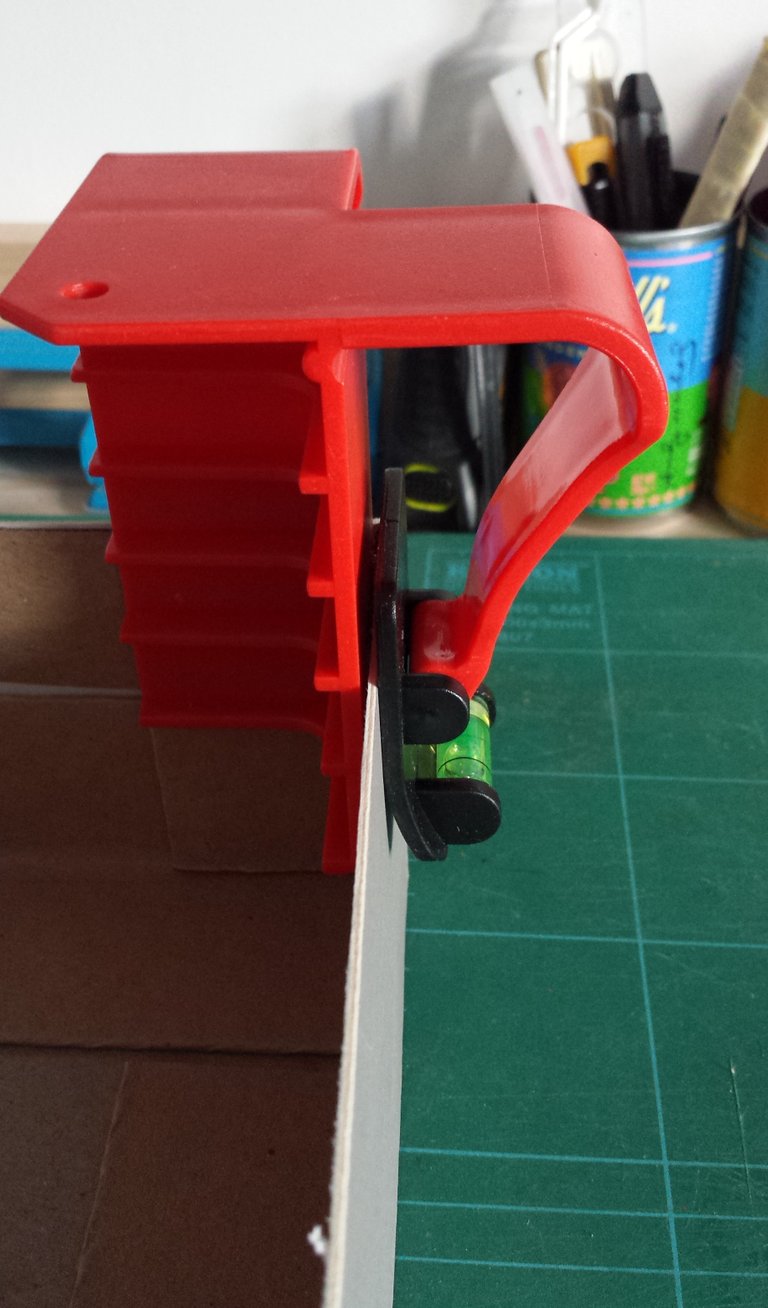
I used PVA glue to stick the sides together, and bulldog clips, small clamps and corner clamps to hold the pieces in place for 24 hours while they dried.
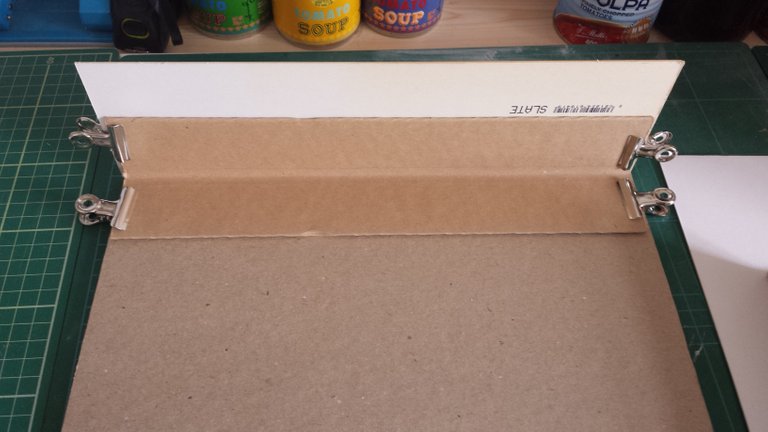
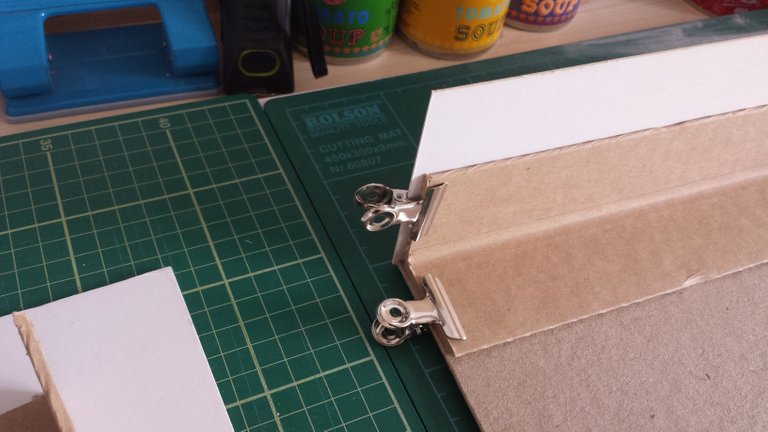
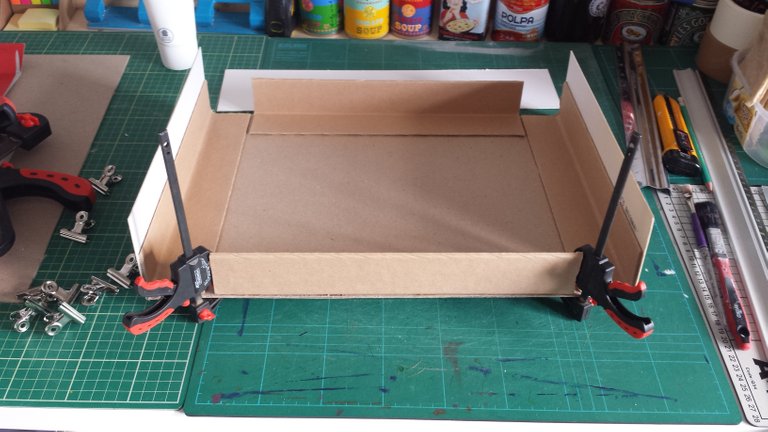
I particularly love my corner clamps ❤.
Fabric!!!!!
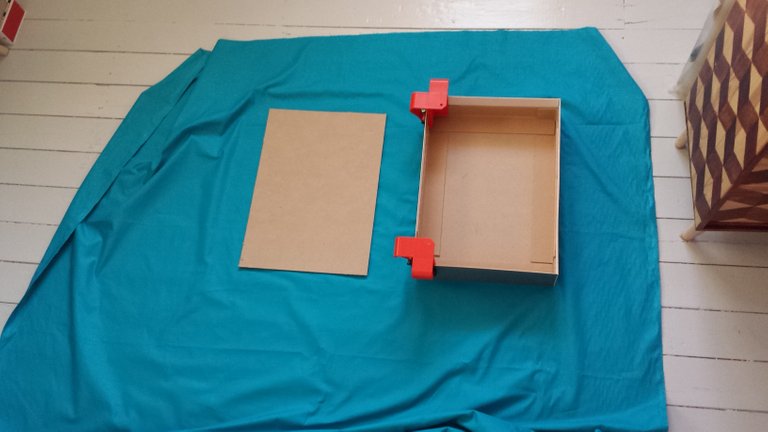
As soon as I started playing about draping the lovely cotton teal fabric I got to cover the box, I started wondering about how to attach the lid. I knew I wanted the lid to be attached, like the cover of a book; but how to achieve this neatly? I don't want to use too much glue on the outside of the box, because it will show through to the fabric on the outside.
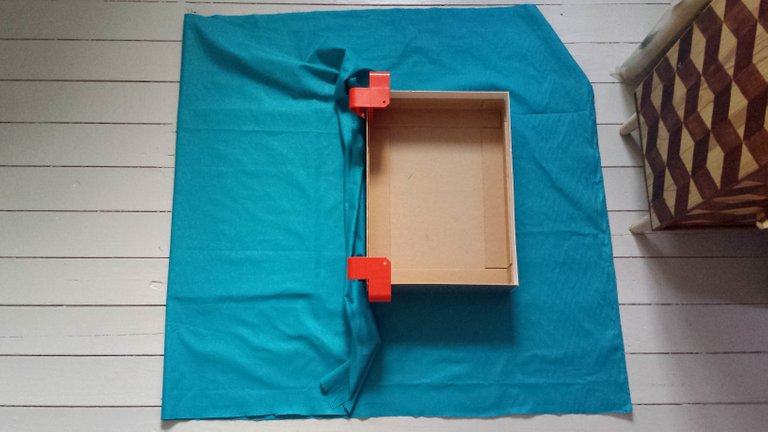
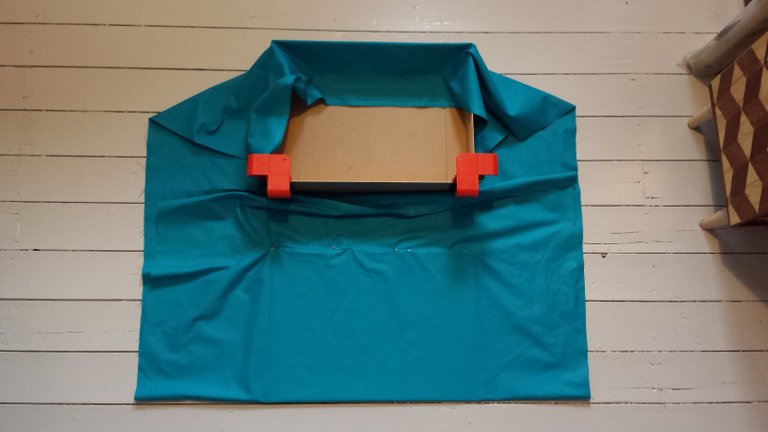
I decided to sew the lid in.
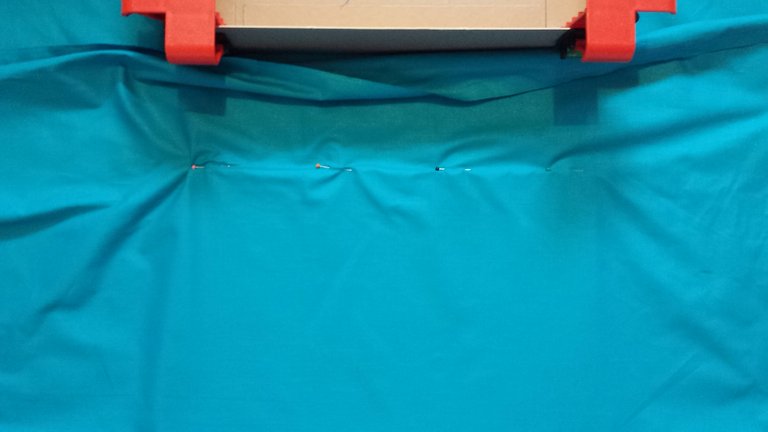
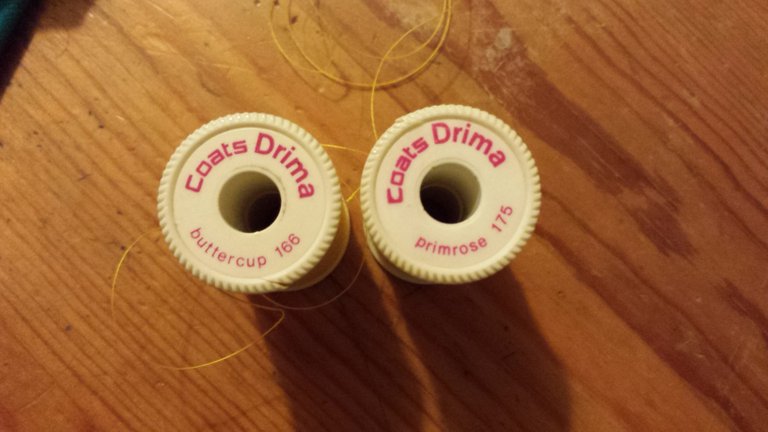
Nice contrasting yellow thread.
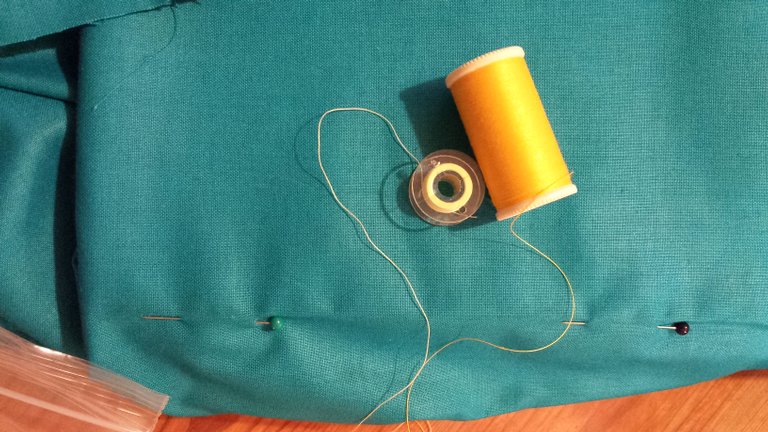
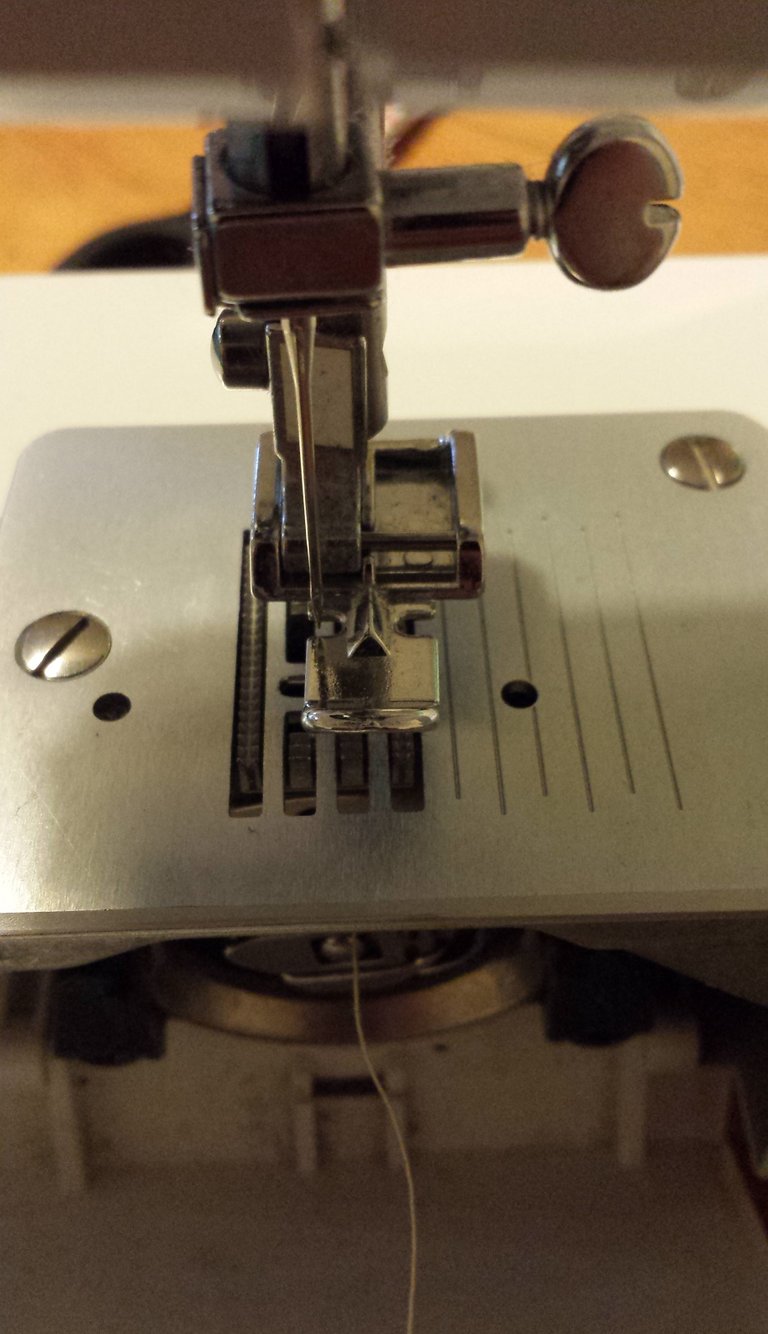
Sewing machine feet - on the left is a standard foot, on the right is a foot designed to be used when sewing in a zipper. This foot allows you to sew right up to the edge of a zipper, or in this case, a piece of cardboard.

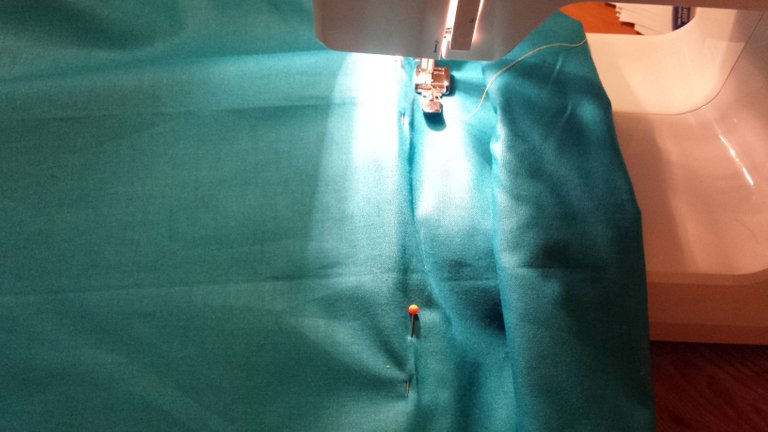

I managed to stitch pretty close to the edge of the cardboard. I could have sewn the fabric with the cardboard out, then slid it in, but if my sewing wasn't perfect (which it usually isn't) then the card would't have fit in properly, and I would have been mighty peeved.
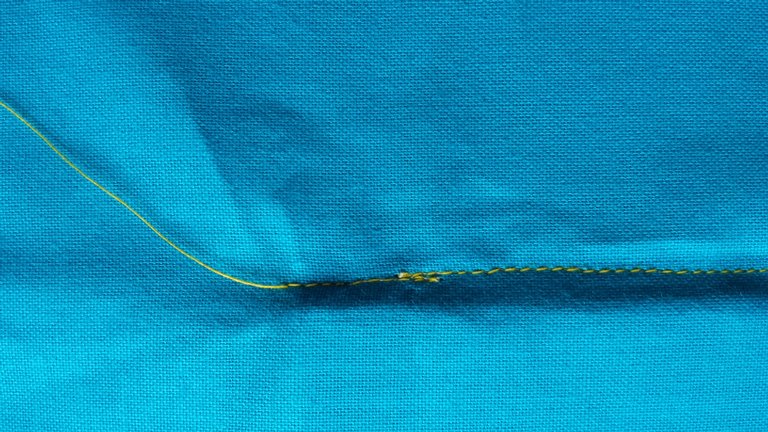
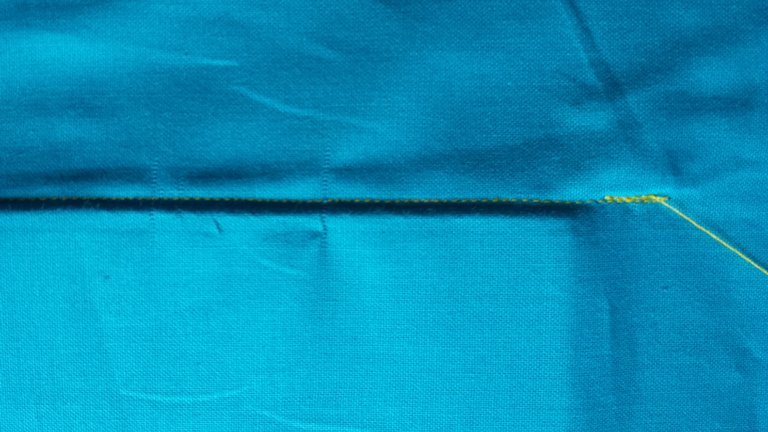
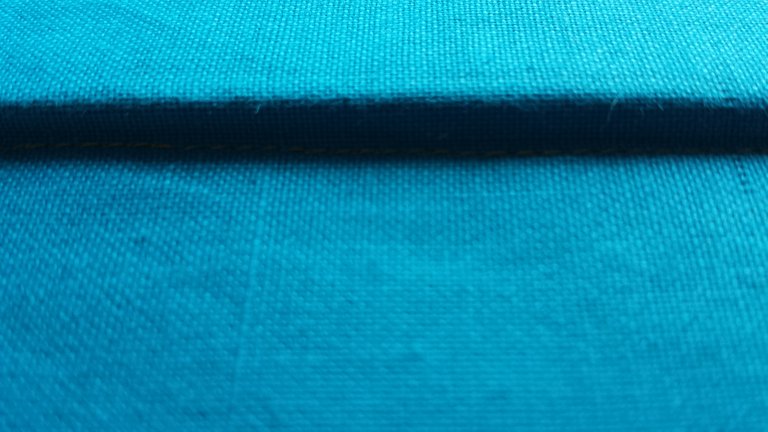
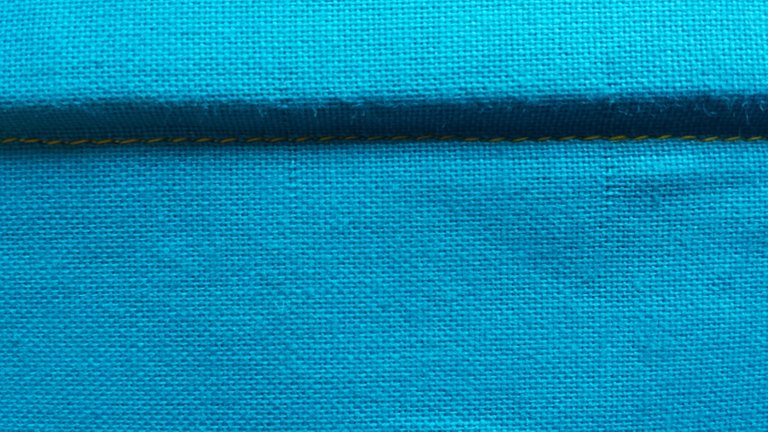
Now I just have to work out the best way to fold the fabric around the box, and finish the edges of the lid - an interesting problem in itself.
Thanks for having a look, and as always, I hope you enjoyed it.
The Creative Crypto is all about art on the blockchain and learning from creatives like you. Looking forward to crossing paths again soon. Steem on!Hello @massive-pop, thank you for sharing this creative work! We just stopped by to say that you've been upvoted by the @creativecrypto magazine.
Congratulations @massive-pop! You have received a personal award!
Click on the badge to view your Board of Honor.
Do not miss the last post from @steemitboard!
Participate in the SteemitBoard World Cup Contest!
Collect World Cup badges and win free SBD
Support the Gold Sponsors of the contest: @good-karma and @lukestokes