English
Türkçe bölüm için lütfen buraya tıklayın.
Hello everyone!!!
I hope you are well or are trying to be well. Today I would like to talk to you rather than just complain a little bit. I don't know, I feel a little strange. There is a longing in me that I can't feel. Unfortunately, with my changing home organisation, my activity here will also change. Of course, speaking of these, I want to talk about another activity.

Yesterday, I suddenly started a project that I had been putting off for a while. I needed to clear my head a bit. When the family member who stays at home with me and does not work started to work, I can say that all the cleaning, cooking and care burden of the house fell on me. Yesterday, I was in the kitchen all day and I became a housewife, which is my biggest fear. Unfortunately, I can say that I succumbed to my fear on the first day.
I have always lived my whole life on the streets, in archaeological sites, dreaming of these places even in my worst times. What has happened to me now has hurt me a lot.
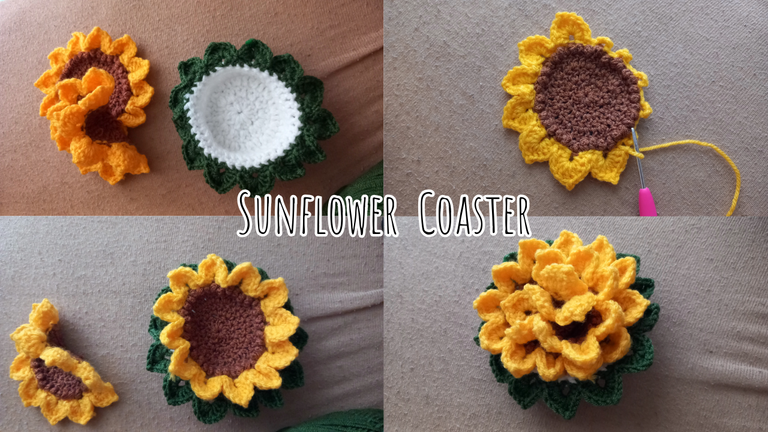
Then I found myself with a crochet in my hand, trying to pretend that everything was fine. To tell you the truth, it felt good. I have a very nice double coaster in my hand. I am even thinking of making a few more of these and giving them to the people I love.

Core Part

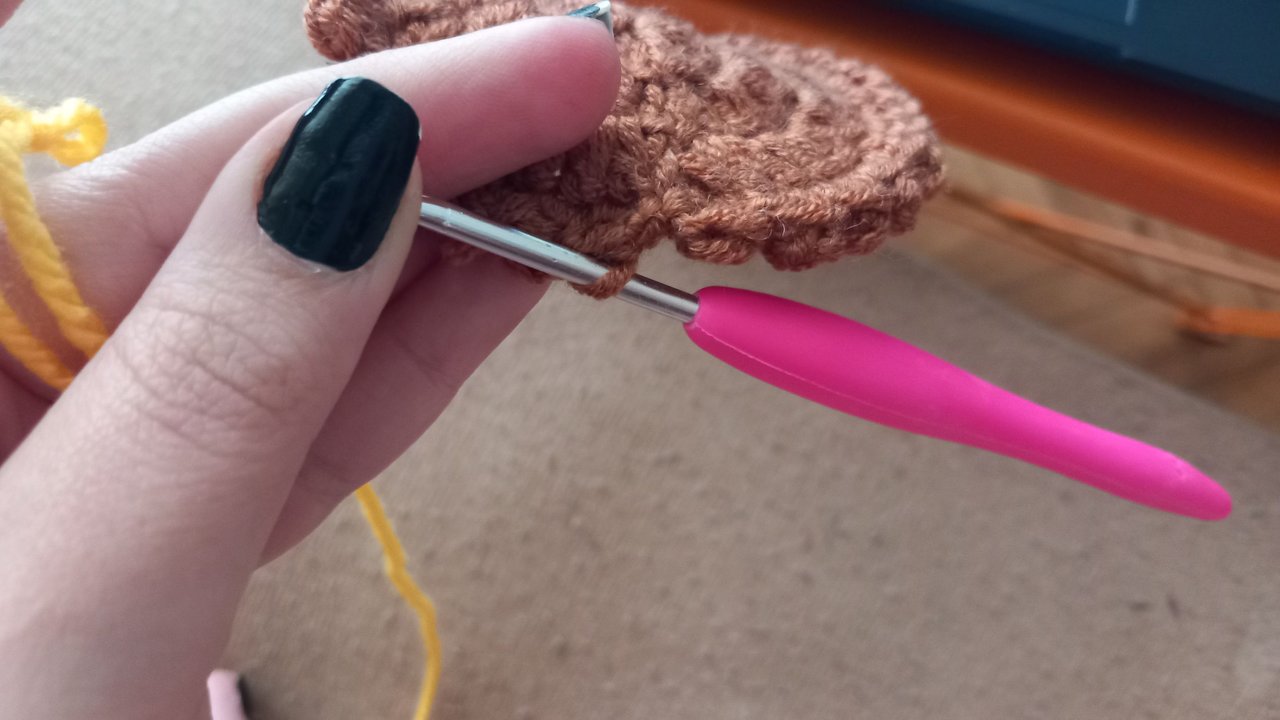
I wanted to show you quickly with the photos above what I did for the core part because I know myself, I talk a lot. I don't want to turn this tutorial into a therapist-client talk.
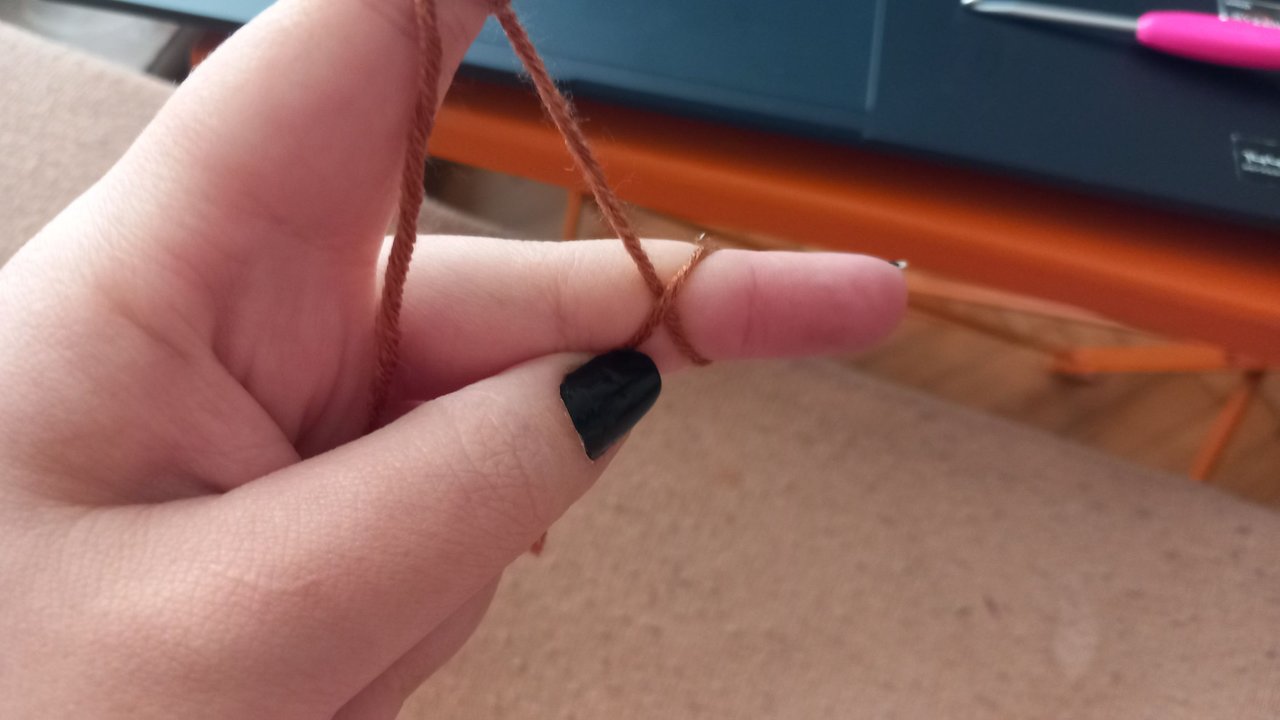
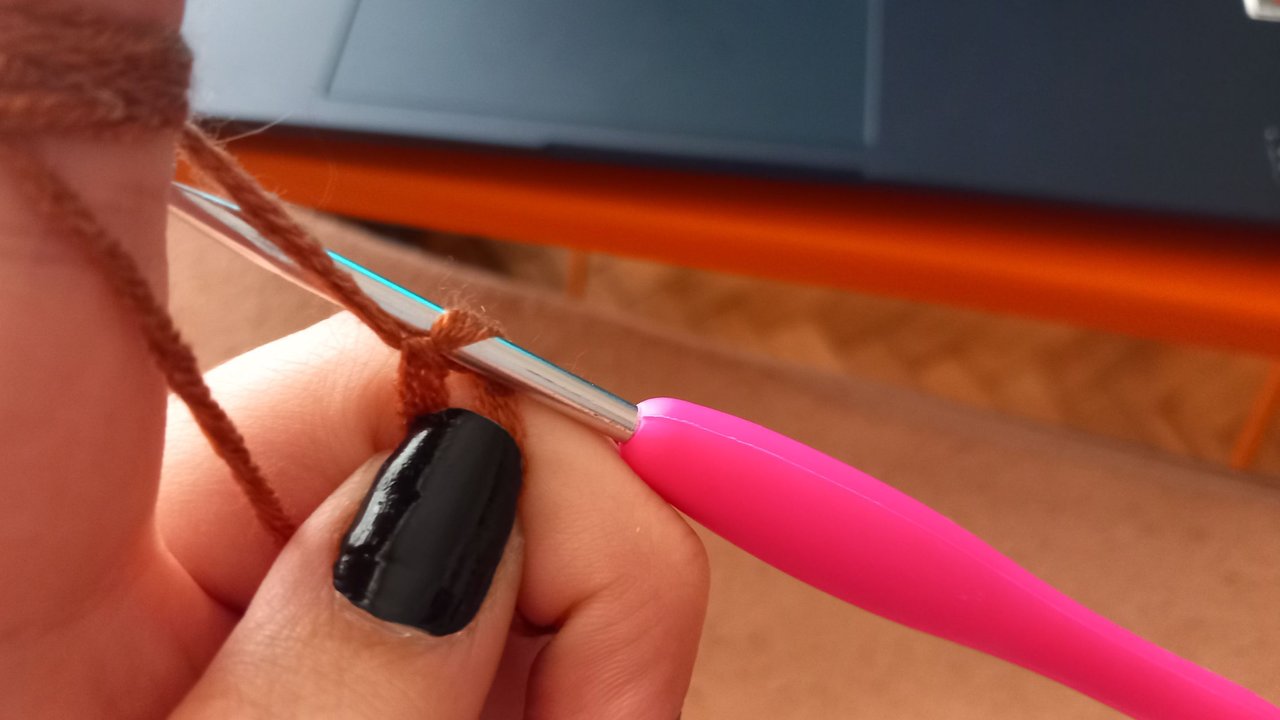
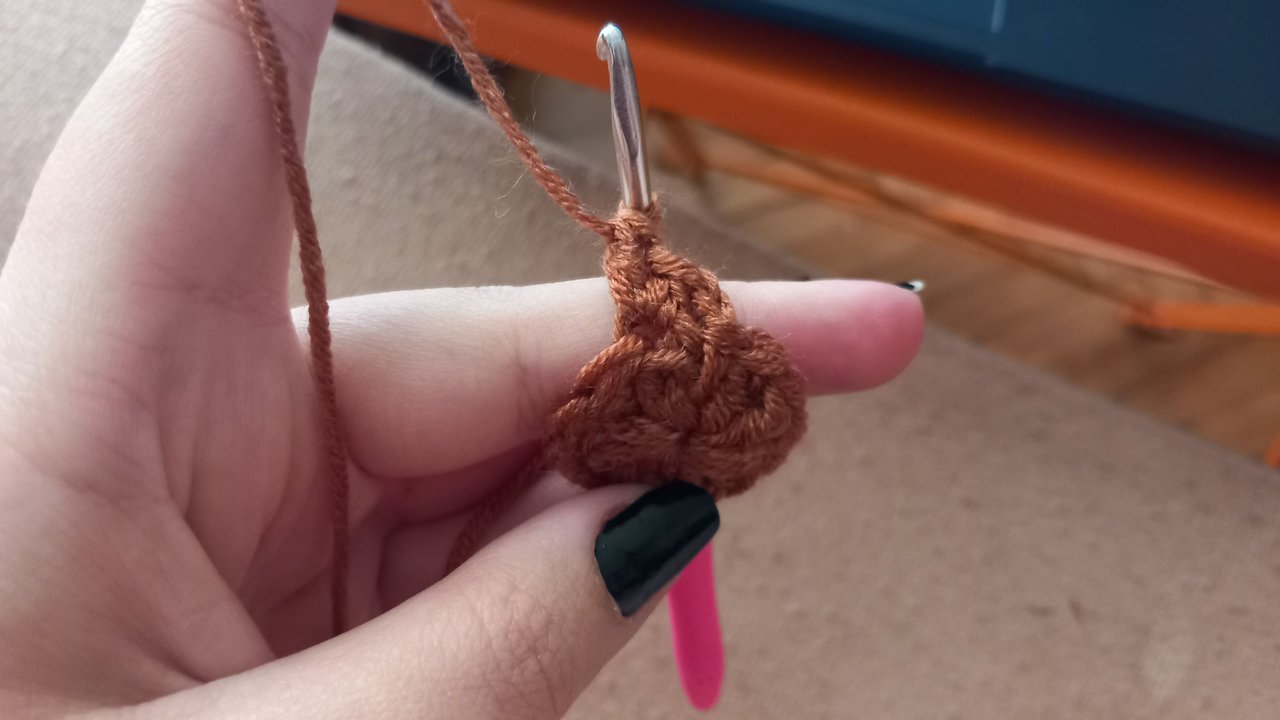
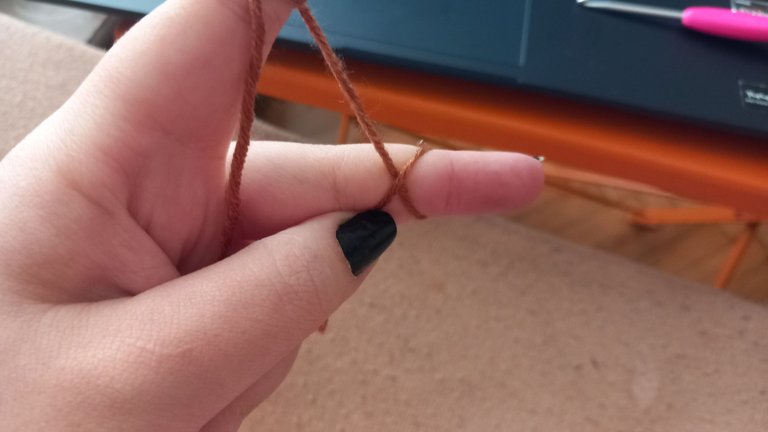
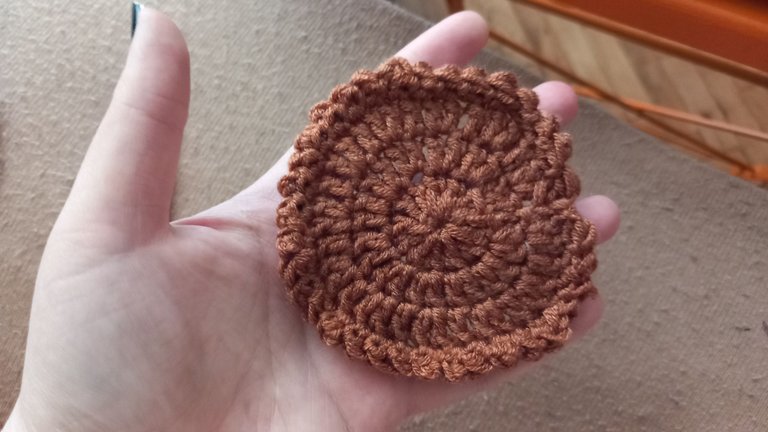
I used a brown yarn for the middle part where the cores are located. I did everything with a 3.5 mm crochet. Although I don't like the colour of the crochet in general, I didn't have much of a choice because it was included in the set of tools I bought for a reasonable price. If I don't remember wrongly, this ball was of a brand called Nako Elite Baby. Unfortunately, I threw away the paper because I didn't think I would buy more. As you can see, I started with the magic ring. As someone who is still trying to learn the magic ring, I watched a lot of tutorial videos. I'm adding the link to my favourite one right here.
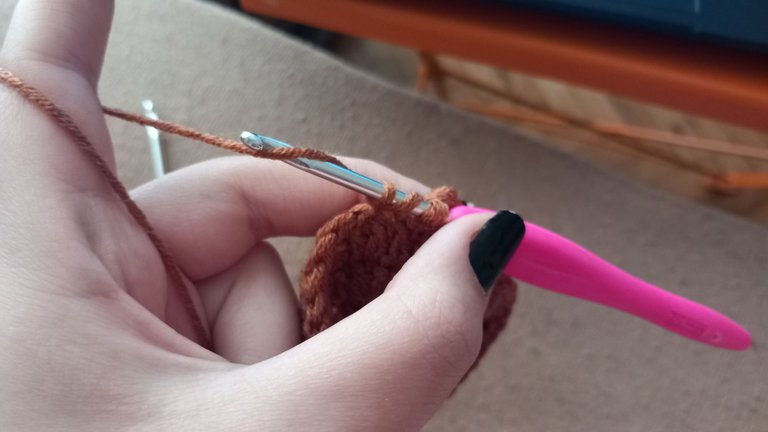
For the beginning of this magic ring, I started by knitting 12 double crochet before tightening the ring and then 24 double crochet, two in each space in the next row. If you have noticed nowadays, I can speak a little more terminologically, instead of in Beril 😂 I think I'm making great progress.
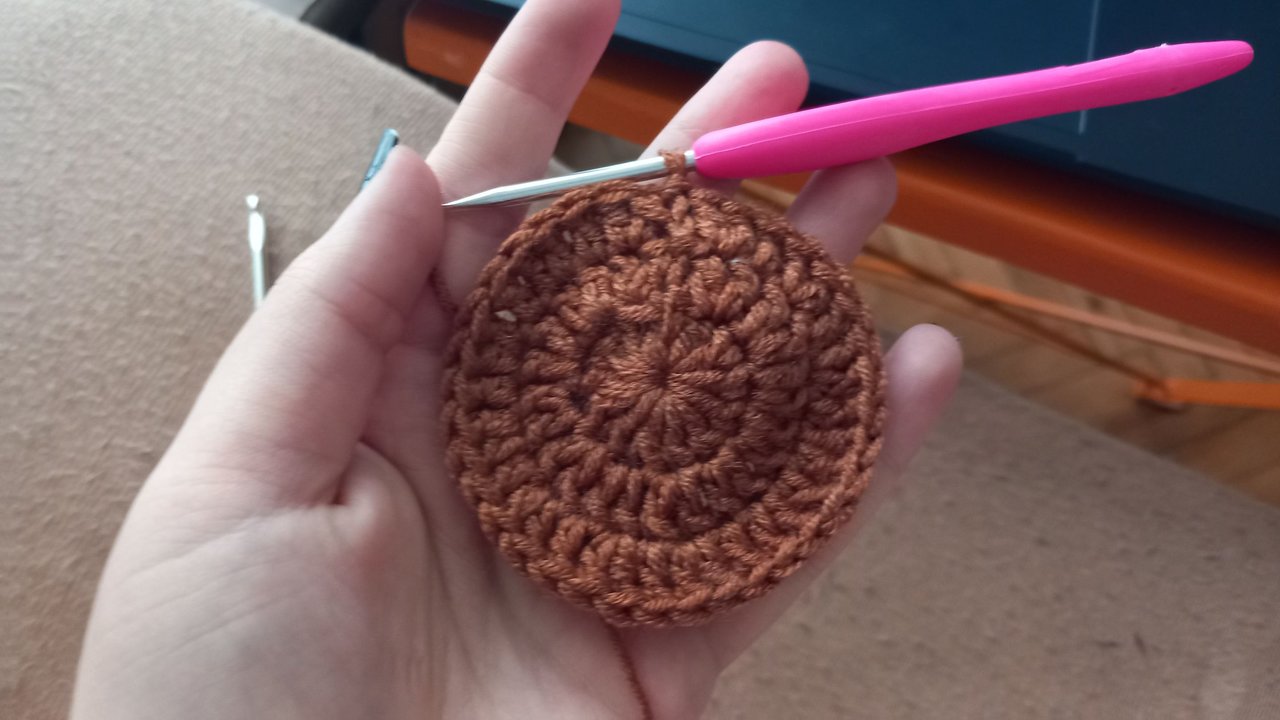
For the third row, as I did in all of them, after the second row was finished, I went up one chain to go to the top row after the second row was finished, I made 1 double crochet, 2 double crochet in the second gap. This row arrangement is in an arrangement that will allow me to increase the number without breaking the shape.
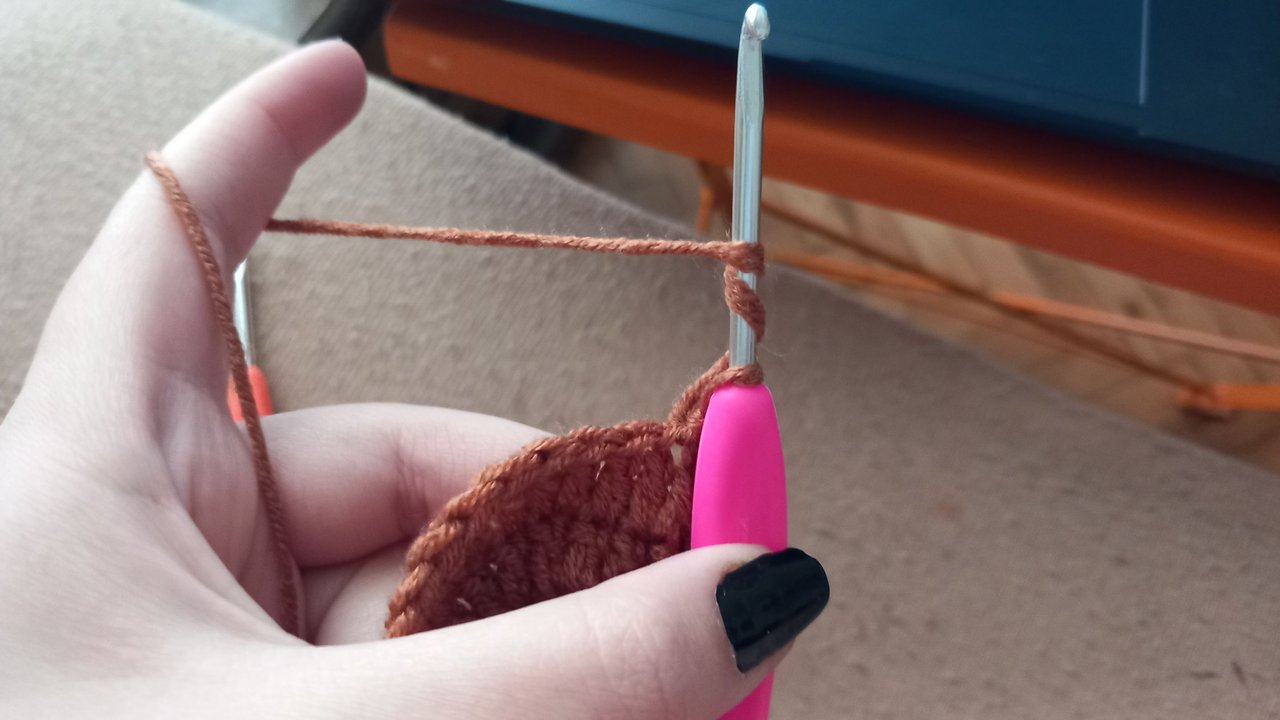

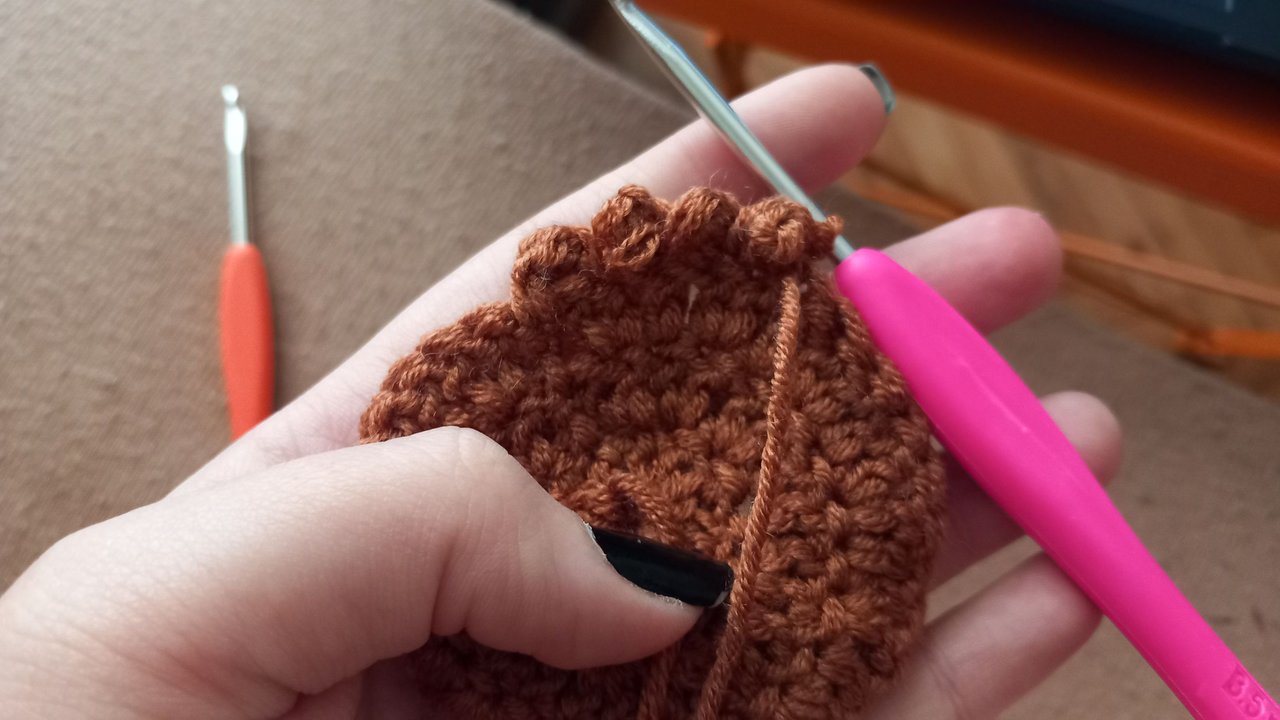

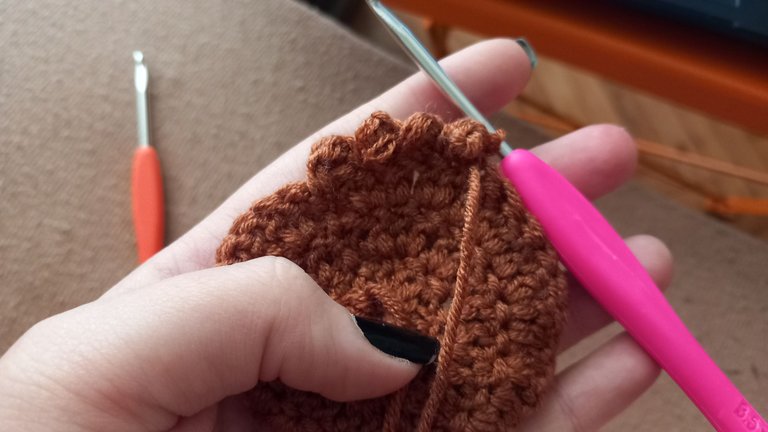
Now, the photos you see above are to add a bit more texture to this core and to do a bit of work on my own. What I've done is hard to describe, easy to make and beautiful. There are two things we're doing in the same loop. The first one is triple crochet. After wrapping the rope around the loop twice, we pass it through the next loop and thread it 3 times, two at a time. It is of course very difficult to show here without video.
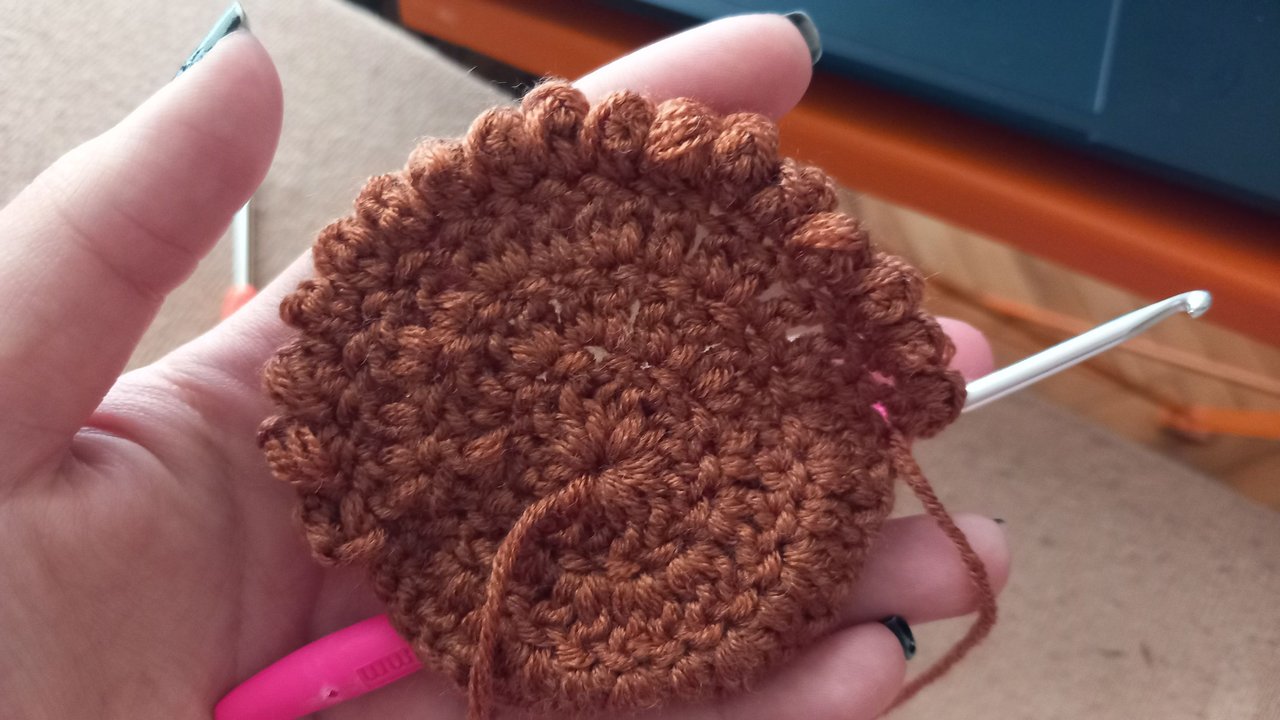
The second thing we do is 1 chain. It's as simple as that. This chain will shorten the previous triple crochet by gathering it to a single point and provide texture, which you can easily see this texture in the right and left photos at the bottom. I hope I have been explanatory enough.
When this process was finished, I tried to secure the yarn from both sides and hide it in the best possible way.
Yellow Leaves
This is the part that will make it look really good. Even though I don't like the colour yellow, I really like sunflowers. In this place where I have spent most of my life, there are too many of them. It can be said that we are Türkiye's warehouse of sunflower oil.
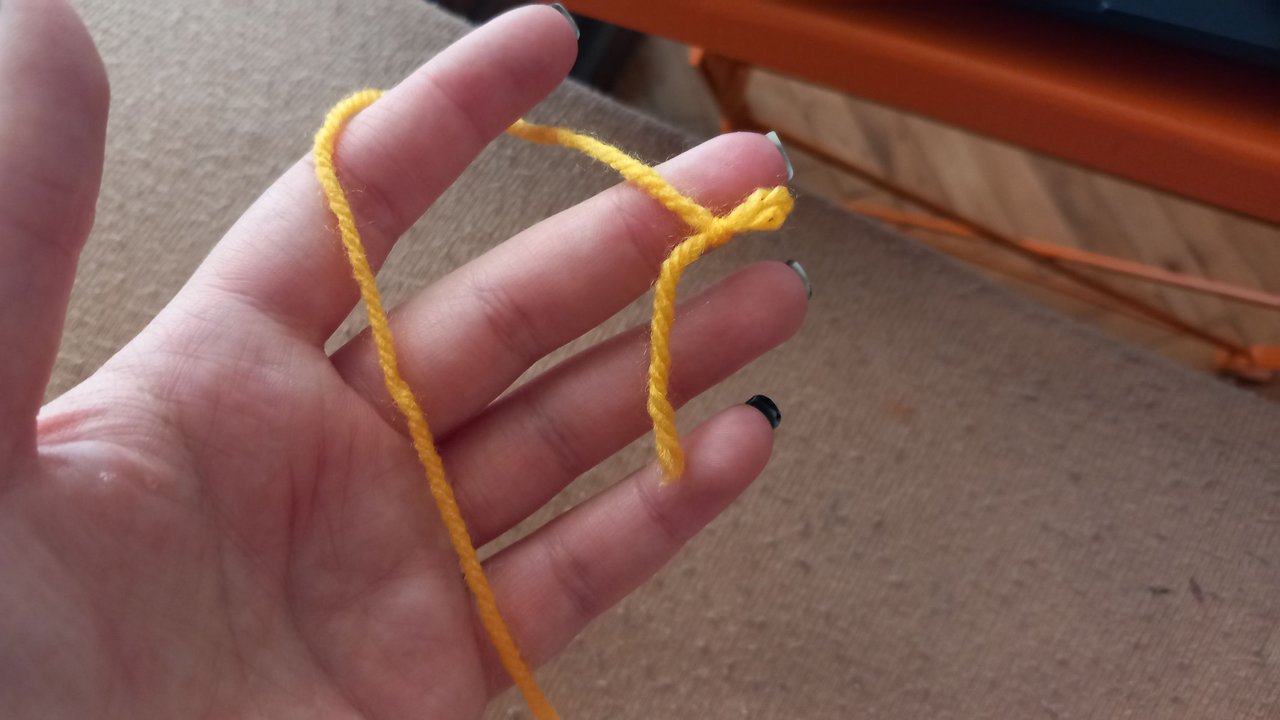
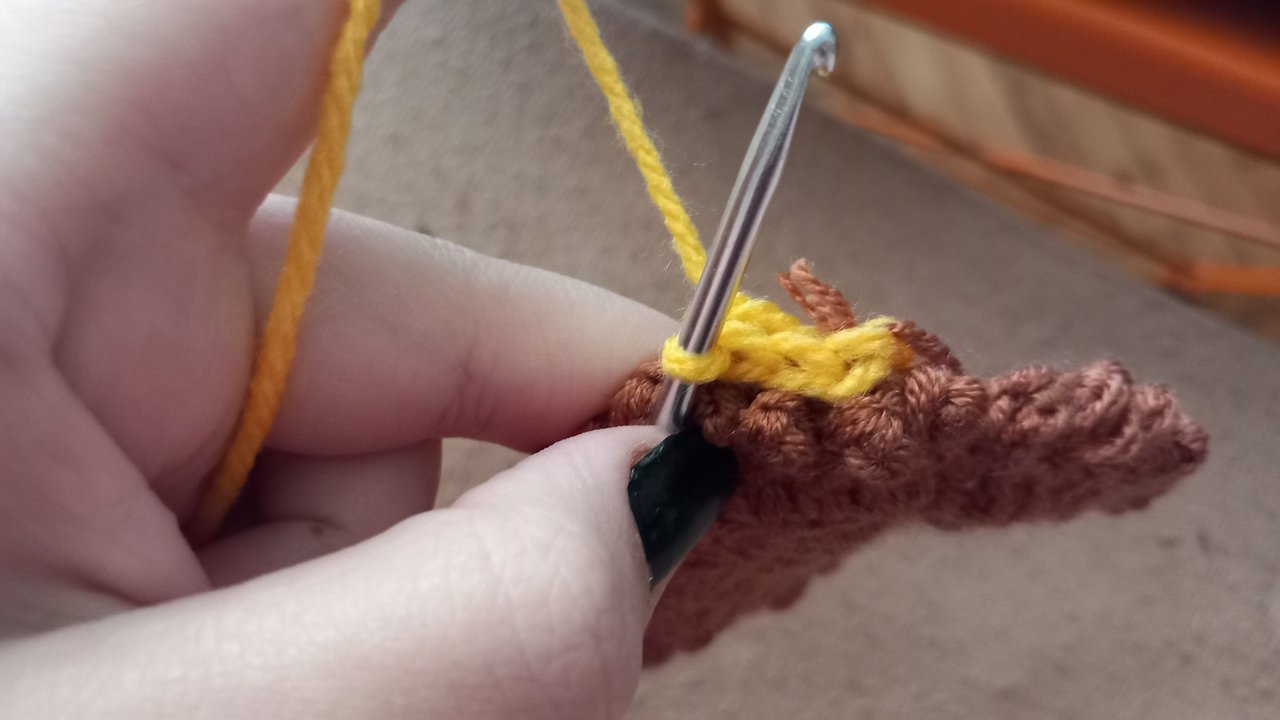
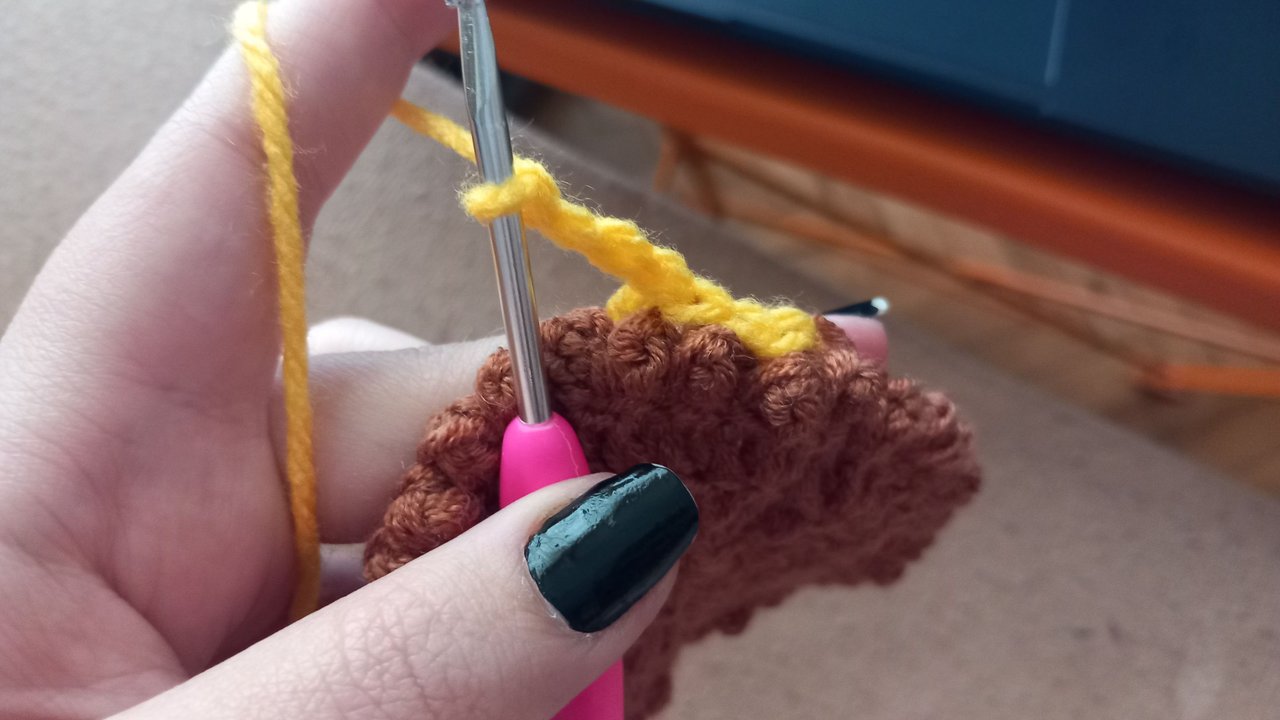

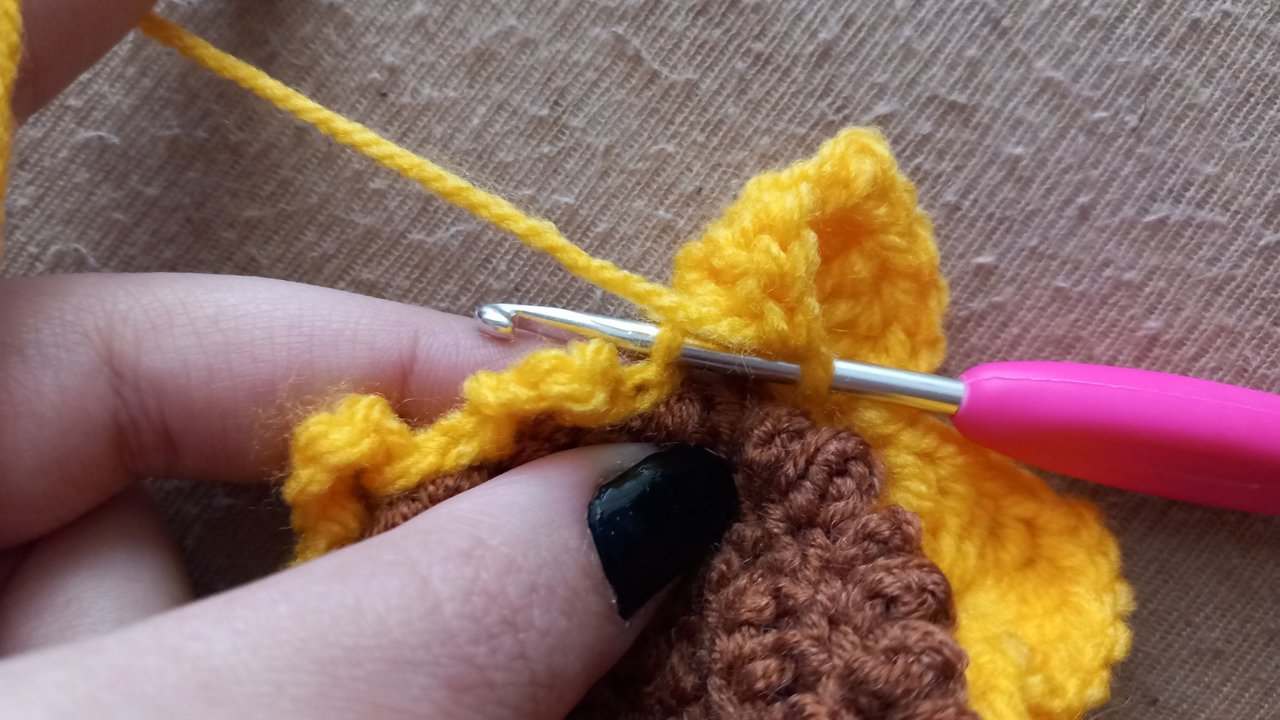
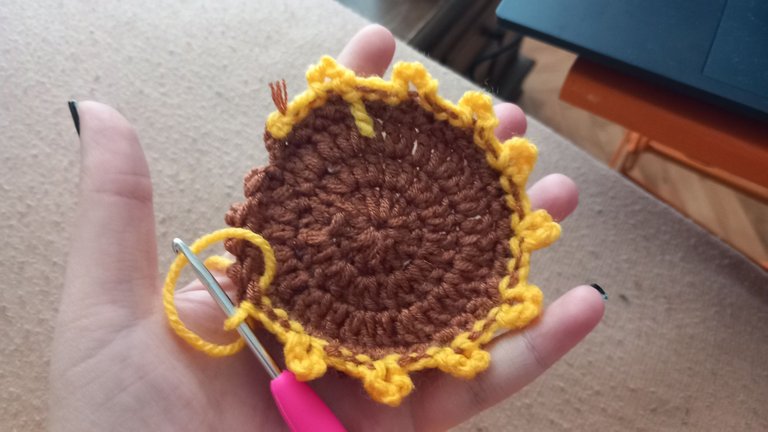
It was easier when it came to the yellow leaves. The first thing I did was to make 3 single chains to connect the core with the leaves. After 3 chains, I pulled 4 chains, which are not connected to anywhere, as you can see on the right at the bottom. I continued this chain of 4 from the place where I went up and continued until I ran out of 3 chains. This is going around the outside completely, without cutting the yarn.
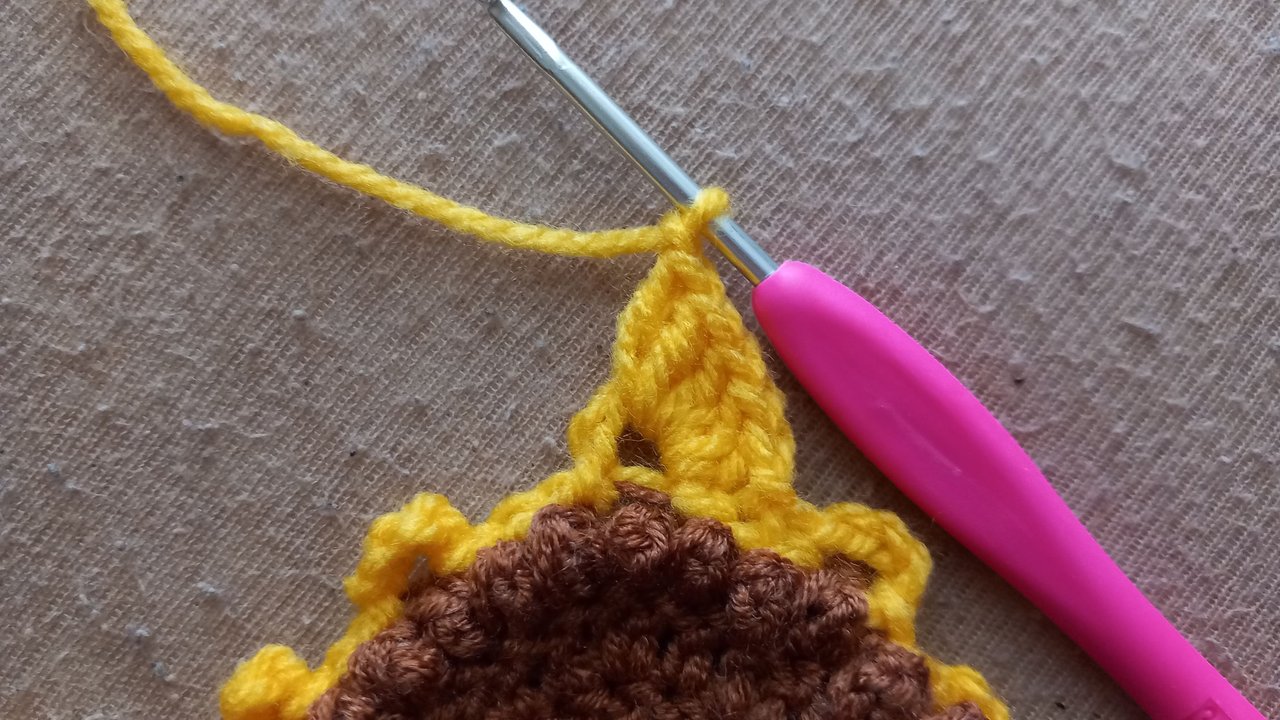
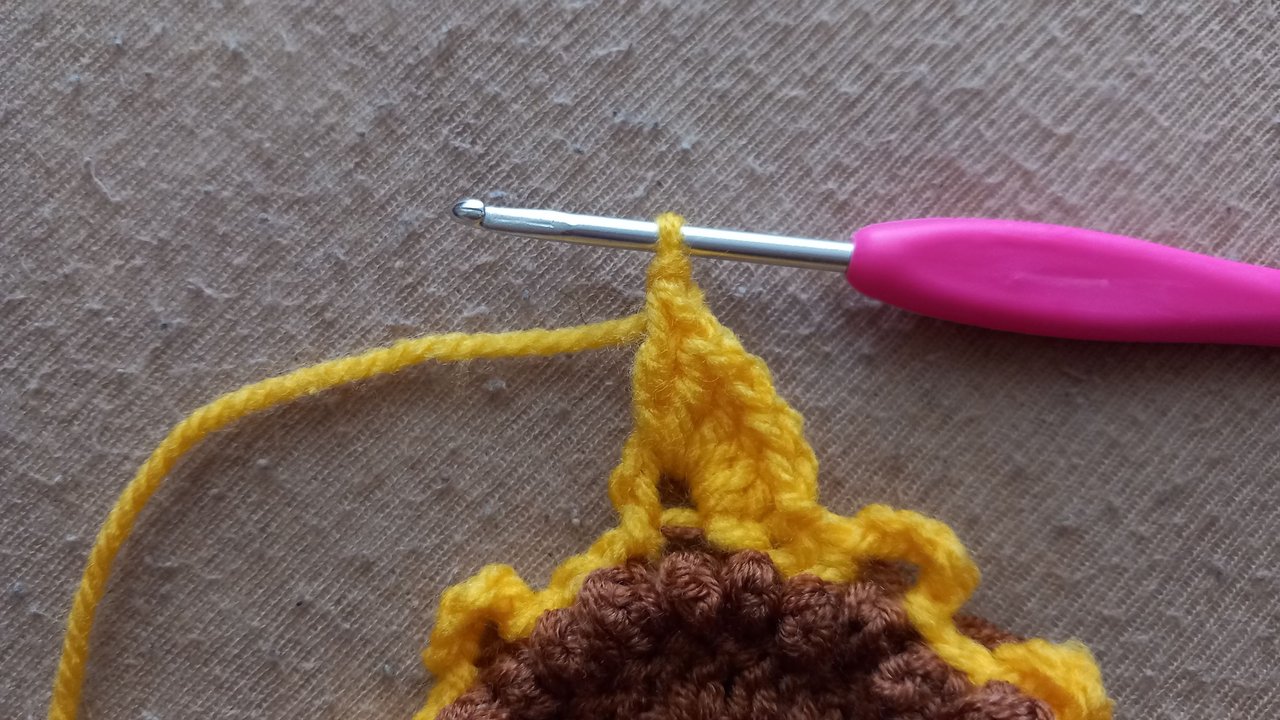

This part is a bit more difficult to explain, but bear with me please. After finishing the whole core, it is time for the leaves to grow a little more. Without cutting the yarn, we first make 5 double crochets from the middle part of the round where it ends where it starts. After these 5, we pull a chain for the tip of the leaf and pull another chain from the top part of the 5th double crochet, which is located just below it. I'm not sure how much I was able to explain, but I hope it was explanatory enough.
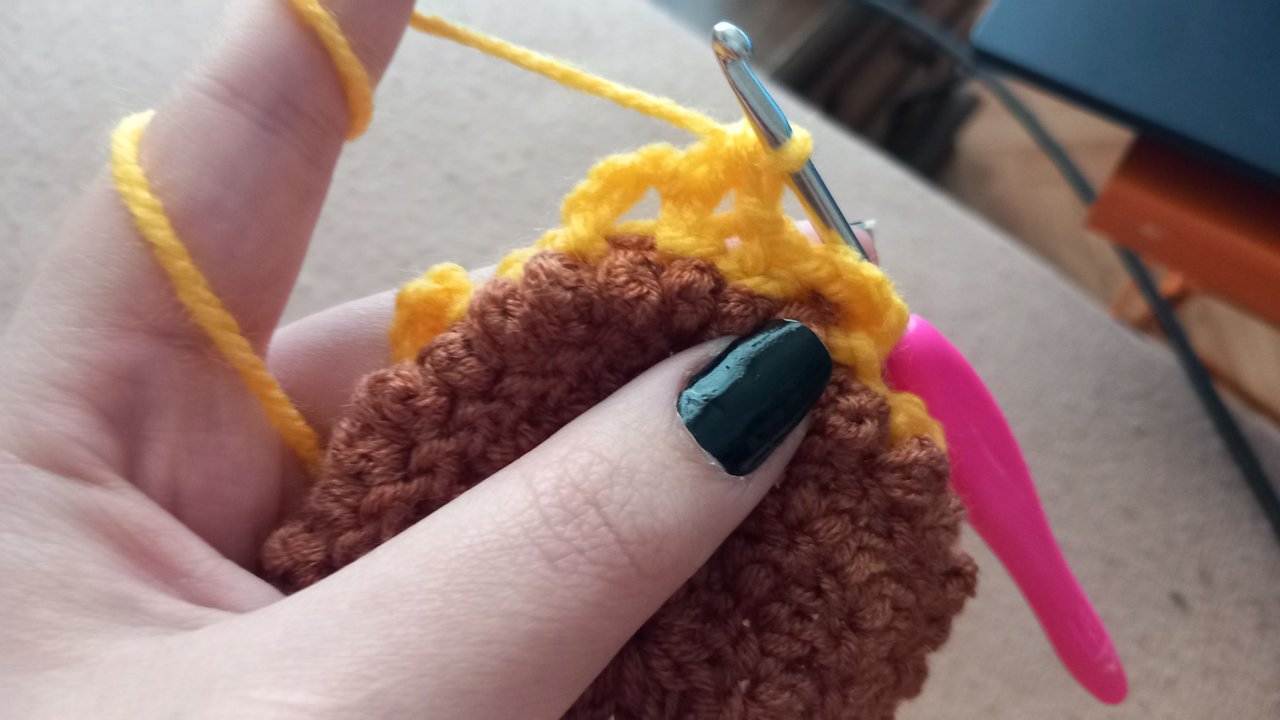
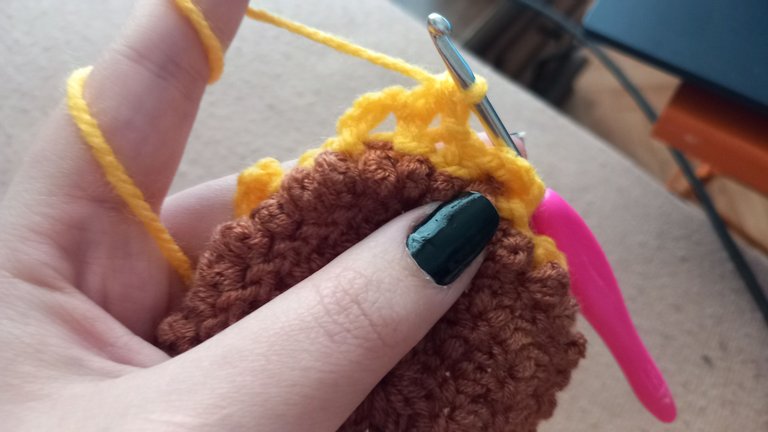
After making this top chain, we make 4 more double crochets in the same part. This will give us a total of 9, a single number, and this will make the leaf look more like a leaf, just like you see above.
After this process is finished, for the transition between the two leaves, we pull one more chain to the second of the 3 brown binding chains we made and repeat the same process without doing anything else. In fact, it is quite simple to do, on the contrary, it is quite difficult to explain.


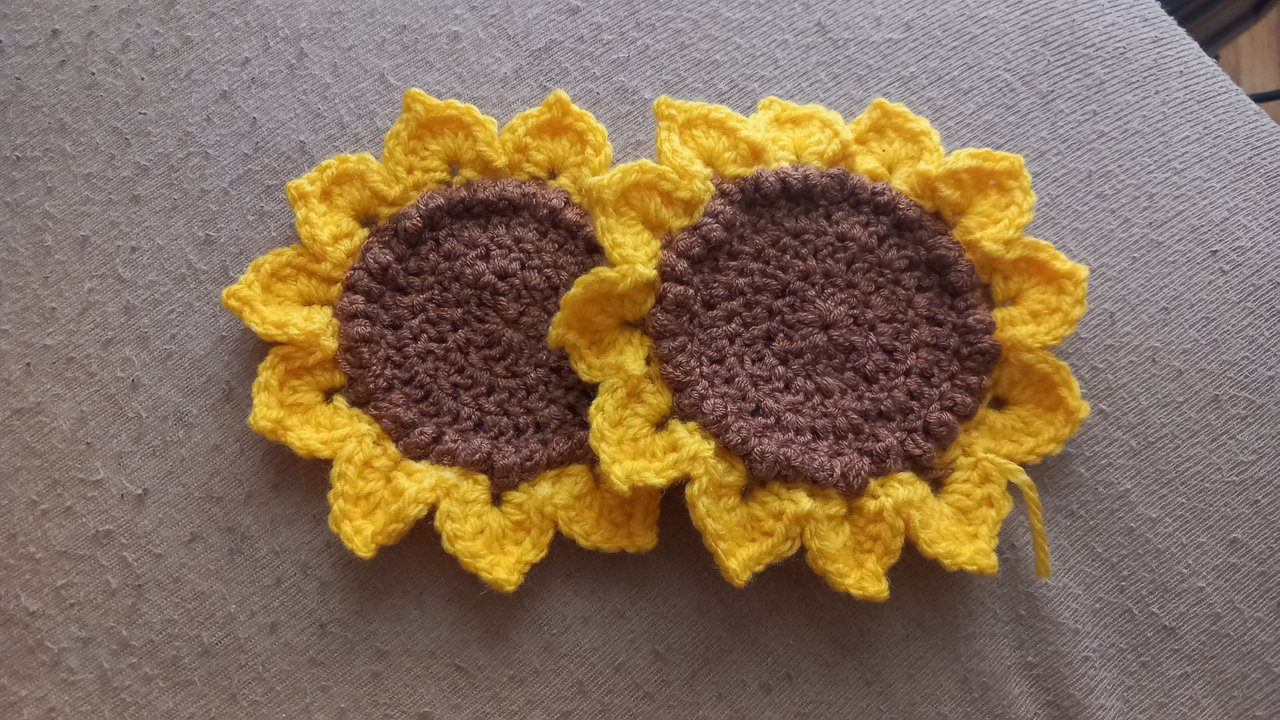
Yes, these are the sunflower coasters you saw in the cover photo. In my next blog, we will make the basket with white and green leaves that you can see at the bottom. It is also quite easy, for sure. I hope you like it and you will make and use it somewhere. If you do, be sure to show me, okay? I like them very much.
See you later. Take care of yourself, stay with health and love and please remember that;
You are the only one of you.


Herkese merhabaaaa!!!
Umarım iyisinizdir ya da iyi olmaya çalışıyorsunuzdur. Bugün sizinle biraz dertleşmekten ziyade konuşmak istiyorum. Bilmiyorum, kendimi biraz garip hissediyorum. İçimde hissedemediğim bir özlem var. Hem değişen ev düzenim ile birlikte buradaki aktivitem de değişecek ne yazık ki. Tabii bunlardan bahsetmişken başka bir aktiviteden de bahsetmek istiyorum.
Dün bir anda bir süredir sürekli ertelediğim bir projeye başladım. Biraz kafamı rahatlatmaya ihtiyacım vardı. Evde benimle birlikte kalan ve çalışmayan aile üyesi de çalışmaya başlayınca evin bütün temizlik, yemek ve bakım yükü benim üzerime kaldı desem yeridir. Dün bütün gün mutfaktaydım ve benim en büyük korkum olan ev hanımı hâline geldim. Ne yazık ki daha ilk günden korkuma yenildim diyebilirim.
Bir yandan da bu hayat diye düşünüyorum. Ben bütün hayatımı hep sokaklarda, arkeolojik alanlarda yaşadım, en kötü zamanlarımda bile bu yerlerin hayâlini kurarak yaşadım. Başıma şu anda gelen şey beni çok yaraladı.
Sonra da kendimi elimde örgü ile buluverdim her şey iyi gibi davranmaya çalışırken. İyi de geldi ne yalan söyleyeyim. Çok da güzel ikili bir bardak altlığım oldu elimde. Hatta bundan birkaç tane daha yapıp sevdiğim insanlara vermeyi düşünüyorum.
Çekirdek Kısmı


Size yukarıdaki fotoğraflarla hızlı bir şekilde çekirdekli kısım için ne yaptığımı göstermek istedim çünkü kendimi biliyorum, çok konuşurum ben. Bu tutorial niteliğindeki yazıyı iyice terapist-danışan konuşmasına dönüştürmek istemediğimden.
Çekirdeklerin bulunduğu orta kısım için kahverengi bir yün kullandım. 3,5 mm'lik tığ ile yaptım her şeyi. Genel olarak tığın rengi hoşuma gitmese de uyguna aldığım tıp setinin içinde olduğu için çok fazla bir seçeneğim yoktu. Bu yumağıda yanlış hatırlamıyorsam Nako Elite Baby diye bir markanındı. Devamını alacağımı düşünmediğim için kağıdını attım ne yazık ki. İşe görebileceğiniz gibi sihirli halka ile başladım. Sihirli halkayı hâlâ öğrenmeye çalışan biri olarak bir sürü tutorial videosu izledim. Hemen buraya en beğendiğimin linkini ekliyorum.
Bu sihirli halka başlangıç için halkayı sıkmadan önce 12 sıktıktan sonrada bir üst sıraya her boşluğa iki tane olmak üzere 24 adet tekli trabzan ördüm. Şimdilerde fark etmişseniz eğer, biraz daha terimsel konuşabiliyorum, Berilce yerine 😂 Bence harika bir ilerleme gösteriyorum.
Üçüncü sıra için ise, hepsinde yaptığım gibi, ikinci sıra bittikten sonra üst sıraya geçebilmek için tek zincir yukarı çıkıp 1 adet tekli trabzan, ikinci boşluğa 2 adet tekli trabzan yaptım. Bu sıra dizilimi şekli bozmadan sayıyı artırmamı sağlayacak bir düzende.


Şimdi ise yukarıda gördüğünüz fotoğraflar, bu çekirdek kısmına biraz daha doku katabilmek ve biraz da kendi başıma iş çıkarabilmek için. Yaptığım şeyin anlatımı zor, yapımı kolay ve güzel. Aynı boşluğa yaptığımız iki şey var. Birincisi 2 trabzan. İpi tığa iki kere doladıktan sonra bir sonraki boşluktan geçirip her seferinde ikişer olmak üzere 3 kere ip geçiriyoruz. Burada video olmadan göstermek elbette ki çok zor.
İkinci olarak yaptığımız şey ise 1 adet tek zincir. Bu kadar basit. Bu zincir bir önceki ikili trabzanı tek bir noktaya toplayarak kısaltıp doku sağlayacak ki en alttaki sağ ve sol fotoğraflarda bu dokuyu rahatlıkla görebilirsiniz. Umarım yeterince açıklayıcı olabilmişimdir.
Bu işlem bittiğinde de ipi iki taraftan da güvenceye alıp olabilecek en iyi şekilde saklamaya çalıştım.
Sarı Yapraklar
İşimiz asıl güzel gösterecek kısma geldik. Sarı rengi her ne kadar sevmesem de ayçiçeğini pek bir severim. Hayatımın büyük bir çoğunluğunu geçirdiğim bu yerde fazla fazla bulunur. Ayçiçek yağının Türkiye deposuyuz da denebilir.


İş sarı yapraklara gelince daha kolaydı. İlk yaptığım şey çekirdek kısmını yapraklar ile birleştirmek için 3 adet tekli zincir çekmekti. Yani aslında bağlamak da ben yine Berilce konuşmaya devam ettiğimden zincir diyorum. 3 adet zincirden sonra, 4 adet hiçbir yere bağlantısı olmayan, en altta sağda görebileceğiniz şekilde, zincir çektim. Bu 4'lü zinciri de yukarı çıktığım yerden devam ettirip 3'er taneden halkam bitene kadar devam ettim. Bu dışını tamamen, ipi kesmeden dolaşmak oluyor.


Bu kısmı anlatması biraz daha zor olacak gibi ama bana katlanın biraz lütfen. Bütün çekirdeği bitirdikten sonra sıra yaprakların biraz daha büyümesine geliyor. İpi kesmeden başladığı yerde bittiği yuvarlağın orta kısmından ilk önce 5 adet trabzan yapıyoruz. Bu 5'liden sonra yaprağın uç kısmı için bir adet zincir çekip hemen alt kısmında bulunan ve 5. trabzanın en üstteki kısmından bir zincir daha çekiyoruz. Ne kadar anlatabildim emin değilim fakat umarım yeterince açıklayıcı olmuştur.
Bu en üstteki zinciri de yaptıktan sonra aynı kısma 4 adet daha trabzan yapıyoruz. Bu bize toplamda 9 yani tek bir sayı verecek ve bu da yaprağın daha çok yaprak gibi görünmesini sağlayacak, aynı yukarıda gördüğünüz gibi.
bu işlem de bittikten sonra iki yaprağın arasındaki geçiş için bu yaptığımız 3 adet kahverengiye bağlama zincirlerinden ikincinine bir zincir daha çekip başka bir şey yapmadan bir sonraki yaprağa geçip aynı işlemi tekrar ediyoruz. Aslında yapması oldukça basit, anlatması da tam tersine oldukça zor bir durum.
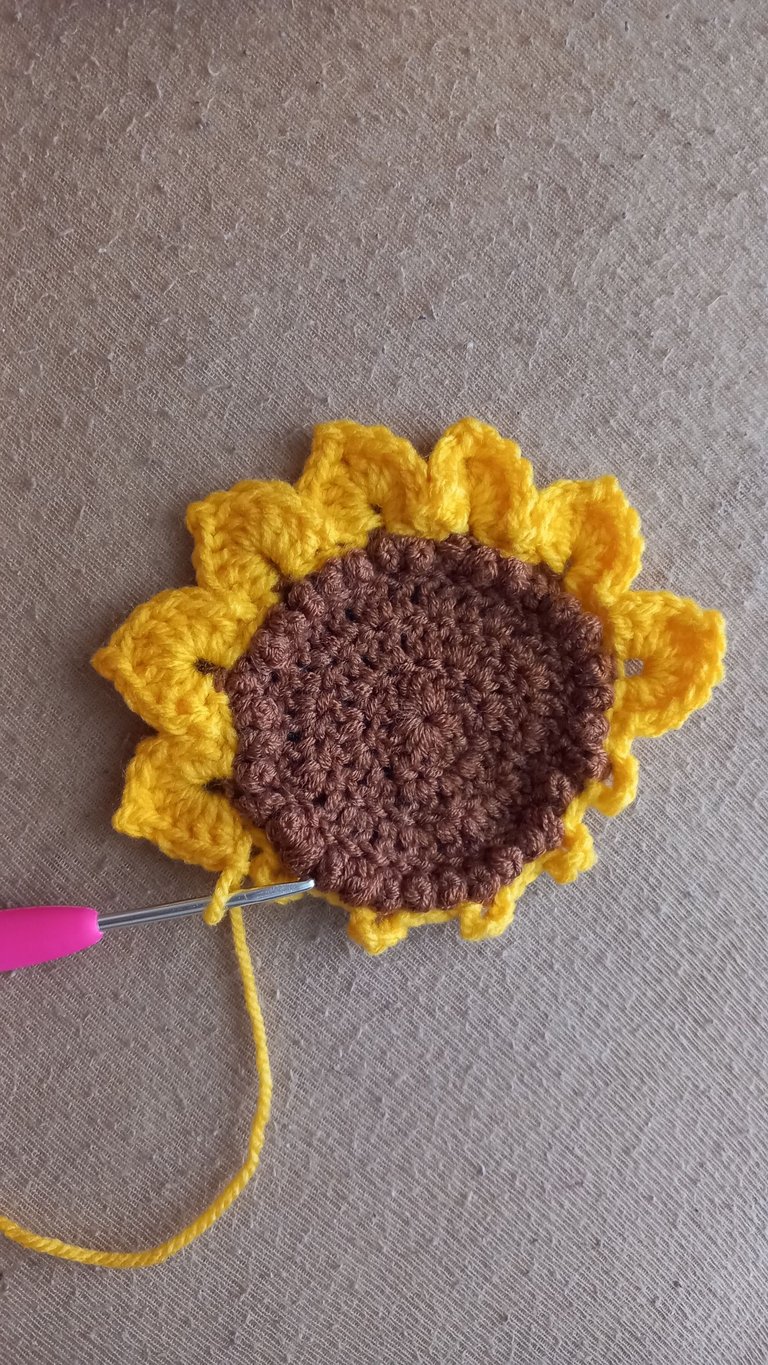
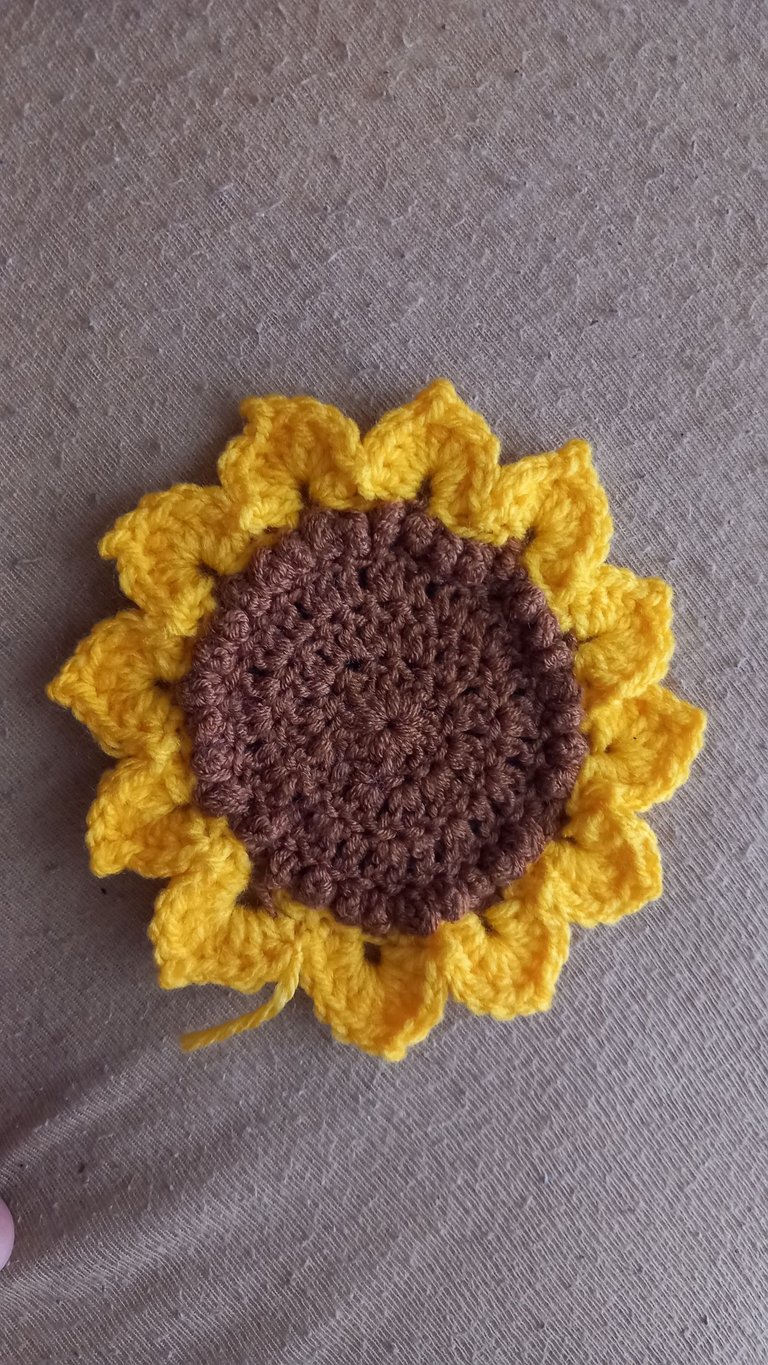

Evet, kapak fotoğrafında görmüş olduğunu ayçiçeği bardak altıkları bu kadar. Bir sonraki yazımda da alt kısmında görmüş olduğunuz beyaz ve yeşil yapraklı sepeti yapacağız. O da oldukça kolay emin olun ki. Umarım bunu beğenmişsinizdir ve bir yerde yapar ve kullanırsınız. Yaparsanız bana mutlaka gösterin olur mu? Çok sevdim ben bunları.
Sonra görüşmek üzere. Kendinize dikkat edin, sağlık ve sevgiyle kalın ve lütfen unutmayın ki;
Bu dünyada sizden başka bir tane daha yok.

All of my content is written in Turkish first and then with the help of translators and dictionaries below translated in English.
P.S. If you know English AND Turkish, I do that too... If you see a translation discrepancy that was on purpose. I did think this is as proper as I could do. Because there are many differences between these languages.
Not: Hem Türkçe hem de İngilizce biliyorsanız, ben de biliyorum... Eğer çeviri farklılığı görürseniz bunun bilinçli olduğunu bilin lütfen. Bunu yapabileceğim en uygun şekilde yaptığımı düşünüyorum. Çünkü bu iki dil arasında çok fazla fark var.
https://www.seslisozluk.net
https://www.deepl.com/translator
If I'm ever going to learn crocheting, it would be because of beautiful works like these. I'm super glad this took your mind off things a bit, friend. And I hope you find peace within yourself sooner than later. Lots of love.💜🫶🏾
thank you so much dear. I hope one day you start, I saw its help A LOT. And I hope for that too but you know, it is not always easy to live what you fear of. But at the end of the day I have him. That's all I need.
Thank you so much. 💗🫰🏻
Discord Server.This post has been manually curated by @bhattg from Indiaunited community. Join us on our
Do you know that you can earn a passive income by delegating to @indiaunited. We share more than 100 % of the curation rewards with the delegators in the form of IUC tokens. HP delegators and IUC token holders also get upto 20% additional vote weight.
Here are some handy links for delegations: 100HP, 250HP, 500HP, 1000HP.
100% of the rewards from this comment goes to the curator for their manual curation efforts. Please encourage the curator @bhattg by upvoting this comment and support the community by voting the posts made by @indiaunited.
Congratulations @bemier! You have completed the following achievement on the Hive blockchain And have been rewarded with New badge(s)
Your next target is to reach 25000 upvotes.
You can view your badges on your board and compare yourself to others in the Ranking
If you no longer want to receive notifications, reply to this comment with the word
STOP