Color grading silhouette footage can be a challenging task, luckily using DaVinci Resolve, a powerful and comprehensive post-production software, can make it much easier. Here are a few tips on how to color grade silhouette footage in DaVinci Resolve and tackle the challenges involved.
Understanding silhouette footage
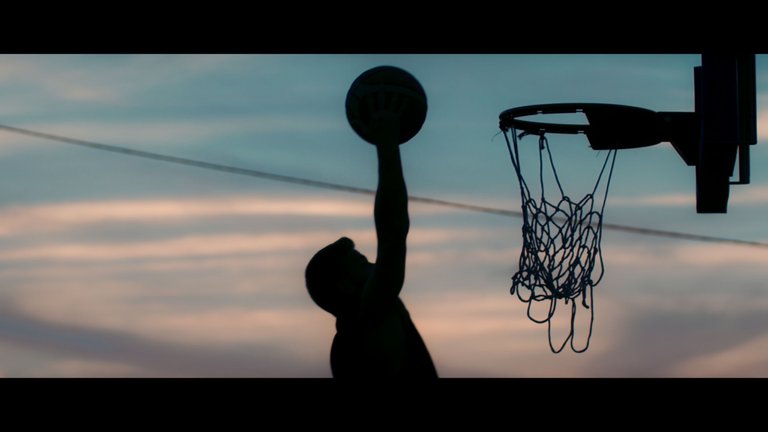
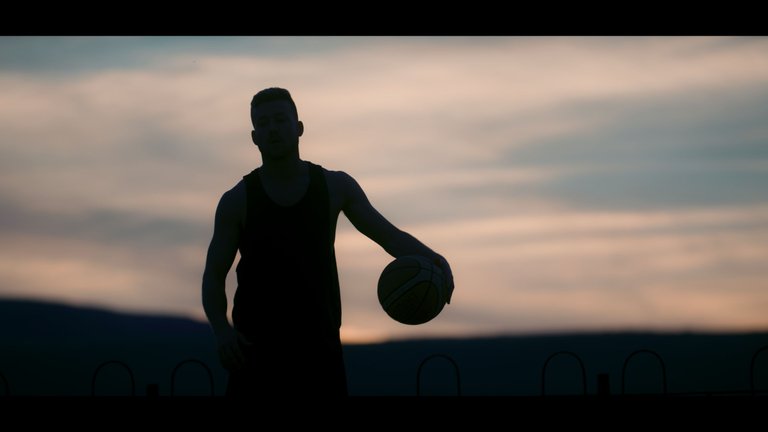
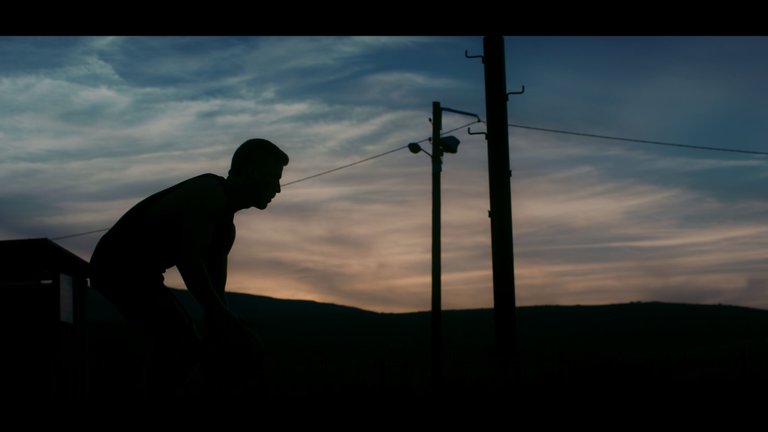
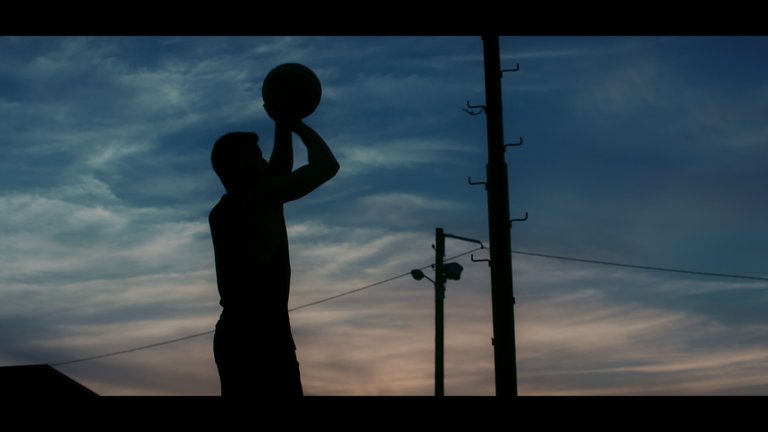
Silhouette footage refers to shots where the subject is in front of a bright background, creating a clear outline around the subject and effectively making it almost black. These types of shots can be challenging to color grade as you want to keep the subject as the main focus but the background not too distracting.
Color grading the subject
Once the subject is standing out, you can begin color grading. To give the subject more depth, you can adjust its saturation, hue, and luminance values. In DaVinci Resolve, this can be done using the Color Wheels, the Curves node, or the Color Balance node.
Adjusting the background
Next, you can adjust the background of the shot. You can use nodes or any other grading tool to change the background color to match your desired look. To make the subject pop, consider using a contrasting color for the background.
Create contrast
One of the biggest challenges of color grading silhouette footage is creating contrast between the subject and background. To achieve this, you can use DaVinci Resolve's advanced color grading tools such as the Color Balance node, Curves node, or Color Wheels.
Fine-tune the shot
Finally, you should fine-tune the shot by making any final adjustments. You can also use the LUTs (look-up tables) in DaVinci Resolve to add a unique look to your footage.
In the end, color grading silhouette footage can be challenging, but it's a task that can be made easier with the right tools and techniques. By using DaVinci Resolve, you can take full control of your color grading process and achieve the desired look for your footage.

Good pic 📸👌