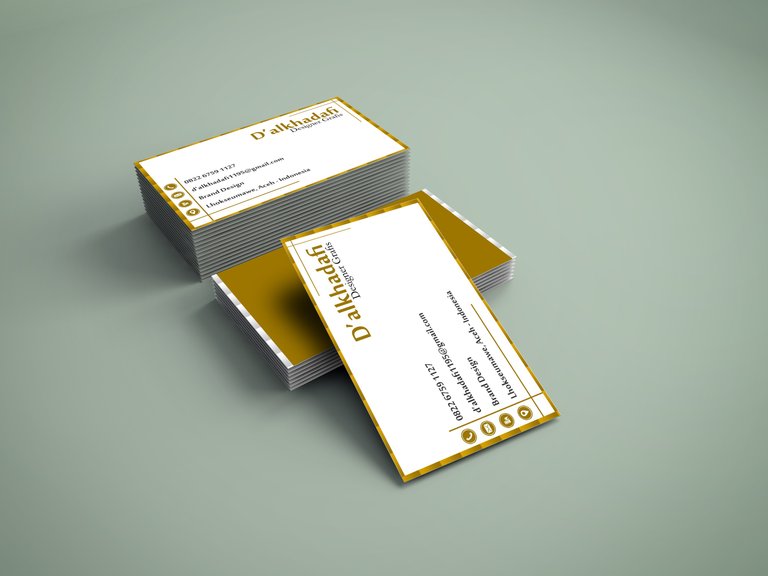
A Name Card is a card that conveys information about a company or individual that is submitted only as a reminder in a formal introduction. In general, business cards contain company names (including company logos) and postal addresses, telephone numbers, fax and e-mail numbers, websites. Traditionally, many business cards that use black text with a white background, but now many business cards use and apply striking aspects of visual design. Business cards are a must for a professional, and this time we will make a simple business card using the "COREL DRAW" application.

alright, we just try to make it.
1.open the corel draw application, for those who have not installed it can find the file on the internet, I recommend using COREL DRAW X7, but if you use another version it is also fine, because the steps will be the same.
2.After the welcome screen appears, select the new document and click the OK button

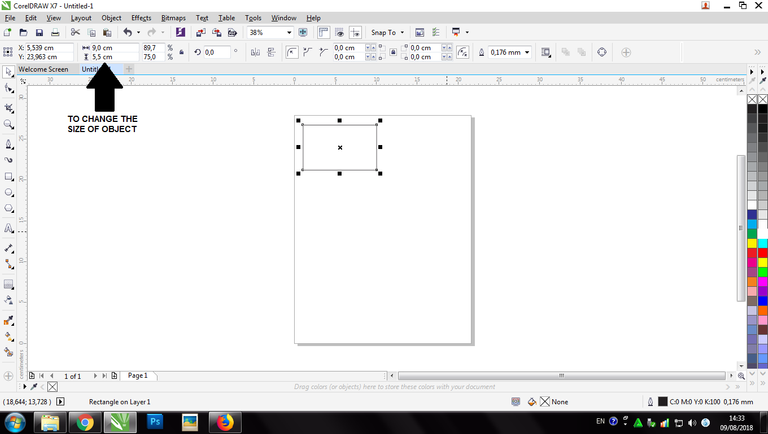
3.After the blank page appears, select the rectangle tool and make a rectangle.

4.before changing the size of the object, first make sure your drawing units are in centimeters.

then reactivate the object you want to change and change its size to length 9 cm and width 5.5 cm. (standar size)

5.Give color to your liking, but for this time I want to use white as a basic from a business card, if you want to color you can choose your color in the color bar.
6.after giving color, we only need to type the required information such as name, telephone number, email, and address. how to make all the info, we just need to use the tool text and right click.

7.After that arrange the text object into the box, the way to arrange it is free, you are free to be creative with its placement.

8.to beautify the design, give a few ornaments and icons that are appropriate, for the icon can be directly searched on the internet. then arrange them as good as possible.

Well now the business card has been made, to save your files just do the following steps.
- select the file

- select save

- specify the name and where the file will be saved

- click save
finished
okay maybe just that for this time, see you later and peace