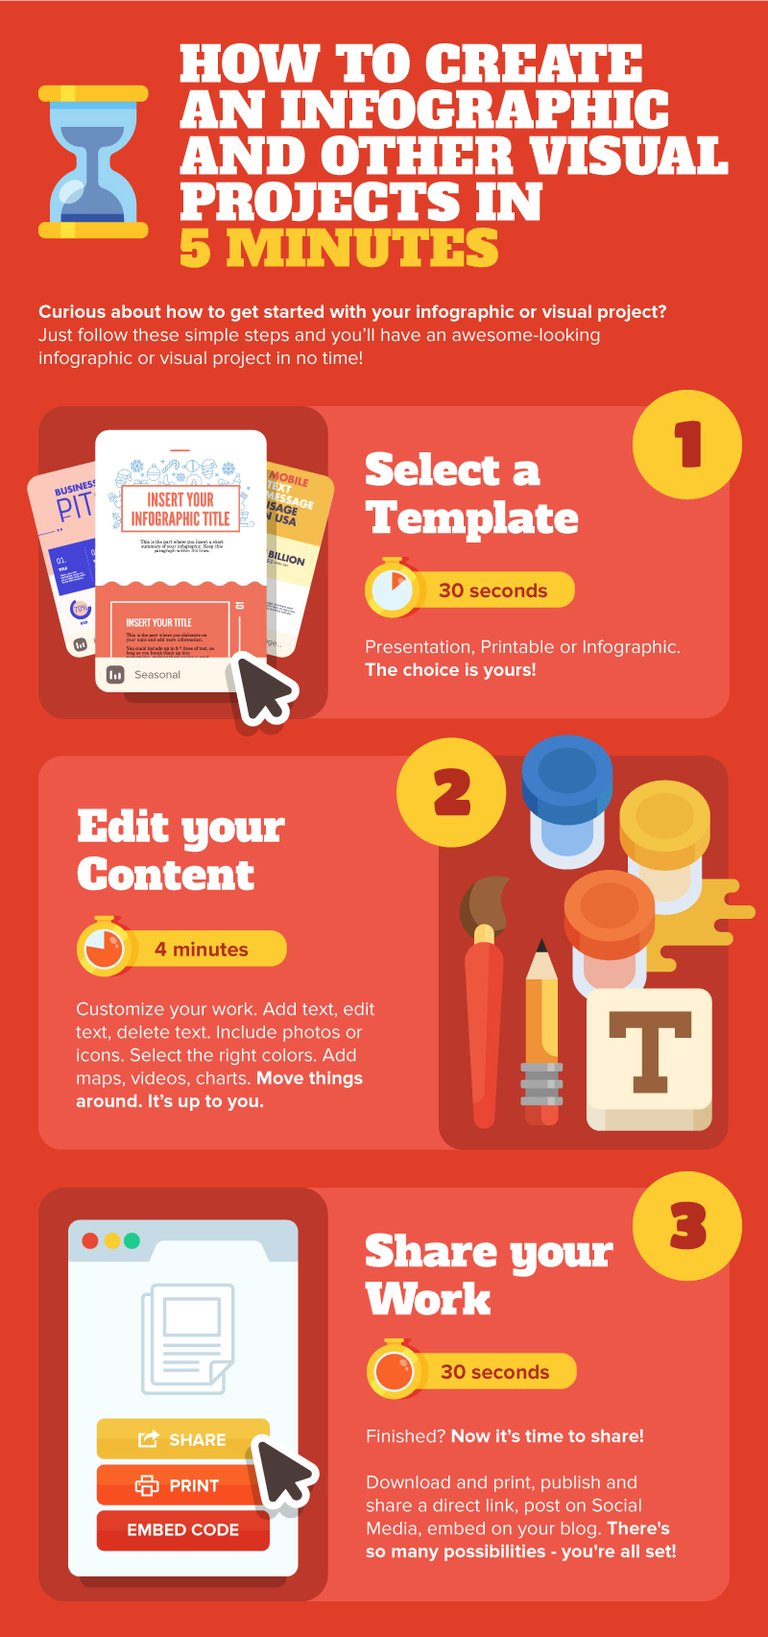
This article can help you if you are worried about creating infographics or visual projects from scratch. In this post, you will learn how to create an infographic and other visual projects in five minutes using Piktochart.

Step 1: Log in and select a theme
First, begin by logging in to create.piktochart.com. You will first see the Piktochart dashboard. This is where you can choose from three different visual formats – infographics, presentations and printables.
Select Infographic.

For more info on the various types of visual formats, check out this link.
Browse for an infographic template layout that stands out to you. You can narrow down the categories by using the search tool.

Mouse-over the template that you want and select Use Template.

Step 2: Configure your canvas
First, title your infographic at the top of the editor. You’ll notice that the canvas is set up with multiple blocks. You can arrange each block depending on your needs.
To add a new block, select Add Block ( + ).
To delete a block, select Delete Block ( x ).
To duplicate a block, select Clone Block ( = ).
To change the order the blocks, click Move Up or Move Down (arrows) accordingly.

To set the size of a block, select Settings and change the sizes accordingly.

Step 3: Edit your content
Edit the text of your content by double-clicking into a text box.

To change the font types, size, alignment and colors, use the editing toolbar.

To add more text boxes, click on Text on the left panel and select the desired type.

Step 4: Add graphics via drag and drop
You can add shapes, lines, icons or photos to your content. Select Graphics on the left panel.

Then, choose a category and browse for the icon or photo you would like to add.

Or search for icons using the search toolbar.

Once you find an icon, drag and drop it onto the chosen canvas block. Use the tools on the toolbar to configure your icon size and color.
Step 5: Insert data visualization—charts, maps or videos
To insert data visualization tools, select Tools on the left panel.

To insert a chart
Select Charts. Then select the chart type on the left panel as indicated below.
To add data, you can:
manually input data on the spreadsheet,
import data from a locally saved spreadsheet, or
insert dynamic data via a Google Spreadsheet link.
Then, go to the Settings tab to configure the format, legend and colors.
Finally, click Insert Chart to add the chart to your canvas.

To insert a map
Select Maps. Then select the type of map — countries, or regions — on the left panel as indicated below.
Click on Edit Map to start configuring your map.
Add your data to the spreadsheet.

To change the color of the map, select the Map and Border Color buttons.
Finally, click Insert Map to add the map to your canvas.

To insert a video
Select Videos. Insert a Youtube or Vimeo URL in the text box. Then, click Insert.

Step 6 : Save and export
To save your infographic, click Save at the top of the editor.
To download your infographic onto your local drive as a PDF or image, click Download.
To publish your infographic to the Web, click Share.

Once you have published your infographic, you can set it to public, password-protected, or private.
To directly share your infographic with friends or on social circles, either copy the listed URL or click on the social media share icons. You can also share via direct email, an export to other apps, or embed via HTML.
You can even present your infographic as slides via Presentation Mode!


And that’s it! That is all it takes to create an infographic with Piktochart.
If you need more information or support, check out our Resources page for Piktochart videos, ebooks, and other tips on infographic creation.
You can also use Piktochart to create visuals other than infographics. Click to check them out!
Happy Piktocharting!
https://piktochart.com/blog/how-to-create-an-infographic-and-other-visual-projects-in-5-minutes/
Hi! I am a robot. I just upvoted you! I found similar content that readers might be interested in:
https://piktochart.com/blog/how-to-create-an-infographic-and-other-visual-projects-in-5-minutes/
Hello, Thank you for the vote!