This is still a bit of a prototype, as I have no design experience when it comes to earrings ( so feel free to modify them if you happen to have such expertise ;) )
I imagine the hole for the hangers could be relocated, and the balance might be a bit off, but that's all I can think of.
Now, on to the fun part, designing these "beautiful" ( XP ) fractal earrings !
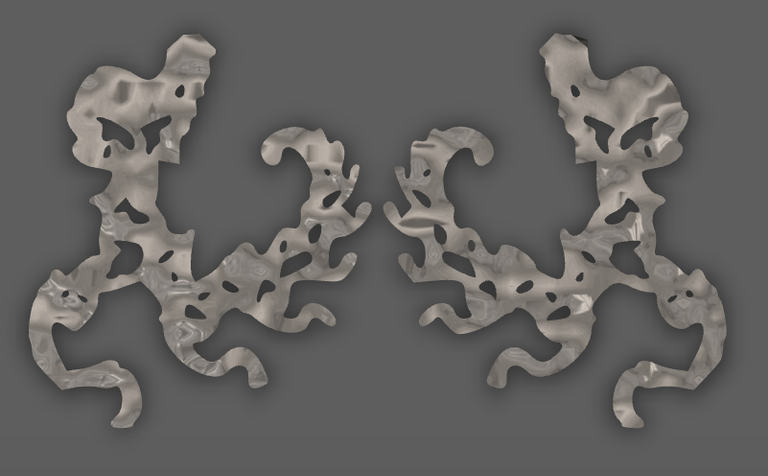
This is really much more of an experiment with extracting interesting patterns from the generated fractals than it is a jewelry design, so bear with me even if you don't like the parts I choose to keep XP
Getting the fractal
using the fractal generator, I generated a Phoenix Fractal that I thought looked nice.
Here's the fractal in question, and the settings I used are visible underneath it:

And here is a better image of it:

Extract relevant pattern into SVG using pngtosvg
I have a lot more detail in my last post on the specifics of why I do certain things, but here's the gist of it:
I upload the image into pngtosvg and play around a bit, till I find the combination of number of distinct colors and Simplification ratio that gives me something that pleases me (yep... utterly subjective ;) )
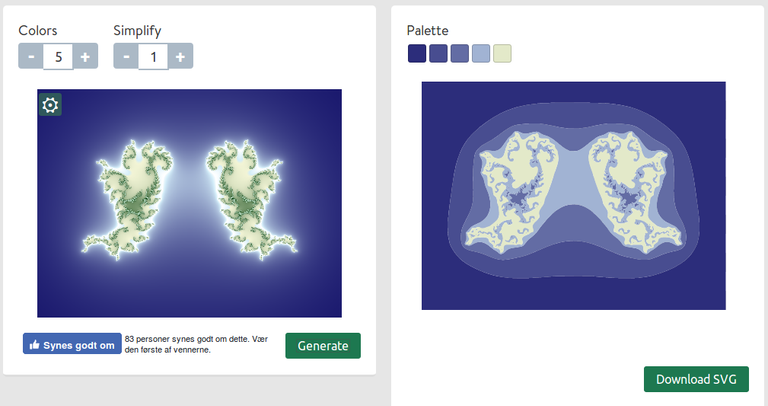
Then I begin recoding the colors to see what jumps out, and remove bits I'm sure I don't want
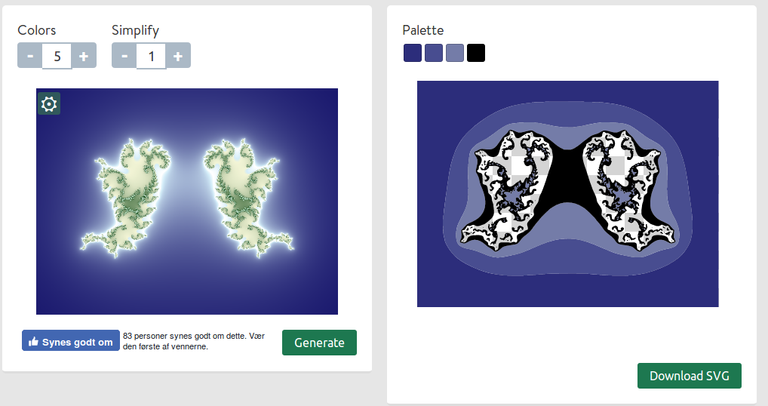
And finally I end up with the design I want to keep
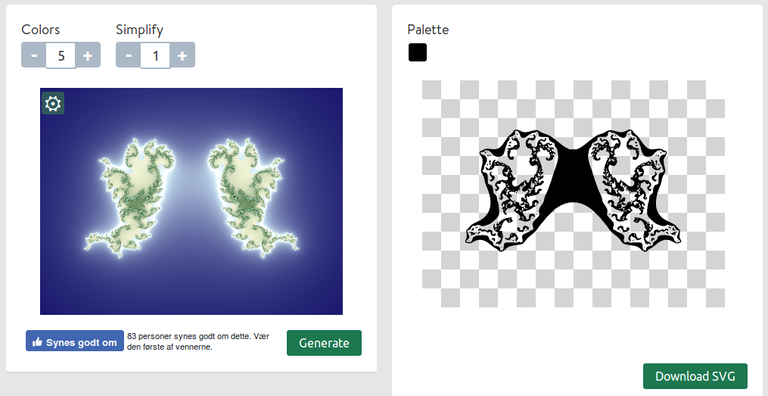
Clean it up in Vectary
First, I remove the outer contour, which I won't need:
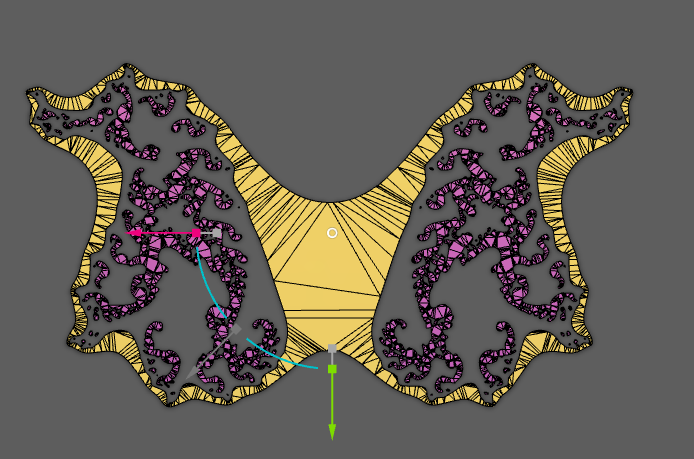
Then, I select the interior that I think looks interesting, using a combination of selecting 2 vertices on both parts I want to keep, and using the Select All button to select all connected vertices.
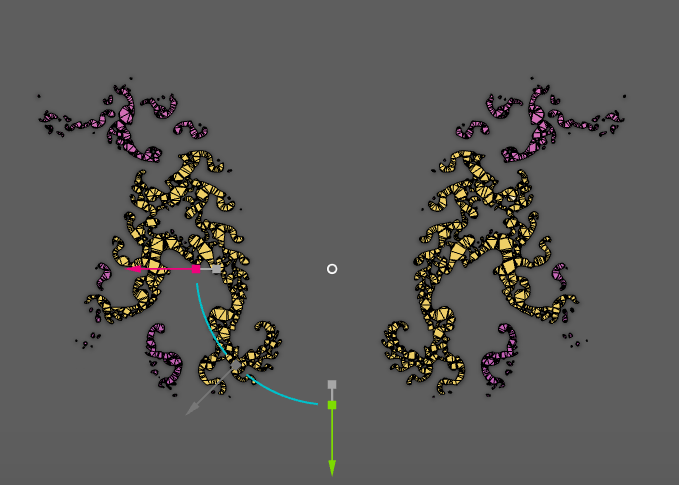
Then, I use Inverse selection to get everything I DON'T want instead
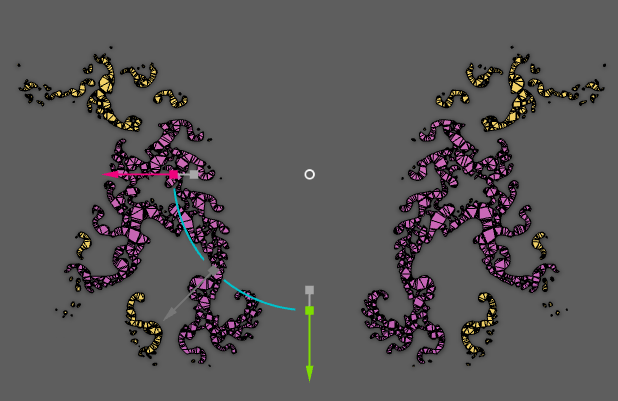
And delete it.
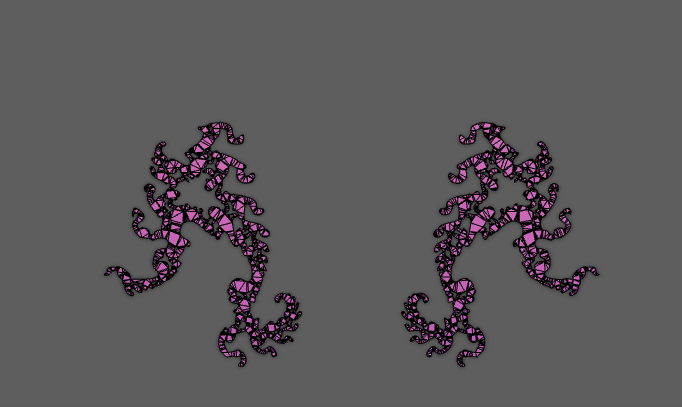
Cut off parts of the model
These would make for some very bizarre earrings... especially since there's not a decent point of attachment.
So, I select the upper, messier fractal pattern, because I quite like how the smaller part looks kind of like a person with a tail (if you stretch your mind just right. Don't worry if you don't see it. It's probably a good sign vis a vis your mental health not to see the same delusions as me XP )
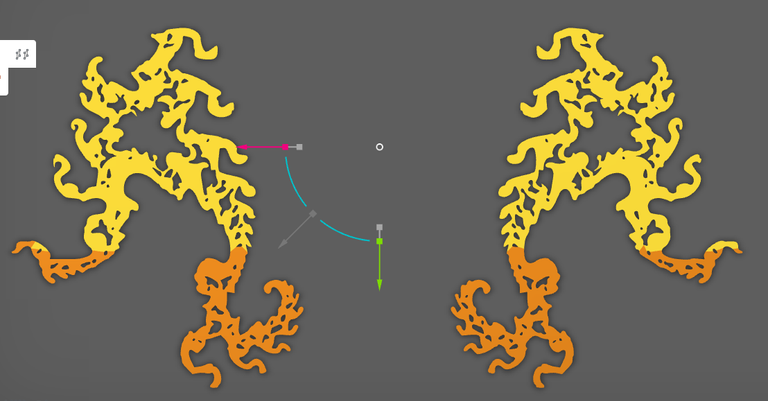
And delete the top part.
I then use the select hole ( ) tool, which opens up the option to fill in the hole.
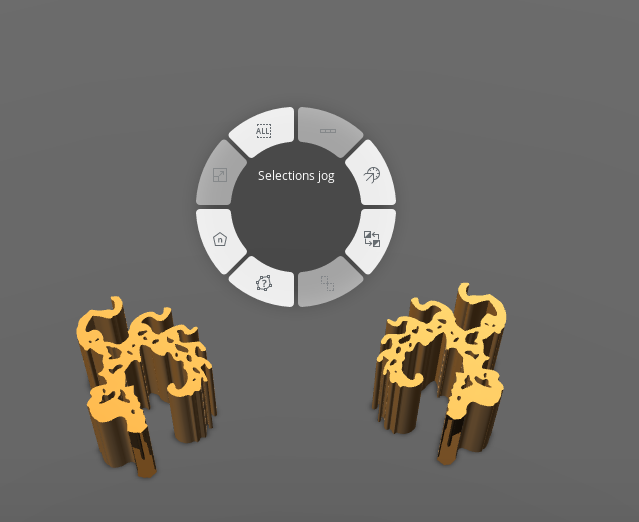
I use that option to close the holes, and then it's time for some Mesh Tool action
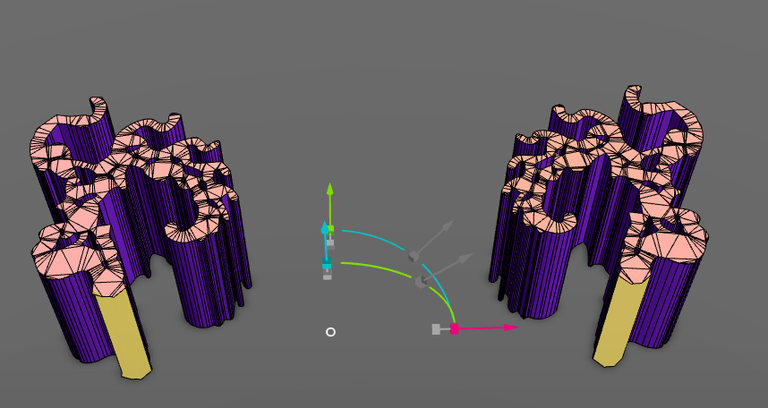
The Mesh Tool lets us triangulate the new faces, to make them properly connected to the vertices around them.
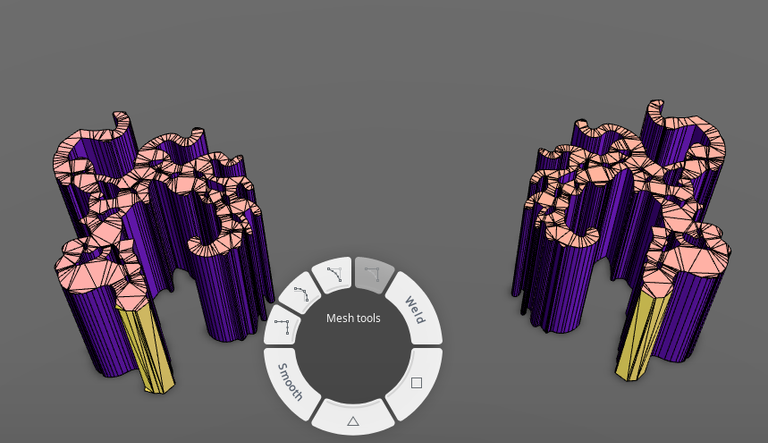
Then, we just need to resize it a bit, and voila !
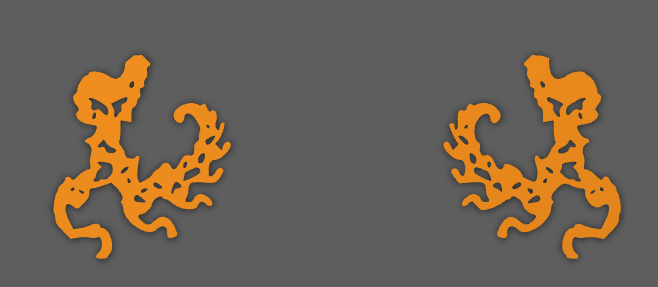

I think my next project will be to play around with the Newtonian Fractal... it looks sooo preeetttyyy

Oh, and in other good news Vectary has featured my last design post, the one where I explain most of the process I used here, on their Facebook page :)
Apparently, I'm one of their power-users.
Yay !
model available on Shapeways for purchase (in case you've fallen heads over heels for it ;) ),
MyMiniFactory for downloading/printing,
and Vectary for customization.
All pictures and models, as always, are released under CC-BY-SA 4.0


Great! Elegantly explained. Keep it up!
very nice & practical idea! ;)
Hi @pbock!
Your post was upvoted by utopian.io in cooperation with steemmakers - supporting knowledge, innovation and technological advancement on the Steem Blockchain.
Contribute to Open Source with utopian.io
Learn how to contribute on our website and join the new open source economy.
Want to chat? Join the Utopian Community on Discord https://discord.gg/h52nFrV
Join our Discord Channel to connect with us and nominate your own or somebody else's posts in our review channel.
Help us to reward you for making it ! Join our voting trail or delegate steem power to the community account.
Your post is also presented on the community website www.steemmakers.com where you can find other selected content.
If you like our work, please consider upvoting this comment to support the growth of our community. Thank you.