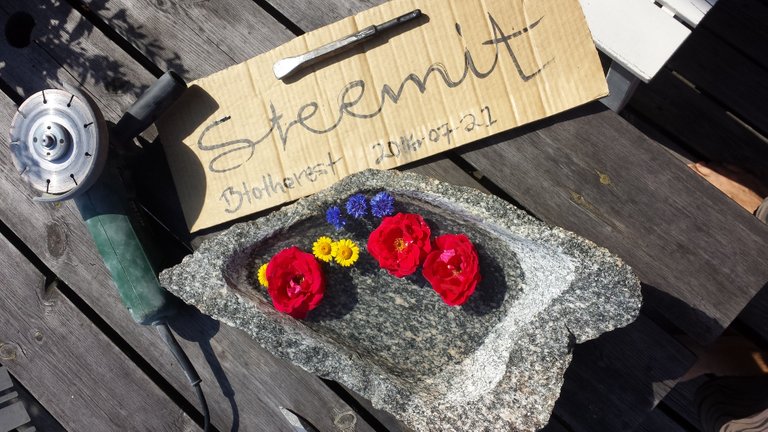
Obligatory finished picture first

First off, i had to find some good stones to work with, I didn't want any round shapes but a really rough feel to it. So I had to start by splitting the +400kg stones.

I started a fire that i kept alive for a few nights in a row. Heating up one side and then throwing cold water on thee opposite side of the stone. The temperature difference will crack the stone in bigger slabs (potential bowls) than if I threw the water directly at the hottest place.

Cutting time. Invest in a good diamond 'cutting wheel' if you plan to cut stone. Also make sure to cover your eyes, ears, nose, mouth etc, the stone-dust is terrible. It will mess up your breathing so watch out!

Cut deep lines 1cm wide , then do the oposite way so you get small squares, then you chisel them away.

After two layers of doing this, I start to @smooth the surface down more and more.


It took a lot of time to get it to stand by it´s own. Trial and error, trial and error..

The tools used besides a hammer and heavy duty sanding paper

Aaaaand, it´s done!

Vote If you´d like to see more projects that I'm working on!
Great skillz there for sure. These raspberries right here look really interesting set like that, very cool...nice post.:)
wow great work, its not for me.. I would totally lose a finger or two here, but for handy people this would be a really cool thing to make. Is there a way to avoid cracking it? Like how deep should you not go ?
It´s a challenge getting it thin without risking to crack it, mostly it´s about the angle when your using the chisel and hammer. All the finer work smoothing it out is with the cutter before sanding, and with this method you can go pretty thin. Thinnest area on this bowl/plate is just half a centimeter thick or around 0.18 inches. But that is a bit too thin considering it´s such a big one, it´s about 5kg..
This is absolutely amazing!!
very nice articel
meep