This Is Where I Ended Today

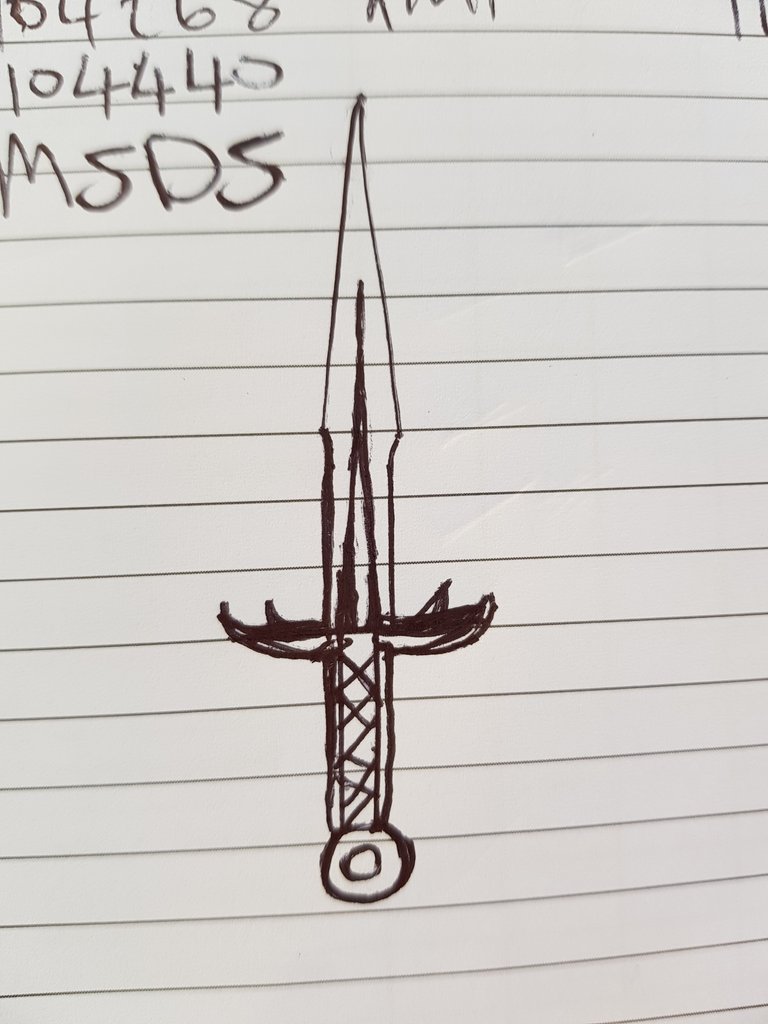
It is funny to think this all started while while I was waiting at a stop and go at roadworks. I sat there in the car waiting for the light to go green and I just started drawing and it just sort of came together. If you read my previous post you would have seen that I drew the design over on an A4 paper and my brother then drew it on the computer.
Here is a short video of how most of the work was done, it is shoddy editing at best, but I'm getting there. This was edited at 11PM on a Sunday night, so cut me some slack please..
The Process, Prep and Grinding
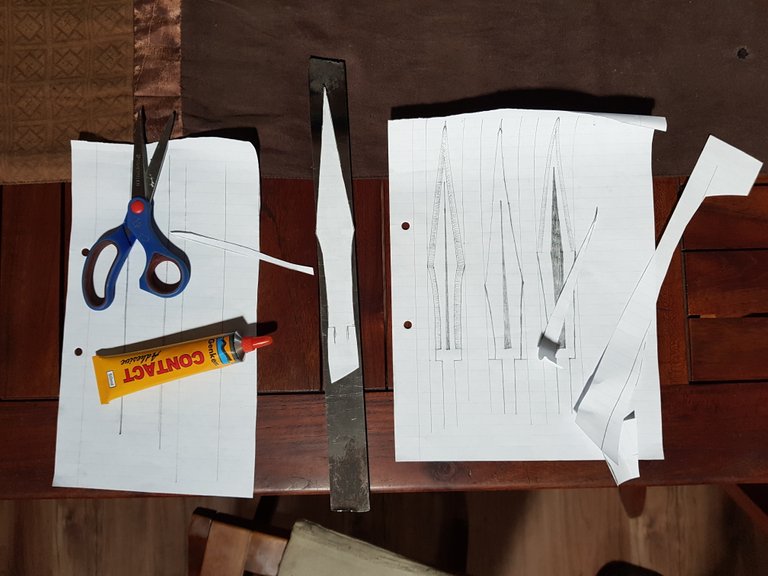
We didn't have any ink in the printer so I couldn't print the sketches that was made on the computer (a bit of time wasted there). So I ended up tracing the original sketches onto another paper, cut it out and stuck it onto the piece of steel.
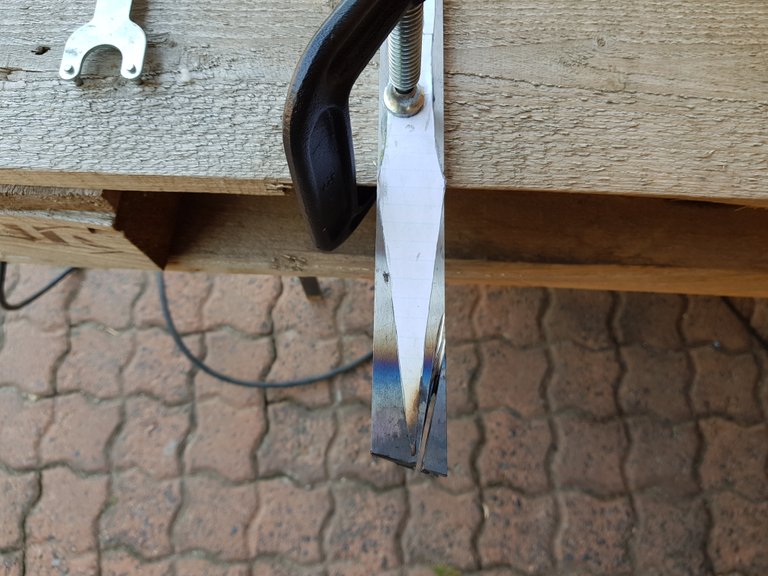
Then it was off to the makeshift workbench where we clamped the steel to a wooden pallet and started grinding. I know putting hot steel on wood is not the safest way to go about it, trust me the steel gets pretty hot, I have a few burnt fingers to prove it. But, we had to make do with what we had. The first few cots were easy enough as they were mainly straight cuts. The problem was I had to work with the big grinder which I'm quite inexperienced with and I have never really worked with steel. One wrong cut at this stage and I would have to make the already narrow blade even narrower.
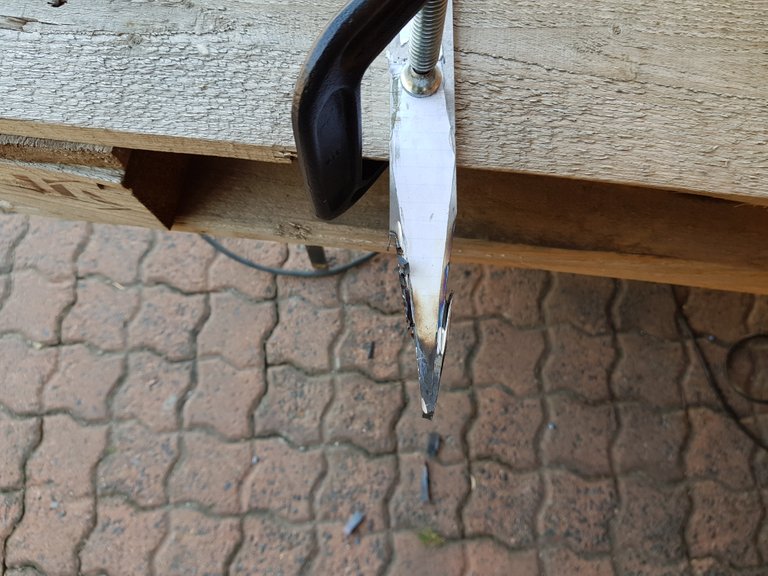
After fifteen minutes of semi careful cutting this was the unsightly result. At least I sort of managed to stay outside of the lines even though the paper started catching on fire and peeled away.
Always remember to protect yourself, wear the correct PPE (Personal Protective Equipment).

For the curved part of the blade I had to try cutting it a bit differently. I started by cutting a few grooves in the side of the blade and then cut off the excess using the small grinder. This made it a lot easier and quicker to remove material.
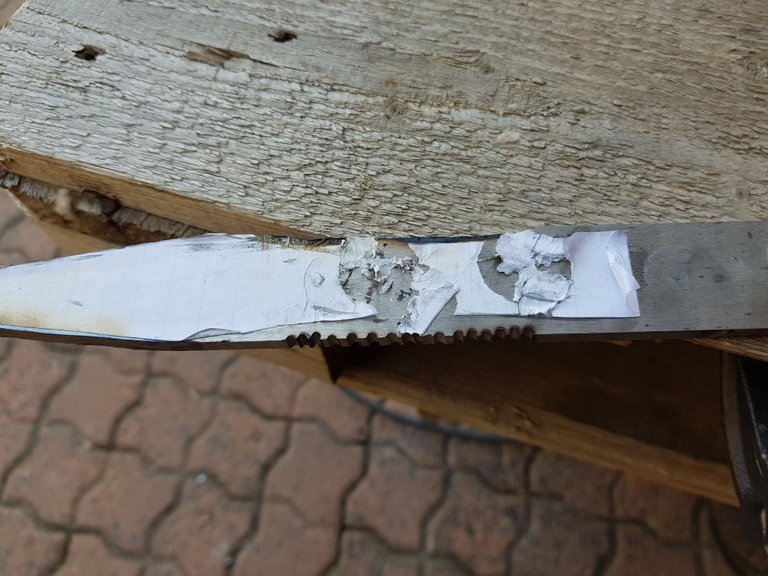
Getting There, Sanding
Here is the rough finish, I finished cutting the majority of the extra steel away and gave it a quick sanding with a sanding disk on the grinder. I cut as much as I could without getting to close to where I want the edges of the blade to be.
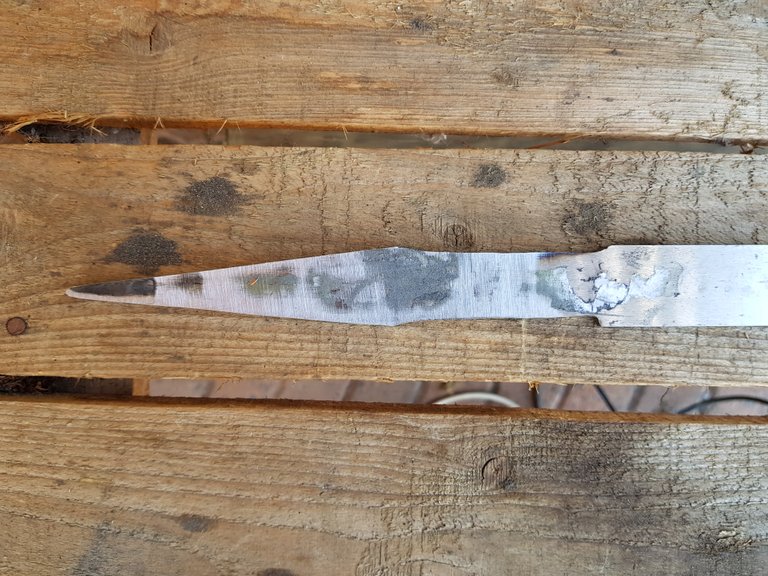
I spent the next hour or so working on refining the shape of the blade a bit on the belt sander. This was a very tedious and precise task, every time my hand would slip and I made a mistake I had to go over the section again to smooth it out. After I was satisfied with the overall shape of the blade I moved on to slowly sanding the bevel of the knife, this is the end product of approximately 6 hours of work. It mainly took so long because this is my first time working on a knife (actually my first time doing anything like this) and I want it to be as good as possible.


Very nice!
This does not look easy, your knife is definitely wonderful :)
It is still a work in progress, thanks. I hope I don't mess it up.
You're doing well. I can't wait to see what it looks like when it's done!
Wow, this is a great art. I love your attention to details.
Thanks, I'm still new to this so I/m going slow and taking my time. Don't want to mess up my first one.
Yeah man, this is an awesome project you guys are busy with :) I take it the next installment will be related to attaching the handle and some finishing off? Great job and congratulations on the ocd vote :)
I still have a lot of material to work down on the blade, after that it is the handle, guard and the pommel (which I still have to design). In the next one I at least want to finish the blade and finalize the designs so that I can start planning the next steps. Thanks for the support :)
Wow, that's pretty incredible what you created out of "nothing"!