My girlfriend's birthday is on December 26th. Quite a few times while browsing Amazon together she'd point out how much she'd like to have a tray to set up in the bath to read and relax a bit so I thought I'd get her one. But then I realized, I can make her one instead. Found some inspiration online and decided to give it a try.
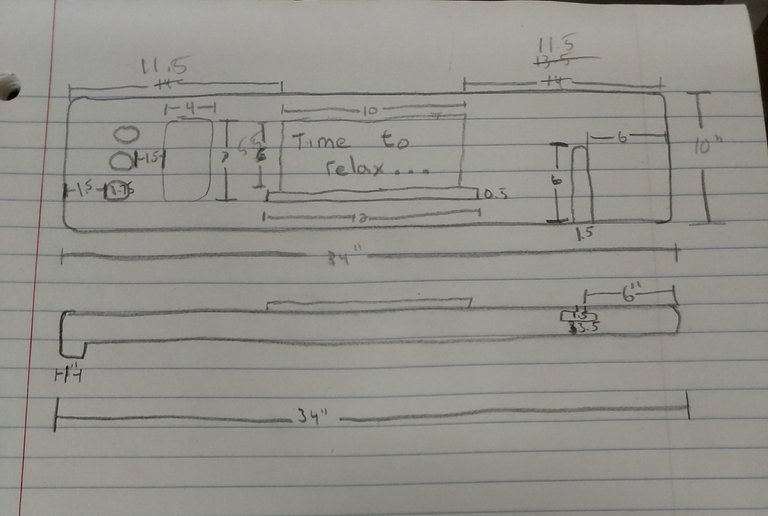
It all started with these plans
More than likely you won't be able to make any sense of what I drew but I stuck pretty close to my originally intended design. Had to make a few changes along the way but the overall I kept as close to it as I could.
I procured 3 red oak boards from one of the mills the company I work for owns. They were surfaced too thin to be used as flooring but they were still too thick to be used for what I wanted so I had to plane them down to 5/8 of an inch.
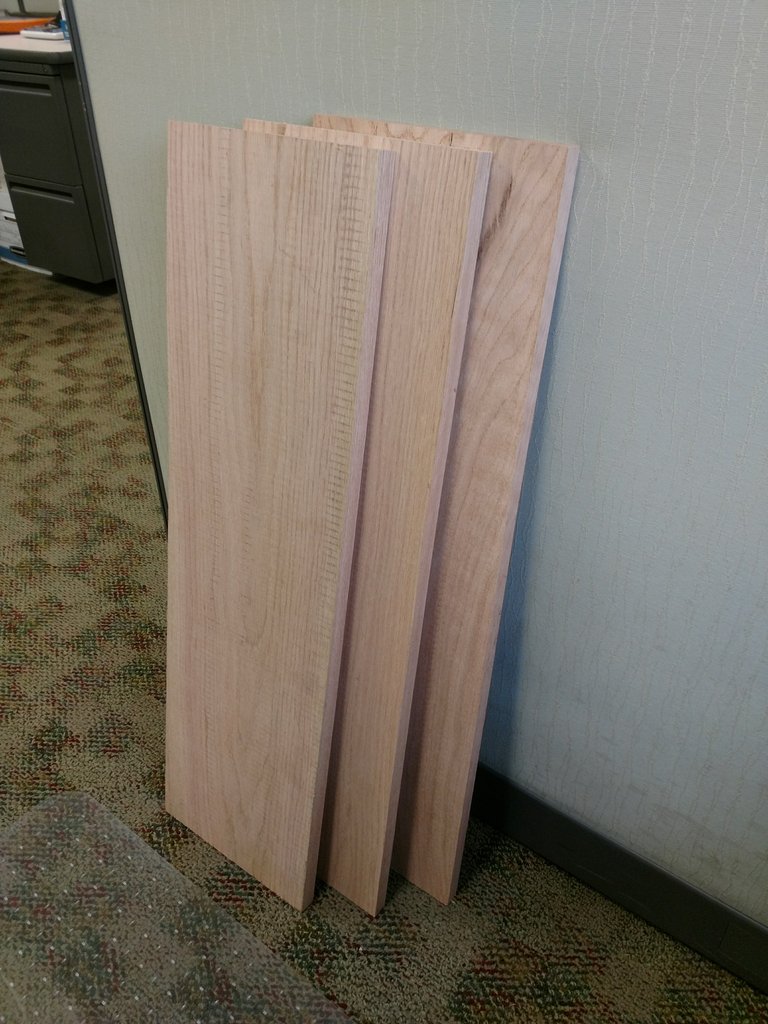
How it all began
My idea was to have 3 holes on the left hand side for teacup candles, a bigger cavity next to them for her cell phone, a flip-up tray to rest a book or Kindle and finally a slot for a wine glass. To do that I needed to keep the bottom board intact, cut a groove the width of the the base of a wine glass in the middle board and cut the candle holes, the hole for the phone and a groove the width of the stem of a wine glass in the top board then glue everything together.
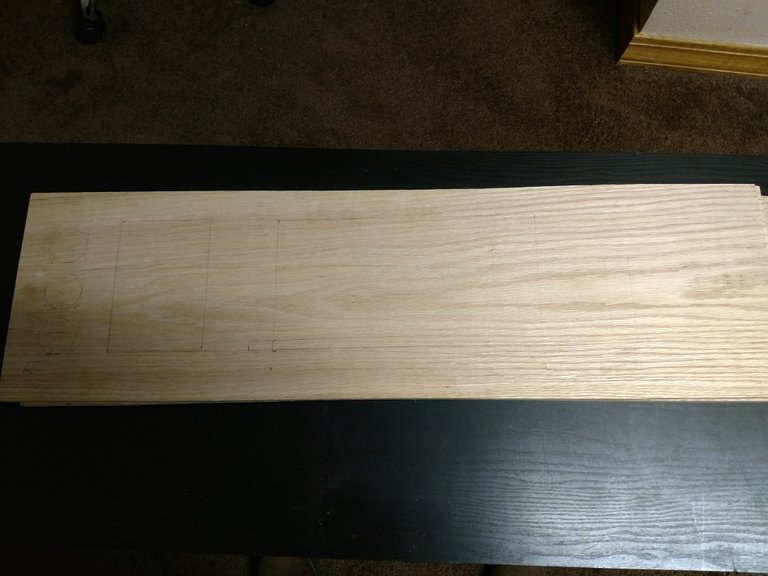
Marked the top board with the cuts I wanted to make
While I was cutting the middle board for the wine glass I decided to cut a big chunk out of the middle of the middle board to help cut back on the weight of the overall project
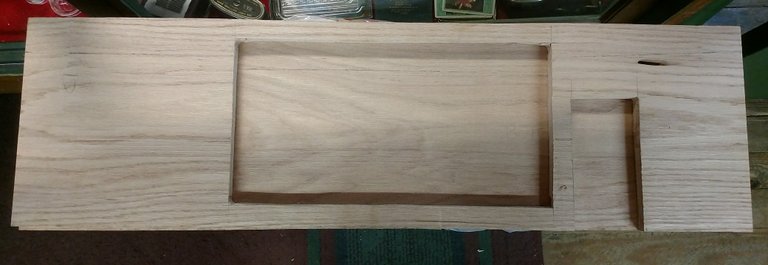
Cut middle board placed atop the intact bottom board
Next I cut the stem-wide groove on the top board and made sure everything lined up
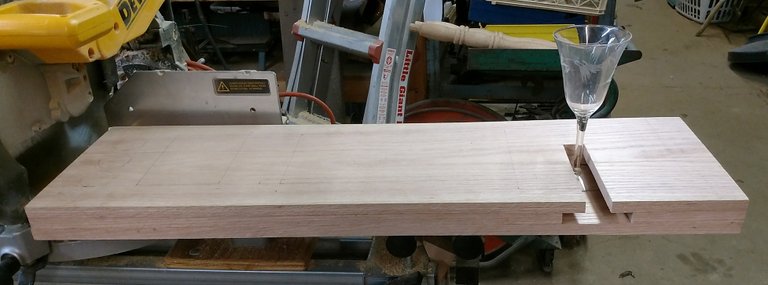
For the next step I cut a piece out of the left edge of the top board for her cell phone to fit and be easily retrievable. Since she had no idea what I was making for her I had to compare the size of my phone to hers to make sure the hole was big enough. I also cut out holes for 2 teacup candles instead of the original 3 simply to make it look less crowded.
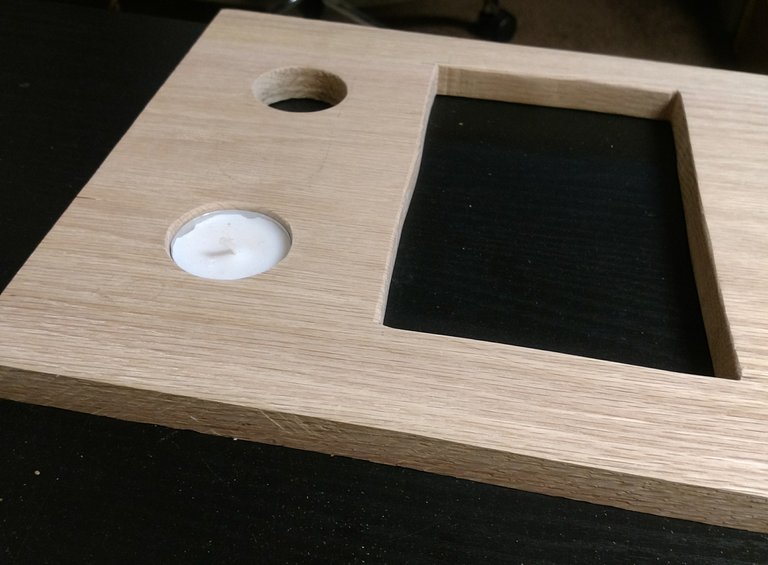
Many hours went into sanding down the inside of the candle holes so that they could be easy to remove
Now that all the holes have been cut out, it's time to glue them together
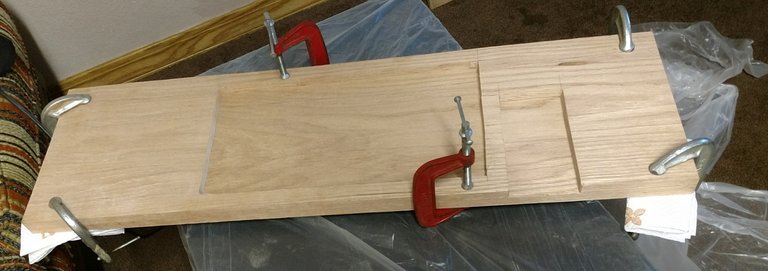
Bottom and middle boards glued together
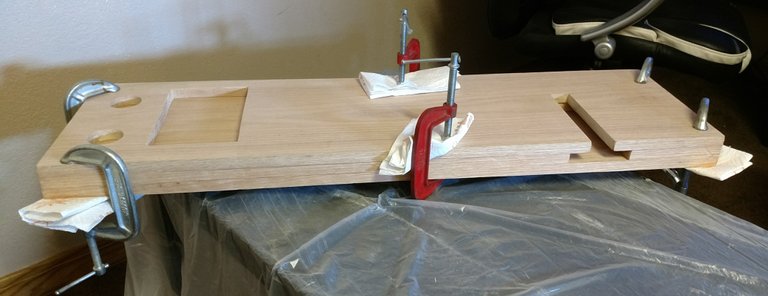
All 3 board clamped together
Of course as soon as I set the glue and clamps I realized I should have stained the middle board where the holes in the top board were so I wouldn't have too hard of a time doing them later
Once everything was glued together, I wanted to add a board that flipped up on a hinge and a support bar which would hold up a book or her Kindle so she can just lay back and read. I enlisted one of my friend's nephew who takes a wood shop class at the local high school and asked him to laser etch into the board.
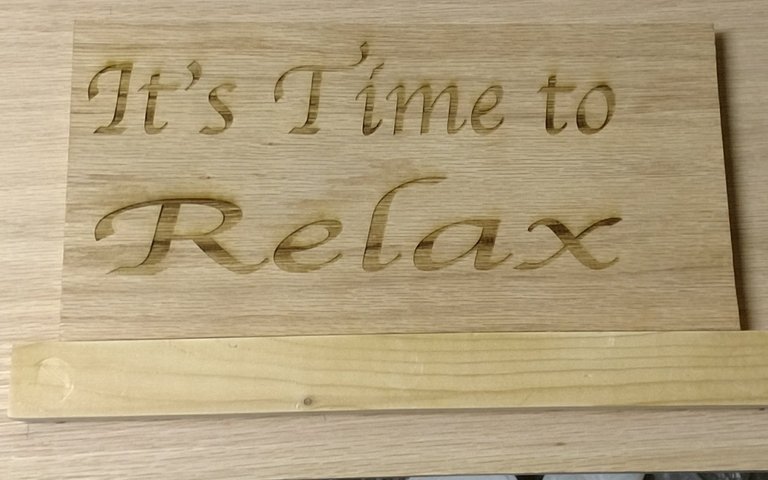
Turned out looking great and I trimmed the right edge to make it even
With all the boards glued together and the panel ready to install it was time to add handles to each ends and stain the whole thing. My original idea was to add a pair of brass handles to each ends of the caddy. Since I had ordered some on Amazon and they weren't in yet I decided to stain the bottom of the caddy first.
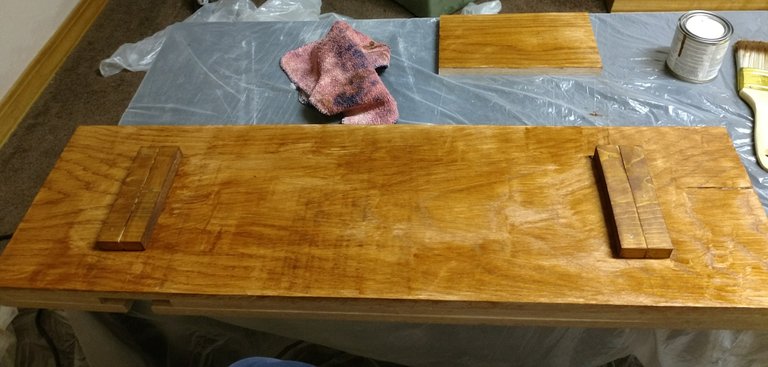
The legs prevent the caddy from pivoting or sliding left or right while in the tub. Last thing we need is for the whole thing to fall in the water
Did you know it's very important to read the item description when ordering online? I didn't pay attention to the dimensions of the handles I ordered because they looked so nice in the picture and these are what came in:

Hershey kiss for size comparison
Now I had to scramble. The handles came in the week before her birthday and I had no way to order more and get them in time. The local hardware stores didn't have anything that would work either so I decided to use rope handles but the only thing they had that wasn't a ridiculous color came in a small gauge size so I had to braid them.
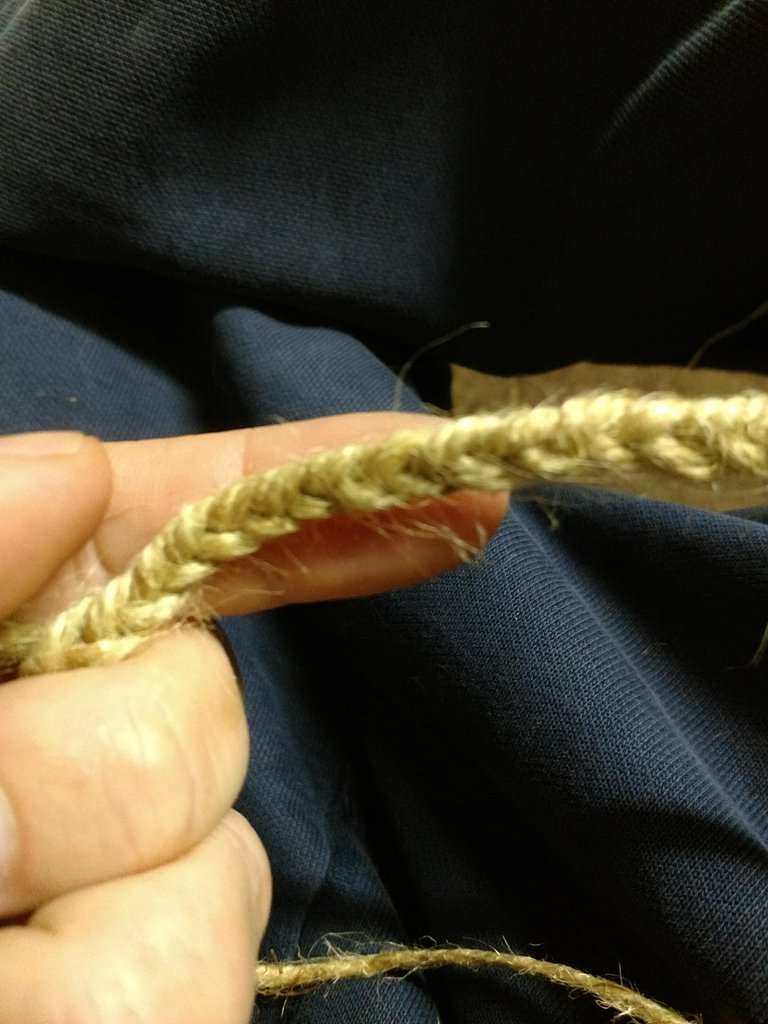
3 strands of rope braided together. Not thick enough
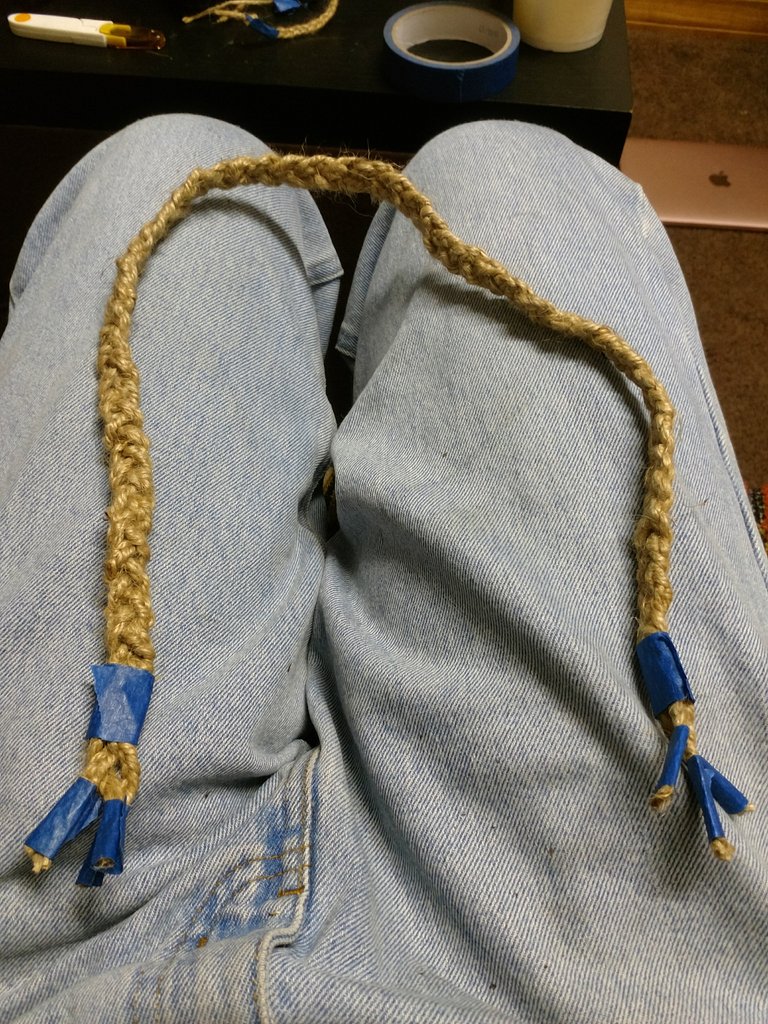
3 strands of 3 strands braided together
Because I didn't want the knots to sit against the bottom board causing it to potentially slide, I had to countersink the holes at the bottom to give them knots a recess to hide in
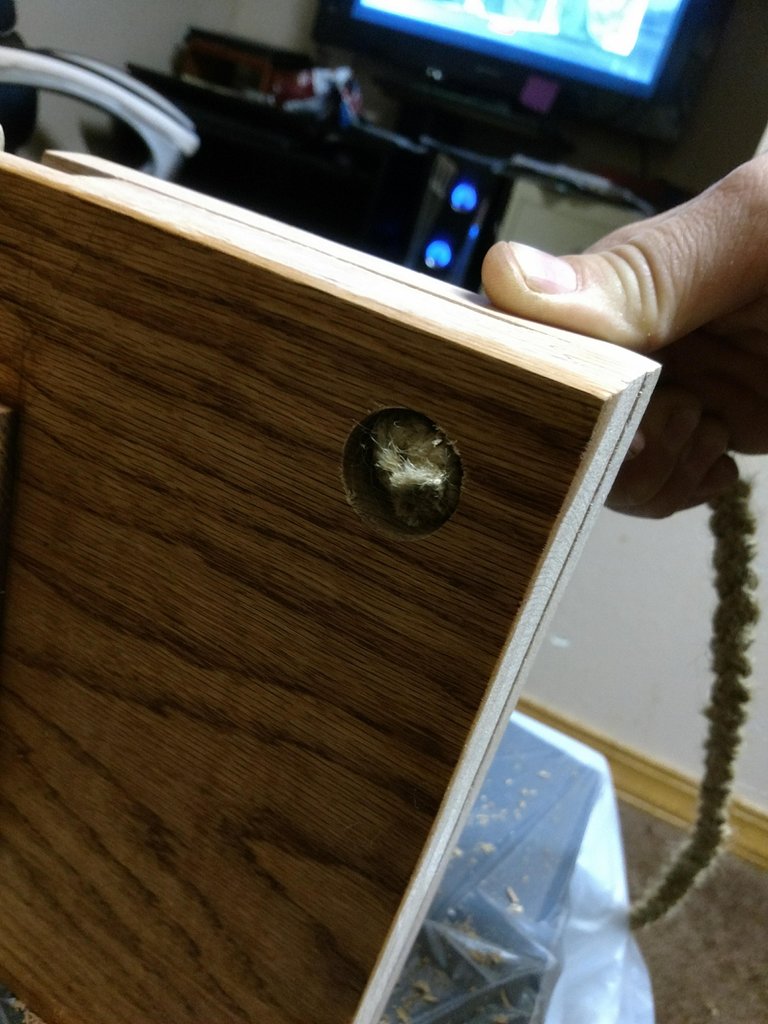
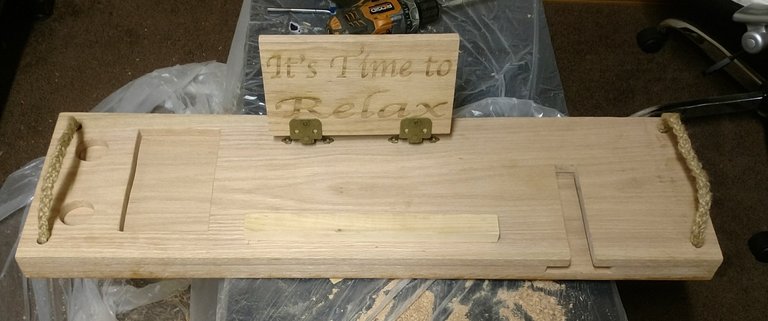
Final assembly before applying the stain
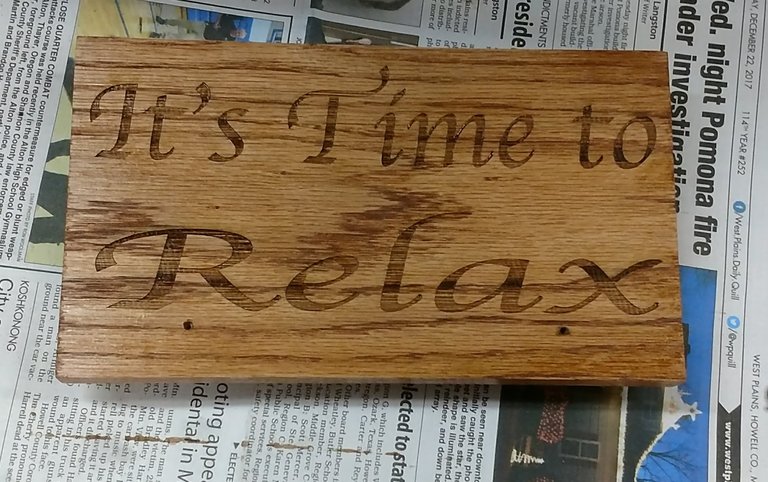
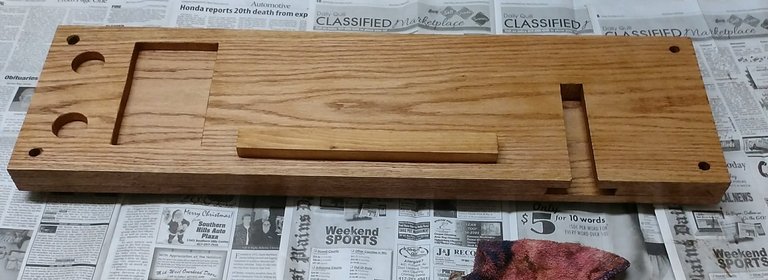
Letting it all dry
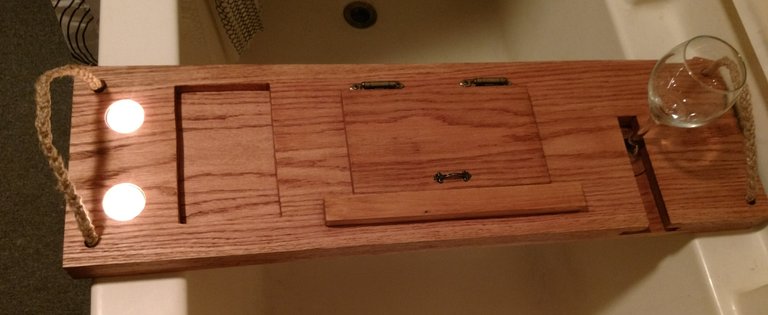
Found a use for 1 of the 12 tiny handles I accidentally ordered after all
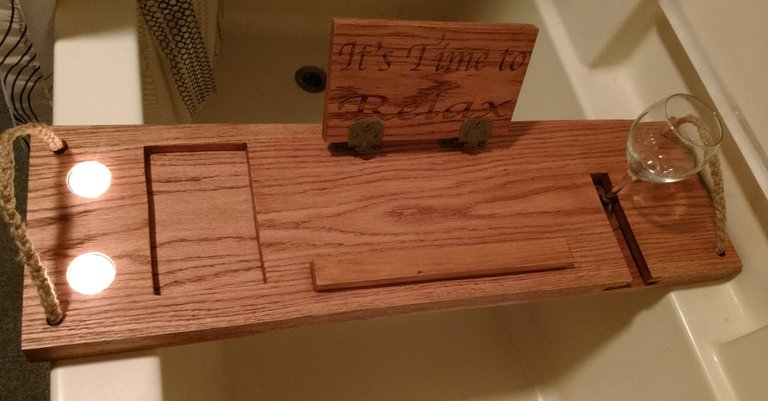
The finished product!
Overall it took me about a month from start to finish to get everything done. I could have finished it sooner if I could have worked on it daily but since it was a surprise, I had to wait until my girlfriend wasn't around to work on it so it sat there hidden for days at a time.
She absolutely loves it and that's all I really wanted but overall I'm quite proud of myself as this is only the second thing I've ever built from scratch. I plan on making more things but until inspiration strikes me with what to build next I have resumed work on stripping and refinishing an old cedar chest.
Thanks for reading through all of this! Until next time
Wow this is so cool! You did a great job! I should make one of these for my mom, I think she would love this! Thanks for sharing!
Thank you! I've got nothing but positive feedback on it so I think I'm going to continue that hobby
That is too cool! Well done! I wish my husband would make one for me. Hint hint @jasonrussell ;)
Well if he does hopefully we get to see it
This is so awesome and so sweet of you! Lucky lucky woman. I truly believe that anything hand made is better then bought. All the thought and effort that goes behind it makes it so much more valuable. It makes it one of kind. I'm sure it's something she'll cherish forever.
And great craftsmanship by the way! I flip houses and it always amazes me the detailed skills of wood workers. I'm slowly getting better at it but my forte is destroying walls and designing kitchens haha.
It just didn't seem right to spend money on something I could do myself and you're right, handmade is better any time. I don't think I'm quite ready to take on projects like redoing a house yet though lol
Congratulations @kinglouisxxviii! You received a personal award!
You can view your badges on your Steem Board and compare to others on the Steem Ranking
Vote for @Steemitboard as a witness to get one more award and increased upvotes!