Hi Steemit -
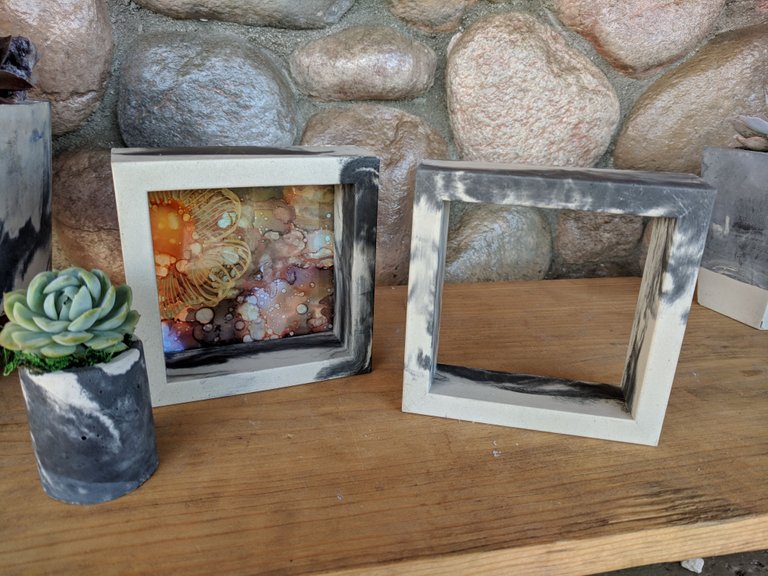
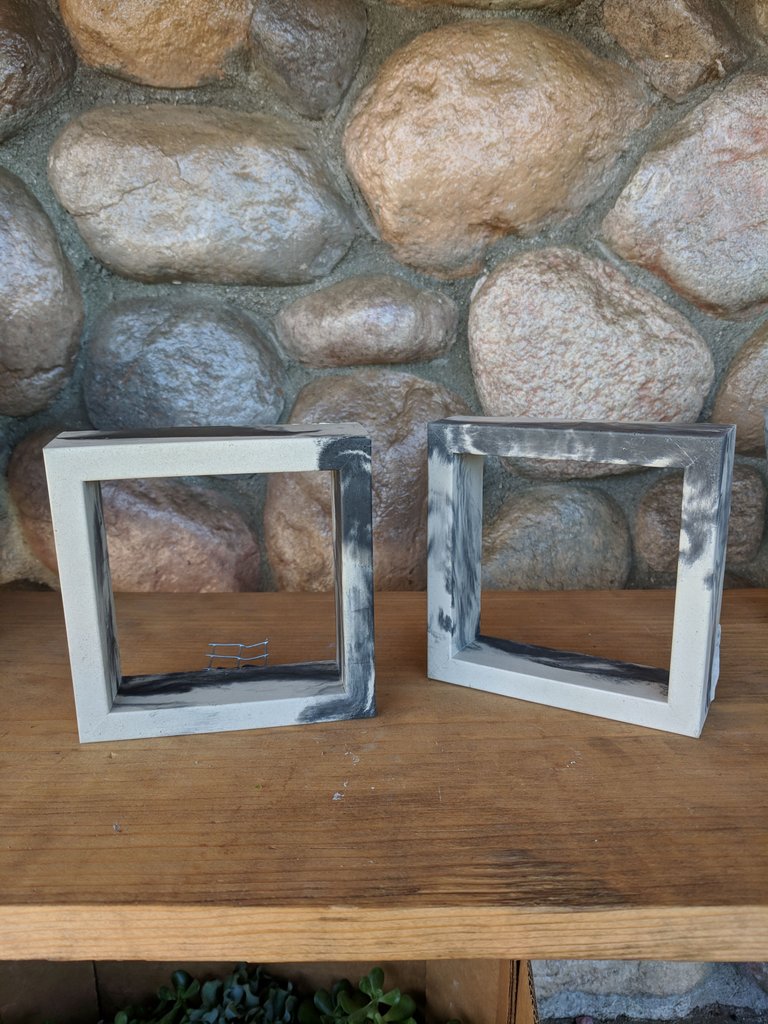
I've finally figured out the mold thing! Check out my new frames:
After the last fail I turned to a good friend and fellow artist for some molding tips. Her husband teaches a course on mold making, so who better to ask? She suggested I nail the frame to the baseboard to prevent floating like last time. I thought the idea was brilliant, although my first try did not go so brilliantly. I can never manage to nail in a straight line, especially when doing it blindly through the back of the board.
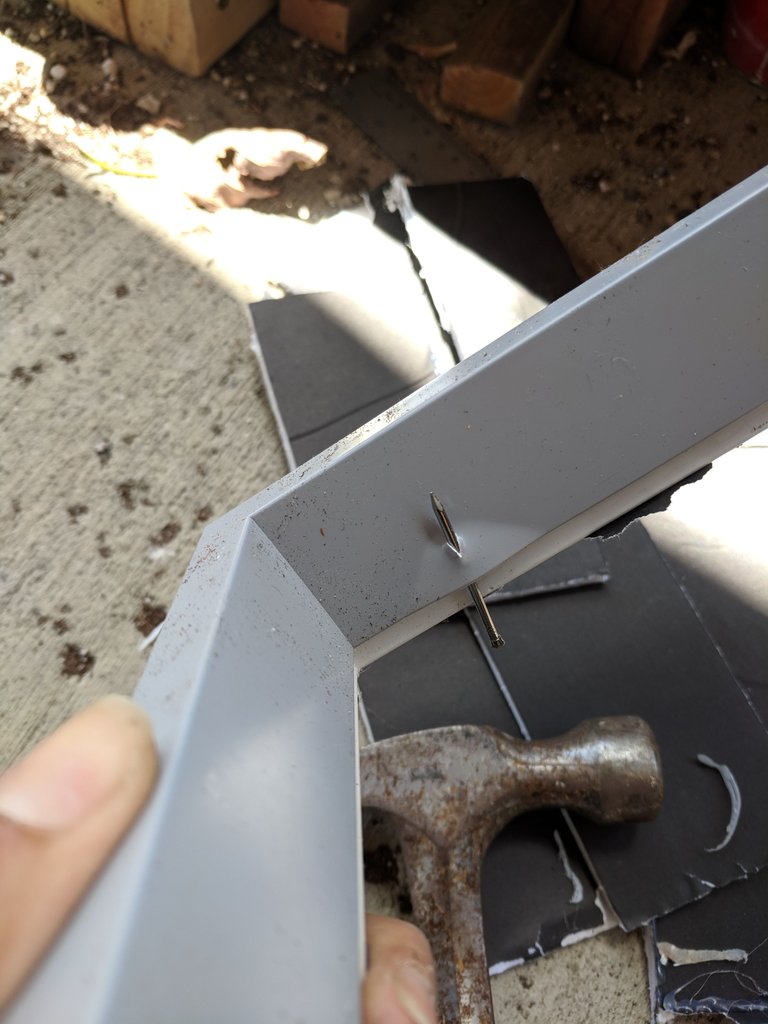
That one went into the trash after this shot. I can't mold it with a nail hole in the side, and it's too cheap to try to fix. I'm trying not to think about how expensive it is to just toss though...
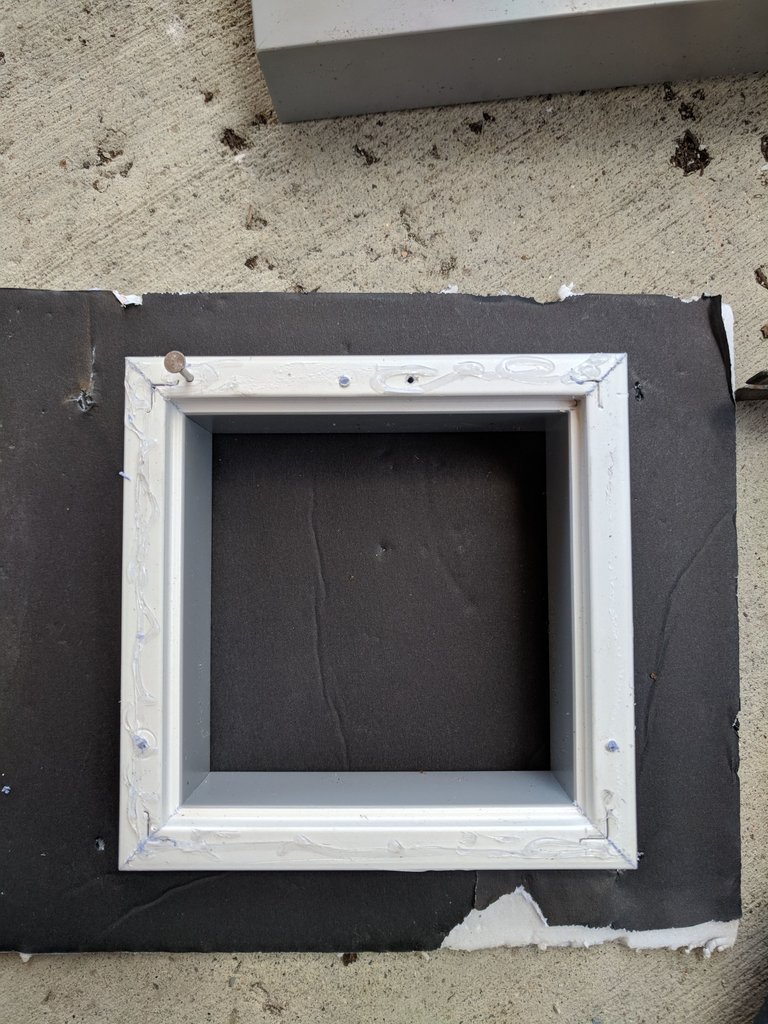
Anyways, I did get to be stingy in trying again again (lol) with my smaller frame. I reused most of the foam board, and nailed holes into the frame first and then popped the foam core over the back of the nails. Woo! Cheap supplies for the win. That would not have gone so easily if I had opted for the suggested wood mold box.
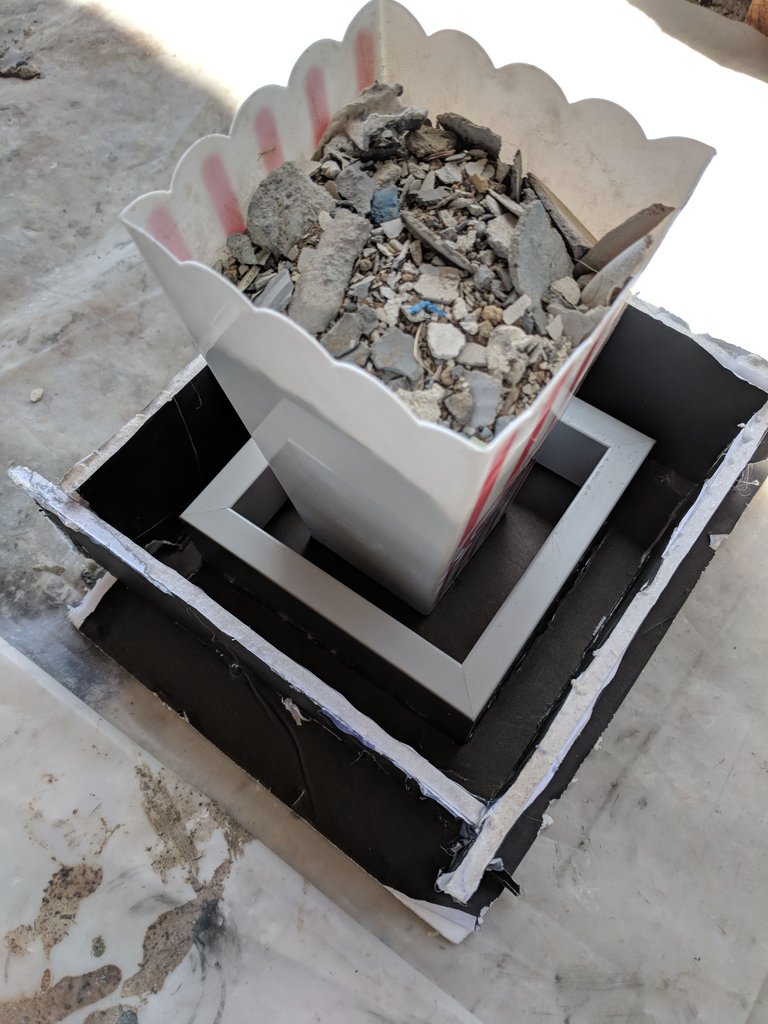
I found a better insert for the middle to lessen the amount of silicone I'd need, too. All in all, it looks pretty good up til this point.
I even remembered NOT to open the bottles of goo with my thumbs, so I could take a nice picture LOL
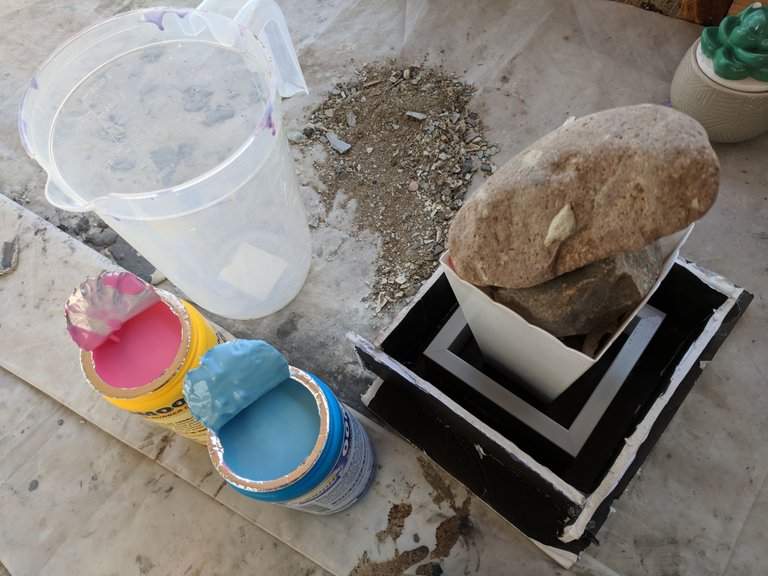
Time to mix!
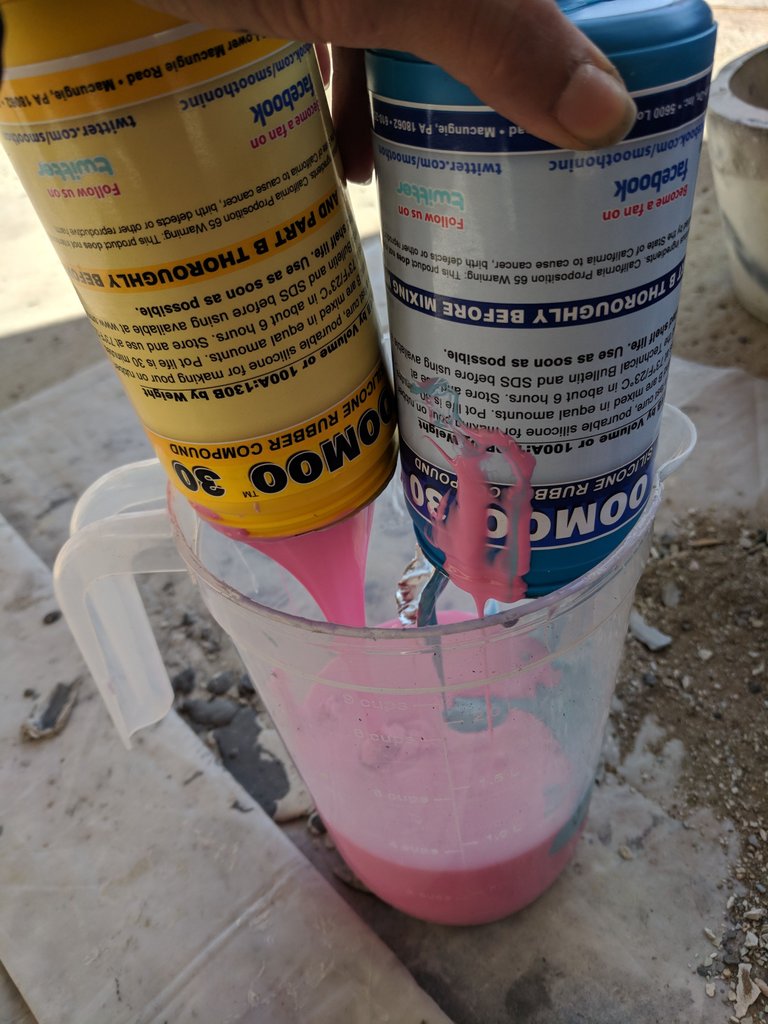
Still pretty clean, I chanced a photo mid-mixing :)

Pink and blue make purple, but since blue and purple look the same to me I just mixed until all the streaks were out.
Then the moment of truth! Pouring the purple mix into my mold box. And just imagine how clean I've kept my hands since I'm still snapping pics.
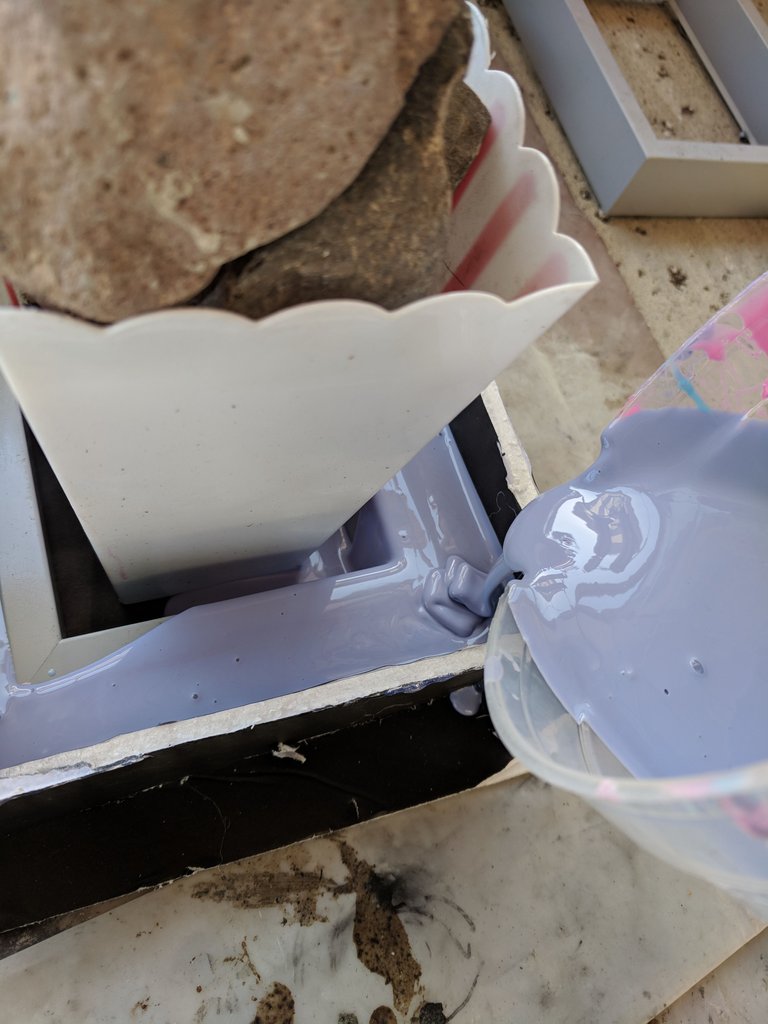
All poured, and I only got a tiny bit on my hands because I tried scraping down the pitcher with a popsicle stick. I didn't come this far for the mold to be too thin at the bottom!
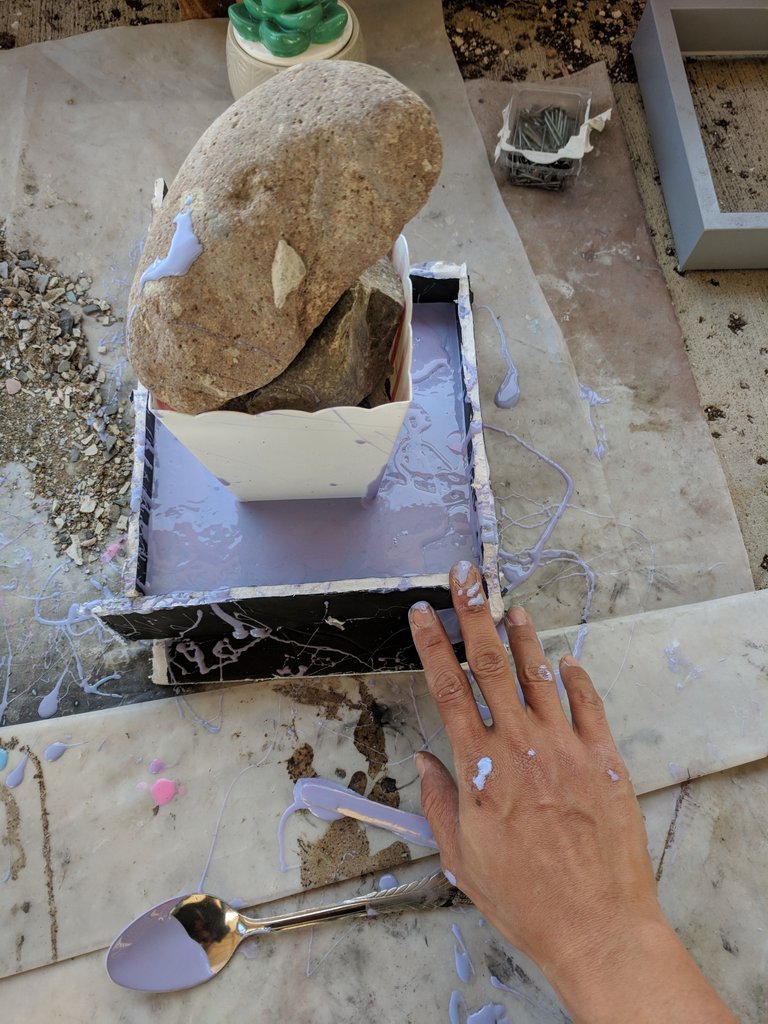
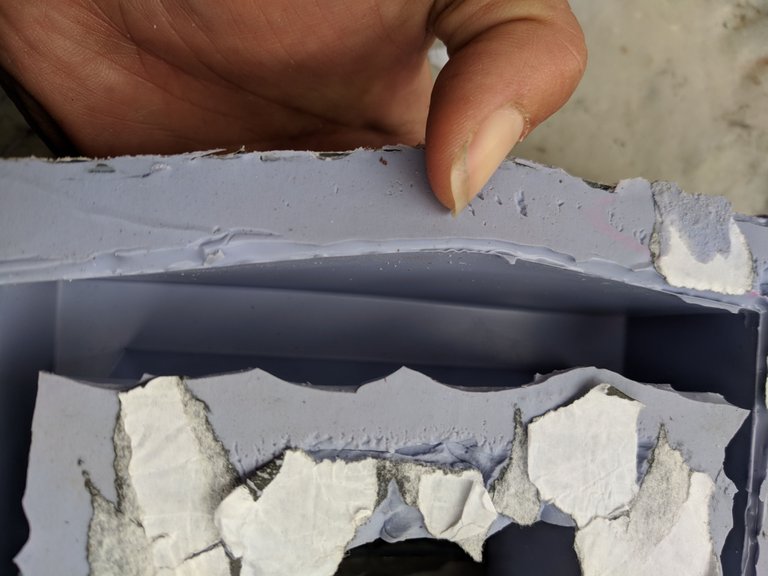
I left it sitting overnight, and this is what came out after I ripped away all the foam board. Maybe I should have just splurged another $1 for new board as this looks like crap. I can't get the bits of paper off and every time I try, I take a chunk of silicone with it.
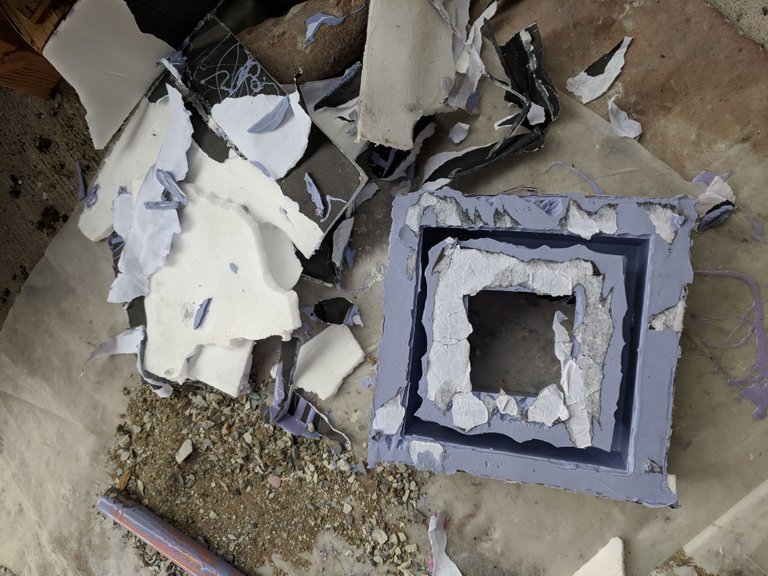
But it's what is in the inside that counts, right? The corners and edges look amazing! I pat myself on the back at this point.
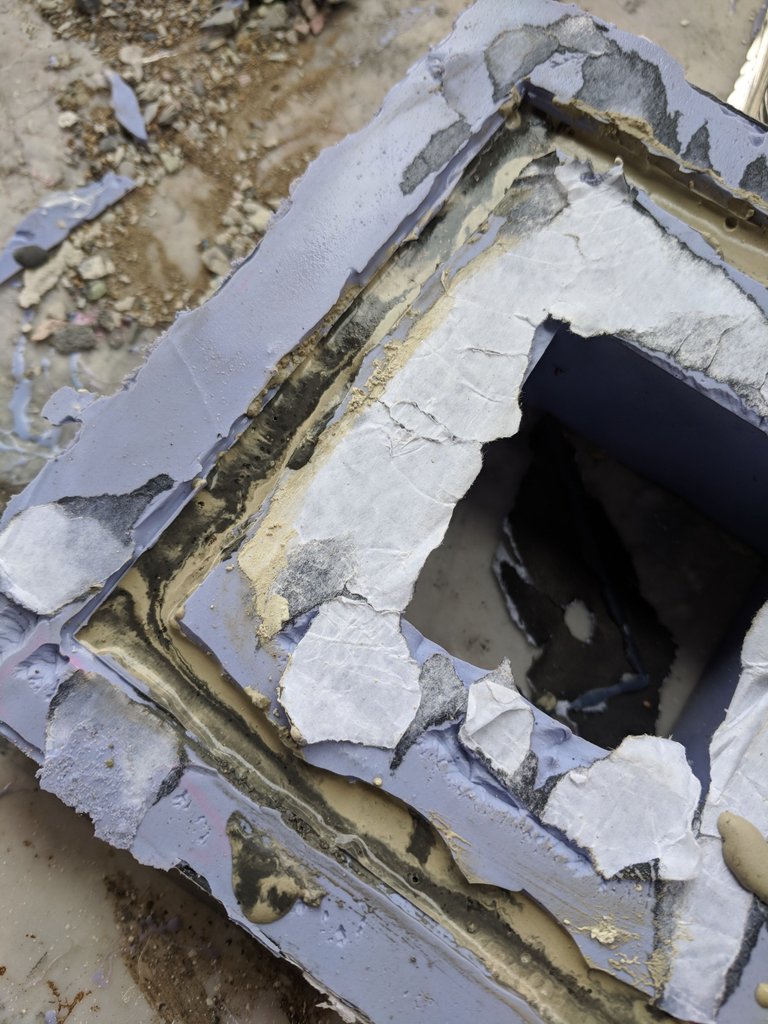
And here's my new mold in action! Cement poured, and waiting to cure.
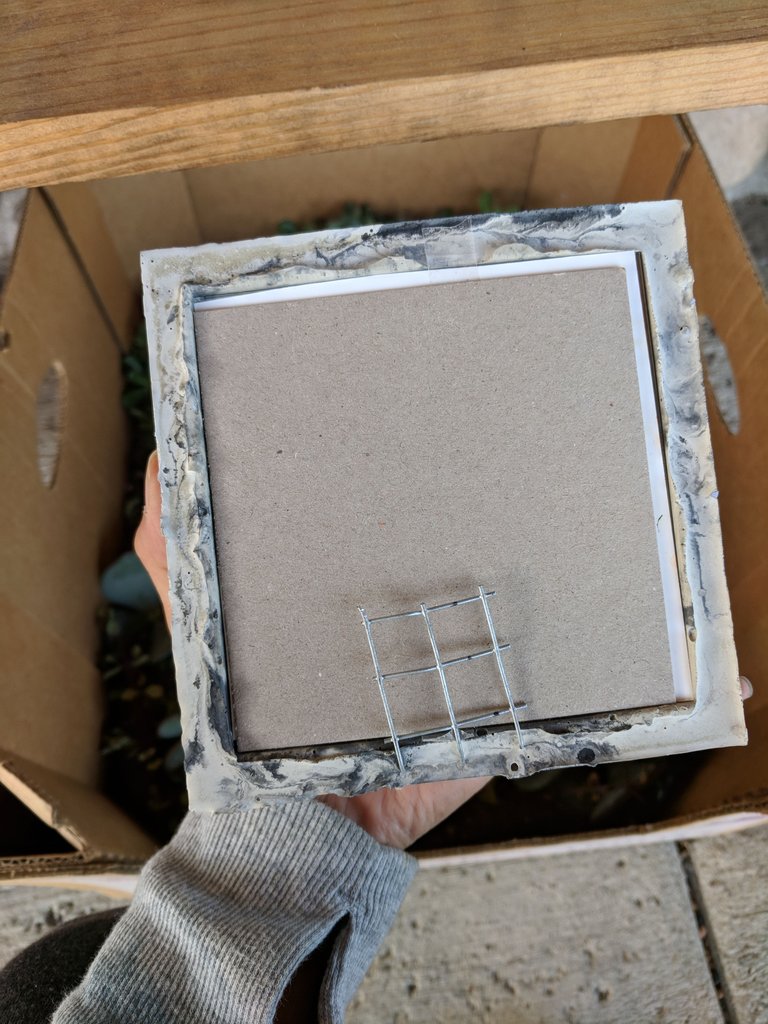
Now I've just got to figure out where to find 4x4 pieces of glass for cheap, and a way to secure it all into the back. I tried sticking a piece of metal into the cement, but it looks stupid and only secures the bottom half, lol.
So far I've spent about $70 in pourable silicone to make a $12 frame, LMAO. Not counting the cost for the rest of the materials, I'm going to have to rethink this piece. And yes, I realize it's reusable and if I can sell 8.3 frames, that should cover the cost (assuming I'll spend another $30 on glass and proper metal bits). But will it really, when I figure in all the time I need to spend marketing this frame? I keep wanting to try new things, but it costs a lot of time in addition to the cash to do so. At some point, I need to figure out my product line and concentrate on that before trying to push things outside of my niche (Pots for Succulents) buuuuut, what's the fun in that? I spent way too much $$$ yesterday succulent shopping at a famous nursery all with the justification that succulent photos get my instagram account attention, and those that pay attention end up buying pots. And then today I spent the bulk of the day staining a display stand for products that are only half mine, and then some more time in alcohol ink for the new frames. Zero having to do with succulents. Or pots.
I've slowly come to the realization that I DO have a spending problem when it comes to plants. I see everyone else selling them at triple or quadruple what I paid so instantly my brain says "Good Deal. OK To Buy". I'd like to start reselling them for a profit but a number of my succulent friends already do that and I don't want to be their competition. Blah. Having all this time before the next event is a blessing and a curse - I love having the days to catch up on the ideas that give me anxiety until I try them, but my mind starts wandering towards the finances again when all I'm doing is spending and not earning. At least I know how to make a mold now, and so far the workshop in June has two sign ups. HA. My gas is covered based off that so I'm already doing better than the previous times!
Here's the frames one more time without staging, because I love the way they turned out! Now - to make the larger one before I officially list it for sale, or go with just the small one to test the waters? Complete Line Vs. One Off. Hmmmmm.
Happy Thursday!
Christie

Well done! Smooth-On is pricey, but I love that place. So many neat products. I recently went to their headquarters and it didn’t disappoint.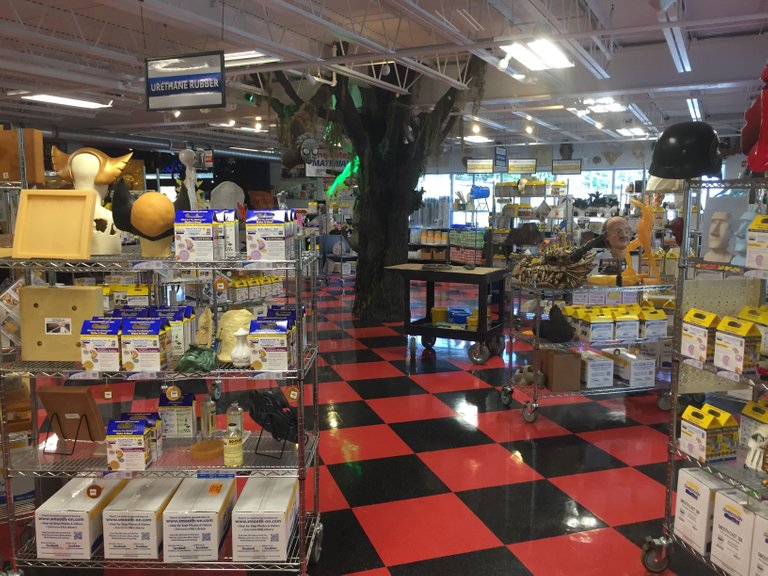
How'd you manage that? Is anyone allowed to go there? I'm just getting started in the world of molding, and have only used this Oomoo stuff, and the quick cast epoxy resin kit. Oh wait, I'm lying. I used this other weird putty stuff they have - you mix a purple lump and a white lump together and then you can press in your piece to mold into the putty. Dries too fast in my opinion though. At least for my purposes.
What products are your favorite from them, and why? What should I try next? Have you ever casted a body part with the "safe" silicone? I'm intrigued but don't really know what Id do with a cement hand or whatever LOL.
Join our Discord Channel to connect with us and nominate your own or somebody else's posts in our review channel.
Help us to reward you for making it ! Join our voting trail or delegate steem power to the community account.
Your post is also presented on the community website www.steemmakers.com where you can find other selected content.
If you like our work, please consider upvoting this comment to support the growth of our community. Thank you.
thank you so much for the upvote! and for helping to grow the DIY community on steemit :D
Yay!
How to attach your frame to your board: Position it and draw around that and remove the frame. Then take a drill and drill holes in the board, within those lines you drew, where you want the fasteners to be.
From there, turn your frame upside down, position your board above the frame, where you drew the lines. Now take a marker of some kind and mark the top of the frame by inserting pen or whatever into the holes.
Take your drill and drill a small way into the frame, where the marks were made, taking care to drill straight down and not at an angle. Not too deep.
Now get screws and screw that board on to your frame.
It will take a little practice - practice on the wrecked pieces - but you'll get the hang of it.
Ask if the instructions aren't clear
I thought I'd be fancy and mold the type of frame that has the little indent groove for the glass and photo to snuggly fit in, which leaves me with too thin of a strip to drill into. I'm thinking if I can drill into the thicker/upper portion and just put in a tiny screw with a toggle-ma-bob-thing to swing back and forth then that might work? I've started taking apart all the frames in my house to see if any will be the right size, lol. I don't want the screw to be the fastener, as multiple screwing and unscrewing will wear down the cement and make the hole too big over time.
Those look great! And they would look nice with small succulents inside as well!
thanks, friend!! It would make a pretty cool planter, too, huh?
Yeah! And depending on the weight, it would make a great wall shelf too.
I was thinking it would look really cool on a wall! Maybe hang a bunch of them to create a larger geometric design? They're pretty heavy though, so its probably a decor thing over function.
This post was chosen to be featured in this weeks SoCal Spotlight!! Thank you so much for being part of the #socalsteemit community.
thank you thank you thank you!!!
Great job with taking pics while in the midst of goo and all 😉 I also can tend to have a spending weakness when it comes to plants.
thank you!!! One of these days I'm seriously going to regret trying to take photos during the process but so far no bad accidents, LOL. Fun Fact - if you've got an office that you see clients in, the plants you buy for that space are tax write-offs.
I know, you probably don’t need another product, but I saw these tonight and thought they could just as easily be made with concrete.
There’s wood on the bottom of these as well.
these are really awesome, thank you for sharing! I LOVE the idea of mixing wood and cement together!!! And its much more practical than just a cement tray due to weight. I'm definitely going to sketch this one out and see how I can get it done.....Alternatively, maybe I can stick some wood onto the bottoms of the would-be frames, and do a reverse look?
I wonder if you could even turn a tray like this into one of those 3-D picture frames, where the cement pattern would create the background and one or more pictures would be displayed in the space in front of the cement, either towards the middle of the wood or the front.
Do you know what I’m talking about?
I think so...Like a shadow box type frame thing?
Yeah. Like a shadow box.
I ALMOST bought one yesterday at the craft store, but then realized I could probably make one cheaper....
Have you made it yet?