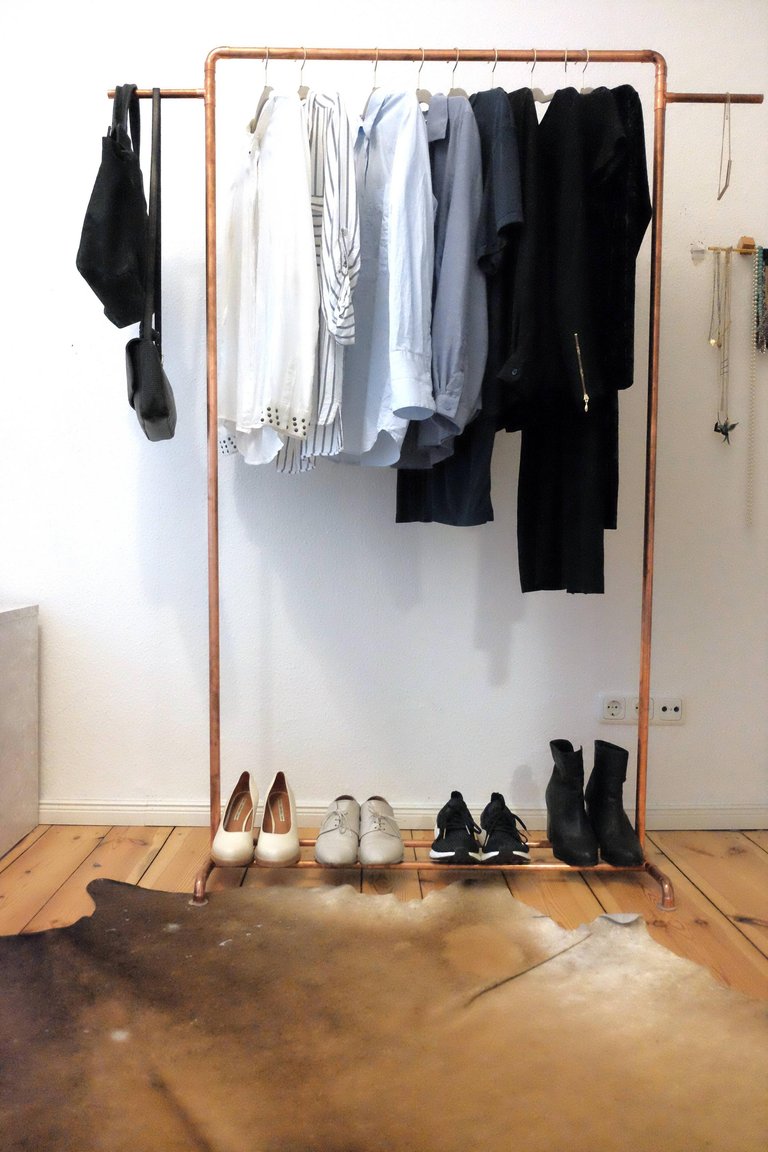
Fancy a cool, chic new clothes rack?
Or are you looking for a cool DIY project to do this weekend?
Well, lucky you, because i got just the right piece for you!

A copper clothes rack!
All you need is some copper pipes, glue, a pipe cutter and about an hour time. Sounds not too bad, right?
Just as my first project, this idea was born due to lack of what i want in an affordable price range, so i just decided to build it myself.
I know it sounds like a big project, but i promise, it is very easy. I´ve tried to break it down into easy steps, please let me know in the comments if something is unclear or could be explained in a better way.
And also, please show the fruits of your labour!
Here´s what you´ll need:

Copper pipes, 22mm diameter:
- 6x 5 cm
- 2x 7 cm
- 2x 10 cm
- 2x 20 cm
- 1x 90 cm
- 2x 160 cm
Copper pipes, 19mm diameter:
- 2x 90cm
additionally:
- 6x elbows, 22x22mm
- 2x tees, 22x22mm
- 6x tees, 22x19mm (with 22mm for the tee´s arms)
- super glue
- pipe cutter, if you can´t get the pieces cut at your hardware store
Let´s start by laying out the base:


And before you even think of touching that glue - do a dry-try of assembling.
Learn from my mistakes (since i don´t seem to learn from them... see last copper project
If it looks like this, put a drop of super glue in all the connecting pieces (tees and elbows) and assemble again.
Add felt protectors to the legs, it will protect your floors and make it more stable.


Let dry for 5 minutes.
Then get a hold of those super long pipes (the 160cm ones) and connect them to the base, so it looks like this:

Use the 22x19mm tees for the "hooks", and make it look like this:


Lastly, use the remaining pipe and elbows as a top piece and connect to the rest.

Don´t forget to put little drops of glue into the connectors, otherwise it won´t be stable enough.
Et voilà, you have built a chic, minimalistic clothes rack for less than 20€!
You may now call yourself Bob the Builder.


Feel free to adjust the lengths of the pipes to your needs - i needed it to fit into a my narrow and short hallway when i built it, so the measurements are adjusted to that.
You can make it lower, higher, wider - whatever your needs are.
A nice tweak could be to use wooden poles with copper connectors.
If you build anything, please leave a comment and a picture.
Thanks for reading this far and stay tuned for the next episode :)
"You may now call yourself Bob the Builder" hehe great line :) Keep it up, loving these projects.
Nice writeup
Good job
Keep it up.@nomadnessie