How do we do perfect lighting for our home video production studios for under $100 for the lights and webcam? After years of research and testing, I finally have a simple solution here!
Produce Videos with Beautiful Lighting for $100 Including Webcam and Light Bulbs!
Will you join me in reading and learning this because this has been one of the most annoying part of setting my studio up at home to film professional quality videos in my bedroom over the last three years and you can save a ton of time, energy and aggravation by seeing exactly how I do it right here? After years of less effective solutions, this works really well.
The first huge point that I did not consider enough in my lighting was my webcam. As I changed light bulbs, as I spent hundreds of dollars on professional lighting products and screens and setups, I didn't consider that my webcam, my camera, was one of the most critical parts of lighting.
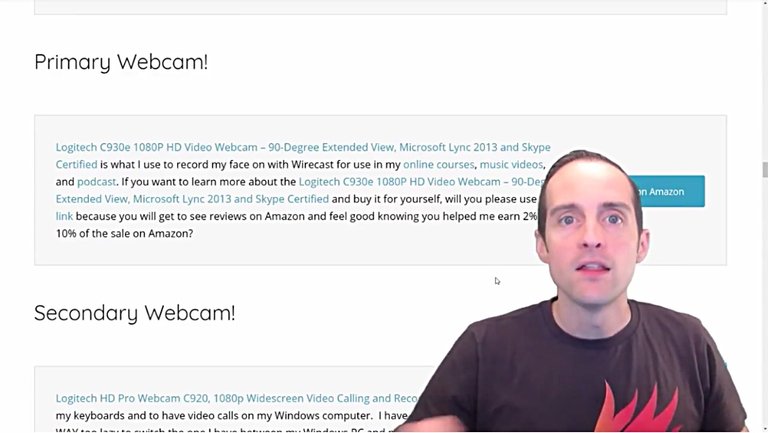
Therefore, I recommend to look at the camera first. If you'd like to see the exact links I'm using for these things I mention, will you please go to Jerrybanfield.com/resources because I've got everything I'm talking about listed right there?
Under the "Primary Webcam," I've got this Logitech C930e 1080p HD video webcam.
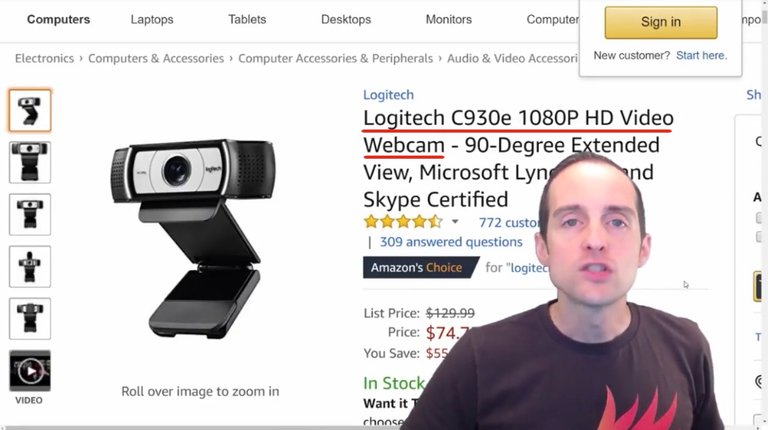
This is one of those little things I wish I'd done a long time ago because what I was doing, I was using the C920, which is my secondary webcam now.
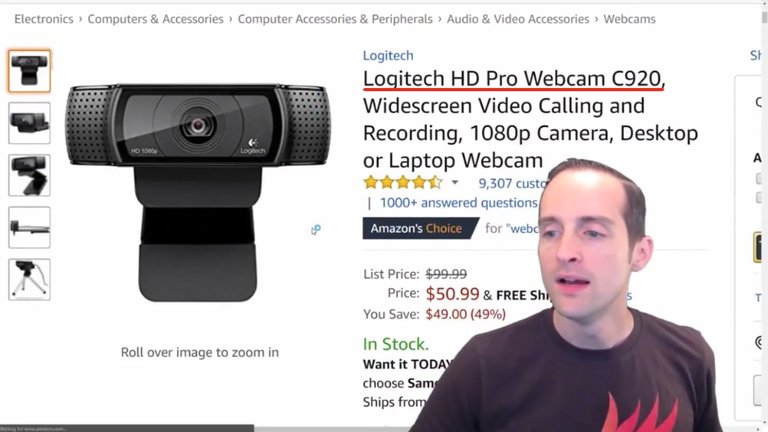
The C920 now records my musical instrument interface here.
I still got that, but this is what I started with.
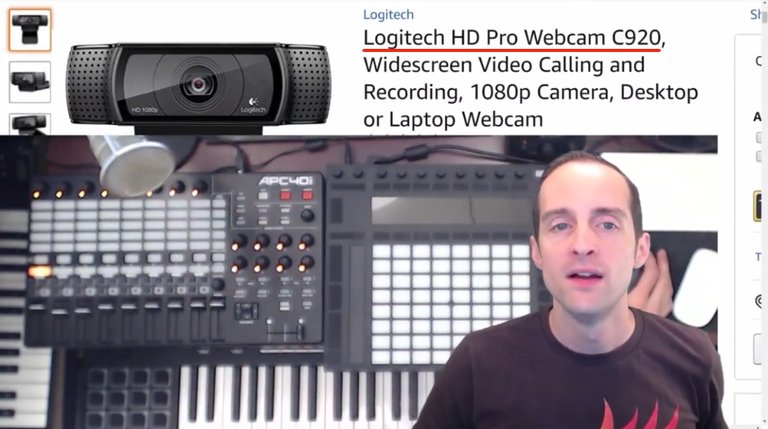
This is a very good webcam, however, for 20 more dollars, this Logitech C930e is way better. Go for this one. I've talked to a bunch of friends that had the same issue with cameras, this is the most cost-effective solution I've found to get a lot better picture.
As soon as I got this camera instead of the other one my green screen worked much better immediately. The existing lighting I had was much better than with the C920. This C930e is outstanding. This is what I'm recording this on right now. You can see the picture is awesome and my face looks so much better if you watched some of my older videos. This camera looks great.
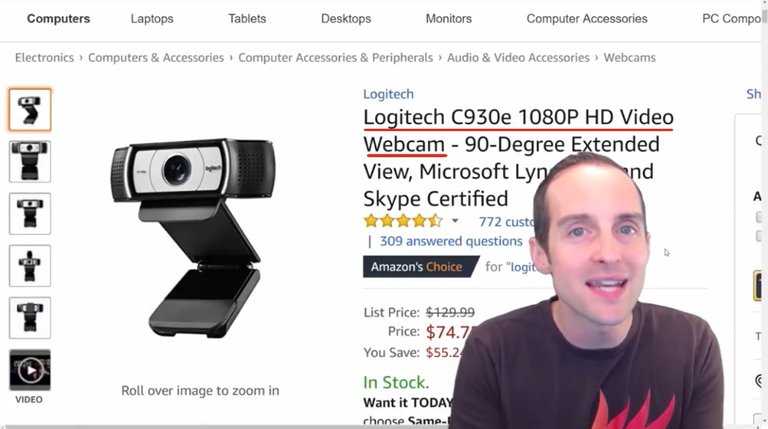
If you have already got a built-in webcam for your computer, you might think it's not worth upgrading. I think having a 1080 camera is much better than Apple. My iMac has a built-in 720, but I think this 1080 camera makes a big difference. This is the best I found after I've used the built-in camera. I've used the C920, I've tried several other cameras, and then given them away because they didn't work as well as the Logitech C920 even. This is the best I've found after testing a bunch of them.
My friend Tomas George has a similar quality camera that costs hundreds of dollars. This one is also very cost effective. Today, only $75 on Amazon compared to what I was using was only 20 dollars less.
Man, I wish that someone had told me this earlier.
BAM! I've told it to you today.
Now, the camera is a huge part of the lighting because each camera produces a different quality. The camera has an interaction with the lighting, so the lights plus the camera make the picture. Therefore, a better camera, the same lighting may work great with a different camera. When you are sure your camera is solid, then it's down to lighting.
I recommend to get the camera solid first, then you can do lighting. If you got a good enough camera, you can even get cute with it.
Now, alright.
Look.
This thing even is pretty good in the dark. I actually turned all the lights off. This thing even works pretty well in the dark.
That's incredible, even though the only source of light is the computer monitors on my face. It still works in the dark and when I turn the lights on, it pretty quickly changes and fades the green screen out correctly.
Man, this thing is good.
Get the camera right to start with, then go for the lighting.
There are two basic things I use for the lighting, but first, before I talk about the light bulbs and the paper lanterns I use, one thing I do to knock out variability is I film in a completely dark room.
As you can see when I turn off the lights here, I film in a completely dark room where there is no outside lighting. That allows me when I film to get the exact same experience at any time of the day.
I used to film in a room where natural light would come in the window and the annoying thing with that was if I filmed at certain times a day, if you notice on some of my videos from two or three years ago, at least I should say 2015 or 2016 depending on when you are reading this, on some of those videos my face has this awful yellow or orange tint to it. The whole picture looks messed up and that's because when the natural sunlight comes in, it alters the lighting.
If you have got a camera set up that works perfectly in one type of lighting, but you have natural light that comes in or any lighting that's not fixed and controlled in your studio, if you have any outside lighting that comes in, it's liable to mess that up. That's really annoying to try to fix that after the fact when you didn't even think to check for that before you recorded as you just recorded a video.
What mine would do is that as clouds came over the house, the lighting would drop down and my camera would screw up mid-film. Though, I'd start off and check the picture, everything looked good, and then halfway in the video I wouldn't have seen, because I was recording, that all of a sudden my face got this lighting, the whole video quality and lighting, was totally screwed up.
Then, when I went to render the video in Camtasia, I'd see that after the first 30 seconds the whole rest of the lighting was messed up and that's really annoying on a 20-minute video.
Therefore, before you even mess with light bulbs or paper lanterns, it's nice to have a completely dark room where the only lighting is artificial.
Then, I do recommend to go outside and get some natural sunlight at a different time of the day. I took a 30-minute walk before this out in the sun. I am in here in the dark lit by artificial lights. I record, then I get back out in the natural light.
I recommend to get that set up first. If you have got a window, just block it out. What I've done is I've taken cardboard boxes that fit the windows well. I trimmed them up a little bit, and then I took some of the soundproofing foam and I stuck that in both of the windows in this room.
That blocks out all the natural light in this room, that way, whether there is a thunderstorm or it's nighttime or it's shining bright outside, the light is exactly the same.
Now, once I've got the camera and the natural lighting under control, then the final step for that is to get into the light bulbs.
I will show you the exact light bulbs I use. I've tried a bunch of different light bulbs. You wouldn't believe how many of these things I've done over several years.
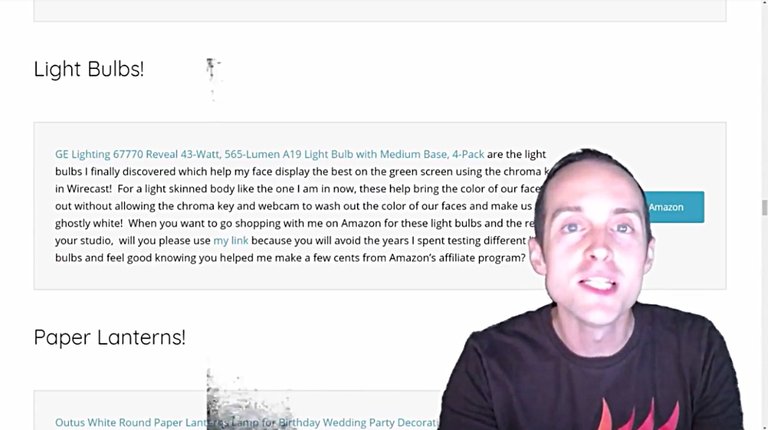
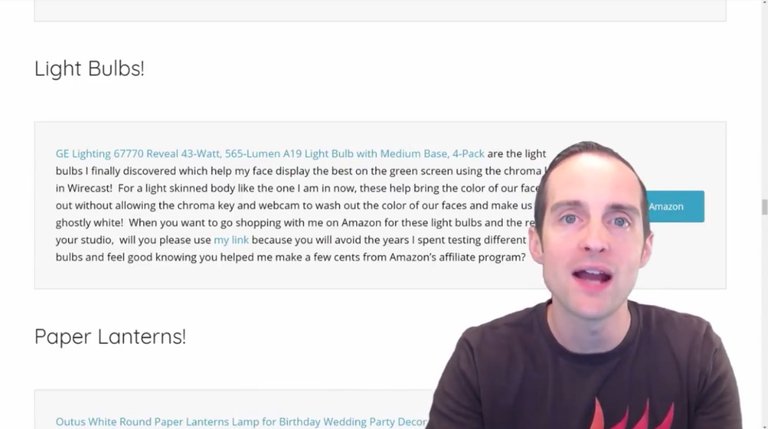
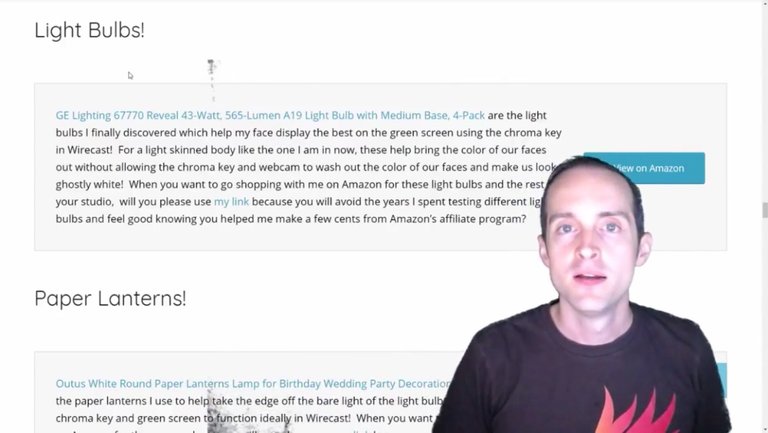
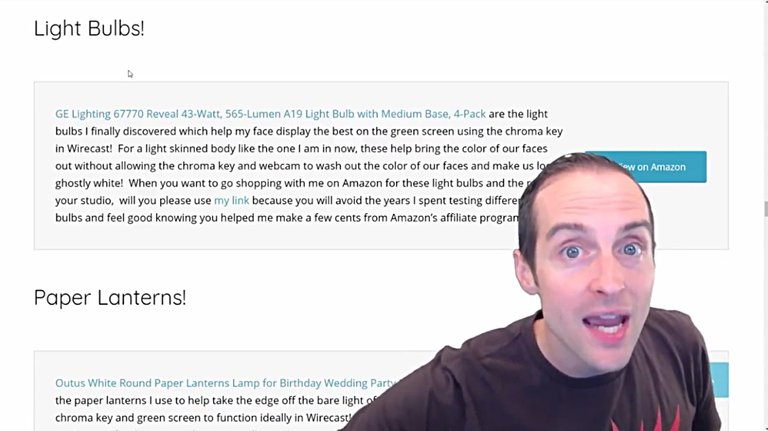
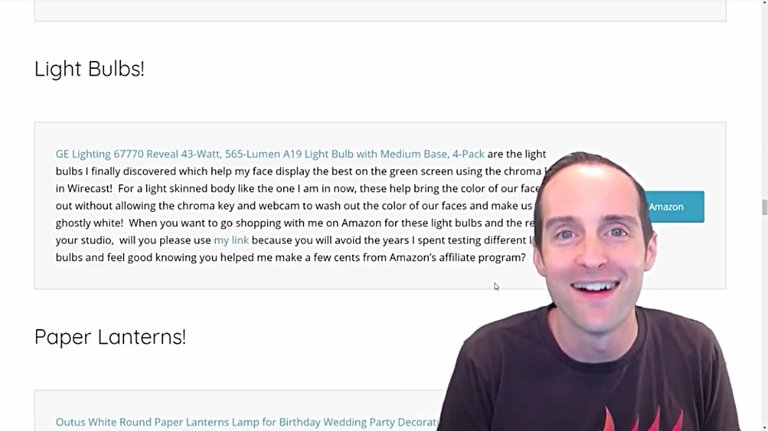
These GE Reveal Light Bulbs are the ones I've found that are the very best. They only cost ten dollars, they are cheap on electricity, they don't take a whole bunch of power up. It's very simple.
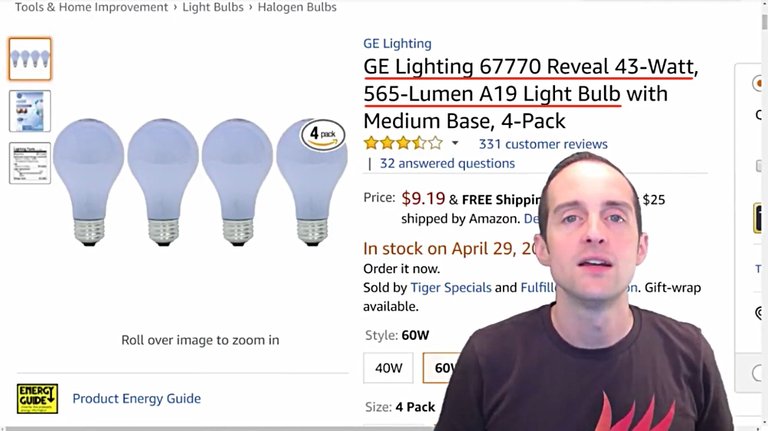
I'm sure you can get these bulbs in your local store or Walmart or wherever you shop, they probably have something like this. Target might have some of these or you can order them on Amazon. I've got the 60-watt ones.
I use the "Reveal Light Bulbs" after testing a bunch of other ones, because they work well with my particular skin tone. When I had the daylight bulbs or the other types of bulbs plus the Chroma key, it didn't all work together.
These Reveal Light Bulbs bring out my skin very nicely for Wirecast directly into my face here. These exact light bulbs work really well for me and what I do to take the edge off the light is I use paper lanterns.
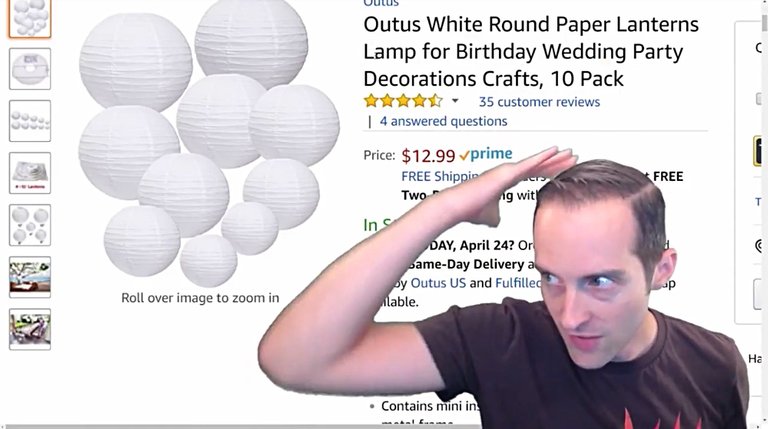
I paid $500 to take Phil Ebiner's course to figure out that he uses paper lanterns. I've shared this with you here so I hope you can get that for a lot less.
Paper lanterns are perfect to take the edge off or to have a party in your office. I take the edge off of the light with these because it more evenly distributes the light.
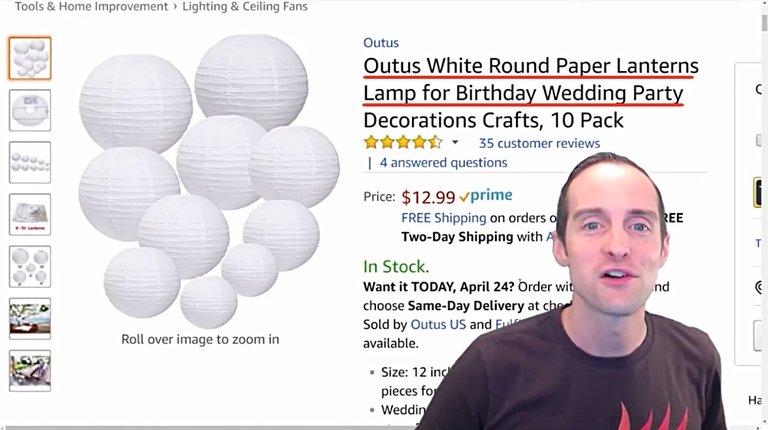
You can see the difference with this light bulb up top, which is a direct light, because there is no paper lantern.
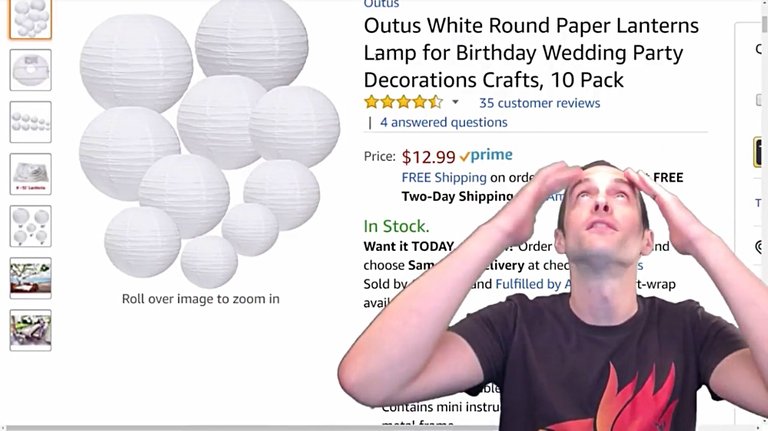
When I lean up a bit, then you have got the paper lantern, not having the light just show so directly.
I will show you how all this is set up then.
I've got Wirecast Go on here and what I'm able to do is show you inside my studio. This is where I'm standing, I'm holding this iPhone in my hands right now, we got the microphone there, and what I've done with the lights is I've tried to space them out.
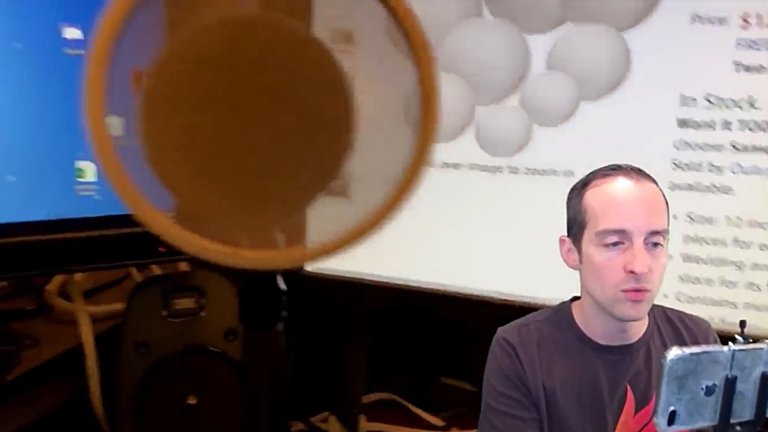
I have three lights in the front that are the main lights with the paper lanterns. With a green screen or to have good looking lighting, you want everything to be evenly lit. These three lights in the front provide the main front lighting, and each of these monitors is relevant in considering the light they also provide.
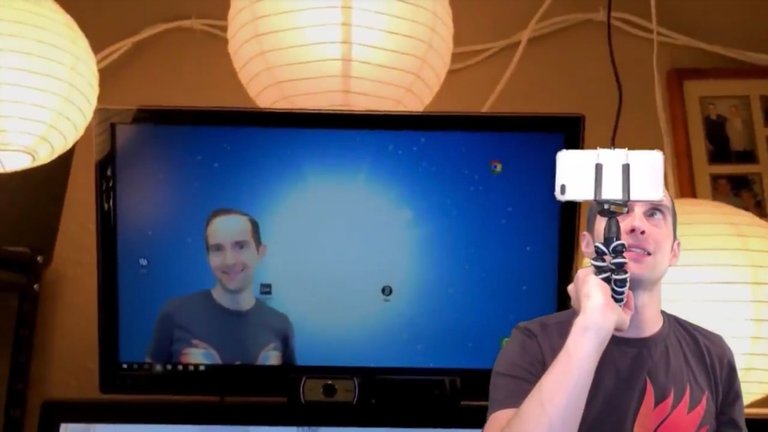
Yes, I do have a picture of myself as the background on my monitors.
Yes, you are seeing that correctly!
I had some generic background and I thought, "Why not just put a picture of me up there?"
I've got these lights here and I've got this light directly up top.

I've got this paper lantern up top and I had a slightly different position before. It was perfectly positioned behind me, but then I added the music equipment to my studio setup, which backed me up a little bit, so now this is actually directly over the top of me. I'm about to move into a new home office studio, so I can't be bothered to fix that right now. The lighting comes down straight on top of me.
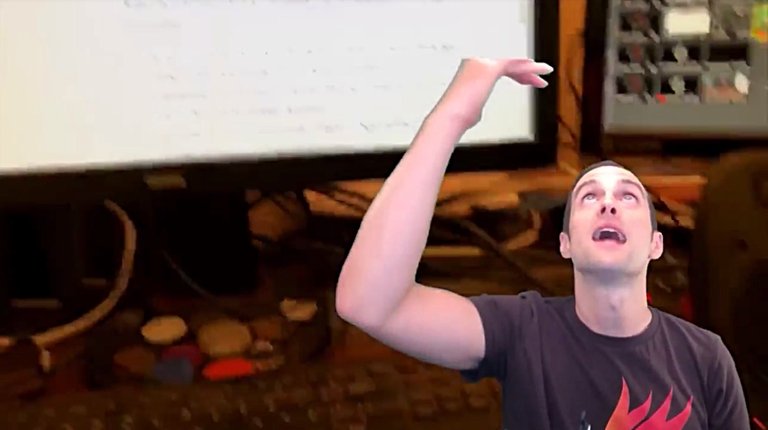
It's important for the green screen to have it back. You see that the light on top of me cuts out a lot of the shadows back here on the curtain. It cuts out a lot of those annoying shadows and that allows the green screen to work better. It provides more stable lighting.
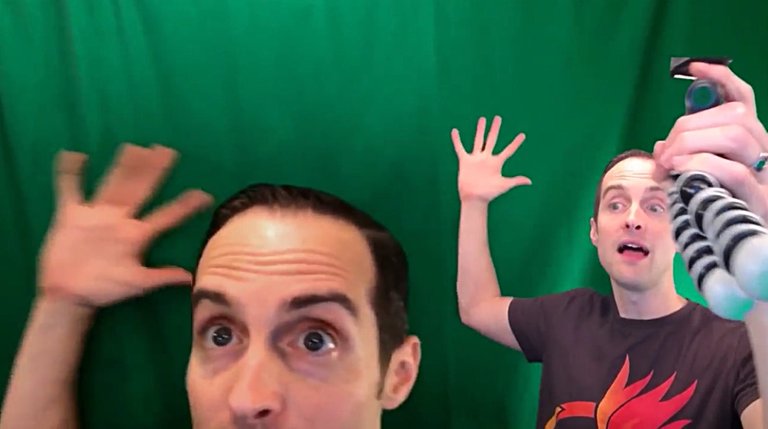
Then, we have got these two lights over here. Off to the right I've got a light, a paper lantern hung right up there. This gives me even lighting on the right, and then the same thing on the left.

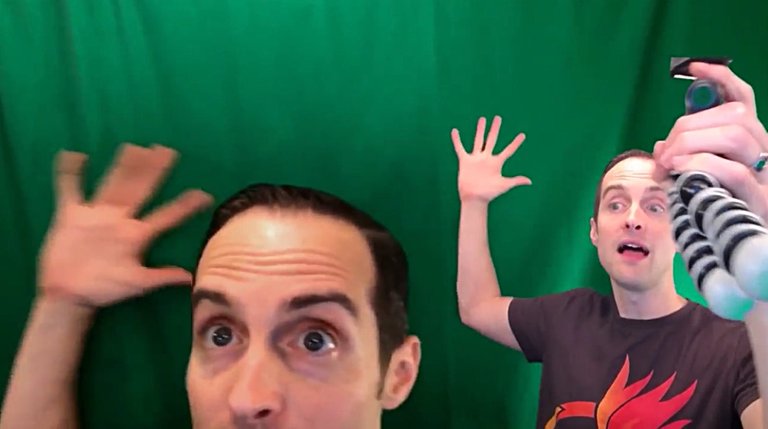
If I step out of the studio for a minute, you can see how this whole setup looks along with the Eeyores and everything.
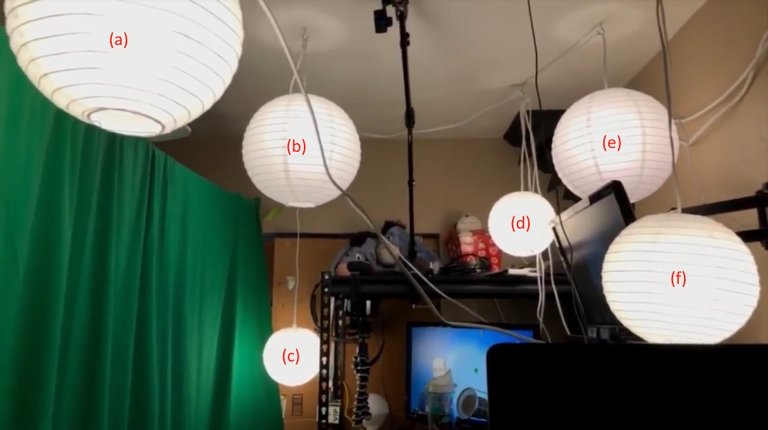
I've got this light up here (a), this is the one that's on the right of me. Second, I've got this one right in the middle (b) to provide light behind me and to provide light on top of me. Third, I've got this light on the left (c), so that I'm evenly lit in the middle. Finally, I've got this light over on the left (d), this light over on the center (e) and this light over on the right (f).
This allows me then to stand in the middle of this setup and to be perfectly lit. You see that the lights completely surround me then, and when I get the new home office, this light (b) will be back farther so that it's behind me.
This way I'm completely evenly lit and the whole setup looks nice, and then there are no other lights on in this room right now. The room is completely dark except for these lights.
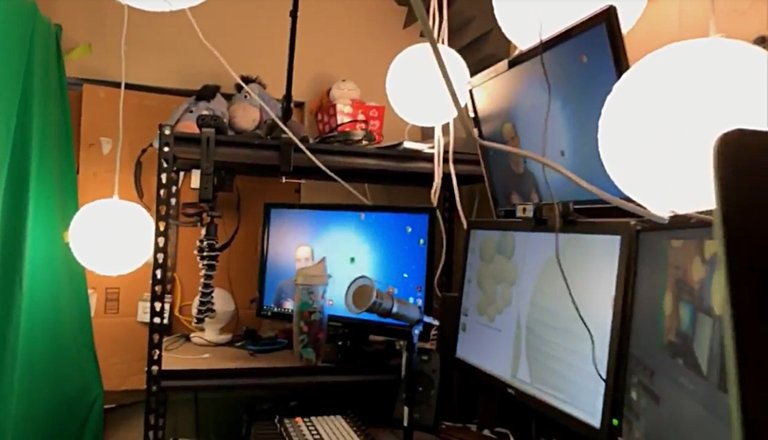
I've got all these lights on one surge protector at the back of my desk and all I need to do is hit the switch and that turns everything on and off, which makes it really convenient.
I just come in the room when it's dark, step in, turn on the light. All the lights immediately turn on or turn off. I've got control over that right at the desk, and then I just stand here and the lighting is the exact same every time.
Every time I step into my studio the lighting is predictable, there's no variation on it, the lights are in the same spot. Once, I jumped up and knocked it down. I was dancing in one of my music videos and ended up holding the lights. It's nice.
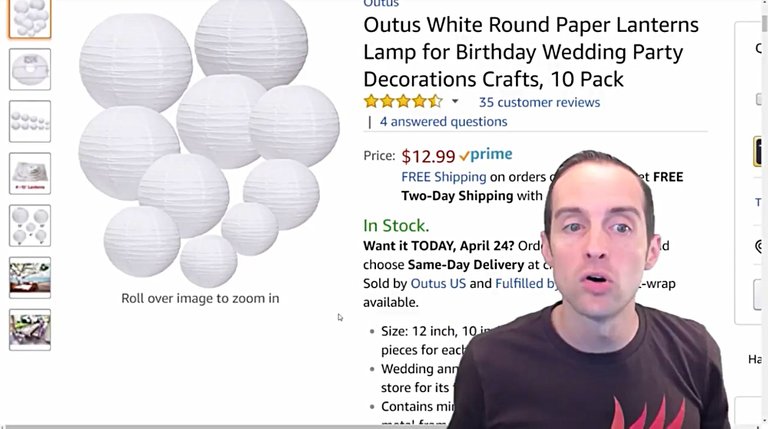
This is the ideal lighting setup because it's cheap. You can see the things I have shown you, these paper lanterns are $13 and these GE light bulbs are like $10. You don't need to spend a fortune.
All of this is hung on the ceiling because if you have got stuff that's propped up or stood up, it always gets knocked over or it gets moved a little bit. If the wind blows or something, or you trip and then it moves, then it's not in the same spot. I like everything to be in one spot and stay there.
This way I just show up in my studio and everything is in the perfect position. I've done it all different ways, I used to have the green screen hung up and propped up, and then the lighting had its own things, and my dogs would run into the room and knock the whole setup over, knock the lights over and knock the green screen over.
Then, sometimes I used to have these lights stood up on the desk. They took up all this room, and then they'd lean over. This is a nice setup, you just hang it in the ceiling and if you think, "Well, I'm renting somewhere. I can't do that."
No, you can.
I'm renting somewhere and all I do when we are about to move out, I will spackle the holes into the ceiling. Obviously, I put a bunch of six holes in the ceiling at least to hang these lights up, and then I got holes to hang the green screen. I will just stick some "Spackle" in it and it's not perfect, but you should repaint between people if you have had someone renting there. You should repaint anyway, right?
I appreciate you reading this because I've put hundreds of hours into this over the years trying to get all this stuff right. Not just time looking at it and researching, but thinking about it, and then this is one of those things if you set it up right to start with, you don't need to edit the lighting manually in your videos.
Where I've spent most of the time is when I filmed a video and the lighting didn't come out very good for some reason, then trying to fix that and it is really annoying. Set it up right to start with, get the cheap paper lanterns, throw the Reveal Light Bulbs in it, get the web camera, this whole setup can cost you just $100 even with the webcam, and it will have you looking way better than my videos did for the first several years I was doing them.

If this is very helpful and you want to buy some of these things you have listed or you just want to see what else I use, will you please go to Jerrybanfield.com/resources because I've got an absolute laundry list of stuff on here: headphones, microphones, spreadsheets, audiobooks, green screen, battery backup, the MIDI I use, Patreon, my WordPress theme, I've even thrown student loan financing on this page.
I've got the kitchen sink thrown in here. My idea is to just give you everything I use all in one spot and to put it there because it's something I chose to use, and then some of them have affiliate programs. If you'd like to buy something, would you please use the links on my website because if you are like me you will feel good buying through my link and knowing that I'm earning something without it costing you anything extra?
One of my friends referred me to Airtable and ActiveCampaign. He sent me a link to ActiveCampaign that I use for my email marketing and I feel great knowing that when they charge me $3,600 for a year coming up in May, that he's going to get twenty percent of that. I feel great knowing that he's going to get $700 out of what I have to pay anyway to have my email marketing, and the email marketing he referred me to works way better than what I was using before.
That's the same thing with all the rest of this stuff. I've got Amazon affiliate links on some of these things, and some I don't have affiliate links. I just link it anyway because that's what I use.
I really wish someone had made a list like this for me when I started my business, so I didn't have to research all this stuff myself. At least I'd have a starting point, and then if you disagree with my WordPress theme, well at least you got a starting point. You can see what I use, and then you can change it.
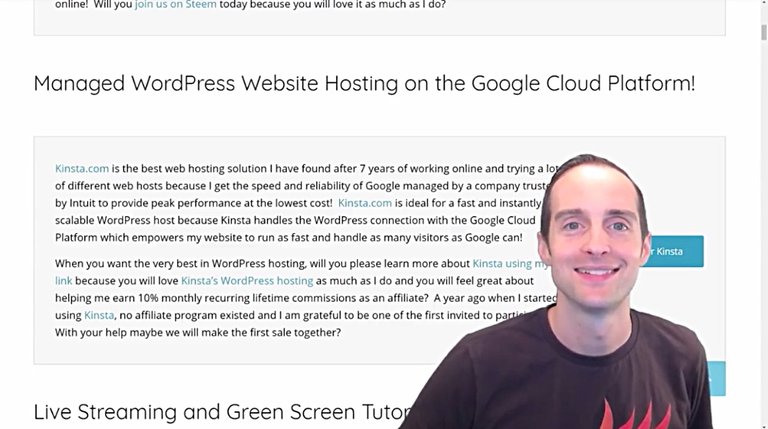
I wish someone would have just given me the best website hosting to start with instead of me using several different providers that stunk, finally to find one that's really good.
This is what I've got here for you. This allows me to do this in a way that helps me earn while allowing you access to this information, without having to put it in a $500 course.
Thank you very much for watching and/or reading! I love you. You are awesome.
I hope this has been helpful after years of looking through similar tutorials and wishing someone would make a blog post like this.
Love,
Jerry Banfield with edits by @gmichelbkk on the transcript from @deniskj
Shared on:
- Facebook page with 2,260,298 likes.
- YouTube channel with 234,900 subscribers.
- Twitter to 101,630 followers.
Let's stay together?
- If you want to stay updated via email, will you sign up either to get new emails daily at http://jerry.tips/steemposts or join at http://jerry.tips/emaillist1017 to get an email once a week with highlights?
- If you would like to build a relationship with me online, would you please visit https://jerrybanfield.com/contact/ because I would like a chance to get to know you?
Our Most Important Votes on Steem are for Witness!
- If you do not know what a witness is on Steem, will you please read https://steemit.com/steemit/@gmichelbkk/what-is-a-steem-witness-how-to-vote-and-why because our votes for witnesses determine our future together here on Steem?
- If you want to fully participate in witness voting and have never made a vote before, will you please set me as a proxy at https://steemconnect.com/sign/account-witness-proxy?proxy=jerrybanfield&approve=1 because this help me to make all witness votes on your behalf and keep them updated?
- If you already have voted for witnesses and prefer to update your own witness votes, will you please place your vote using https://steemconnect.com/sign/account-witness-vote?witness=jerrybanfield&approve=1 because you will feel good knowing your witness vote is helping fund projects that grow Steem as explained here?
My video is at DLive
@jerrybanfield. I am in Plant City. I want to meet up with you and discuss some ideas I have for Steem.
Are you interested?
I can participate if you guys have wine and girls with big boobs
yeah yeah....I will have that work to create a video for sure....no I'm joking....I'm lazy as crap.
You are the gorgeous man
Its all about lighting... makes the editing process a lot easier for sure.
I agree with you that in order to obtain high-quality video, good equipment is a must, including lighting, cameras, cameras and more! !
Very generous and kind of you to put sooo much information out there for aspiring vloggers! I also appreciate your business savvy. Keep on going champ!
You look great Jerry! This one is bookmarked!
Now just remember: honesty dictates to always frame God as speculation:D
The legend @jerrybanfield is here once again to share his deep knowledge with us.
I appreciate your work and success for your success. Produce Videos with Beautiful Lighting for $ 100 Includes Webcam and Light Bulbs. this is an alternative that does not spend much capital, I will try it in my studio room.
 Thanks my witness @jerrybanfield
Thanks for this my witness @jerrybanfield
Im vote your my witness
Please check in my bloq for v8sit
Hi my mentol, i always like seeing you on camera front. #vlog
You can check out my blog https://steemit.com/promotion/@maxvoice/someone-asked-while-i-was-prospecting-him-to-join-steemit
I think the key is the distribution of light, I have an inclined ceiling and my chroma tend to make folds and room itself casts odd reflections. I tried the cam recommended but then returned and kept on using a camcorder. I still need to master green (blue in my case as my hair is yellow).
Nice post boss me.......keep it up
You is the best my witness
I have mentioned your name in my post as a motivator. if you do not mind to visit my block with a little voice, I really say thank youMr @jerrybanfield
Hey jerry! I have been watching since last 2 months and you are amazing. You are very active on this platform since last years and your contribution is enormous.I think I can trust and vote as witness.Can you tell me how can I vote for you?
seriously people like mr jerrybanfield should be celebrated,you are bundle of resources and also a bunch of success to the world and your country
Awesome tips!
Thanks for doing what you do👍
Your post was mentioned in the Steemit Hit Parade in the following category:Congratulations @jerrybanfield!
I don't see a microphone in your videos. In other posts you mention the Electrovoice RE-20. Are you able to use this in your head shots or do you use a smaller mic? I typically use a HEIL PR40 when I'm not in the video and a Countryman E6 when I am.
Have you thought about using an arch of LEDs?