I just wanted to do a short DIY post about bearings for many of you who are needing to become more frugally minded as the pandemic shuts down the economy. This will be a series I'm going to start doing due to the times we find ourselves in. I think these little shorts might be helpful to some people in need.
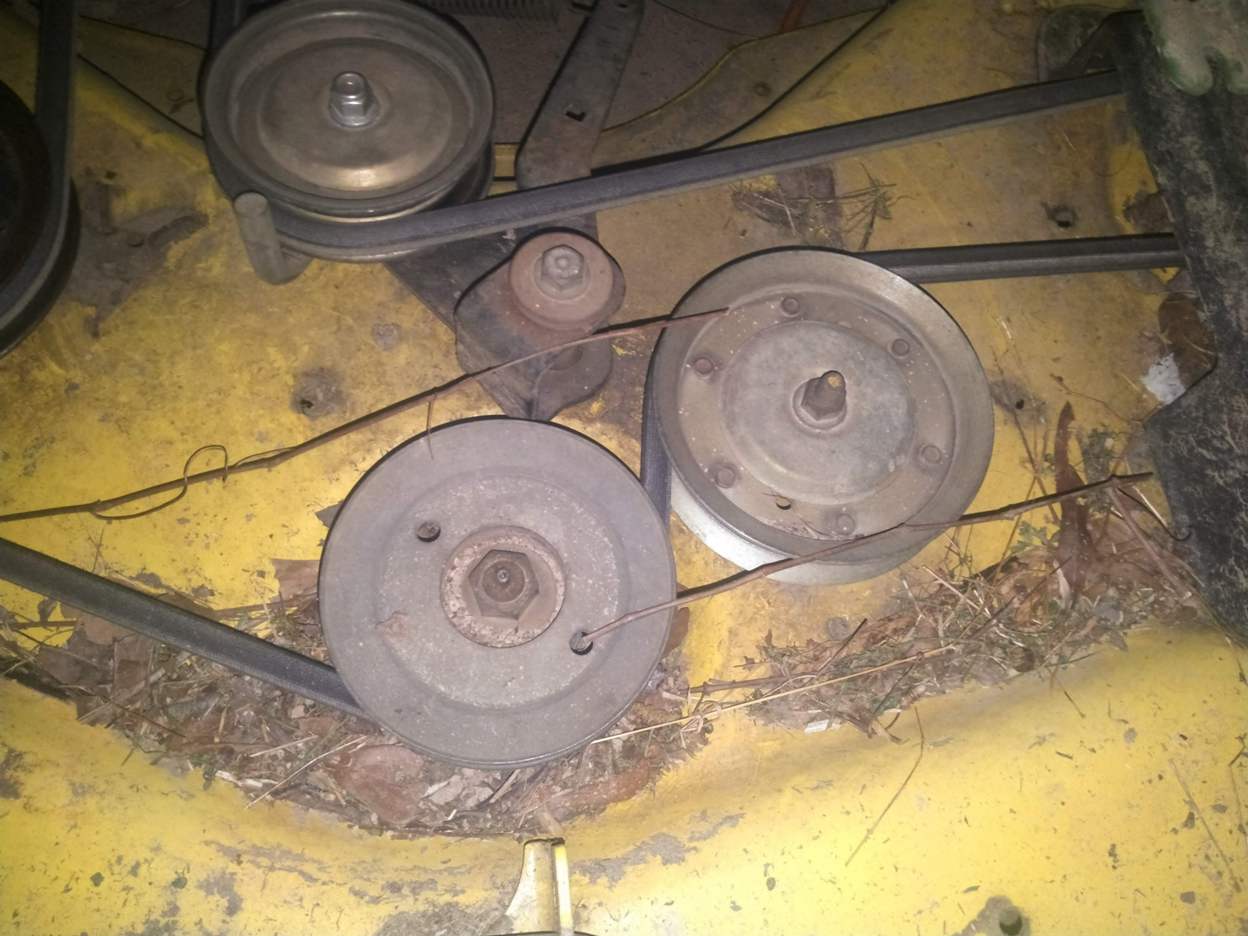
I was changing the belt on my lawnmower recently and I noticed that the bearings in a couple of the idler pulleys were getting a little crusty. They weren't bad enough that they were in danger of imminent failure, but when I spun them, you could hear some dirt crunching around inside. I'd say I might get another season out of them if I'm lucky. For me this meant they had to be replaced ASAP. I often find this kind of thing when I purchased a used piece of equipment. A significant cross-section of the population doesn't maintain and care for their things, which means many backlogged maintenance items need attention.
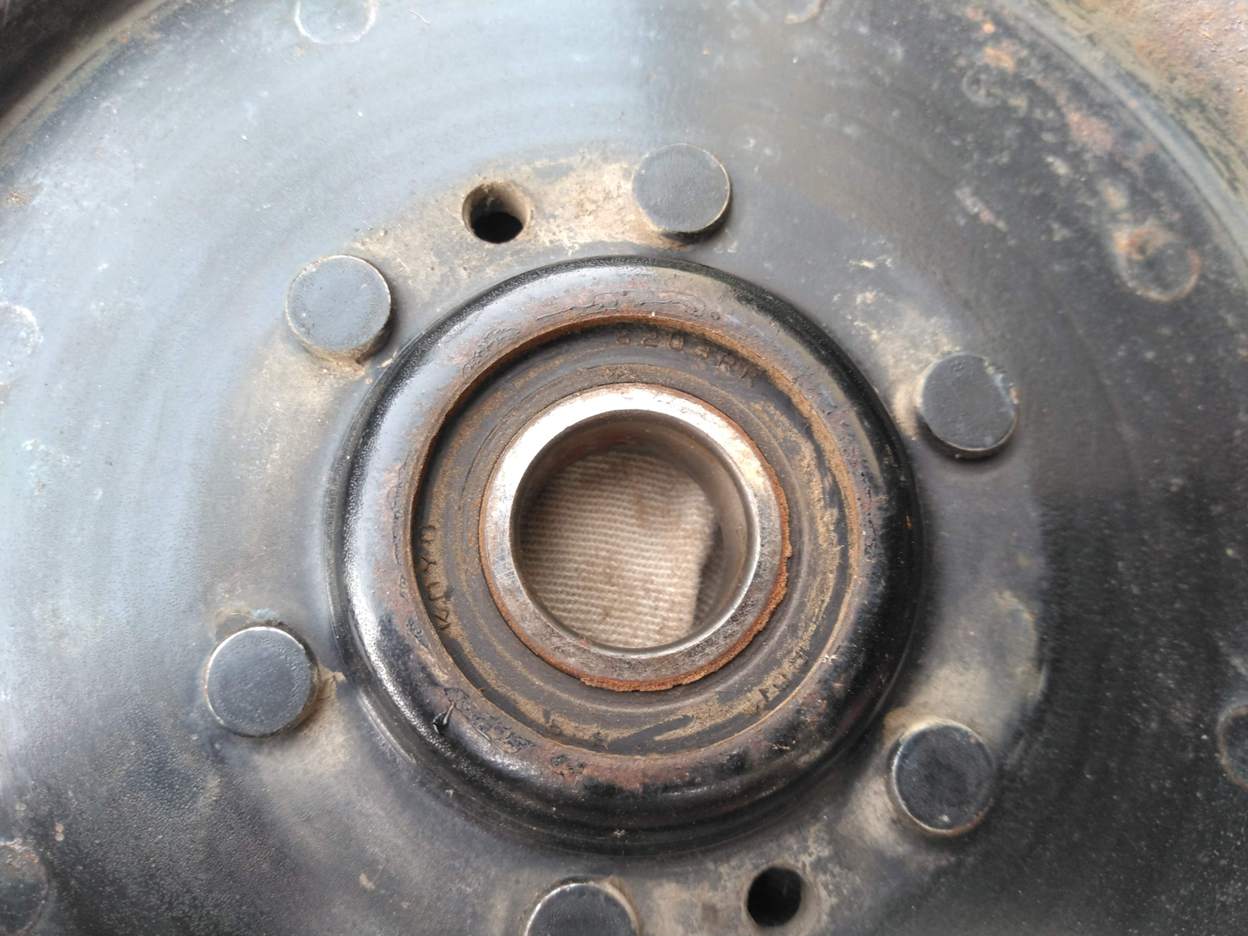
Above is a closeup of the bearing inside one of the idler pulleys. This pulley is actually a pair of stamped steel pieces that are spot welded or riveted together with the bearing sandwiched in the center. Many people, even DIY'ers and pros, don't realize that these types of ball bearings are actually industrial LEGO and that they are standardized items that work across brands and industries. Even skateboard bearings use the same standardized codes. You can use these codes to either replace or upgrade existing bearings without ever contacting the original manufacturer and they can be sourced from anywhere. If you look closely you can see the number designation 6203RR on this one (I know, it's hard to see in this pic, but take my word for it). Now the important part for fitment is the numeric part, 6203. Any bearing with that number will fit this application as it will have the same inside and outside diameters along with the same thickness within a specific tolerance. Beyond that, depending on what you're using your bearings for, the letters designate something about how the bearing is shielded or sealed if at all. I don't really worry too much about those letters on what it came off of except that in applications where dust and dirt will enter, which is pretty much everything I use bearings for, I like to get rubber seals of some kind. These are usually indicated by a suffix that begins with R, in my case I opted for the part number 6203RS, which I think just means rubber sealed.
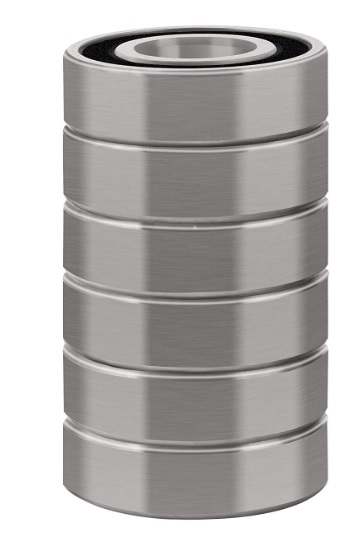
I found a stack of 10 of these bearings on Amazon for $15. Bear in mind here that I also opted to pay an extra $2 for my pack of bearings to get better quality, so if you want to cheap out even more or you want something for a less intense application, you can get these types of bearings even cheaper. The pulleys themselves cost between 30-40 dollars a piece depending on which one you get, so the extra work I'm doing here is well worth it. Another thing I needed for this little project was some 1/4-20 x 3/4" bolts and nuts which I sourced from eBay for about $20 total. This puts me into the price territory for one idler pulley, but with the bolts only needing to be purchased once, the cost after the initial investment is only the bearings themselves. I have lots of spares now too.
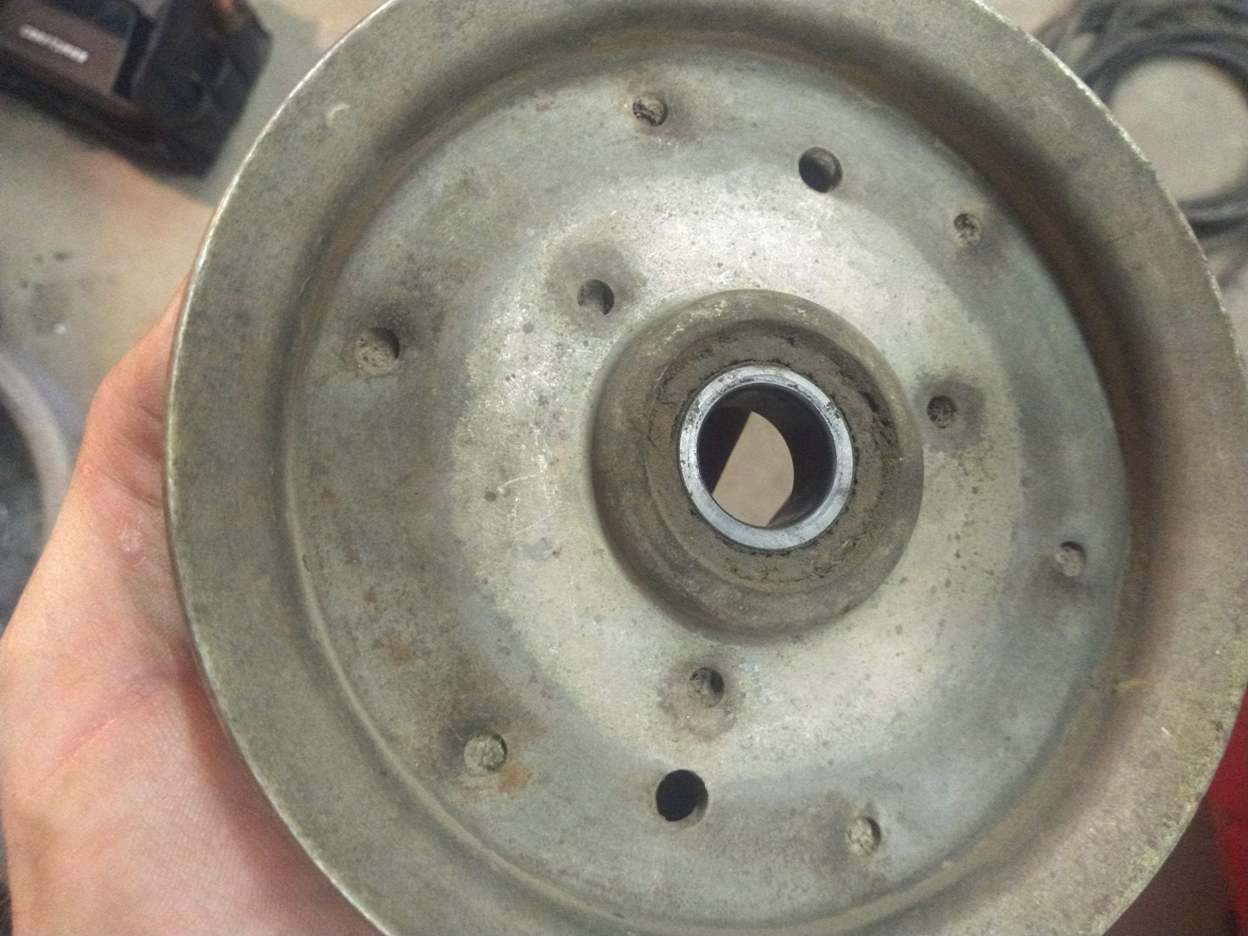
Now I swear I took more pictures than this but either I didn't or my phone didn't save them. Either way, you're going to have to use your imagination here a bit. The above is one of the pulleys that needed a bearing. On the black pulley, the rivets were raised on either side and so I had to center punch each one before drilling. Getting them centered is important for both removing the rivet and maintaining the balance of the pulley when you put it back together. This was followed up by drilling them out with a 1/4" drill. On this one with the metal plating, the rivets were recessed on one side, so I didn't need to center punch, I just drilled through those recesses which centered my holes for me. Once the holes were drilled, there were bits and pieces of rivets left over, so a cold chisel was used to take the rest of the heads off. The chisel then was put into action along the seam of the two halves. It was driven in there as a wedge to separate them and extract the bearing.
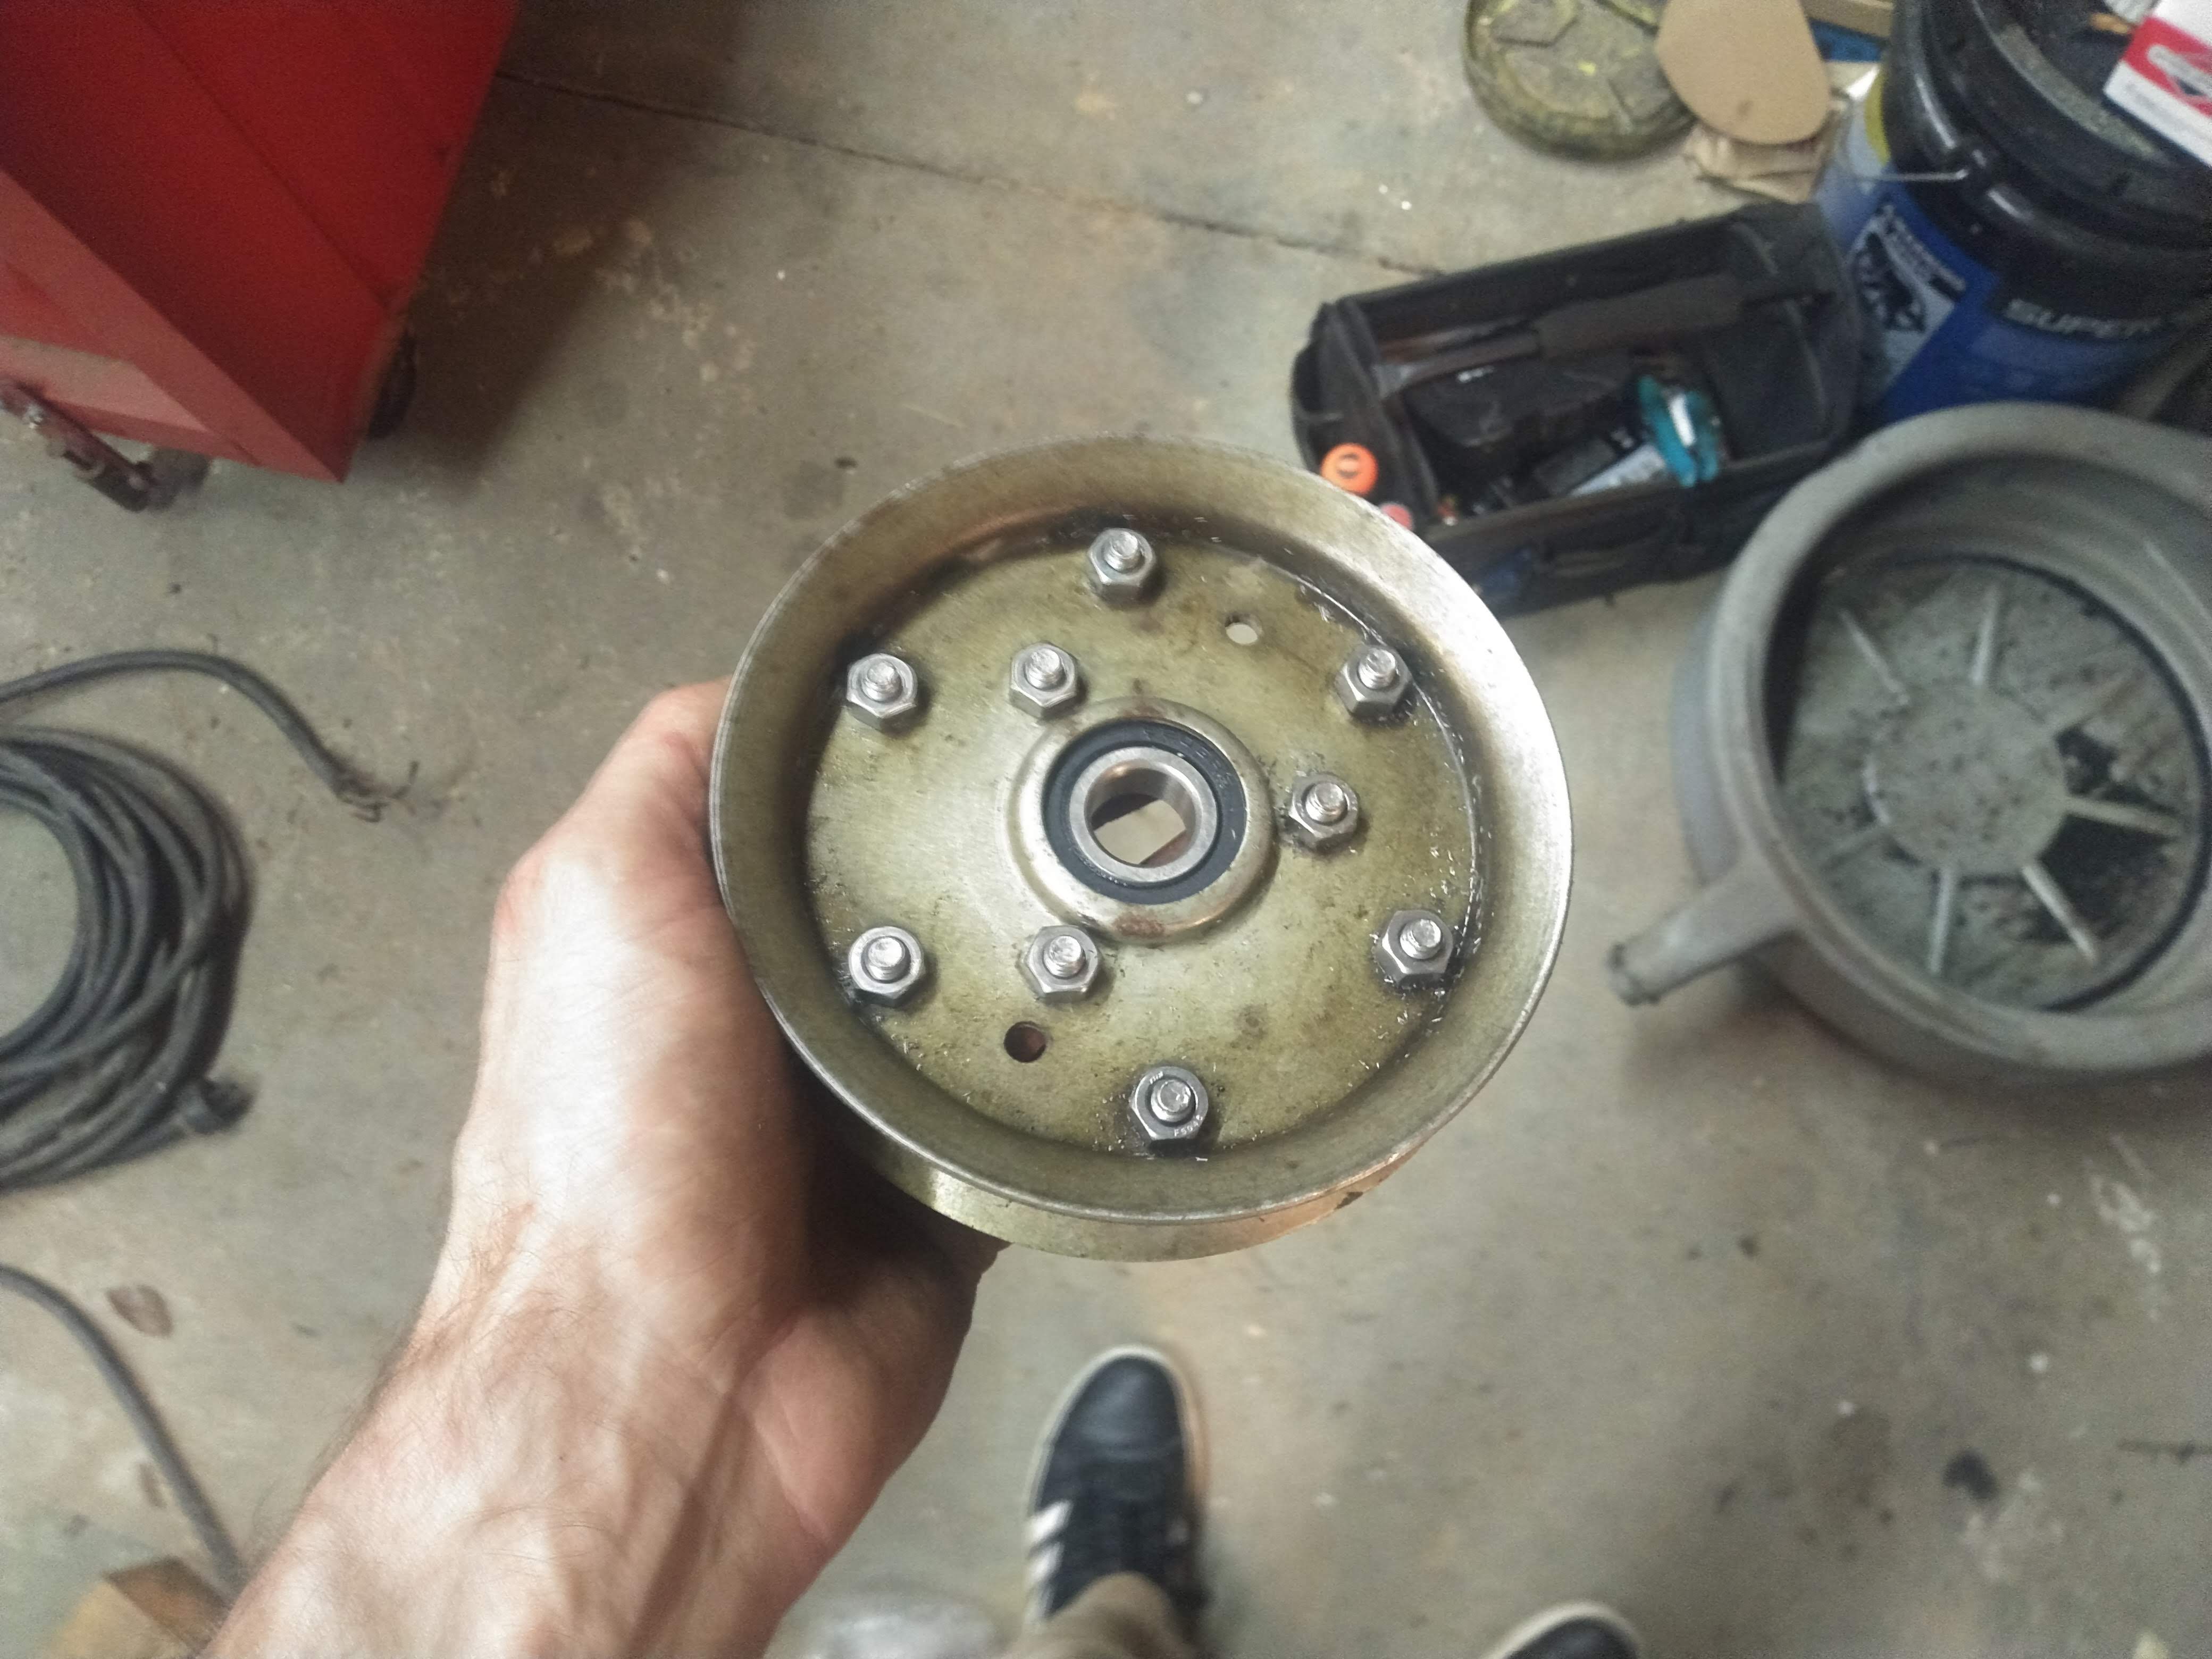
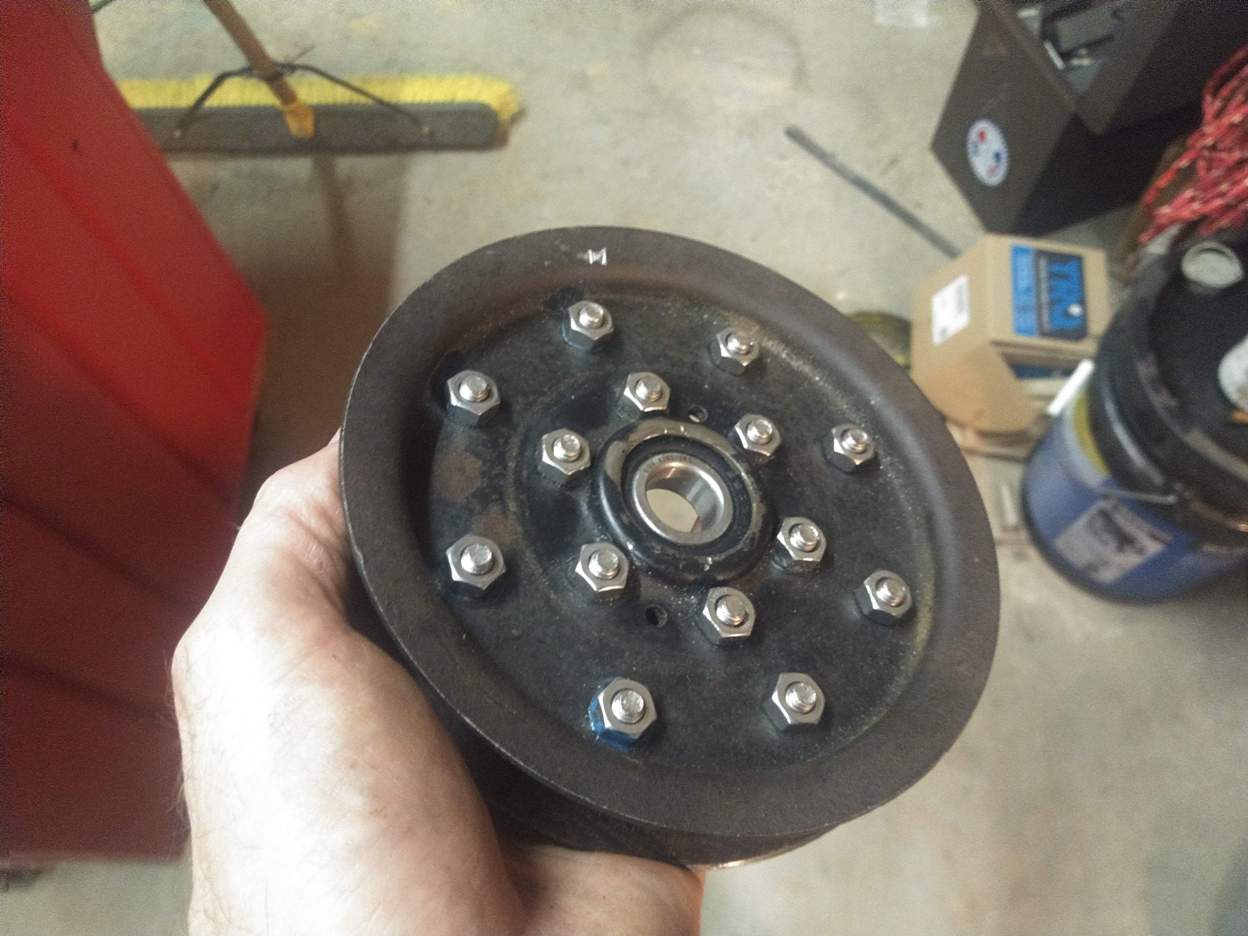
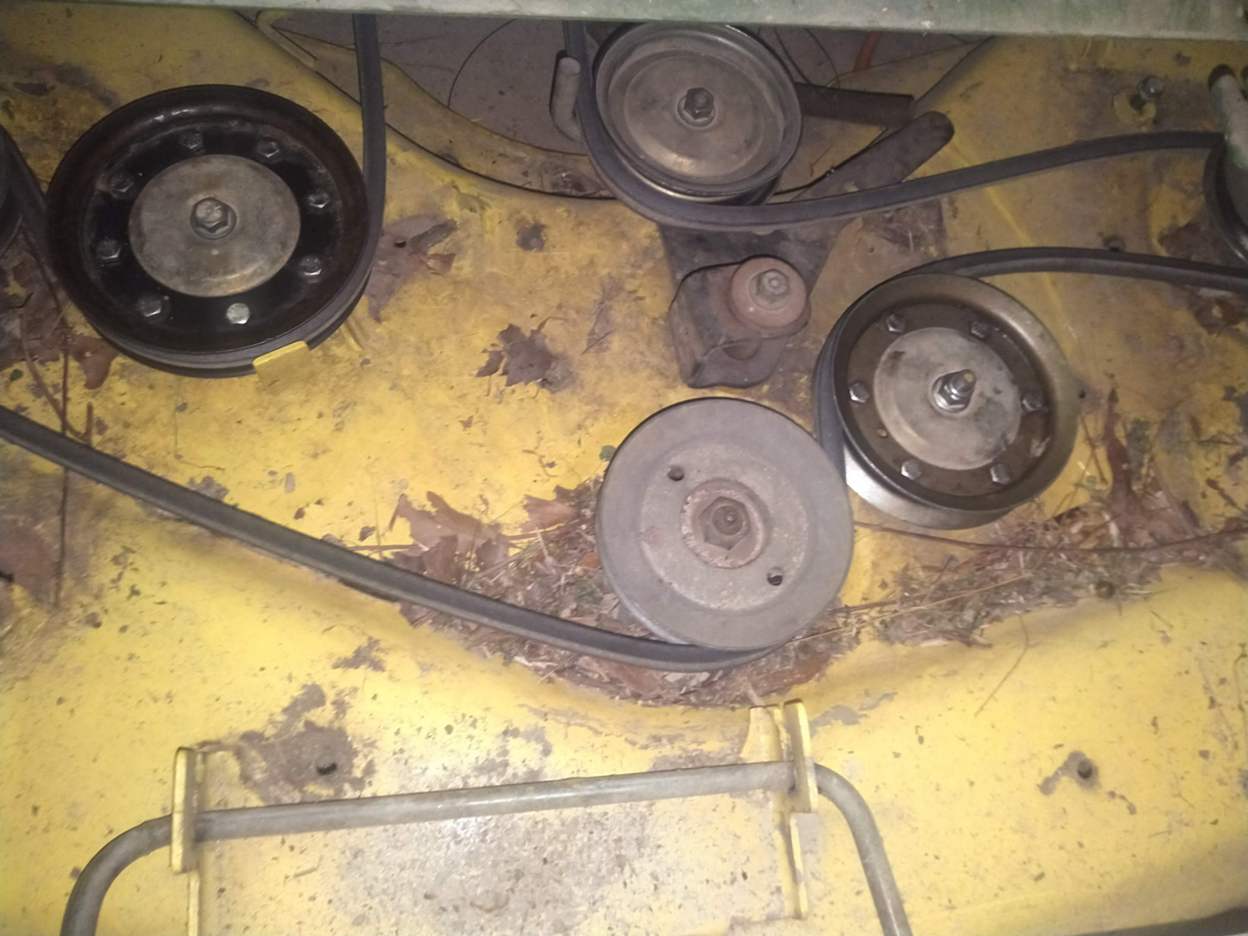
With the new bearings placed into the pulley sandwich, the 3/4" long fasteners were used to bolt the halves back together in place of the spot welds and rivets. Blue loctite was used to make sure they don't rattle loose under the vibration. You could also conceivably use some nyloc nuts, but those tend not to work as well after you put them on and off a couple times. The above is the result. For about the price of one pulley from an aftermarket manufacturer, now I've got two "new" pulleys, and hereafter I can replace all the bearings on the deck almost 3 times over without spending another dime. That works out to about $3.50 a piece, and it will be many years before I have to spend another $15 to get another set of bearings. I doubt the machine will last long enough to need to do that, but if it does, the cost per pulley service will average out even lower.
Things I have repaired over the years since I learned of this trick on sourcing ball bearings with those little part numbers:
- The bearings in the front wheel of our $250 running stroller. The cheap bastards used metal shielded bearings here instead of sealed so they lasted about 6 months of light use. I'd say they saved less than a nickel per unit and they lost a customer for life.
- The electric motor bearings from an old air compressor I acquired.
- Upgraded to steel ball bearings on my dump cart from the crappy nylon bearings that were on it. See my previous blog post for that.
- Replaced the crappy nylon skateboard bearings on my son's skateboard so it could actually be used as a skateboard.
There's probably more on that list, but you get the idea. These style ball bearings are pretty common, they're standardized, and many different manufacturers make them to spec, so they're incredibly cheap to source. I hope this helps someone save some money in the future. Until the next one, keep the Hive buzzing!
You've been visited by @minismallholding from Natural Medicine.
Thanks for sharing; I'm looking forward to reading more lessons in frugality from you. I’ve featured your post in The Lotus Garden newsletter, which will come out tomorrow.
About II Discord II CommunityThe Lotus Garden is a newsletter supporting content relevant to Homesteaders & supported by Natural Medicine. Earn LOTUS & HIVE for your #homesteading content!
Congratulations @randr10!
Your post was featured on our daily build newsletterwallet upon which you can sell, trade or buy on Hive engine.. We've sent 250 liquid BUILD tokens from our @build-it.funds account to your
Build-ithere and earn extra 'HIVE' tokens. is a DIY (do it yourself) platform where you can find tons of how-to's, ideas, and advice to create or build something all by yourself. The platform leverages a robust digital token, called the BUILD. The recommended tags required when creating a DIY article are #diy, #build-it. #how-to, or #doityourself. Please subscribe to our HIVE community
Chat with us on our discord and telegram channels Discord, Telegram.
These are some great DIY tips! Reminds me a bit of AvE on YouTube when you called the bearings, "industrial lego." People.don't seen to realize that bearings, bolts, springs, and other bits and bobs are so standardized and universal.
And yes, there is little more frustrating than realizing an expensive purchase has one cheap component that seems value-engineered to fail. The solution is posts like this pointing out those failures to less-informed consumers.
Yeah AvE cracks me up. A good natured, foul mouthed technical dude with a healthy dose of irreverence for authority. I think I picked that ism up from his videos. I also remember Matt Farrah referring to the Fox Body Mustangs as auto sports Lego so that probably contributed.
I remember being a kid working on bicycles and noticing how standardized all of the components are. When I transitioned to cars I realized the opposite was true. I'm of the opinion that if the Big 3 hadn't been bailed out so many times and been subsidized by IP laws we probably would have ended up with a similar standardization of components eventually due to more players entering the market to fill the niches. I can only dream.