Hello dear readers, today I will show you how to make a mini piñata, this time on the unicorn theme.
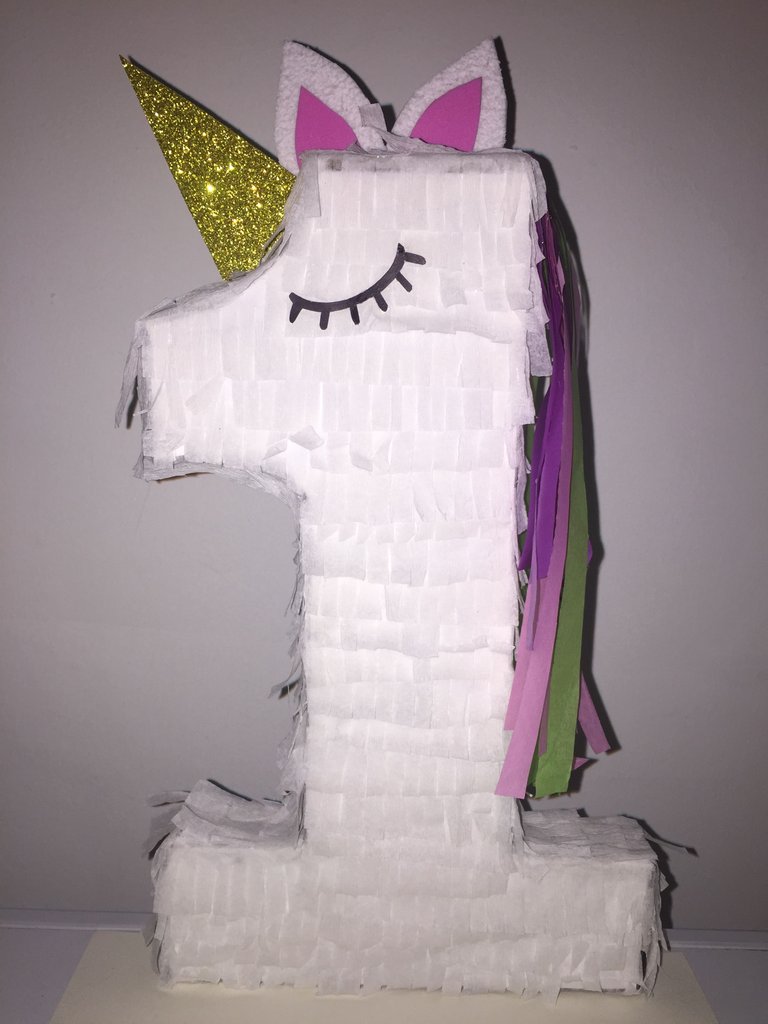
The origin of the piñatas comes from China, where they used them to celebrate the New Year ceremony, they made them with oxen figures, and inside they had seeds, after breaking the piñata they burned the remains and distributed to the people the ashes, meaning prosperity and abundance. Then this custom came to Italy and Spain, where they used them as a religious ritual, from here comes to Mexico, which are well known because they make 7 peaks that mean the 7 deadly sins, their bright colors mean temptation and candy riches of heaven. From here it spreads through the countries near Mexico and already begins to be used mostly in children's parties, first communion, farewells, among others. If we want to read more about the subject we can see it in the following links.
The Chinese Origins Behind The Mexican Piñata
From a time here, the mini piñatas became fashionable, they use them as decoration, as a cotillion to give a gift to the guests, as a wrapper for a detail to a loved one, everything is left to your imagination.
Well knowing a little the origin of the piñata accompany me to see the steps to make this beautiful mini piñata, which I will use as decoration of my daughter's first birthday.
Materials that we need
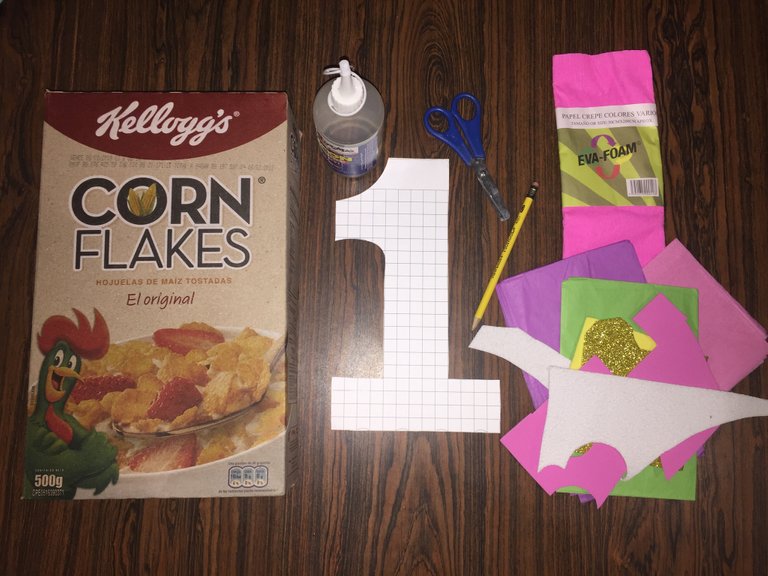
🦄Cardboard or cardboard (as it is mini, we do not need it to be hard cardboard, since it will not have to resist much weight)
🦄Silicon liquid
🦄 Scissor
🦄 Pencil
🦄 Paper crepe (this time I will use white color for the body of the Unicorn)
🦄 Paper crepe or colored silk for decoration
🦄Foami of different colors for decoration
🦄Rule
Process
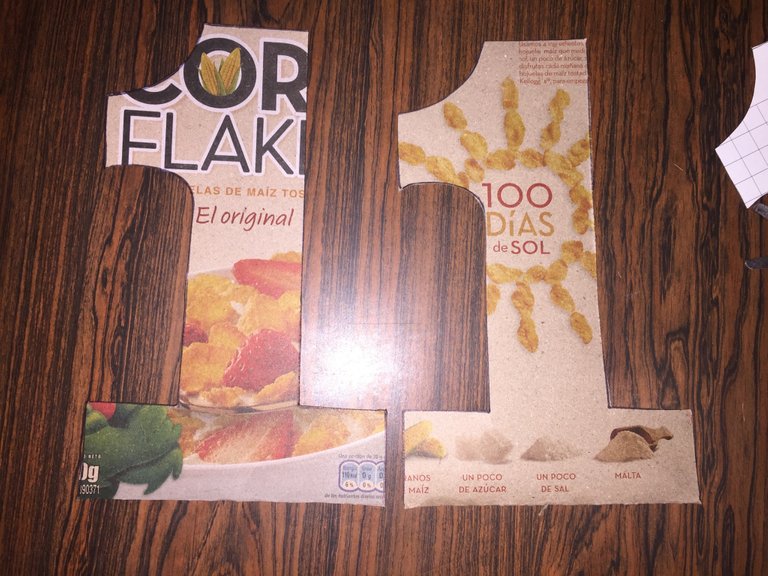
We will make the desired figure in the cardboard 2 times, which will be the 2 faces of our piñata. In this case we will make the number 1 twice.
We will cut a strip of the thickness of our piñata, to this we will add 2 cm, 1 cm of each side that is what we will stick on the faces of the piñata to make the shape of it. If we make a big piñata this tab should be thicker and we will join it with staples.
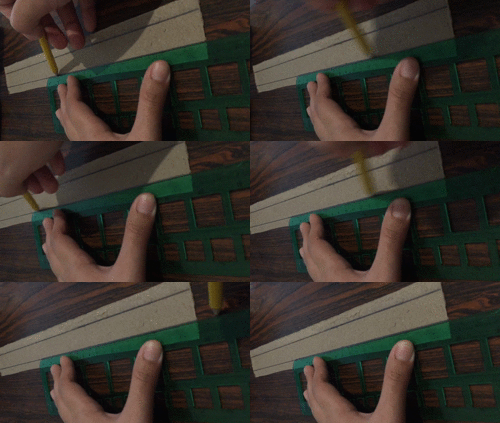
We proceed to stick the strip on one of the sides all over the edge, carefully.
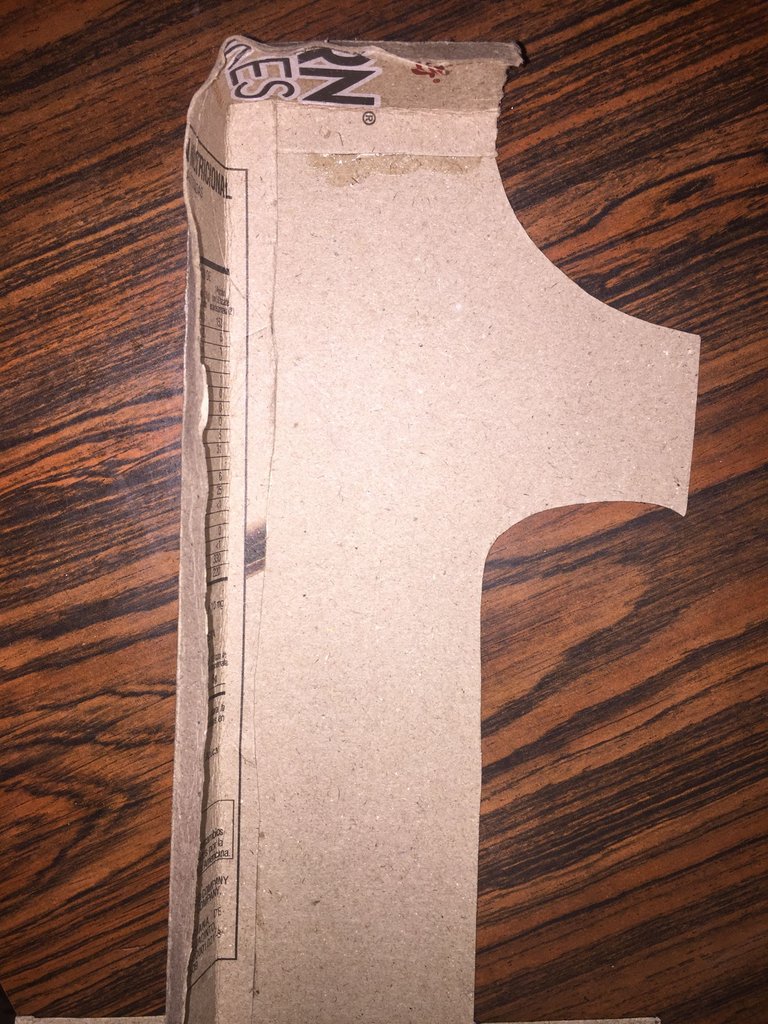
To be able to follow the shape of the piñata in an easy way we can cut the tab as I show them below:
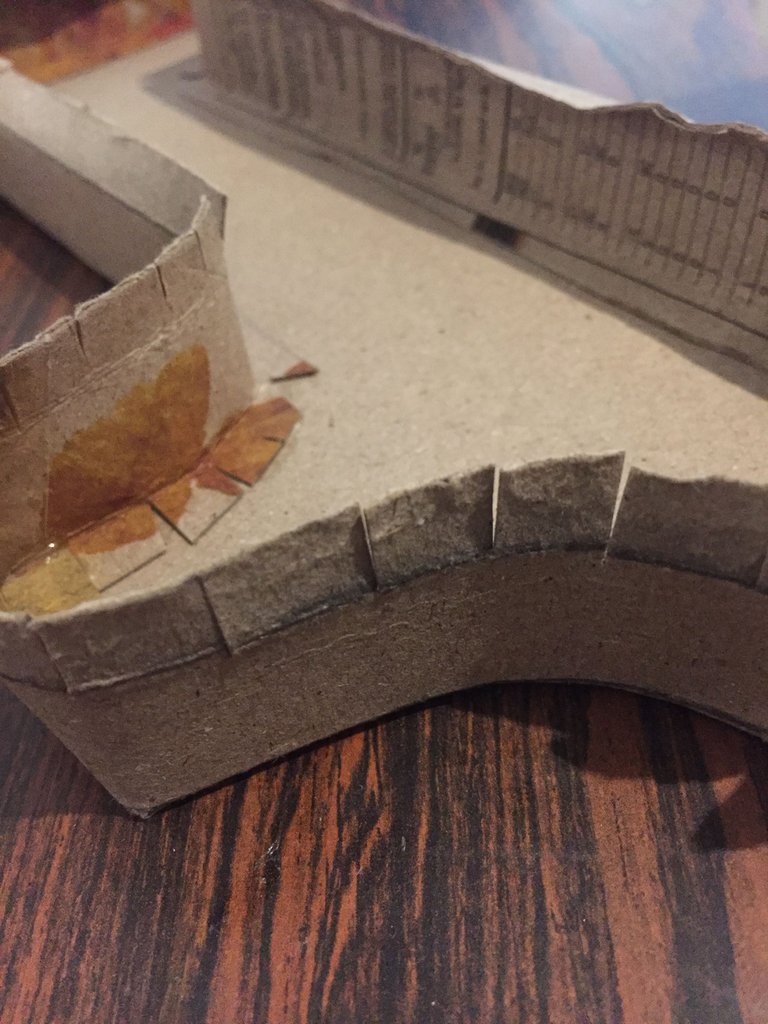
Then we hit the other side of the piñata.
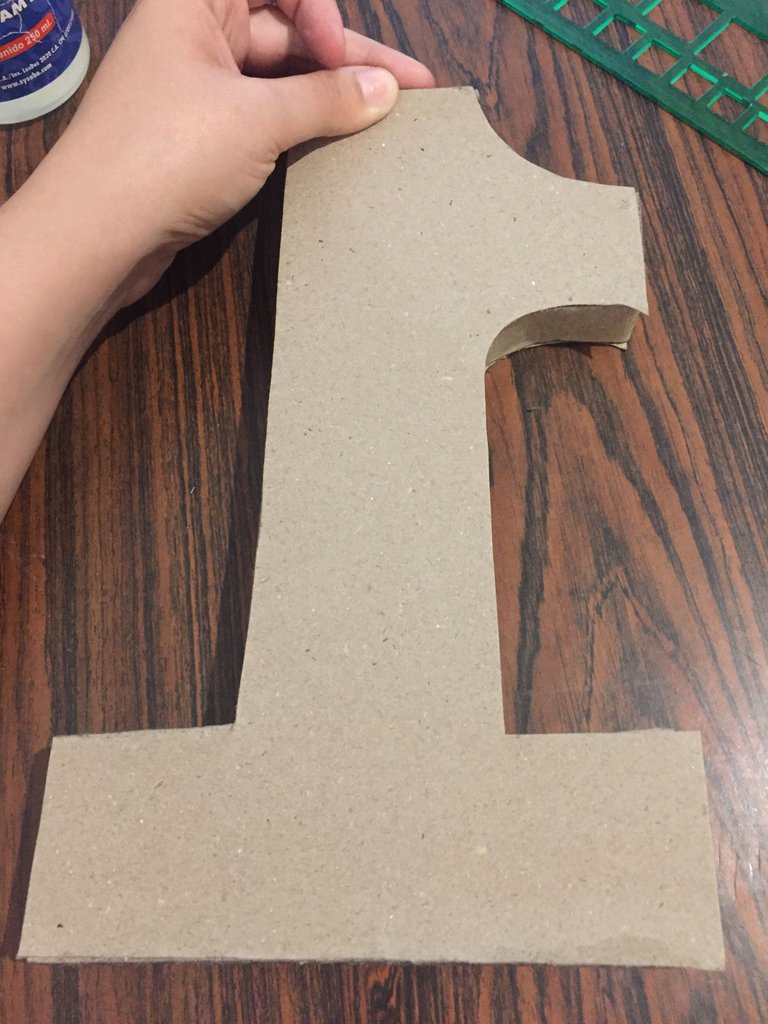
We already have our piñata ready.
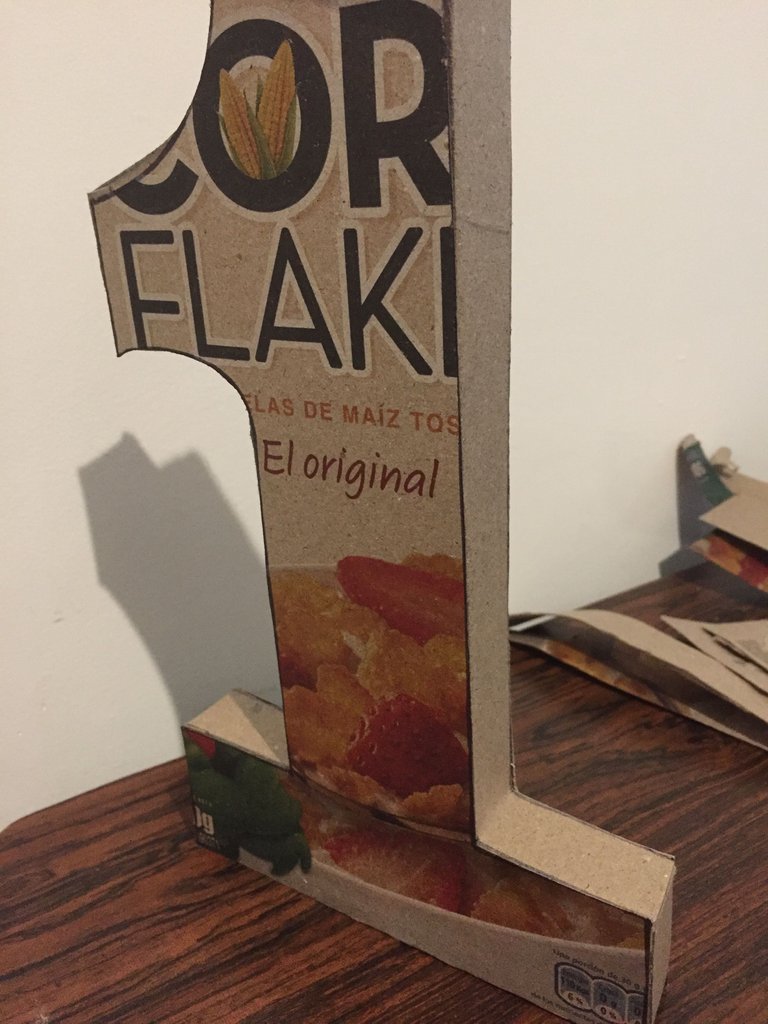
As it will be white I decided to stick a white base so that the cardboard is not visible.
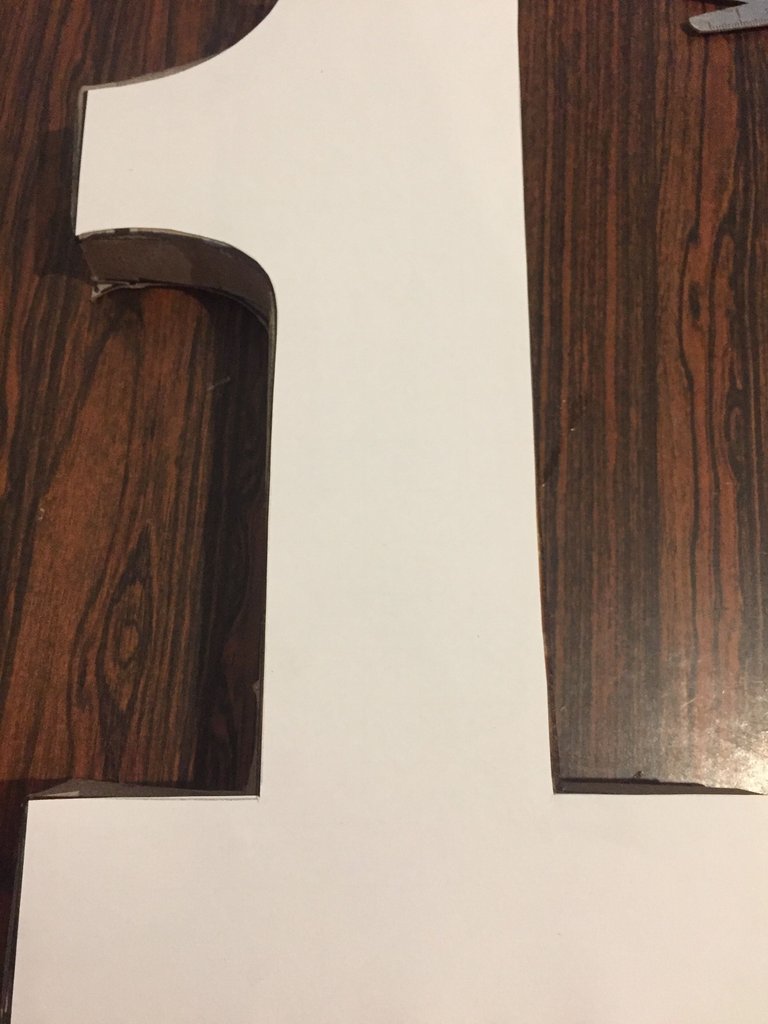
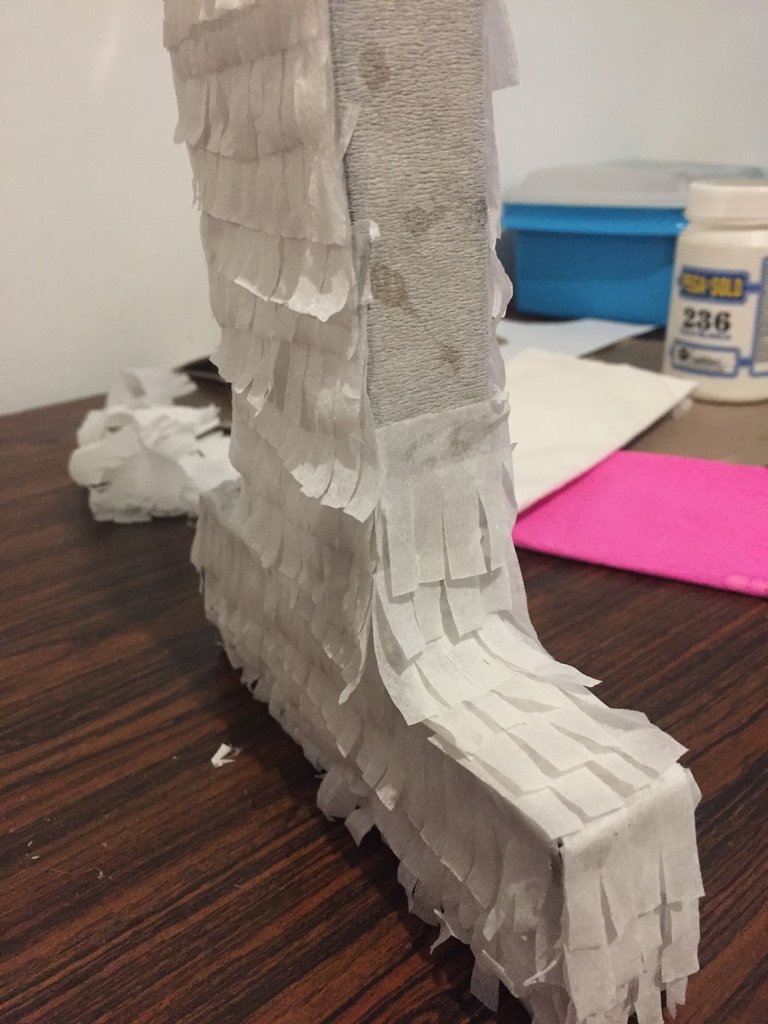
And on the sides I pasted him the same crepe paper.
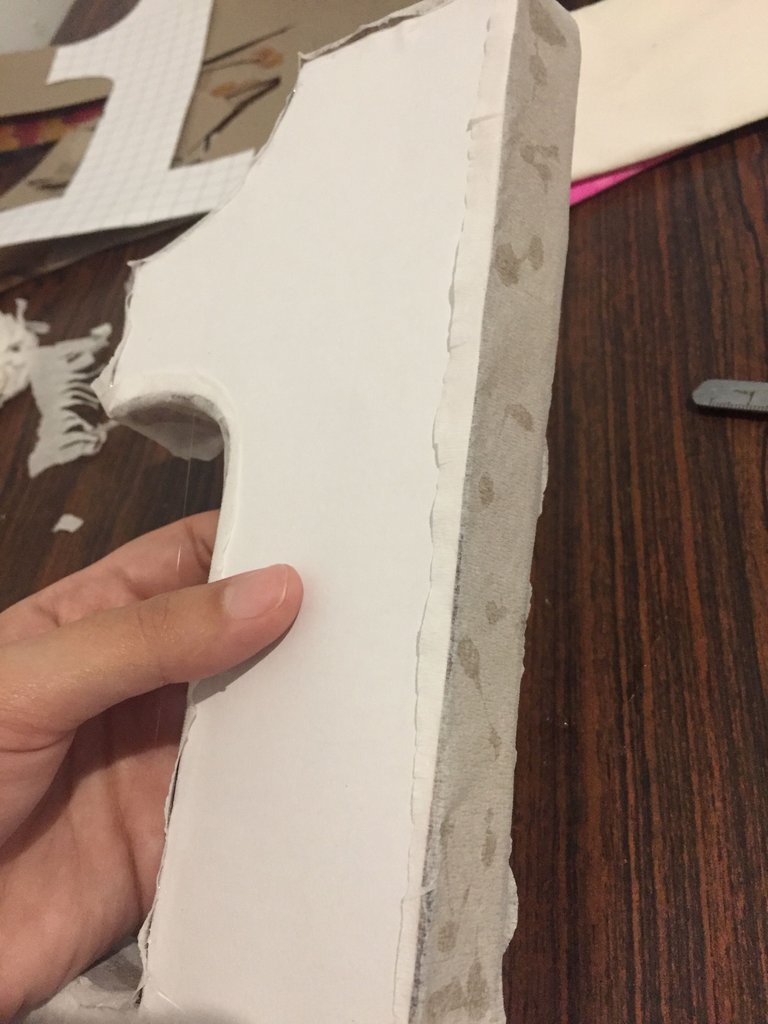
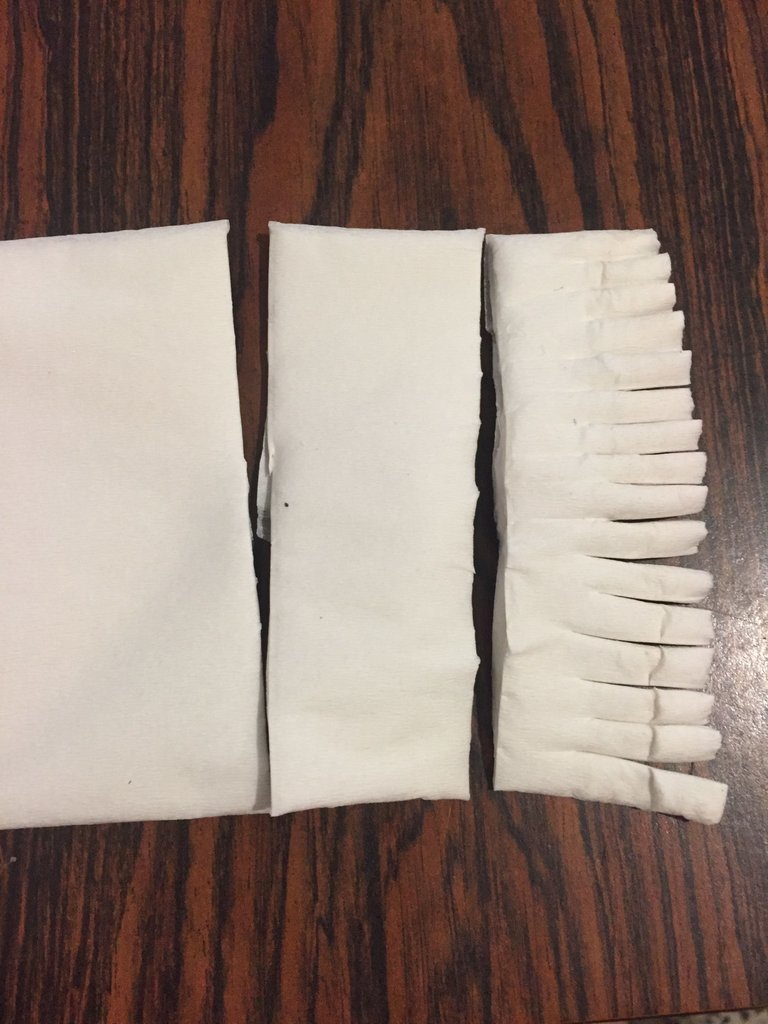
We cut a strip of crepe paper to start dressing it, this strip we will make cuts so that we have a kind of skirt that we will be sticking from bottom to top.
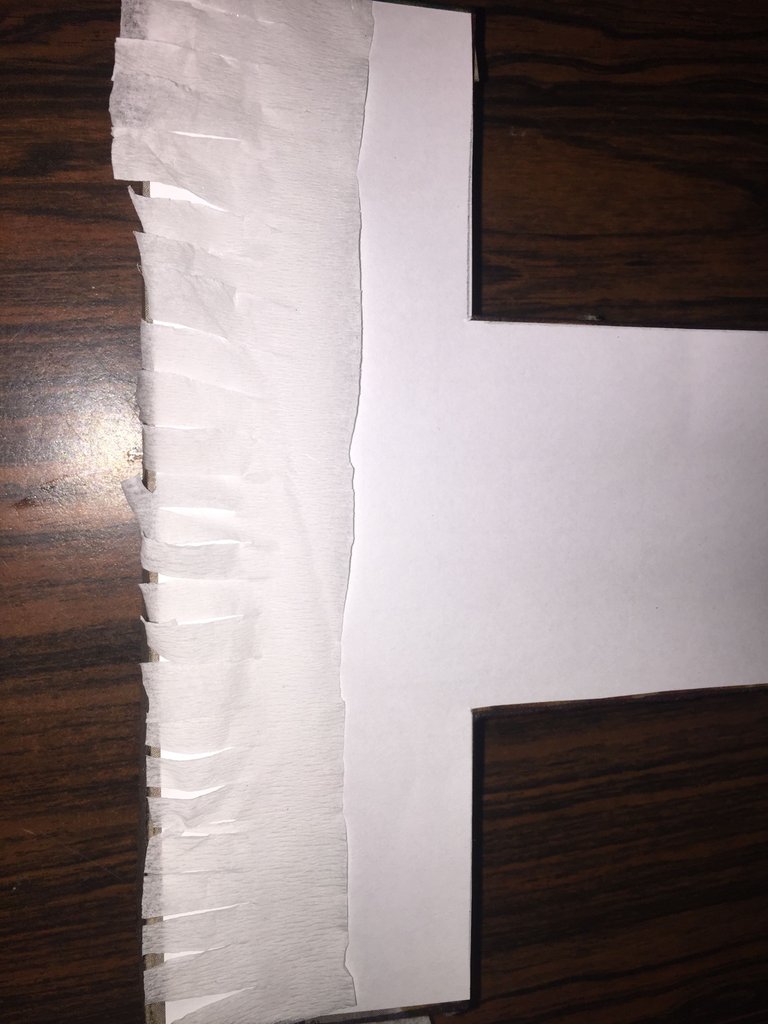
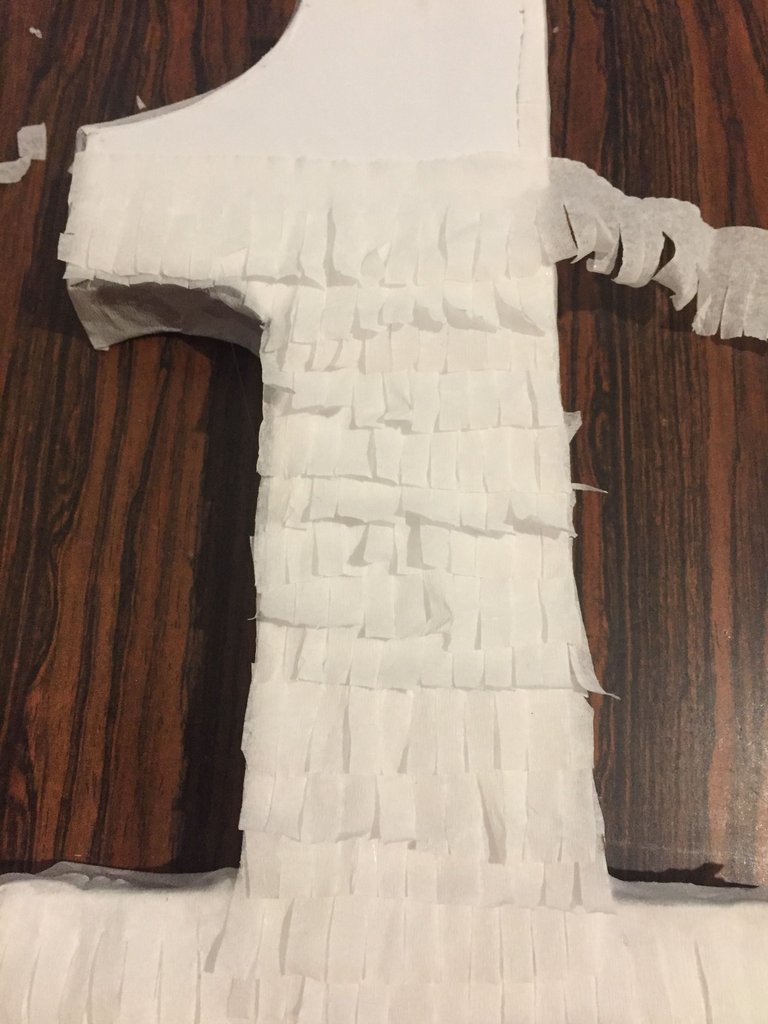
In the same way we will cover the sides.
To finish we do the details with foami and tissue paper.
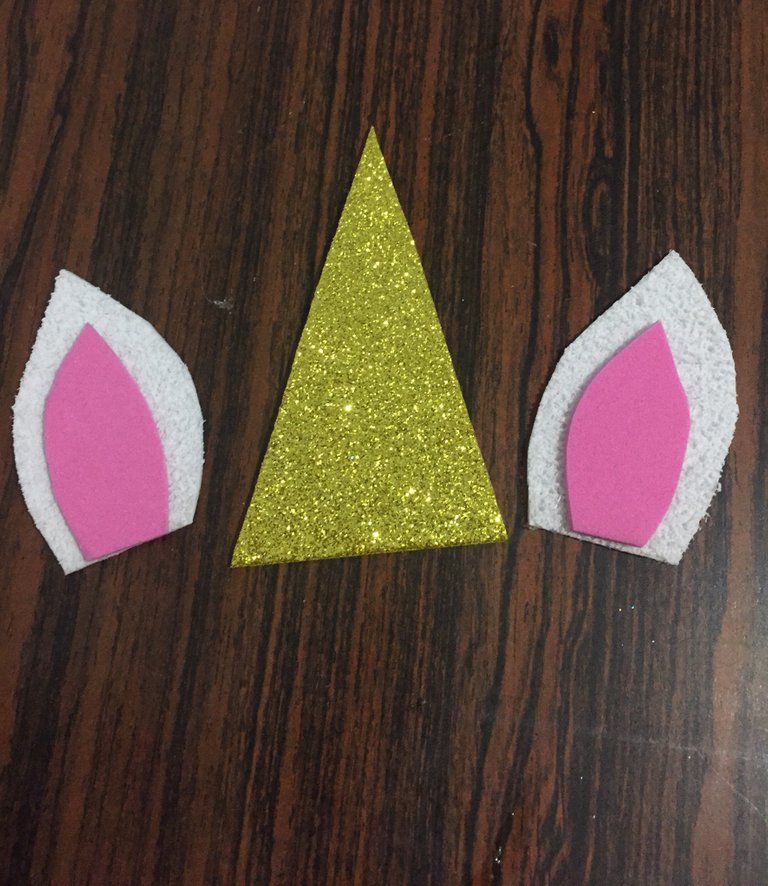
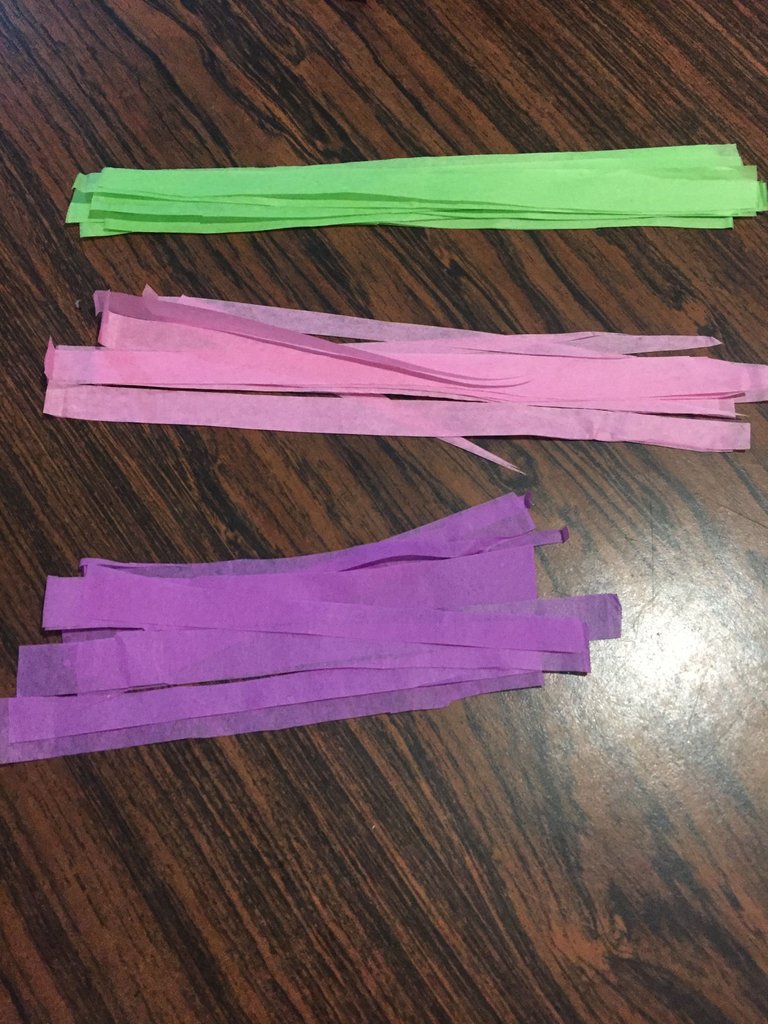
We decorate our taste.
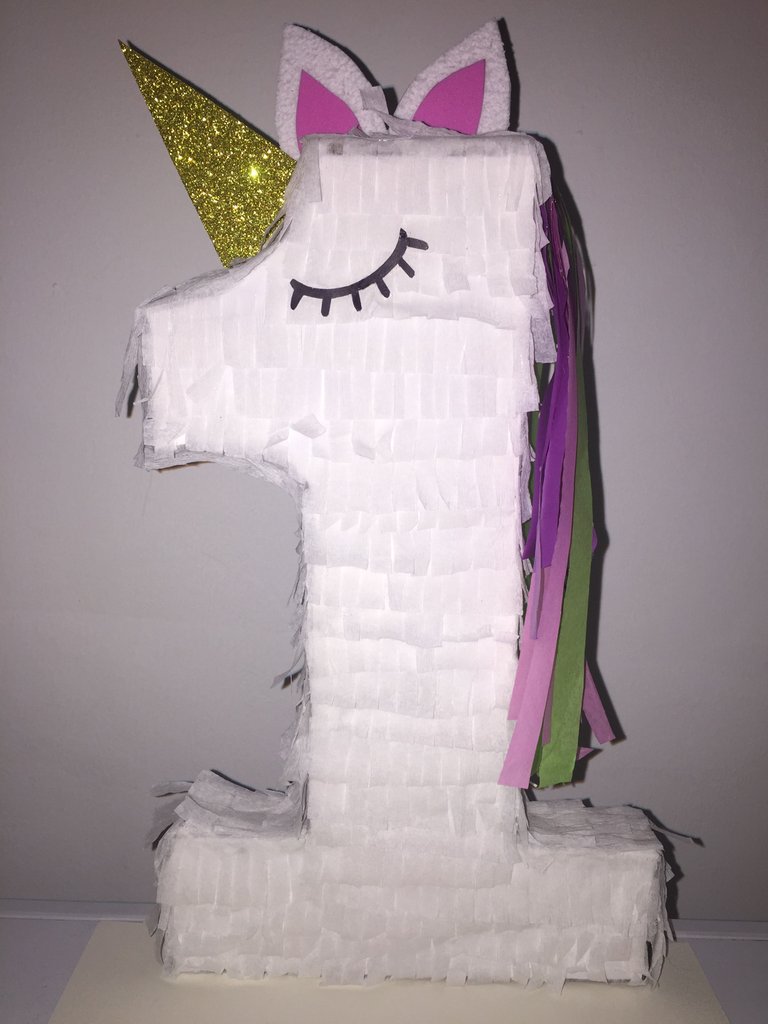
I hope you liked it, if you want to support me upleave! Thanks for reading, see you in the next post.
Own photos taken with an iPhone 6.
This is awesome, I love what you have made for your daughter it came out so good! <3
Thank you for reading! :)
¡Wow! I had no idea that with these materials you can make a piñata, excellent step by step.
Yes, you recycle and do something nice.
This unicorn is adorable and very creative using the number one as the unicorn head. I love the designs and effort you put into it. It must have taken a long time to get exact measurements for this piñata.