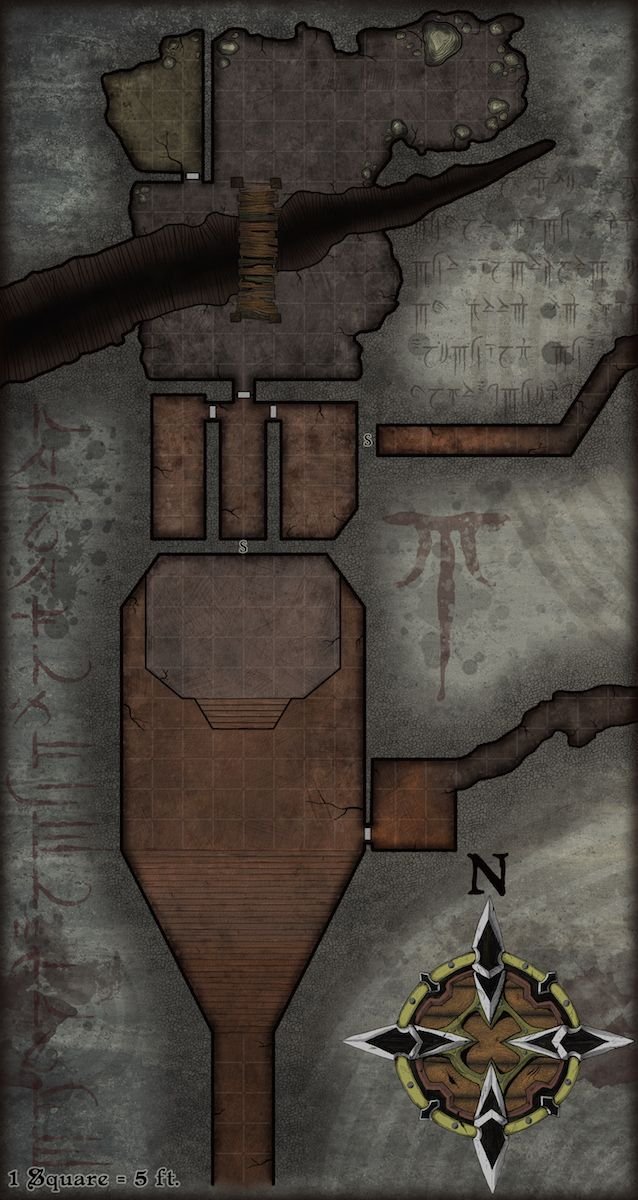
Hello, Elven Tower here. Here's another step by step pictorial of a recent illustration that was released today on my website here https://www.elventower.com/archives/2668
Here's the finished illustration for reference.

1st. I lay down the base linework for walls, cliffs, doors and rocks. The document is set up with a 140 px grid. This is the Roll20 and other VTTs recommended resolution.

2nd. In different layers, I add cracks on the floor, a bridge and the stairs.

3rd. Now it's time to do the fine details for the rocks, the floor and the cliff. The bulk of floor hashing I cheated. That's a pattern layer with some premade lines.

4th. I add a compass rose (this one was drawn by Deven Rue a fellow cartographer). I aso added the main color for the ground and doors.

5th. In its own layer, I added a contour shadow for all the walls. It gives a semblance of depth.

6th. Now I add the background. That's a rock texture illustration I already had, so I just added it. Next I will decorate it.

7th In their own layers, I create all sorts of decoration. Tere's faded runes, ink splotches and some texture lines. This is something I do in most of my maps.

I'm a graphic illustrator and I focus my work in tabletop RPG games like dungeons and dragons.
I'm new on Steemit but have great aims to share my work in posts like this one where people can see illustrations be created from the ground up.

Send some love, likes and follow me for awesome cartography illustrations.
I do this full time and I love creating fantastic locations !
If you're interested in my work, take a look at my Patreon page
There is a pledge level that gives access to my photoshop source files, in case you wish to see my workflow and learn in the process.


This is really good, thank you for sharing. I love that you went step by step with how you did it. Maps are always my failing in every game.
it's a big skill, I invite you to follow my blog with tons of maps . You'll find them useful https://www.elventower.com/maps-index