Experiment With Smile... Muscles Shading
First... Hi Steemians - so happy to be back drawing... makes me smile.
Here is the finished drawing...
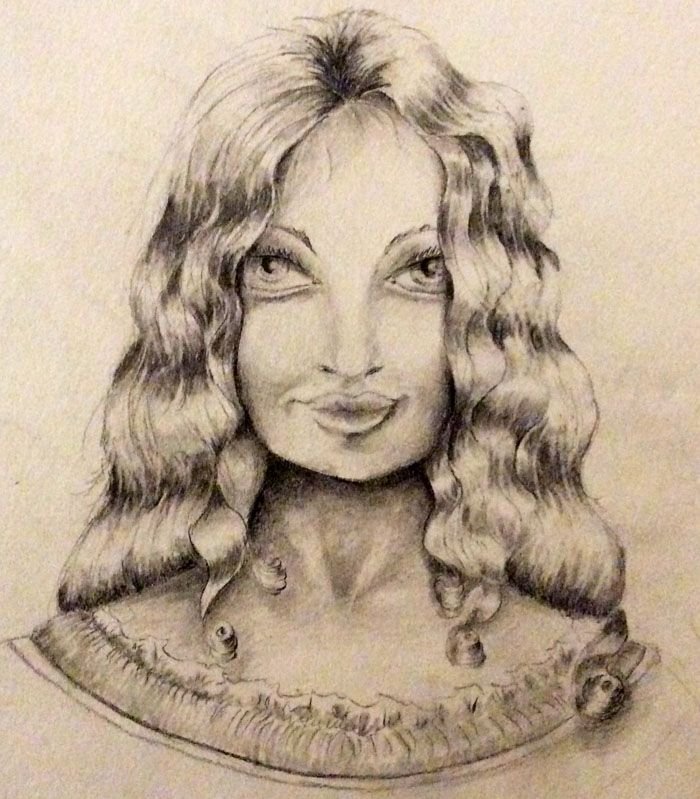
You might notice through this tutorial that I have decided to keep the sort of natural color of the lighting and paper... rather than making too black and white. I think I like the natural pencil drawing look much better. I left some of the tutorial part in black in white... Maybe you could tell me in the comments... which you like better?
Also, I haven't been drawing much lately so had a bit of trouble with the mouth. I show that in the images below...
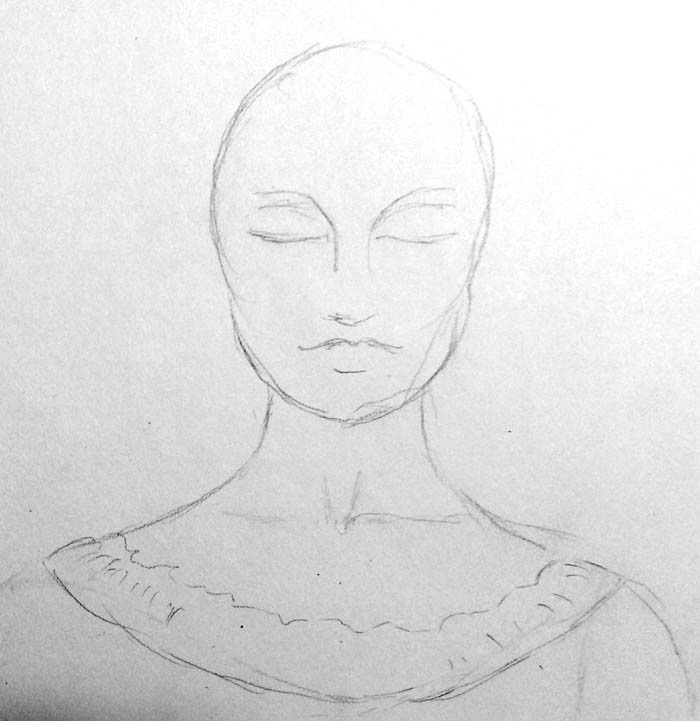
First - A Basic Shape - Outline of the head... and Placement Of Features
Notice that I literally just figure out where things will be... nothing too defined.
Second Step Deciding Where the Low lights will be...
I like to start with the darks (low lights) and then work lighter. This gives me structure. Some artists like to work
the other way around.
Here I also sketched the hair, shaded a bit and placed the eyes.
Once I have a structure - now the fun begins...
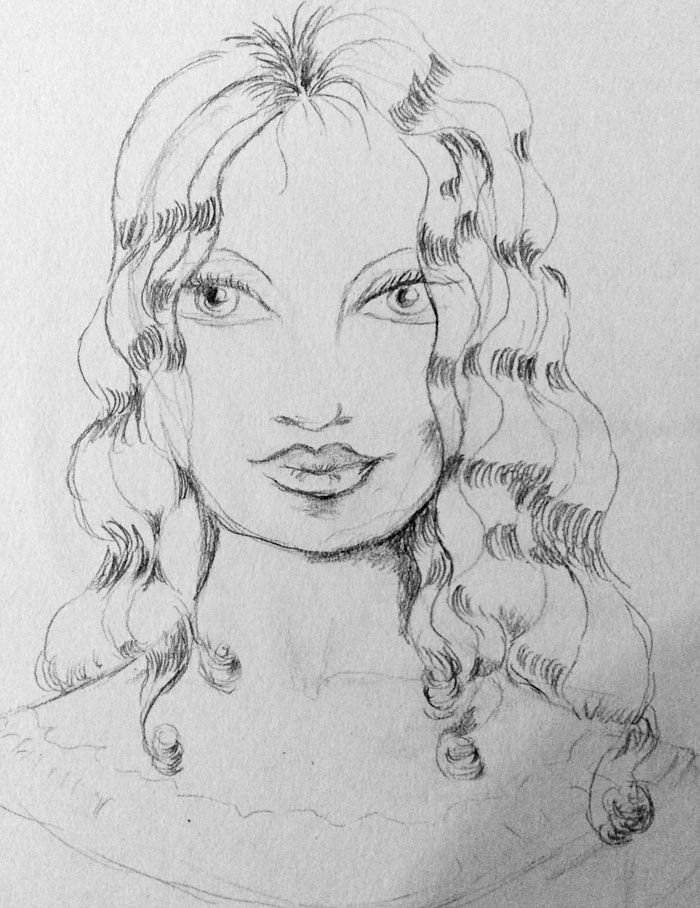
Made A Good Start
But... I then mucked with the mouth and was not too crazy about it. This is when my focus on the making the mouth interesting in this drawing started ... ha ha ha...
Funny how little things can change a whole face... and when I haven't been drawing for a while I find interesting accidents can blow you away. At this point in the drawing I really didn't like it.
However, one of the things I have always told people learning to draw is to finish the drawing. It also helps to put it out there ... flaws and all.

Adjusted Mouth... lots more shading and shaping of face...
Now I am actually starting to like the drawing again. So lesson - don't quit and rip it up... keep going and see what happens. This builds your drawing skill... and just plain old confidence.
Finished the shading at this point. Lots of shading in the hair and notice I have left the highlights...
Shaded under the eyelashes and in the iris of the eye... then went over with small pointy eraser and highlighted...
even ran it over the whole eye... this blurs things interestingly.
Makes eyes look alive.
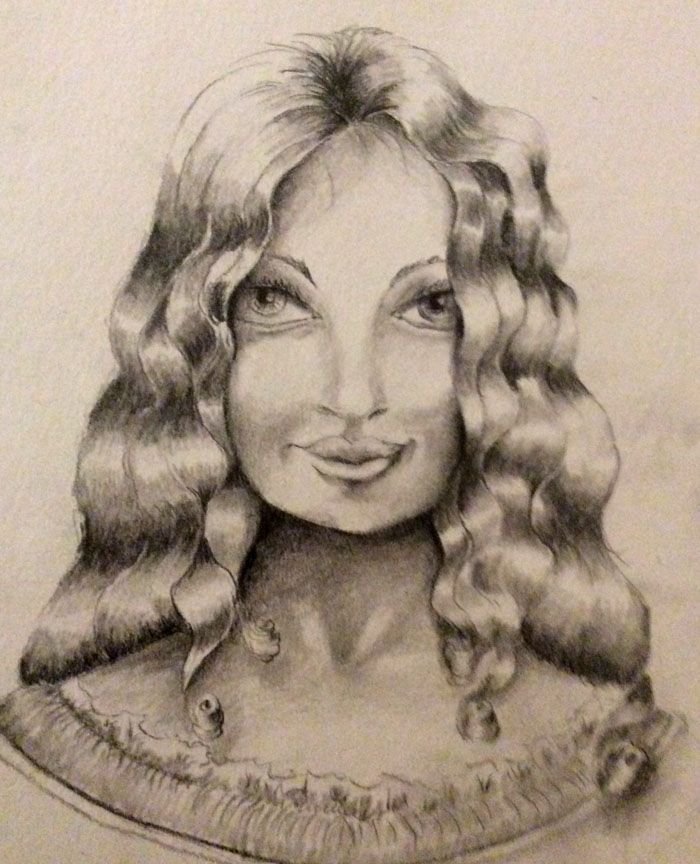
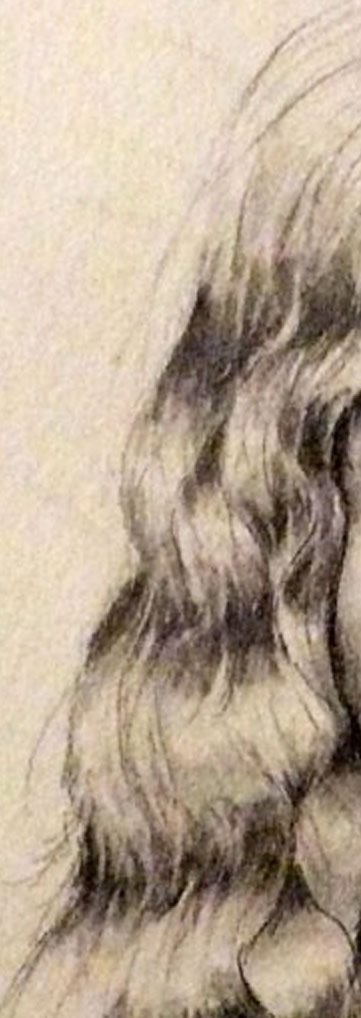
One more thing I like to do these days is then take this all smoothed nice looking (almost too fake) looking hair and draw random straggly lines, also take white eraser and draw white lines randomly too...
This gives a more realistic hair look...
Compare this close up with the image above... all nice and neat and shiny... but not realistic looking.
I used to finish at that point cause I thought it looked pretty, but then experimented and realized that hair looks more like the close up.
So Here is Completed Pic Again...
Hope you enjoyed this tutorial... I know I did and can't wait to get drawing more... tonight for sure.
Hang in their all Steemians I have the feeling "Crypto Wise" we are about to go to the moon... don't worry about the blood in the streets right now... ahhhahhaha

Very interesting @granblock
thanks... happy to get some comments again.
wow!! it looks beautiful, though it lacks details and proportions aren't that great, it really looks amazing, as if its a different style of drawing which is damn expressive.... totally loved it...
i also sketch sometimes, hope u go through them and give your feedback :)
I agree about the proportions... yep and so glad you did like some things about it. I am just starting to draw again after a few months and I so notice the difference when I don't draw. However, I am happy to have some comments and intend to continue my drawing journey...
love it reminds me of "big eyes"