ESPAÑOL
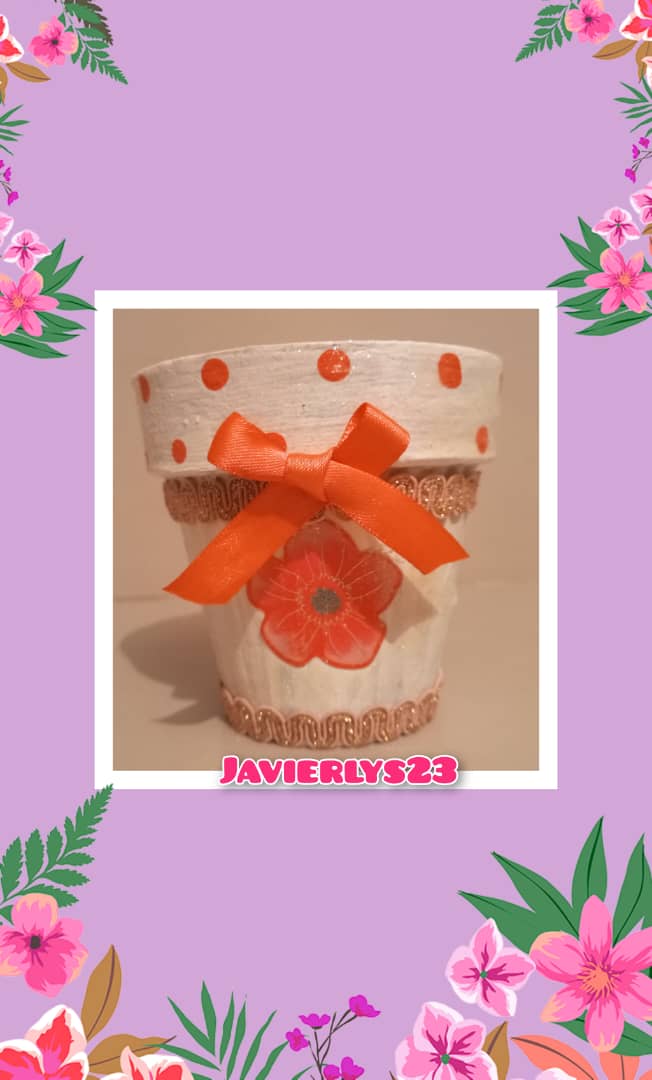
Buen día amigas y amigos de hive blog, el día de hoy les traigo una manualidad muy linda que les puede servir para colocar las plantas en su hogar, es fácil de hacer y muy rápido de decorar, espero les guste esta manualidad.
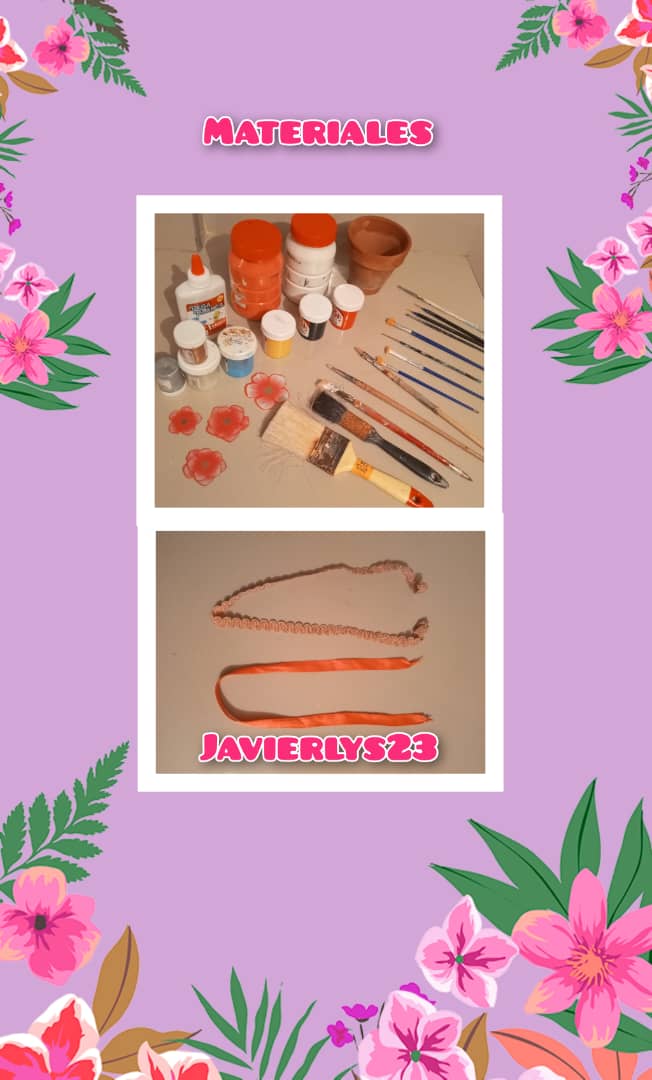
Materiales:
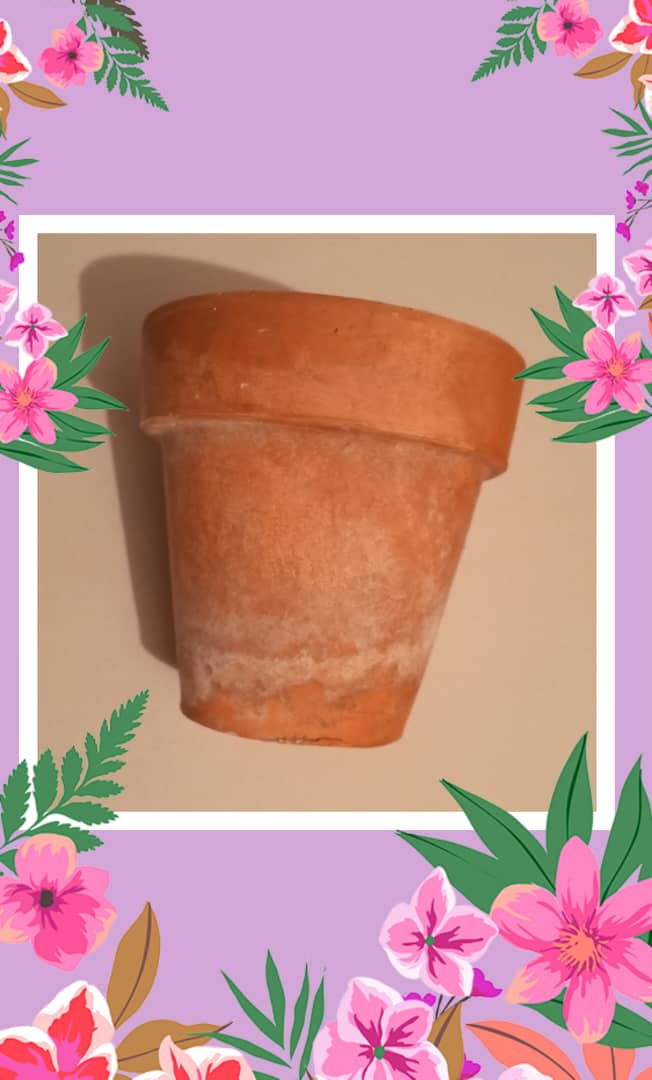
1Envase de barro reciclado.
Pinceles de diferentes tamaños.
Pinturas de diferentes colores.
Brochas delgadasy gruesas.
Pega blanca.
Imagen de flores plásticas.
Cintas de razo de dos(2) colores.
Paso 1:
Se pinta de blanco el envase de barro y se le puede dar dos o tres manos de pintura blanca para que quede la pintura pareja.
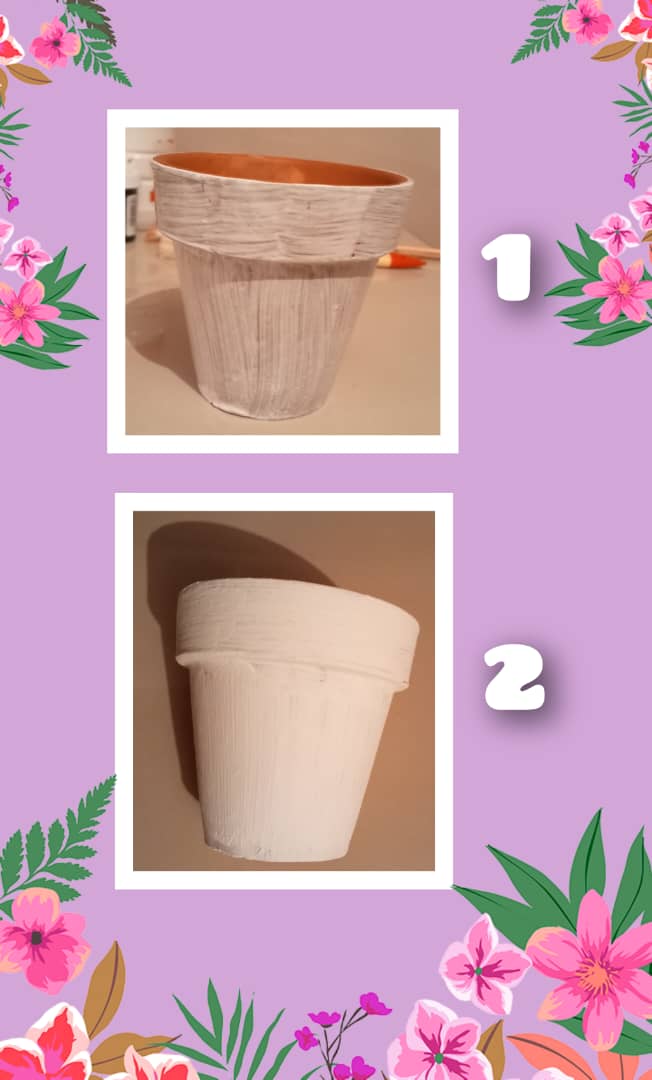
Paso 2:
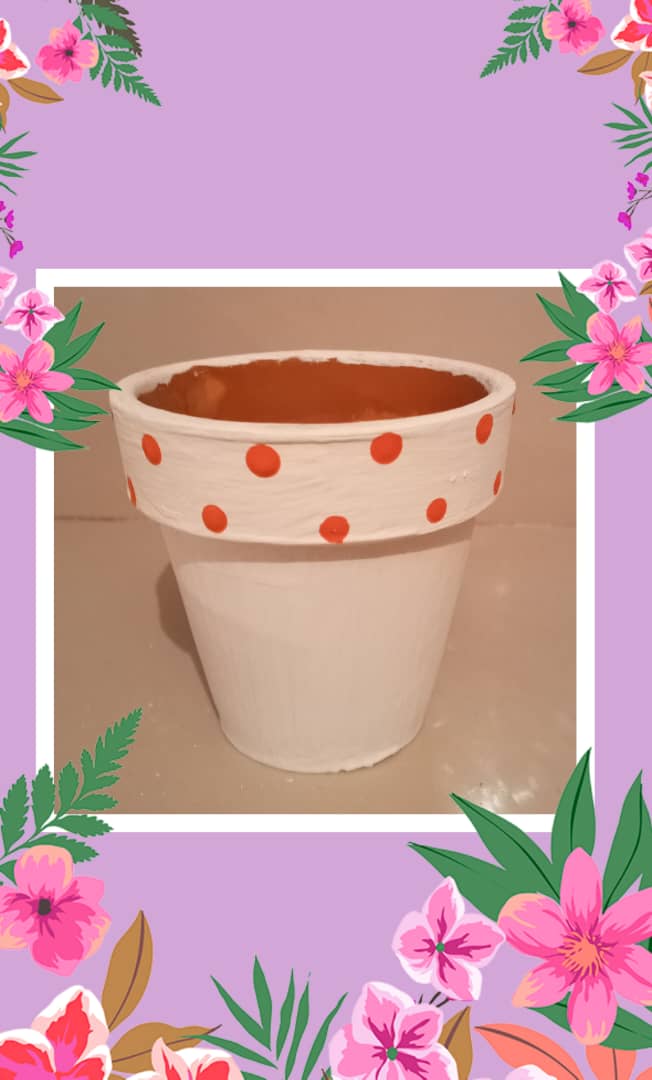
Después de pintado de blanco se procede a pintar con la parte de atrás de un pincel se pinta circulos de color fucsia en la parte de arriba del envase.
Paso 3:
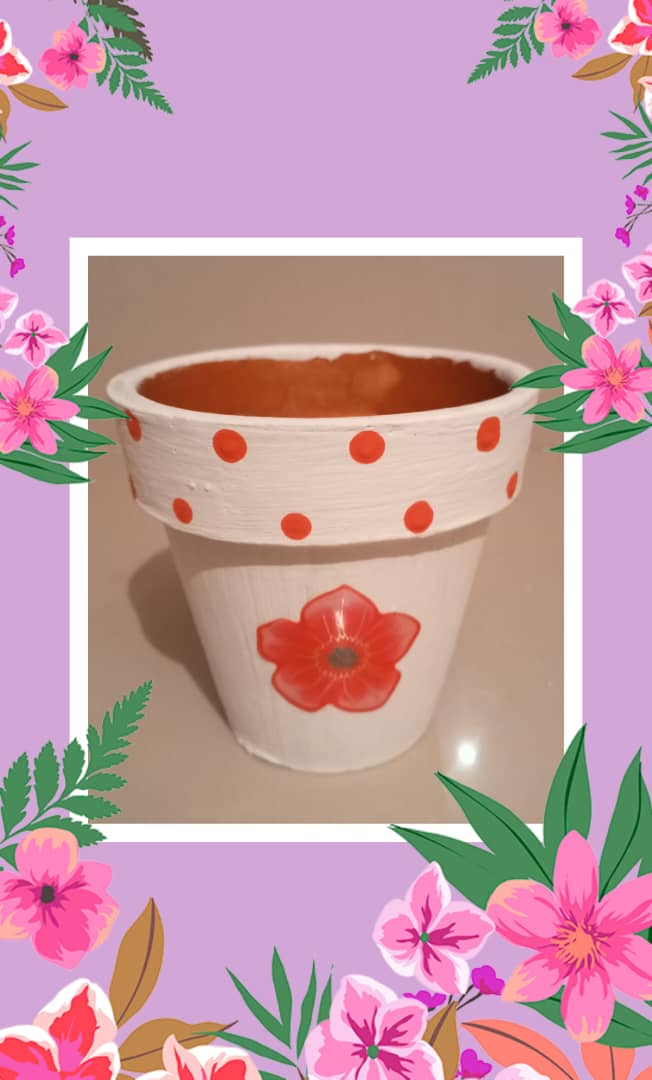
Luego se pega con pega la imagen de la flor plástica en el envase de barro.
Paso 4;
Después se procede a pintar con gel nacarado todo el envase para que se vea bonito y más delicado.
Paso 5:
Finalmente, se procede a pegar las cintas de razo alrededor del envase y luego se hace un lazo y se pega con pega y listo!
Nota: Fotografías tomadas de mi celular TECNO SPARK 20C y con ayuda del programa Photo Collage GridArt.
ENVASE DE BARRO RECICLADO PARA COLOCAR PLANTAS - RECYCLED CLAY CONTAINER FOR PLACING PLANTS(ESP/ENG).
Buen día amigas y amigos de hive blog, el día de hoy les traigo una manualidad muy linda que les puede servir para colocar las plantas en su hogar, es fácil de hacer y muy rápido de decorar, espero les guste esta manualidad.
Materiales:
1Envase de barro reciclado.
Pinceles de diferentes tamaños.
Pinturas de diferentes colores.
Brochas delgadasy gruesas.
Pega blanca.
Imagen de flores plásticas.
Cintas de razo de dos(2) colores.
Paso 1:
Se pinta de blanco el envase de barro y se le puede dar dos o tres manos de pintura blanca para que quede la pintura pareja.
Paso 2:
Después de pintado de blanco se procede a pintar con la parte de atrás de un pincel se pinta circulos de color fucsia en la parte de arriba del envase.
Paso 3:
Luego se pega con pega la imagen de la flor plástica en el envase de barro.
Paso 4;
Después se procede a pintar con gel nacarado todo el envase para que se vea bonito y más delicado.
Paso 5:
Finalmente, se procede a pegar las cintas de razo alrededor del envase y luego se hace un lazo y se pega con pega y listo!
Nota: Fotografías tomadas de mi celular TECNO SPARK 20C y con ayuda del programa Photo Collage GridArt.
ENGLISH
ENGLISH
Good morning friends of hive blog, today I bring you a very nice craft that can serve you to place plants in your home, it is easy to do and very quick to decorate, I hope you like this craft.
Materials:
1 Recycled clay container.
Brushes of different sizes.
Paints of different colors.
Thin and thick brushes.
White glue.
Image of plastic flowers.
Ribbons of two (2) colors.
Step 1:
The clay container is painted white and can be given two or three coats of white paint to make the paint even.
Step 2:
After painted white proceed to paint with the back of a brush is painted fuchsia circles on the top of the container.
Step 3:
Then glue the plastic flower image onto the clay container with glue.
Step 4;
Then proceed to paint pearlescent gel all over the container to make it look pretty and more delicate.
Step 5:
Finally, you proceed to glue the ribbon ribbons around the container and then make a bow and glue it with glue and that's it!
Note: Pictures taken from my TECNO SPARK 20C cell phone and with the help of Photo Collage GridArt program.

RECYCLED CLAY CONTAINER FOR PLACING PLANTS - ENVASE DE BARRO RECICLADO PARA COLOCAR PLANTAS(ESP/ENG).
Good morning friends of hive blog, today I bring you a very nice craft that can serve you to place plants in your home, it is easy to do and very quick to decorate, I hope you like this craft.
Materials:
1 Recycled clay container.
Brushes of different sizes.
Paints of different colors.
Thin and thick brushes.
White glue.
Image of plastic flowers.
Ribbons of two (2) colors.
Step 1:
The clay container is painted white and can be given two or three coats of white paint to make the paint even.
Step 2:
After painted white proceed to paint with the back of a brush is painted fuchsia circles on the top of the container.
Step 3:
Then glue the plastic flower image onto the clay container with glue.
Step 4;
Then proceed to paint pearlescent gel all over the container to make it look pretty and more delicate.
Step 5:
Finally, you proceed to glue the ribbon ribbons around the container and then make a bow and glue it with glue and that's it!
Note: Pictures taken from my TECNO SPARK 20C cell phone and with the help of Photo Collage GridArt program.