We will make a regular photo into a photo with a super high contrast with detail and texture that looks very prominent. This type of photo is perfect when you take pictures of buildings, engines, metals or vehicles that are rich in textures and we want to make it stand out. For this retouch, we will use Photoshop of any version. You can view and compare the results with the original photo by sliding the slider below:
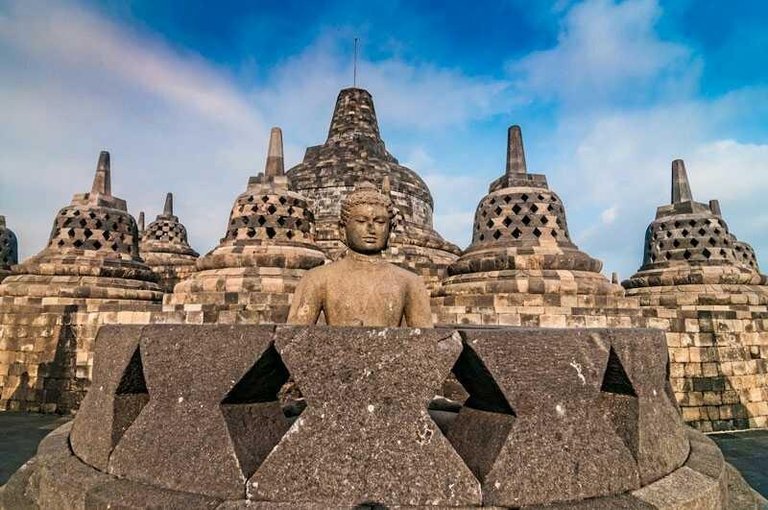
Let's start:
1. Open Photos in Photoshop:
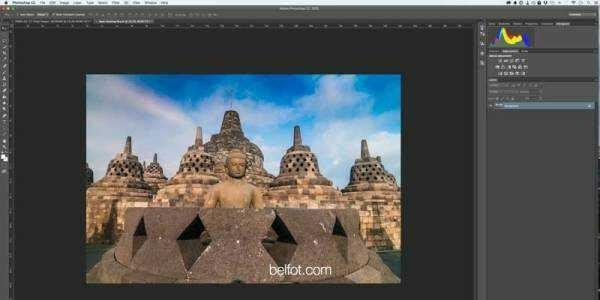
2. Duplicate the background layer by pressing Ctrl + J (mac: Cmd + J)
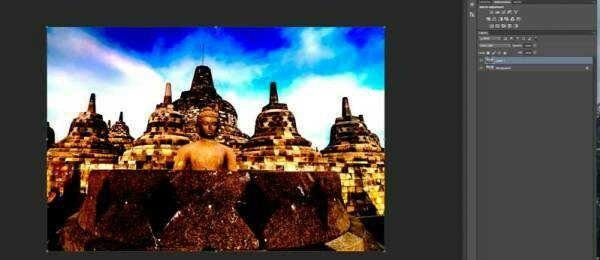
3. Change the blending mode of duplicate layer to Vivid Light:

You will get horror photos like this:
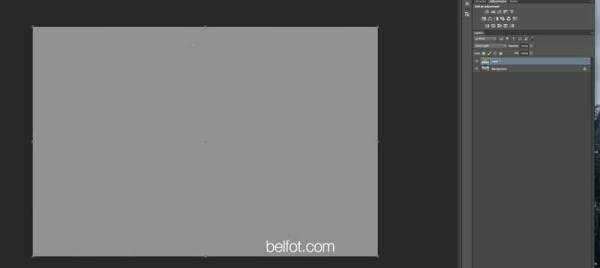
4. Inverse top layer with Ctrl + E (mac Cmd + E), you will get gray photo:
5. Now, all you have to do is apply the surface blur filter. Click Filter> Blur> Surface Blur:
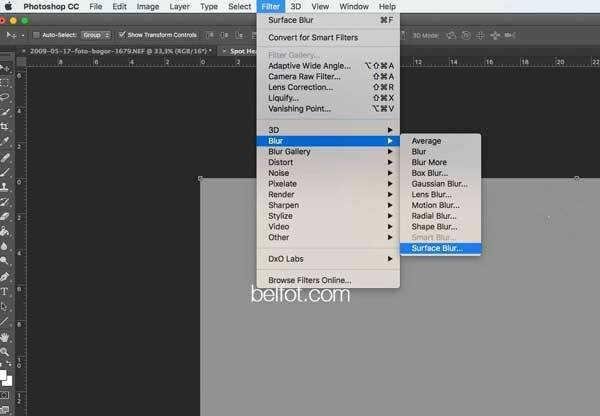
6. When the dialog box pops up, enter the 40 in Radius and Treshold. If you are shooting with a DSLR camera, this number is usually fitted:
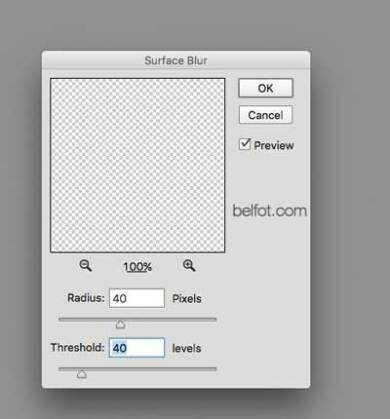
7. Wait a while because this filter is one of the late filters in photoshop. When done, press the following shortcut together: Shift + ALT + Control + E, you will get a photo like this:
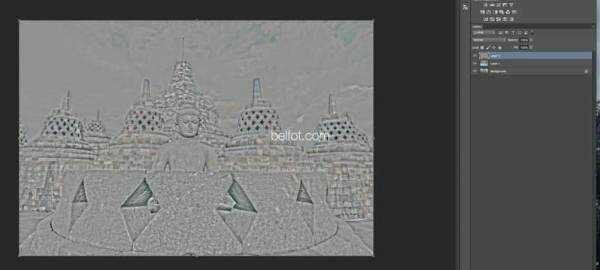
8. Remove the existing layer in the middle, so you live have 2 layers. Then remove the color on the top layer with Image> Adjustment> Desaturate or press the shortcut key Shift + Ctrl + U (mac: Shift + Cmd + U). You will get a sharp gray photo like this:
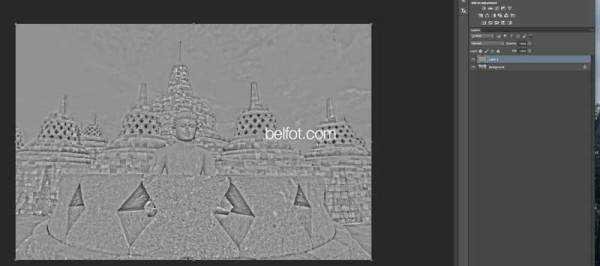
9. Almost finished, now change the blending mode from "Normal" to "Overlay", the result is a high-contrast photo with very prominent detail and texture like the end result above:

THANK YOU FOR VISITING MY BLOG
REGARDS @ryanelnieno
Special regards for: @good-karma
: @happymoneyman
wow so increadible build
That's great
Thank you my friend, You're great too.
it so smootly