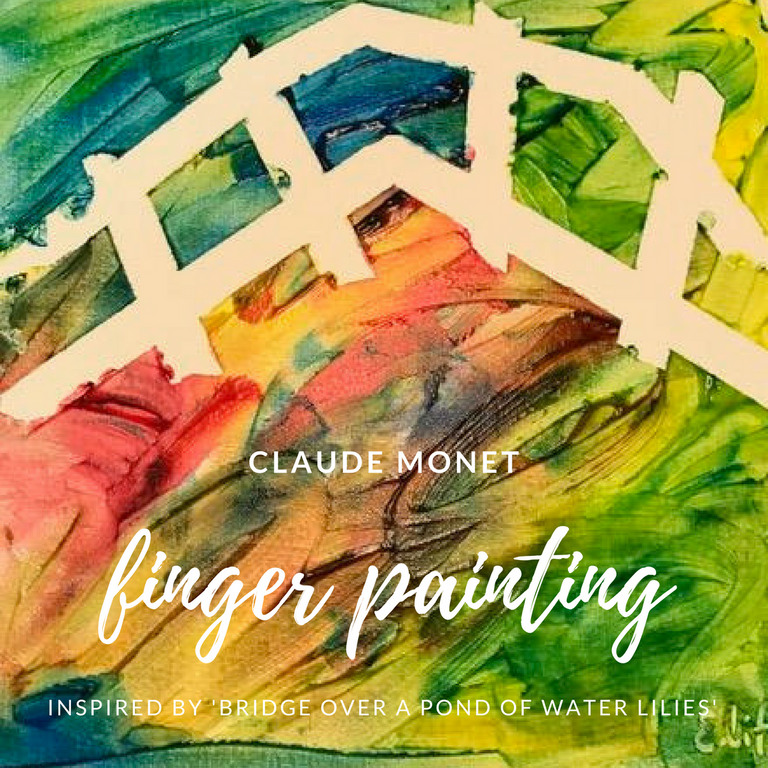
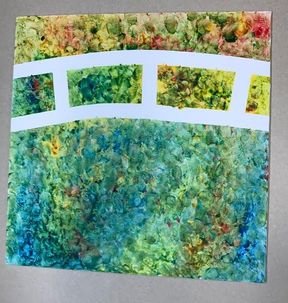
Little ones LOVE finger painting! Sometimes finger paintings turn out a little less attractive than desired though – I mean those swipes of paint all mushed together until it’s just a brown blob are not necessarily our favorite things to hang on the fridge, right? This Claude Monet inspired finger painting, however, is sure to turn into a masterpiece with the right colors, negative space, and a little direction. But don’t forget, this is a process art activity, so let the kids run wild with the actual painting part because, yes, we want beautiful products, but, even more, we want the kids to get a great experience out of engaging their senses! (And brown blobs can be adorable too!)

Supplies:
Large poster boards cut into squares, canvas boards, cardstock or other sturdy material that will hold paint
Washable paint (I used finger paints in blue, red and yellow)
Large paper plates for paint mixing
Thin painters tape or masking tape
finger painting
Directions:
Tape the bridge outline onto the canvas. (It looks like a ladder.) The kids should push the tape down really well, so no paint sneaks underneath. Then, the kids should use their fingers to mix the paint colors and dab them onto their canvases. I put different colored paints on all of my fingers and dabbed all over like I was playing the piano, and that seemed to mix the colors throughout the canvas well. The kids need to cover the entire canvas (or at least the areas around the bridge); this way peeling the tape off will really wow the kids. Which brings us to…peeling the tape off! When the kids are done painting, carefully peel the tape off to reveal Monet’s bridge! They enjoyed finger painting and you get to show off a Monet-worthy piece of art!

I also included some printouts of Claude Monet’s “Bridge Over a Pond of Water Lilies” for “inspiration.”
https://www.learnplayread.com/toddlers-paint-water-lilies-with-claude-monet/