Good morning fellow steemians, it’s a great opportunity to be on this platform once and @fashionlink is here again to give you the best in the fashion world. This time around I`m going to be tutoring you on how to make your short gown with six pieces for the half-length and kissing pleating for the down side, so sight very tight and enjoy the tutorial.
Short gown is what we ladies wear mostly as our Friday wears so as to look good, making your short gown with six pieces at the upper side (half-length) is very easy and straight forward. Most ladies prefer breast cut for their clothes, but instead of going through the stress of making the breast cut you can make it six pieces shape because it’s easier and will still give you the very shape you want.
So I will be taking you through the steps you will need to take to get your gown ready. First and foremost, you need your confident if you think you can do it then you can if not you cannot.
Let us get started with the materials needed
Desire fabric
Sewing machine
Scissors
Tape-rule
Chalk
Measurement
The measurements used for the tutorial
Short-length = 38inches
Half-length = 15inches
Burst = 36inches
Waist = 30inches
Back/shoulder =14inches
Sleeve = 6inches
Round-sleeve =12inches
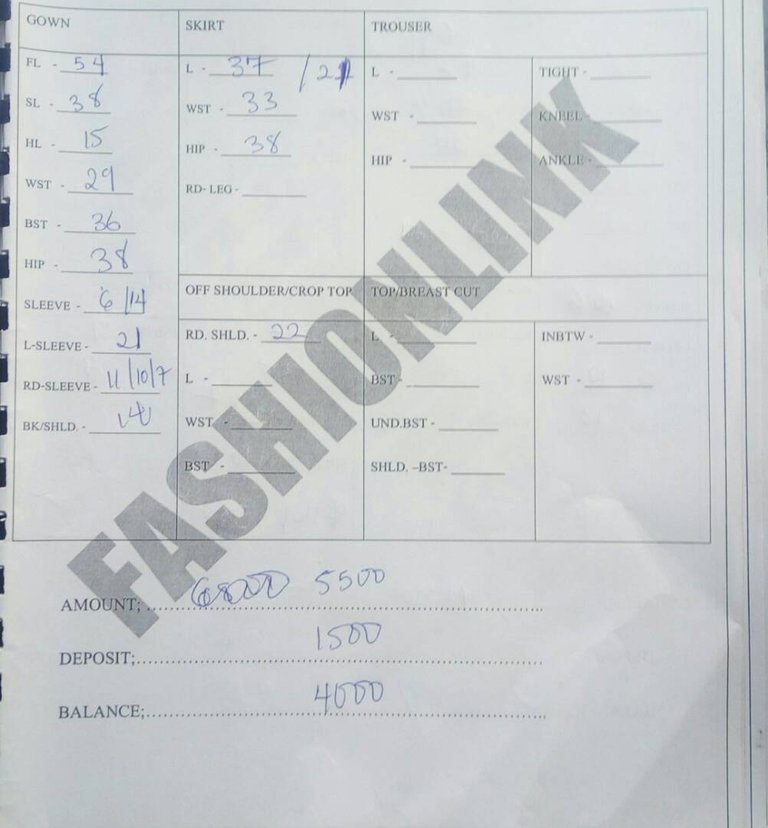
To cut the half-length with six pieces
Step 1
Lay the material on the table and make sure the right side of the material is folded inside.
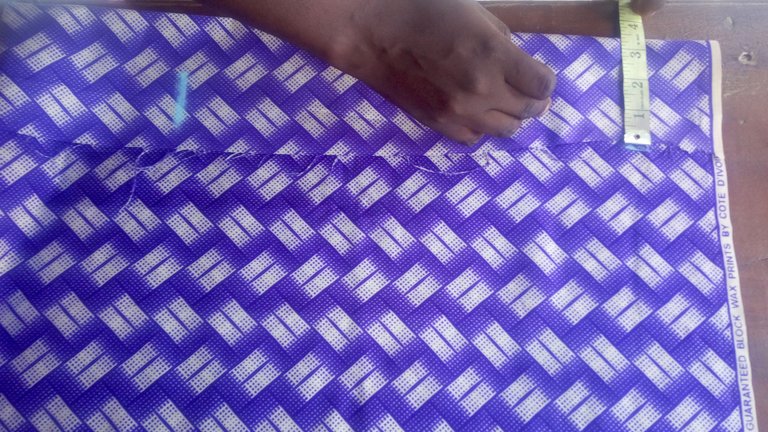
Step 2
Since we will be cutting six pieces for the half-length, fold the material into two using the burst measurement and since the burst is 36inches then we will divide it into 6 places since we are cutting six pieces and it will give us 6inches, the 6inches will also be folded into two which will give 3inches. Then fold the 3 inches out and add half inches for the sewing allowance.
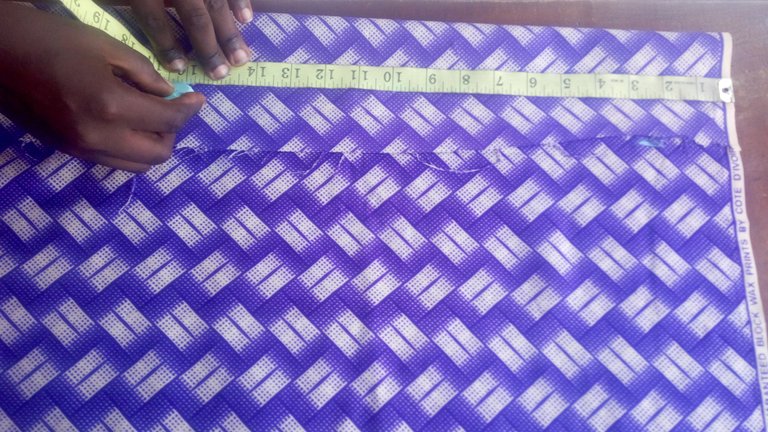
Step 3
After you have measure out the burst accurately, measure the half-length which is 15inches and add another 1inches for the sewing allowance to make it 16inches.
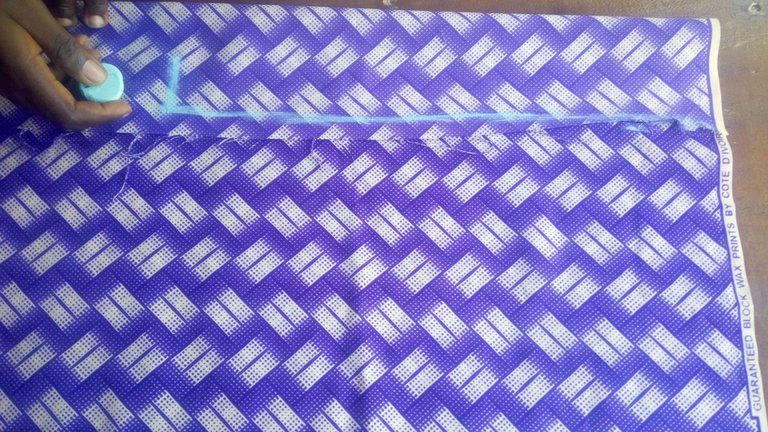
Step 4
When done with that, rule a straight line from the notched 3inches at the top down to the 15inches which is the half length measurement plus 1inche for the sewing allowance and cut it out. After cutting it out, refold the cloth and place the first one you cut on the folded cloth and cut the same thing out for the remaining 5 pieces.
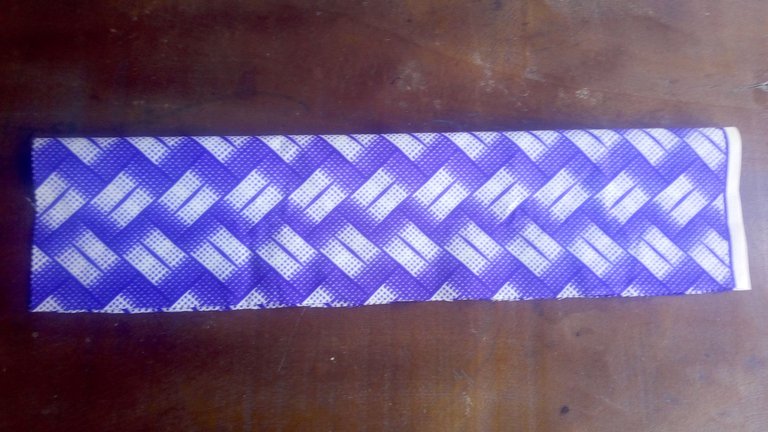
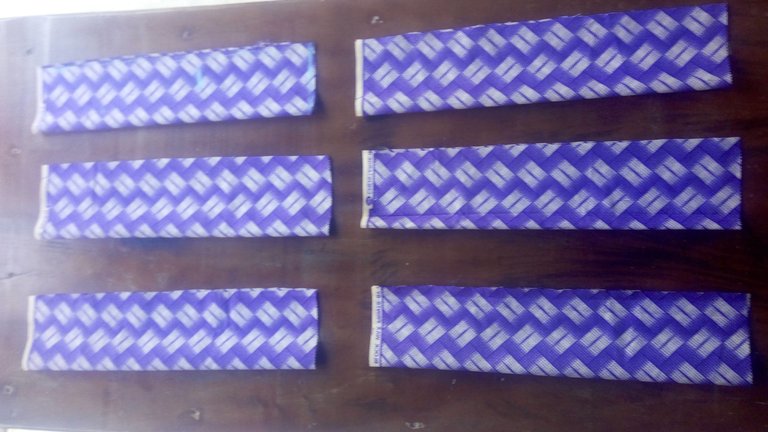
Step 5
The next thing to do is to get on the sewing machine then pass a likely color thread on the machine and join the six pieces material together. Join 3 pieces together into 2 places i.e three for the front and three for the back. After which you will fold it each into two and lay it on each other well.
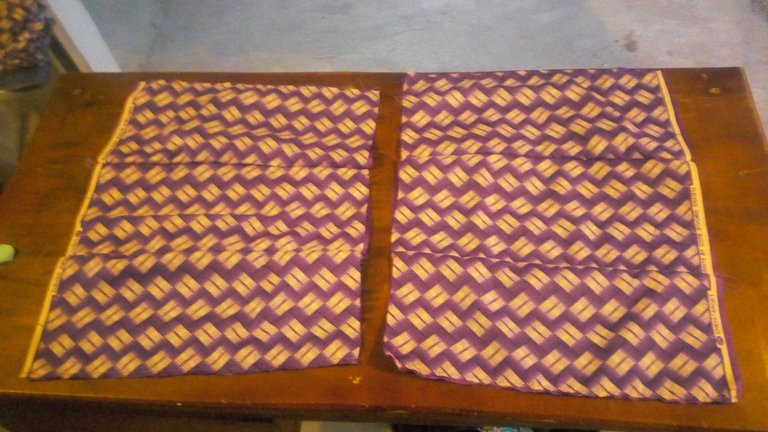
Step 6
Then on the folded front and back lay on each other, measure the shoulder/back, burst and waist. The length of the burst should be 10inches from the shoulder and waist should be 16inches. Measure the burst on the 10inches located using the measurement divided by four. For example; if the burst is 36inches, divided by 4 it will give 9inches. Mark the 9inches on the folded back and front then add 2inches for the sewing allowance. Do the same for the waist by dividing the measurement by 4 and add 2inches as the sewing allowance.
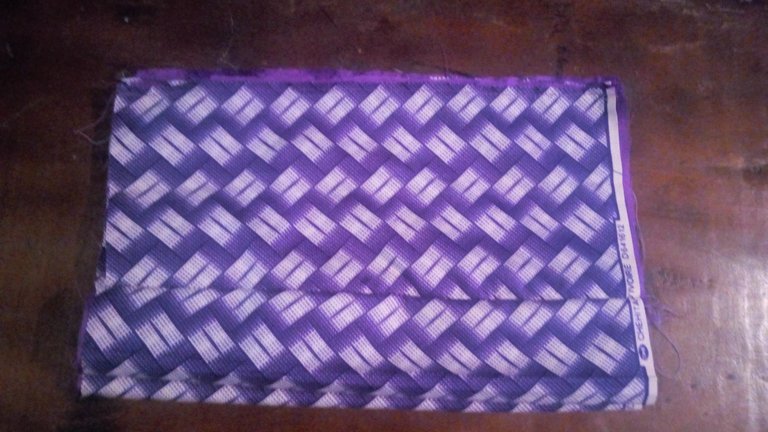
Step 7
After doing that locate your armhole. From your shoulder, the 14inches you folded into two that give 7inches, place your tape-rule on the 7inches and measure it down to 8inches before the 10inches for the burst. Then curve it out from the shoulder straight down to the 8inches and curve it to the 2inches allowance added to the burst.
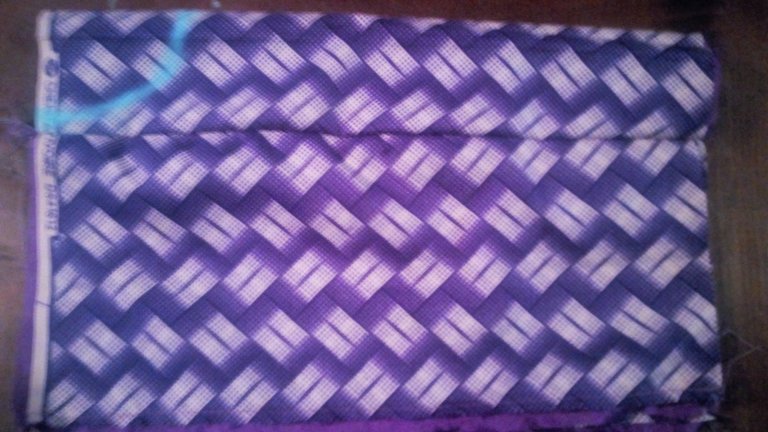
Step 8
Cut the round neck by place the back on the front putting your tape rule on the shoulder and measure about 4inches, measure it sideward and downward, notch it with your chalk and the shape it out to cut.
Shape the side very well and then cut it out with the armhole
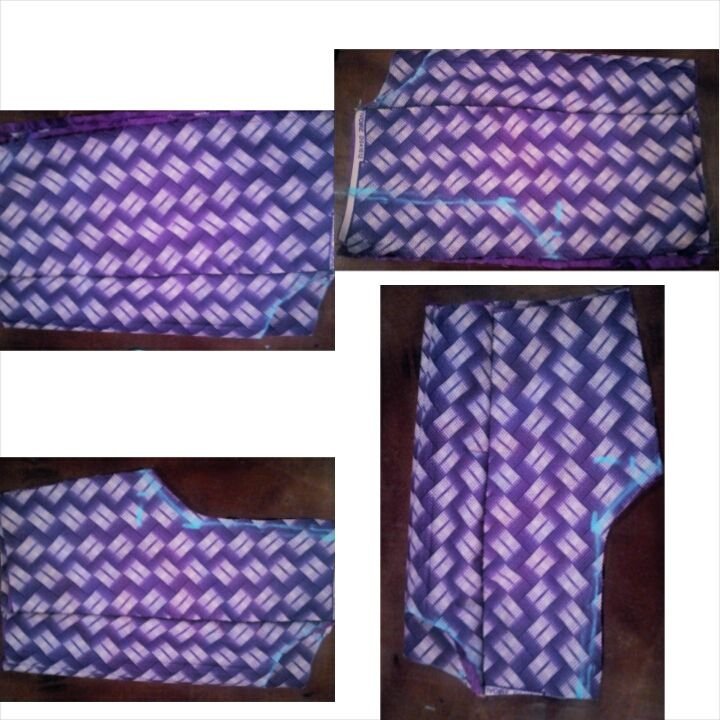
The video showing how to cut the six pieces of the upper side.
Cutting of the down part [the kissing pleating]
There is no much work to do on this aspect, what you need to do is just to minus the half-length from the whole length i.e. 38inches minus 15inches which will give 23inches for the down part. Just fold the cloth as wide as possible and measure the length 23inches plus 2inches for the sewing allowance making it 25inches. Fold it well and then cut it out.
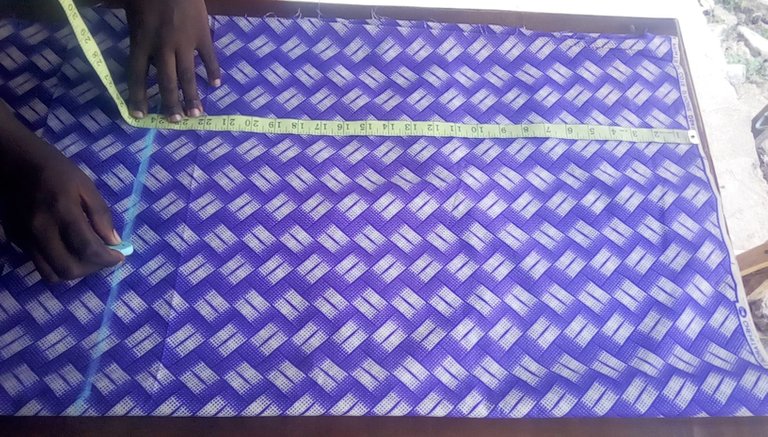
The video showing how to cut the kiss pleating.
Cutting of the hand
Cut the hand by using your sleeve measurement and your round sleeve.
Step 1
Fold the material into two and measure the length which is 8inches
Step 2
Then curve the armhole to be about 9inches wider and curve like about 2inches downward then shape it down to the length located.
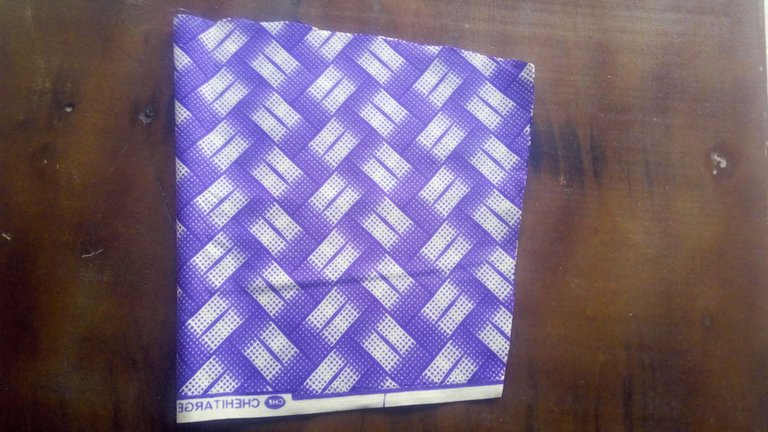
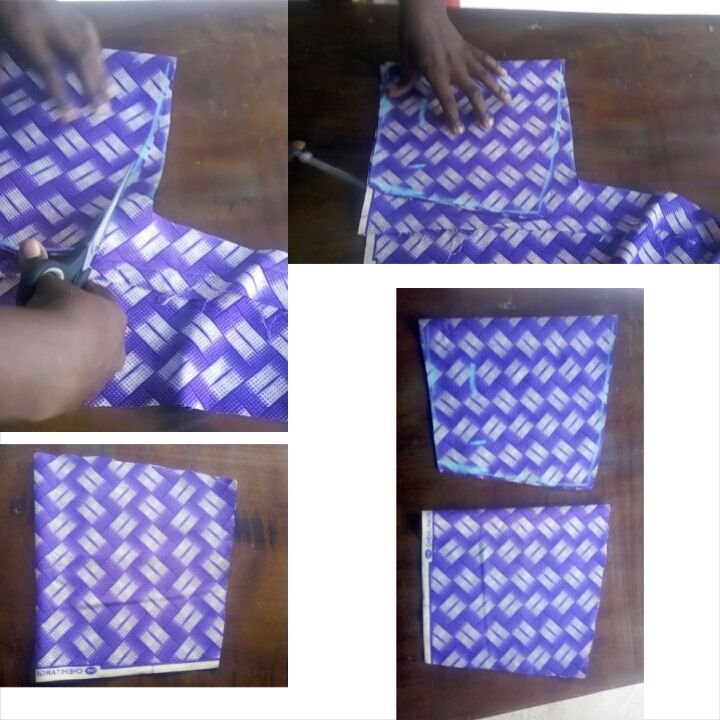
To cut the second hand, just fold the cloth into two and place the first one on it then cut it out.
The video showing how to cut the hands.

After going through all these steps alighted then you have successfully cut your short gown with six pieces at the upper side and kissing pleating at the lower side. After sewing the dress, it will give something of this shape.
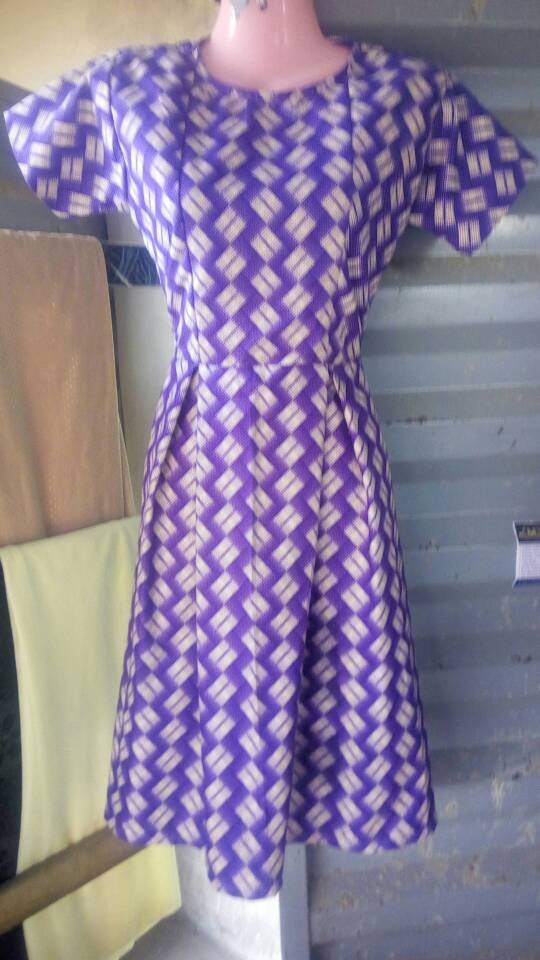

Thanks for reading and if there is any step that is not too clear or if there is any question feel free to drop them all on the comment section. If you have gained one or two things from this tutorial kindly do well to upvote and resteem.
All images were taken on my Tecno L5

This is awesome, you explain it to me as if you are right at my front.
Keep it up.
Thanks bro