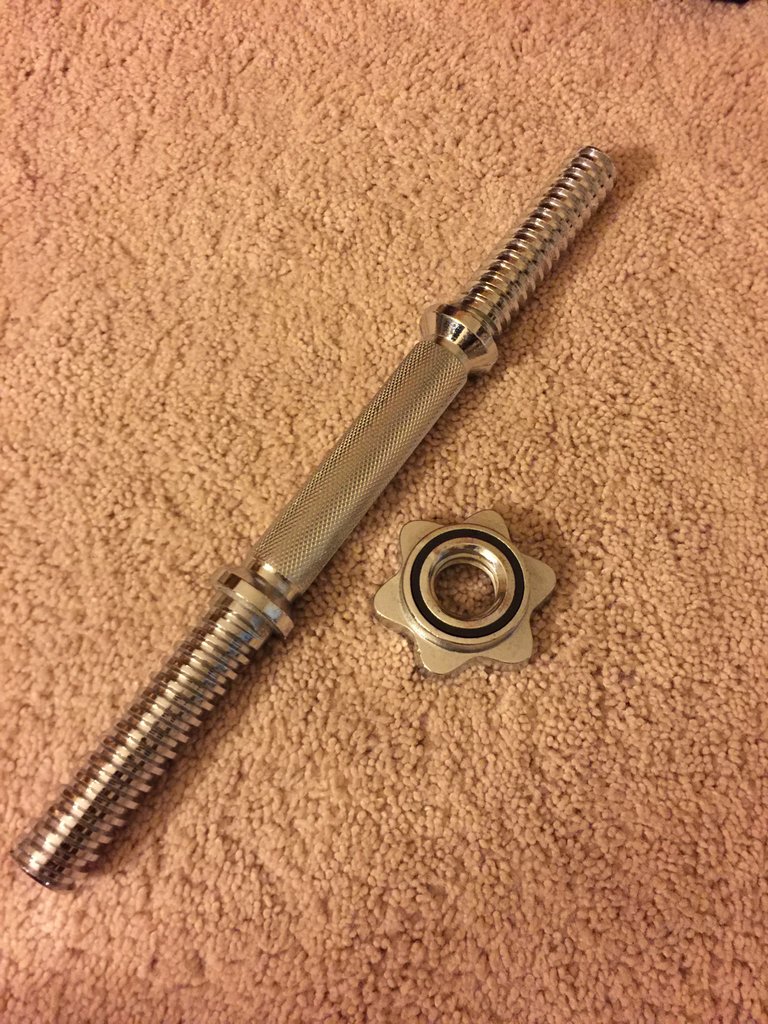
Ever get tired of having to thread this thing in to secure your weight?
I've designed a collar here based off the collars one would often see for an Olympic bar.
(Don't mind the ugly sanded areas, I was having some trouble with the support structures for the print...)
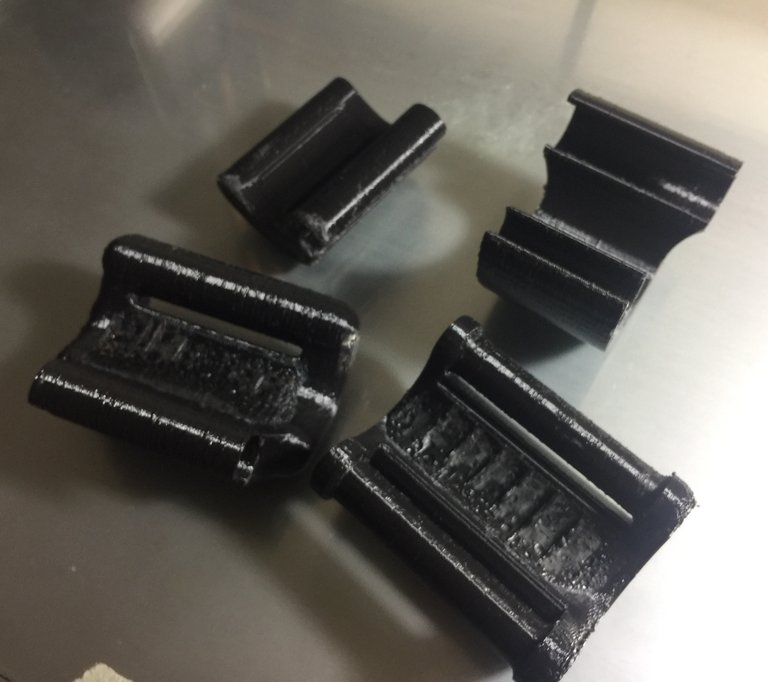
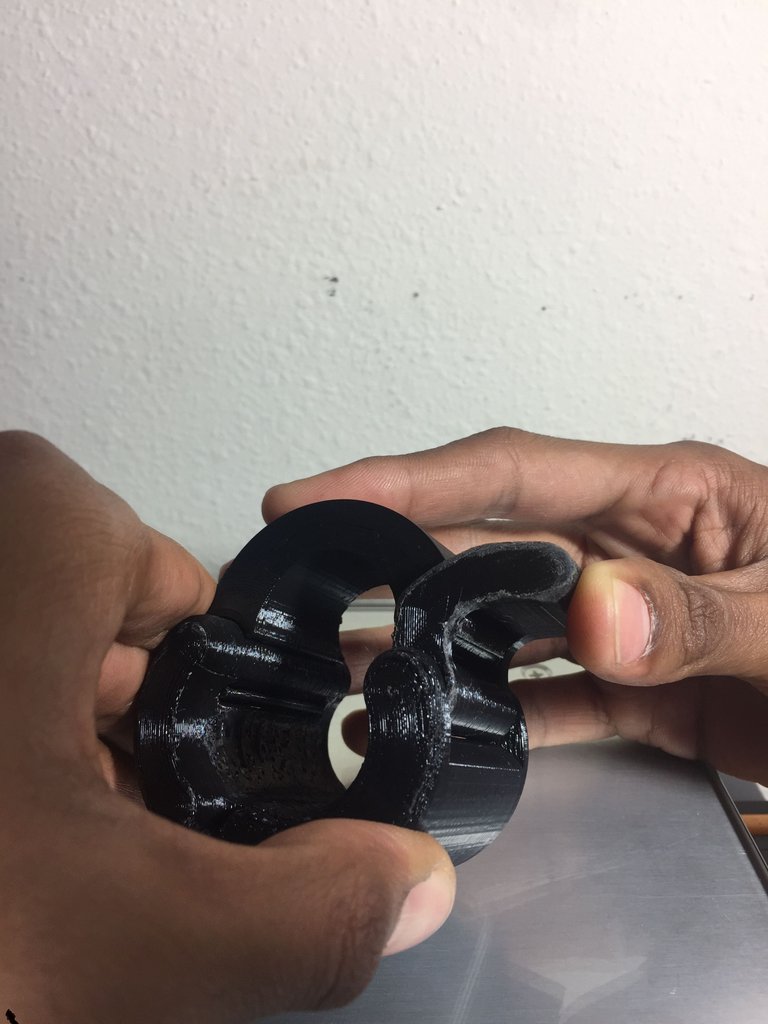
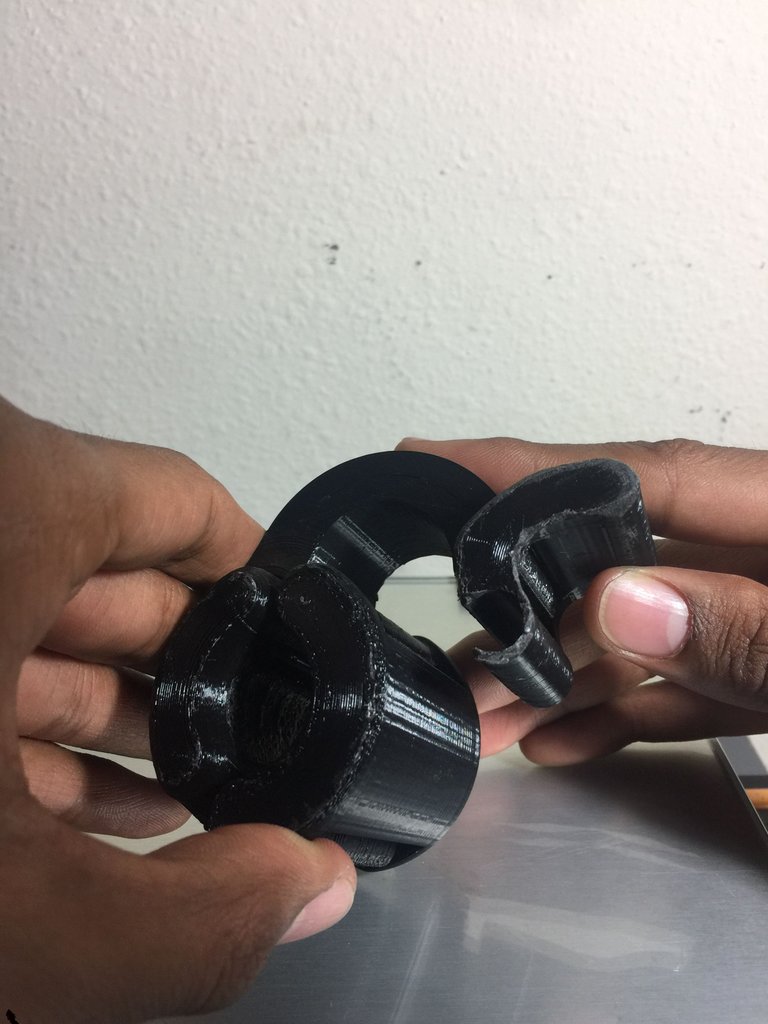
First off, this collar is assembled from four different parts. To assemble you just snap the part onto each other as shown.
Recommended Order
sorry for the potato quality...
To disassemble
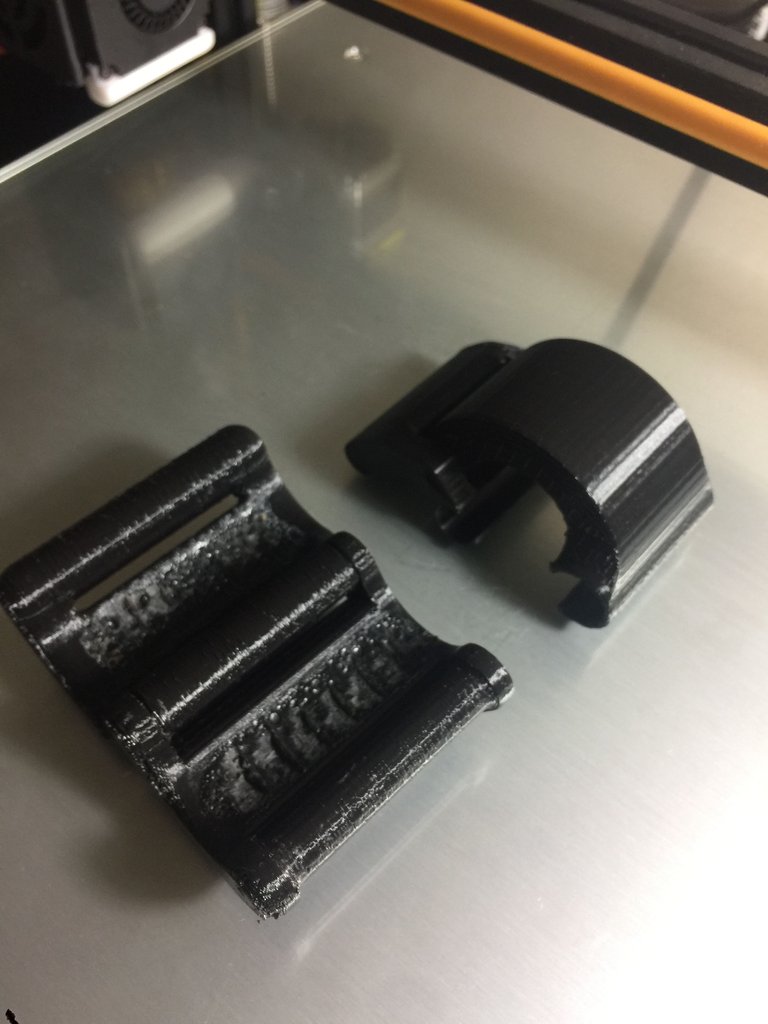
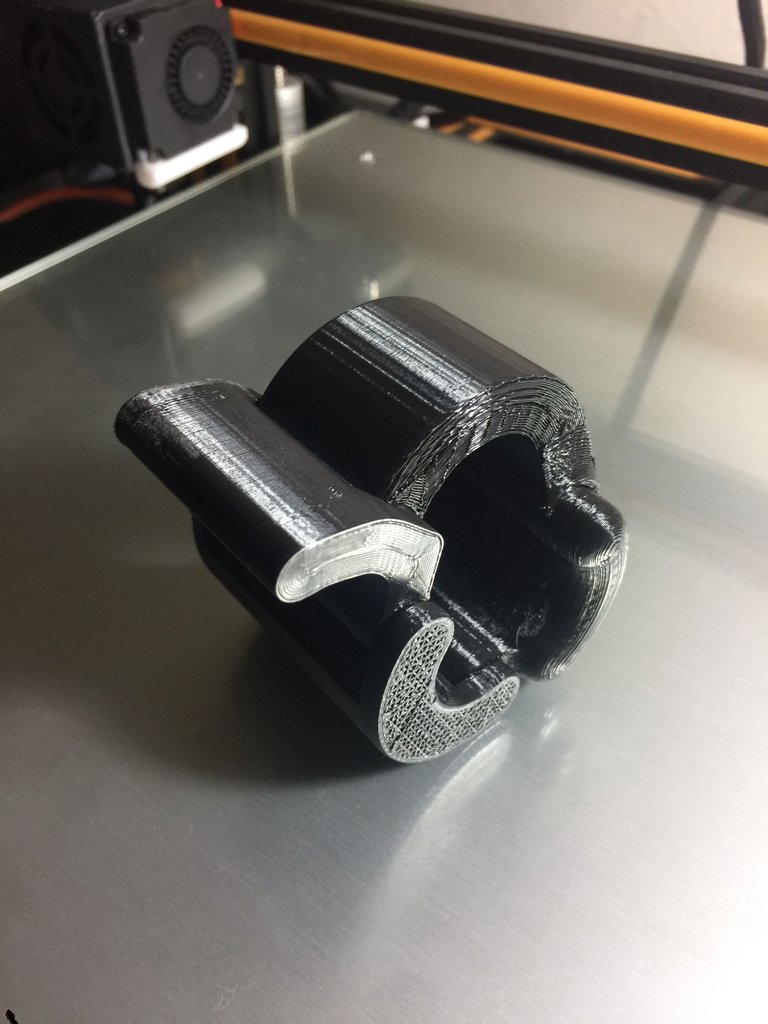
Hold the collar like so, and push part 1 into part 2 while keeping the collar in its most open position.
(I originally made this model a single whole piece, through I found it too much of a pain to remove the supports, and to spray the part)
Now printing this alone should do the job well enough, but if you want a tighter hold, I recommend following what I had done.
After printing I recommend getting some spray on rubber to apply to the inside of parts 1 and 2 as shown below.
You can tape up areas that shouldn't have the rubber coating like I had, and follow instructions on your selected spray to apply to the part. I had used flex seal, but I'm sure any other rubber coating spray or liquid should do.
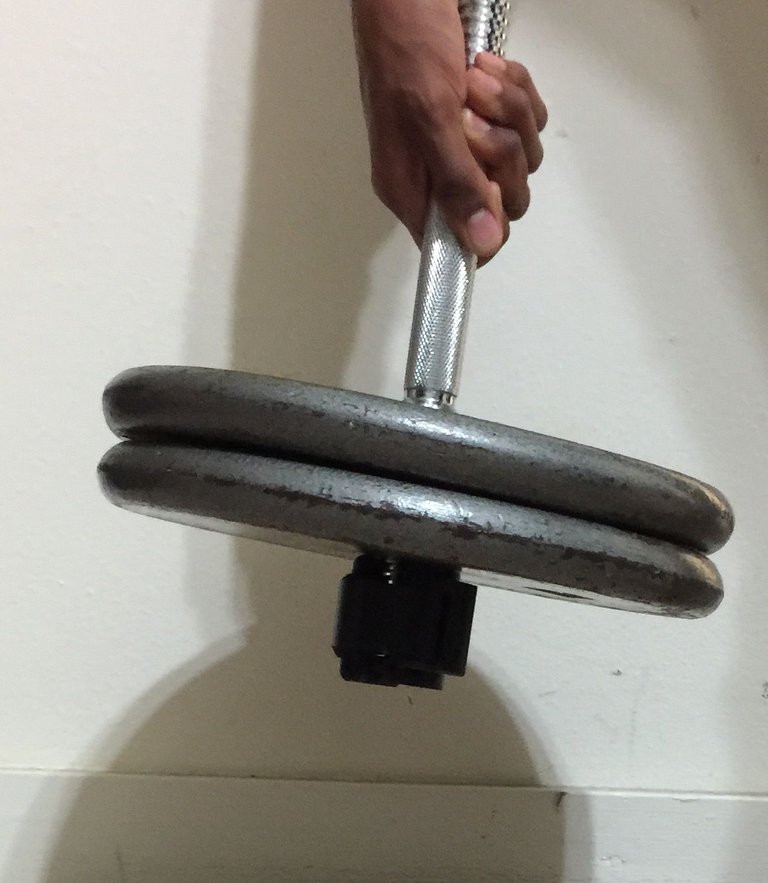
After it has dried you should be left with a capable collar to secure your weights.
(50 lbs / 22.6 kg)
With this set up, one can also reapply the rubber coating/ add more coats, when the previous coat wears down. Also one can add a thick coat or scale the whole collar down in a slicer for a tighter hold. Do take note, the smaller it is the more stress will be put on the collar.
PLEASE TAKE NOTE
Not every bar is the same, the bar I had created this collar for is 25 mm (0.98 inches) in diameter. The size of the collar unaltered in the file holds a tight grip on these 25 mm bars. I have another bar which is closer to 24.5 mm and this collar doesn't fit it as well as it does the 25 mm one, it's too loose.
That being said I recommend measuring the diameter of your particular bar before printing out the collar. Using simple math you can then find the percent difference between your bar and mine and scale the parts accordingly.
For example:
Your bar is 24.5 mm in diameter. 24.5 is 98% of 25, so I would scale the parts down by 2% for a nice fit for that particular bar.
If you don't like math then another solution would be to just add an extra thick coat of rubber to your collar, though I haven't tried this for myself yet.
Now I'm not a professional or anything so take caution when using this, I don't wan't anyone to get hurt. But for the while I've been using the collar its worked well for me so far.
Also if you find any issues with the collar, or have any suggestions feel free to voice them, or modify the model yourself. The model is publicly available on Onshape.





Congratulations! This post has been upvoted by SteemMakers. We are a community based project that aims to support makers and DIYers on the blockchain in every way possible. Find out more about us on our website: www.steemmakers.com.
If you like our work, please consider upvoting this comment to support the growth of our community. Thank you.
Using the scaling principles mentioned in the post, I've made a collar for an Olympic bar (50 mm diameter). I basically doubled the size and removed some material in the middle.
Unfortunately I don't have an Olympic bar in my possession to test out the design, I'd have to wait till I go to the gym, although I'm confident it would work. That being said if any one has a Olympic bar and would like to test out the design on that, I'd be grateful, and interested to be informed of the results. If you'd like to try, the model is linked below, thanks.
https://cad.onshape.com/documents/37e85e7eb9ce89b2ebd196d8/w/8e03a48ffe2b64a251f1950f/e/943b61370343a62b8e0eb2d6
Congratulations @tara-bich! You received a personal award!
Click here to view your Board
Congratulations @tara-bich! You received a personal award!
You can view your badges on your Steem Board and compare to others on the Steem Ranking
Vote for @Steemitboard as a witness to get one more award and increased upvotes!