Hey everyone! Come and see how good I look!
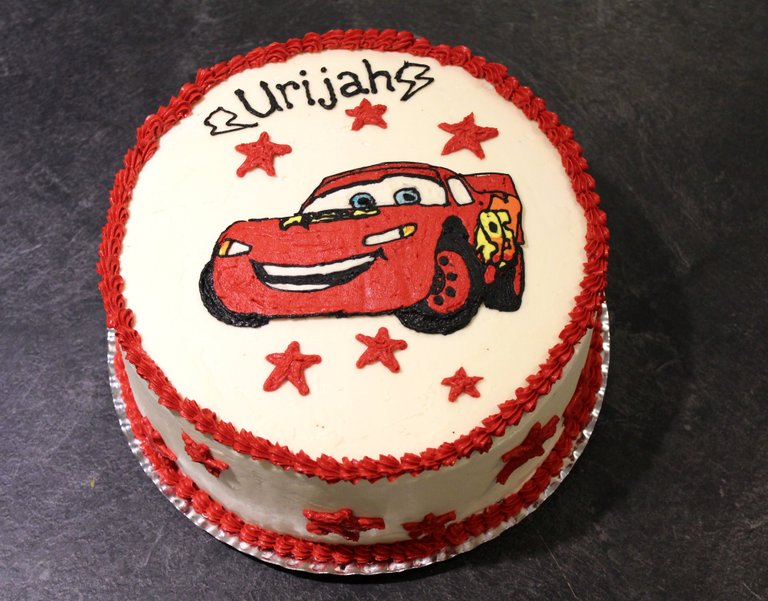
(I hope that reference wasn't lost on most of you. lol)
A couple days ago, in this week's TTT post I shared the recipe, and a step-by-step of how to make my favorite chocolate cake. Now, as promised, I'm back to show you another step-by-step, this time on how to fill and decorate that chocolatey goodness, including how make an image transfer using buttercream. (The recipe for the frosting is also back in that other post, if you follow the link above.)
So, let's get started!
Standard disclaimer: my food blog posts are IMAGE HEAVY!
The first thing we're going to need, in order to fill and decorate this birthday cake, is to make the frosting! I like to use my stand mixer, you can use an electric hand mixer, or even just a fork and bowl, and good old fashioned elbow grease. Just know, if you choose the latter, your frosting won't get quite so fluffy.
Start by whipping your butter (as I stated last time, when I'm doing a lot of piping I like to use a little bit of high ratio shortening as well) so that it's creamed.
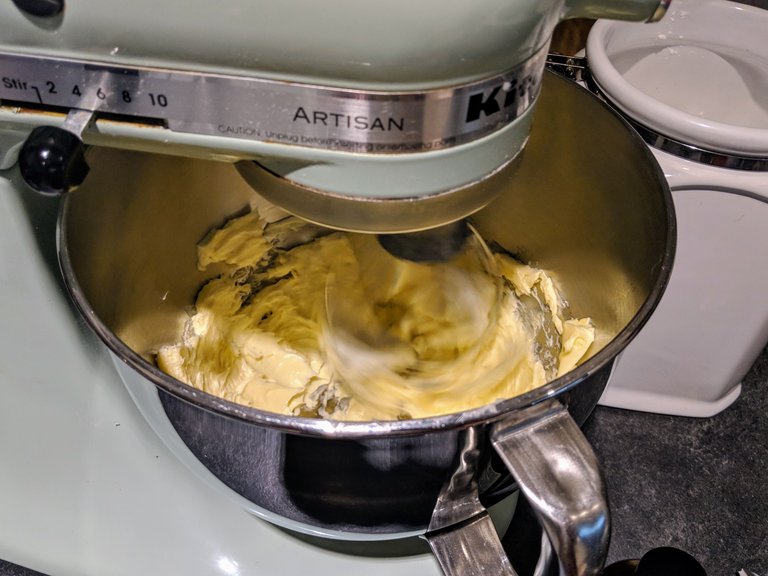
Then, with the mixer on a low speed, slowly add in about half of your powdered sugar. Scrape down the sides, add some vanilla, salt, and more powdered sugar.
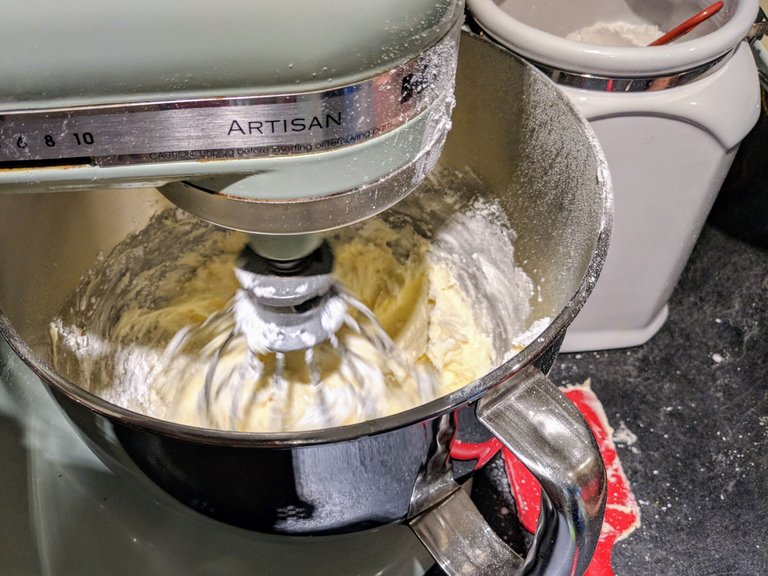
When your frosting is fairly thick, it's time to thin it just a little with a splash of cream. I used whipping cream, to get a nice super fluffy frosting, but you can use coffee cream, half and half, or even just straight up milk. Just know that the higher the fat content, the fluffier and sturdier your result is going to be.

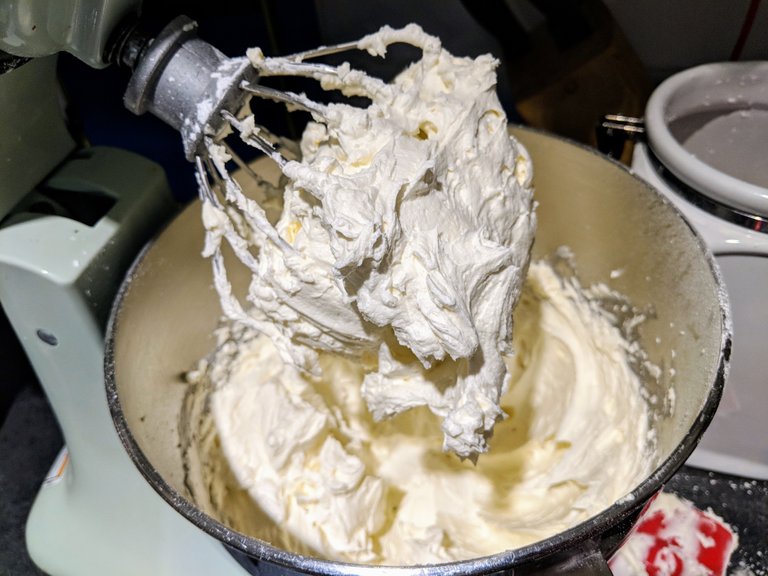
Now, after the cream is mixed in, it's time to turn that mixer up to med-high and whip it good! (For about 3 minutes or so, until it's very fluffy, leaving big streaks behind, like so:
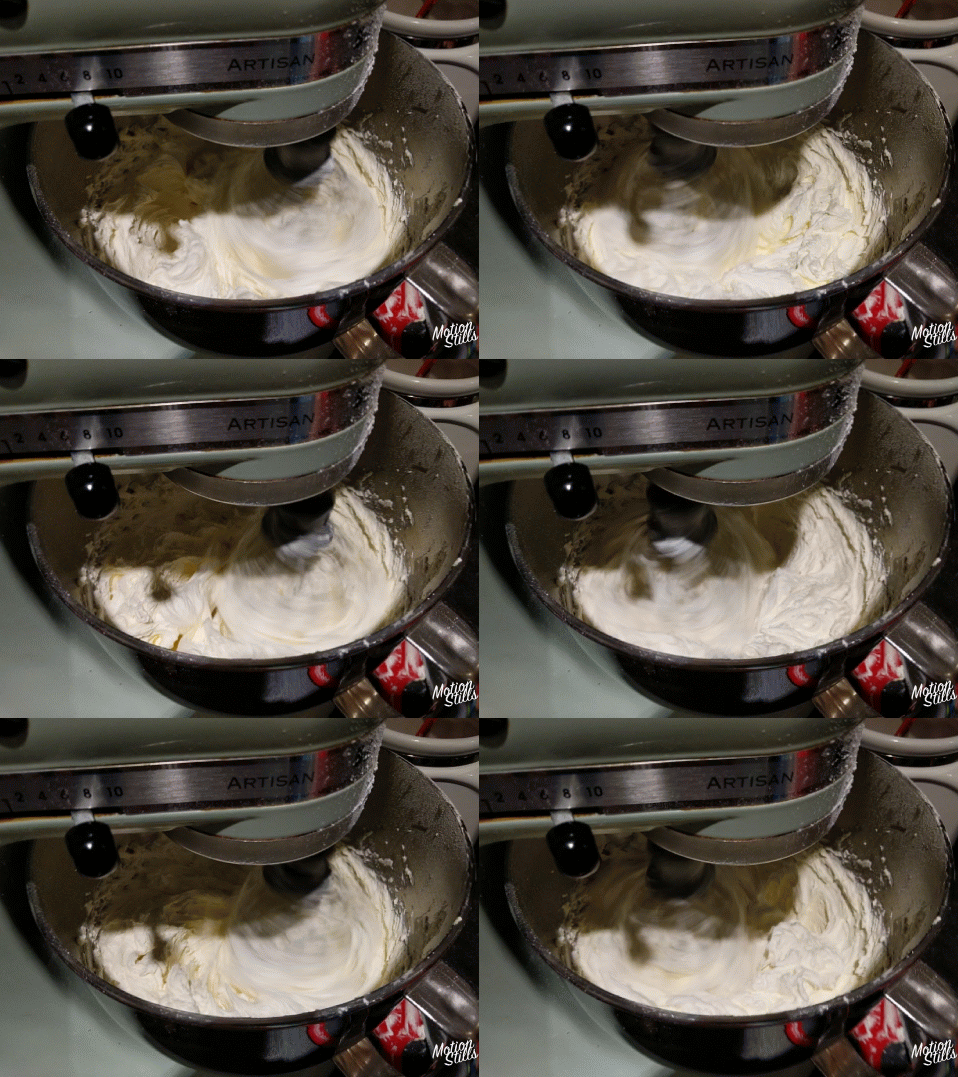
Look at how fluffy this stuff is!
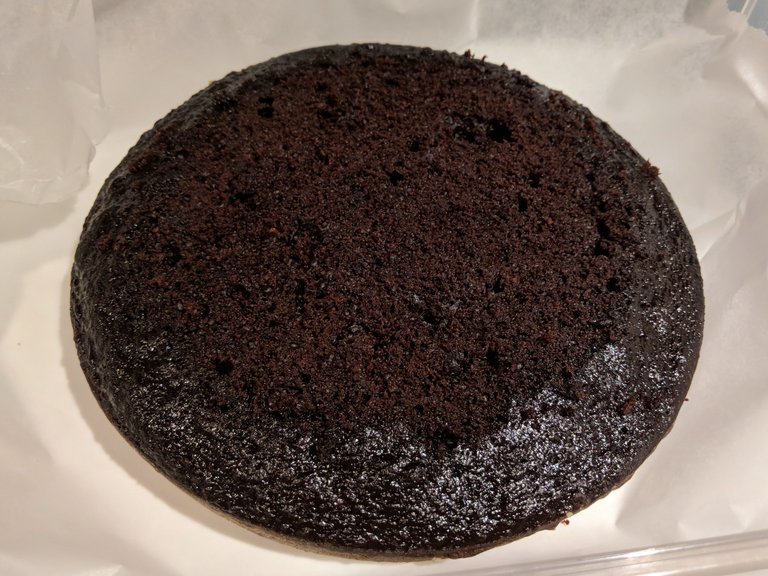
Back to the cake. I like to level the tops of my layers, to keep them even and flat, so the top doesn't end up looking like a dome. In years past, when I was just doing cakes for my family, I skipped this step, and you can too. It just depends on how picky you are, and how flat you like your cakes. 😉 (The bonus of leveling cakes: I always end up with a little "cake in a jar" that I get to taste test... like a little reward for my work. haha)
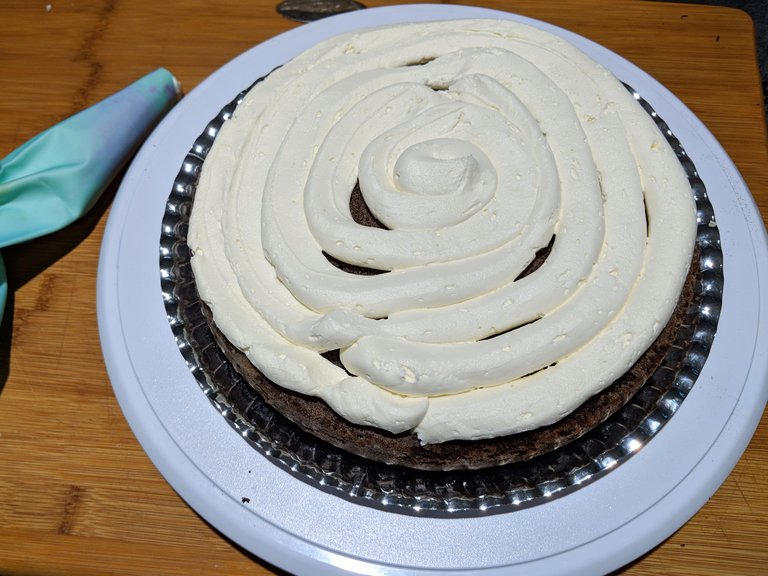
Smear a dab of frosting onto your cake plate, and place your layer on it. (This will help to glue it into place, so it's not sliding on you when you're trying to get the frosting on the outside.) Then you're ready to "fill" it. I like to use my piping bag, so I get a nice thick, even layer. If you were going to put a different filling inside, say jam, or curd, then you would want to do a thin layer of frosting, pipe a line around the outside edge, and fill the center, so the frosting acts as a dam, to keep your filling from leaking out. But for today, we're keeping it simple, with just the buttercream. So, pipe it on, then smooth it out with an offset spatula so there's no holes.
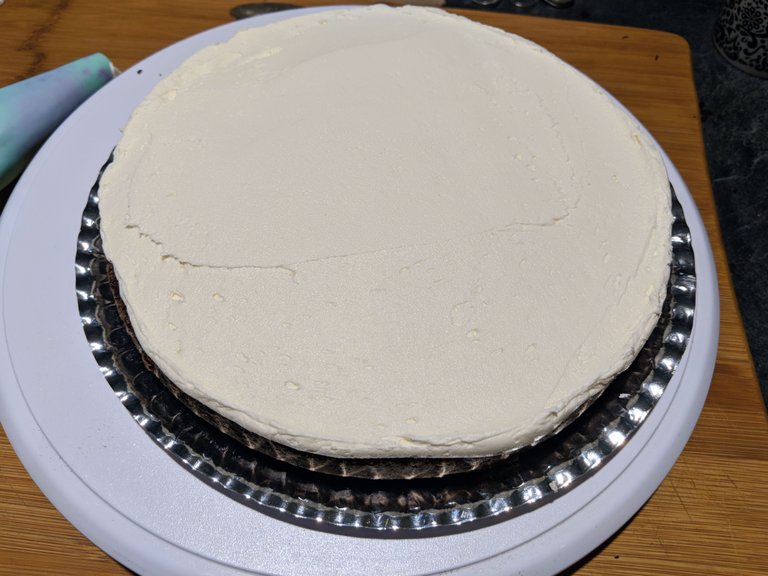
Repeat this process with the next layer, and again on the top, and smooth the sides. I typically do the outside in 2 layers. A thin one first (called a crumb coat because you're probably going to get some crumbs coming off of the cake), then set it in the fridge to set up, then a second, slightly thicker coat, to make sure the crumbs don't make it to the outside. I then smooth the outside edge with a simple trowel. I've used a metal spatula for this as well, but find it easier to hold the trowel even, and get a nice smooth finish.
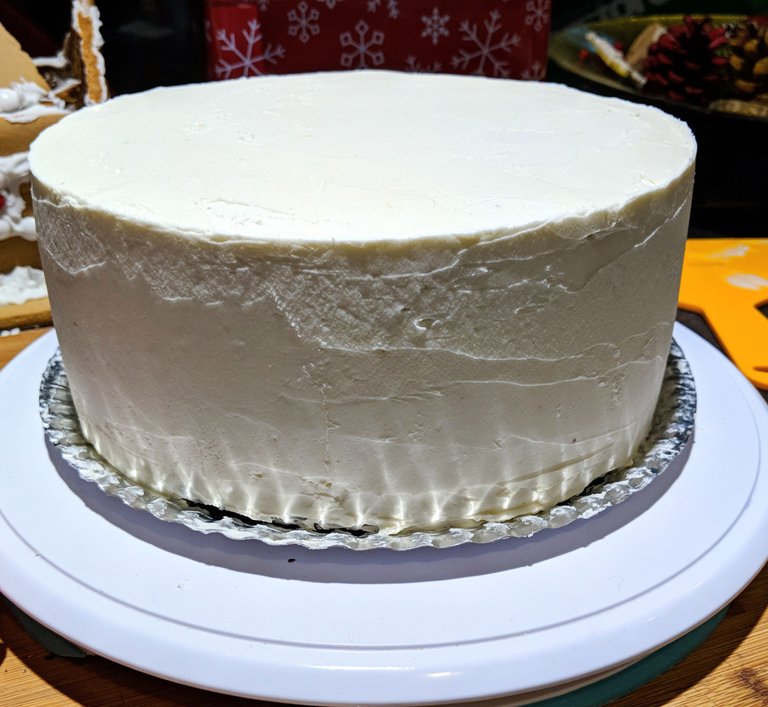
Now you've got a nice, naked canvas on which to let your artistic side shine! Time to set the cake in the fridge to hang out, while you get busy working on that transfer.
You're going to want an iPad/tablet, or a computer, and some wax paper and a pencil. Measure and mark the wax paper with the size of the cake, to make sure your image is going to fit. This is kind of important. You don't want your image being tiny, or it'll look funny, and obviously, you don't want it too big, or it won't fit on the top of the cake!
Find an image that you want to replicate. In my case, my client wanted a Lightning McQueen cake, so I did a quick internet search for images on my iPad, found one that was suitable, saved it, and zoomed in to make it the appropriate size. (So that it fits inside of those markings you made before.) Then, very carefully, trace around the image, with the shiny/waxy side of the paper down. Get all the basic outlines, so it looks sort of like a coloring book page... you could even do a search for coloring pages, and make your life 10x easier. 😁
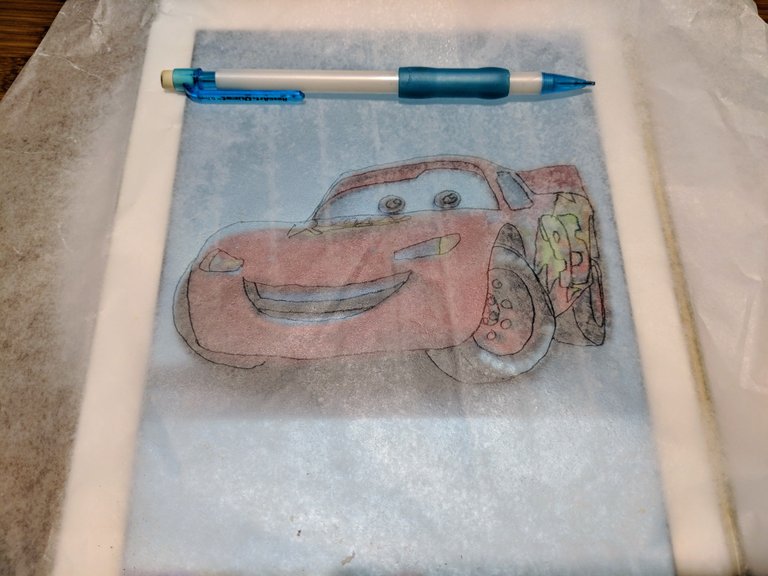
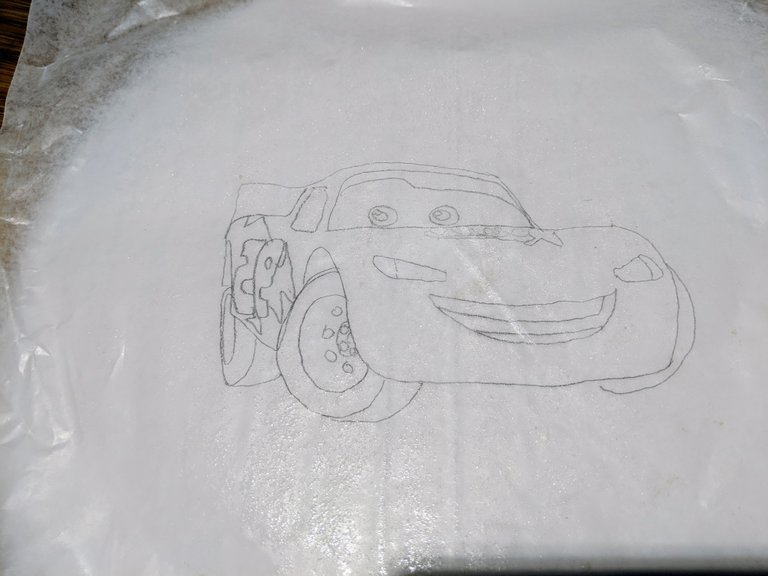
Then, when the image is fully traced, flip the wax paper over, so the shiny side is up. This is the side you are going to pipe on. Yes, the image is reversed. You want that, because you're going to flip it later, when you put it onto the cake!
Now you need to color your frosting in as many colors as you need for your image. I needed black for the outline, as well as his tires, red for the body, and yellow for the logos. (I also did a bit of orange, but that was just by adding a bit of the red and yellow together later.)
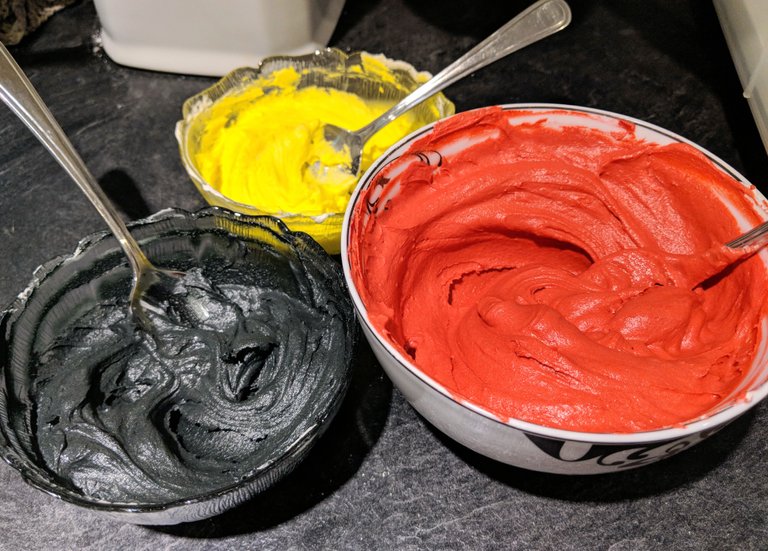
Put the colors into their own separate piping bags, fitted with round tips. I like to use a small one (#1) for my black, since it's the outline, and a slightly larger one (#3 or #5) for the other colors, depending how precise I need to be. Then, start by piping the outline, and filling in any black areas. When that's done, pop it into the freezer to set up.

Next, you'll want to do the colors for the details. I piped on the yellow, then squeezed the excess out of the bag, back into its bowl, and mixed a touch of the red into it, to make orange, put the orange back into the bag I used for the yellow, and piped the orange details. (This is a good way to do a gradual change of color, like his lightning bolt, as there'll be some residual color left in the bag, that'll make a bit of a mix of colors.) If you have some hollow spots, but you're near an edge and don't want to bump it, go in and spread/push the color carefully with a simple little toothpick. Pop it back into the freezer again.
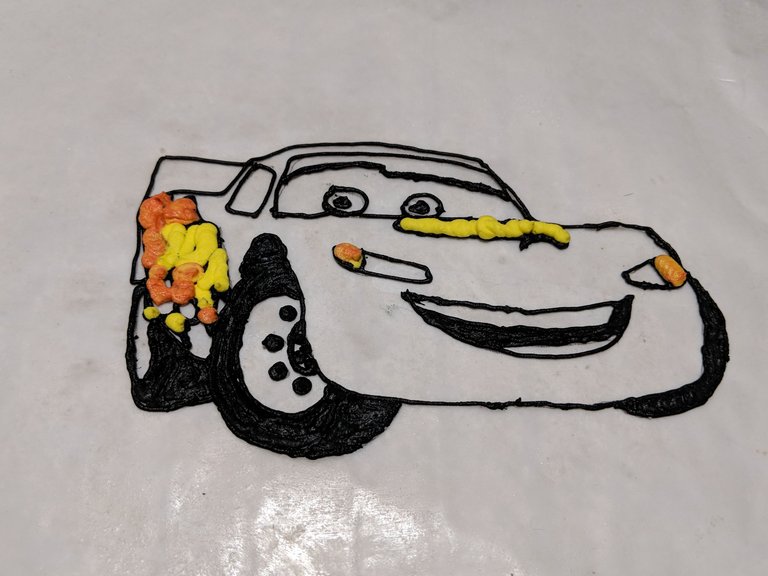
And then it's time for whichever color is covering the majority of your image. In my case, that'd be the red. Now that the details are filled in, it's totally ok to overlap some of them, as well as any pieces of outline that are surrounded by that main color. (Like the wheels, and spoiler.) Back into the freezer!
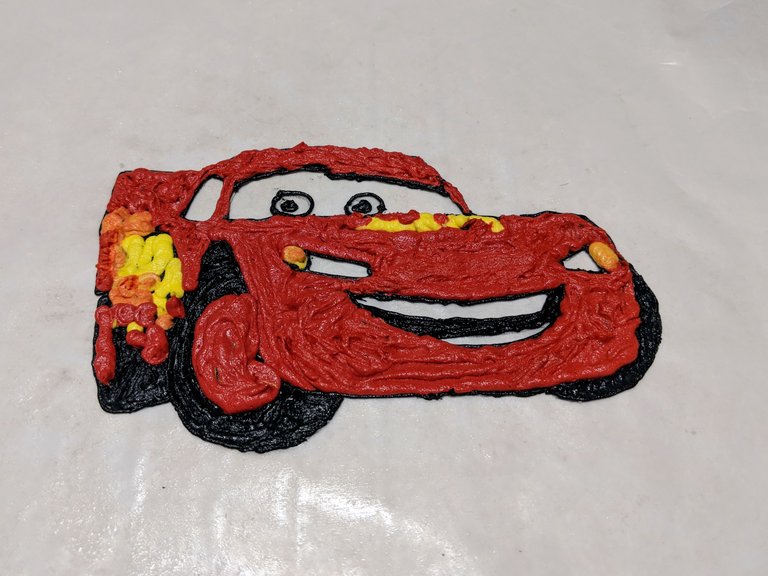
Lastly, I like to fill in any "hollow" areas, so the whole thing is even. (Even though the cake is white, if you were to skip this step, some pieces of the outline wouldn't transfer, as they'd be higher than the rest of the design and have nothing to stick to, when you flip it over.) Go ahead and put a bit of white in those areas, and spread it across the back of the image, so it's as smooth and even as possible. Be careful not to be too aggressive. You don't want to smear any of your lines! Put it into the freezer to set up completely.
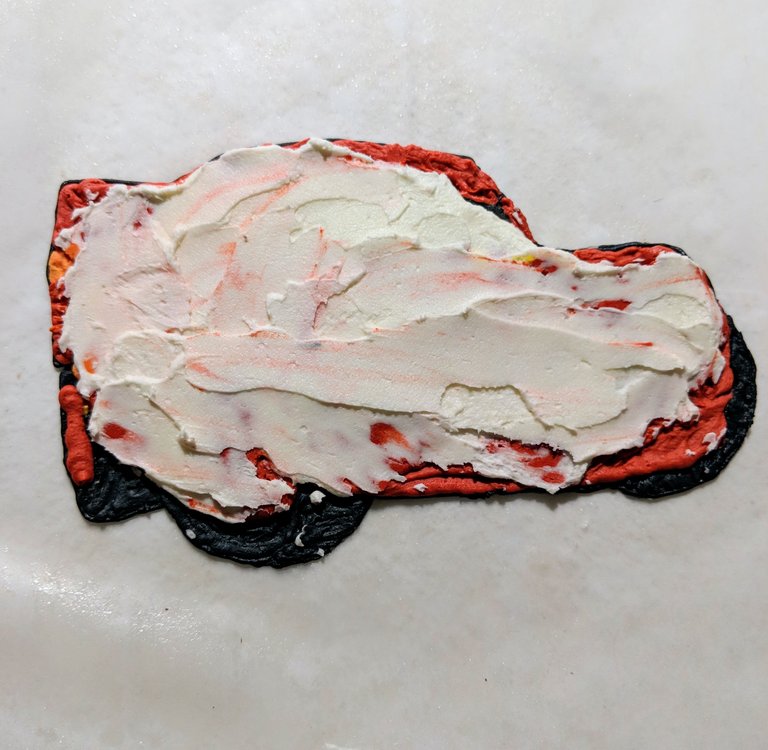
When everything is set, take your cake out of the fridge, take your wax paper out of the freezer, and very carefully flip it over, onto the top of the cake.
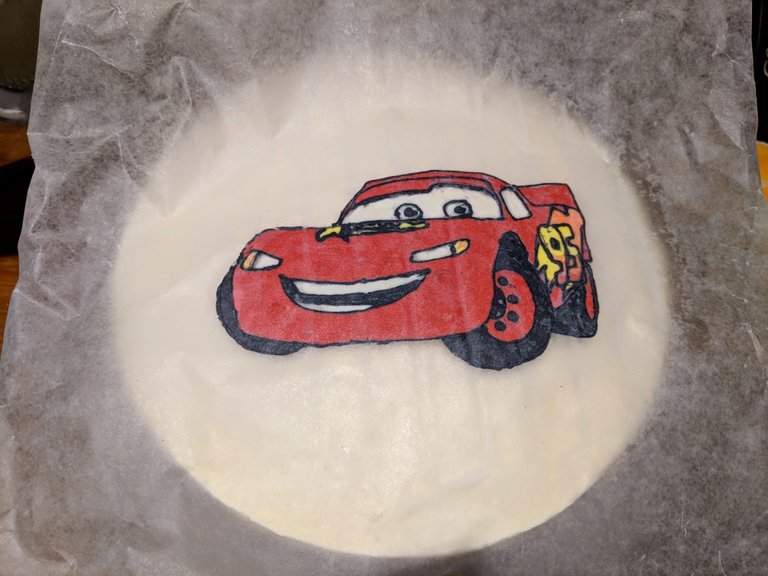
Press it down very gently, and give it a little rubdown with your fingers. You want to heat the frosting enough to release it from the wax paper, and press it enough that it wants to become one with the cake. But don't push too hard, or you'll risk denting the frosting. When you feel it's ready, very carefully start to lift a corner of the paper. If the transfer wants to lift with the paper, lay it back down and rub it some more. Pull the paper back over itself, not straight up. This will help the transfer to stay where you put it. You may have a couple of pieces of the outline decide it doesn't want to cooperate, in which case you just want to grab that piping bag and fix it up, straight on the cake.
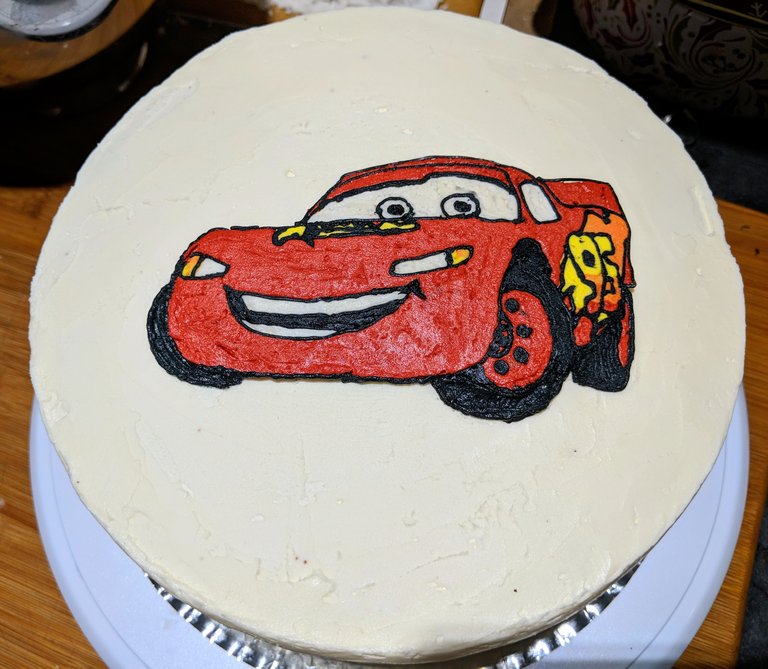
Now you can have fun, decorating the rest of the cake as you'd like. I did a border around the top and bottom perimeter, the birthday boy's name, as well as a few stars on the top and sides. You could leave it just with the transfer, or dab on some dots. If you want to play around and see what your different tips can do, go ahead and try them out by piping a little dab here and there back into the bowls you used to mix your colors. (Or if you reserved the trimmed tops from leveling your layers, you can practice piping onto those. 😄 Yum!)
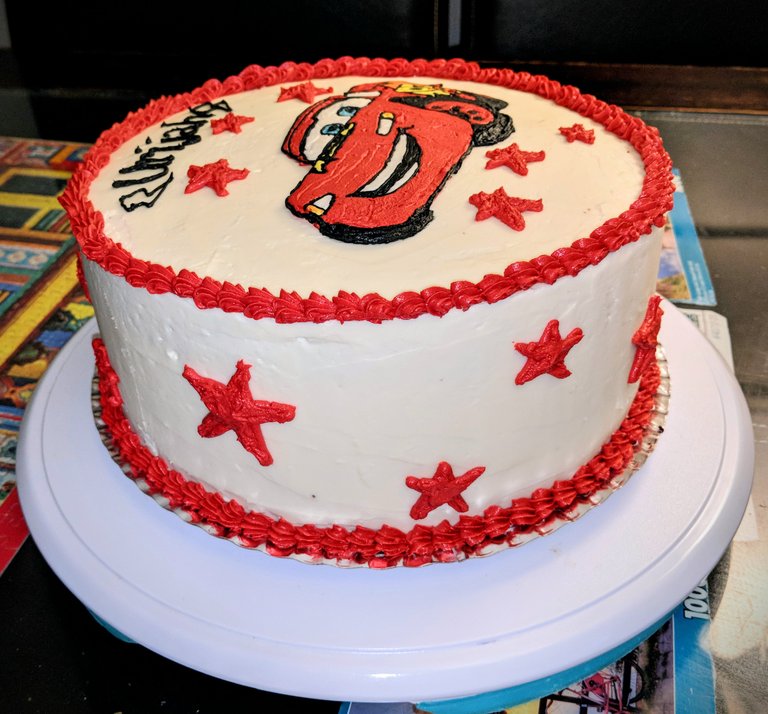
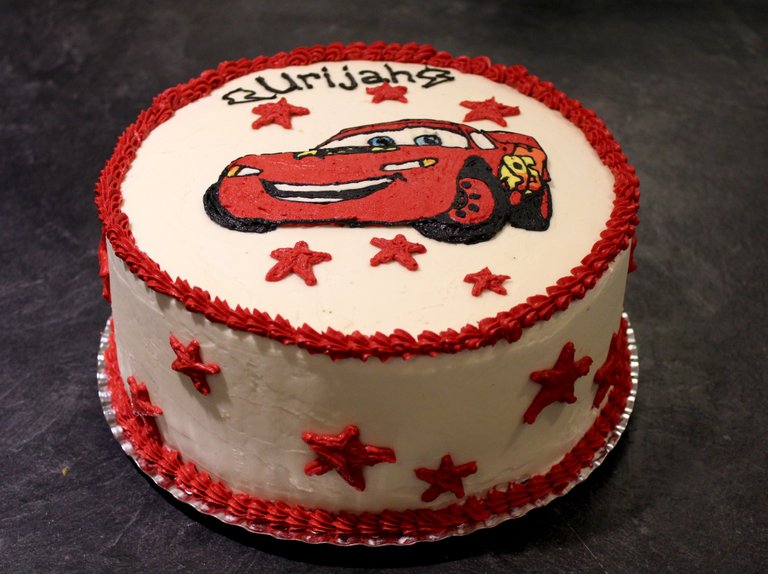
I also needed to make Lightning's eyes blue. I didn't feel like it was worth my while to mix blue and put it into a piping bag for such a tiny area, so I just dipped a small brush into my blue food coloring, and dabbed it onto his eyes.

What do you think?
Have you ever made a birthday cake for friends or family?
If so, is this something you think you could try next time?
I hope you found it helpful! I would've liked to do some gifs of me actually piping things, but I just don't have enough hands to do that when I'm working on my own. lol
*first sentence: Hey everyone! Come and see how good I look!
me: psh look at this self-center ego
*looks at photo
DAMN that looks crazy good! You thinking about branching this off to Youtube or whatnot? You talented
Haha! Yeah, the first line is actually a line from the movie Anchorman. But I think it's pretty fitting for cake... They all look good! lol
Thank you! I haven't really thought about doing videos... There'd be a pretty big learning curve there, but I do appreciate the kind words and support. :)
@offbeatbroad Girl, I'm high AF and your making me hungry
HA! This made me literally lol. Hope you found some snackies! ;)