Although we often talk about the importance of leavening powders in pastry mixes, you can’t always resort to that extra teaspoon of baking powder or baking soda to guarantee the desired texture. In fact, excess chemical yeast will lead us to get the opposite effect, a cake that collapses on itself and becomes a bitter-tasting mess.
Even when sometimes a little help is needed because of the density of the mix, there are a few tricks that will significantly improve your experience the next time you try to surprise your guests with a cake that does not resemble a rock when it cools.
Are you familiar with the genoise cake?
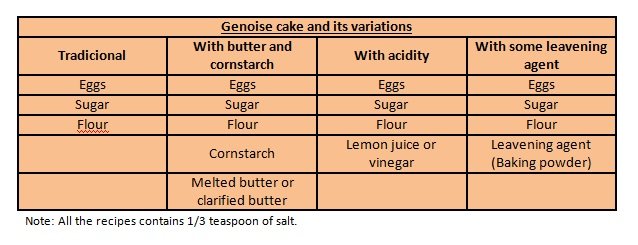
Perhaps it is simpler for us, because we have the 3 Leches cake as a common good in the celebrations, but for years we did not know that its base is that soft and versatile cake that can be easily moistened. Although too many are afraid to prepare it in its original version! And is that to make a genoise cake does not need more than 3 ingredients: Eggs, sugar and flour without any kind of leavening agent.
The genoise cake is the king of fluffy cakes. Its principles can be applied to multiple recipe and these tips will make it even easier to prepare it with its multiple variations.
First of all:
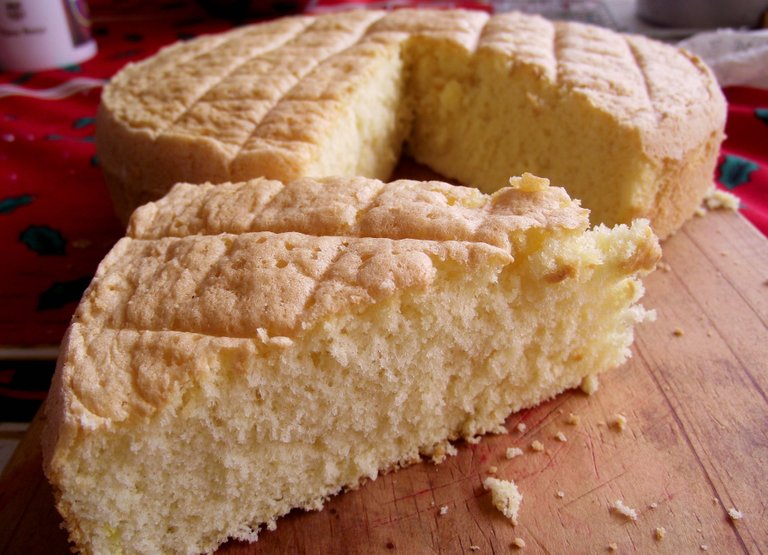
Today, we will share the recipe we use frequently. It is the one that gets us out of trouble when they ask us for a moist and light cake to serve with creams, fruits and liquor. And all the advices that until today you didn’t know you needed for an infallible dessert.
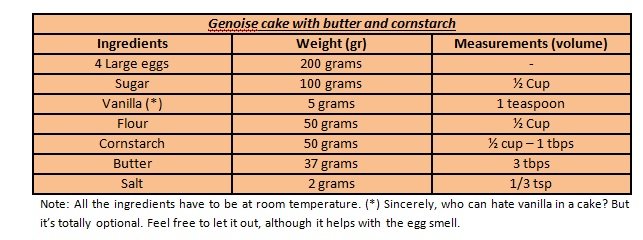
We will need:
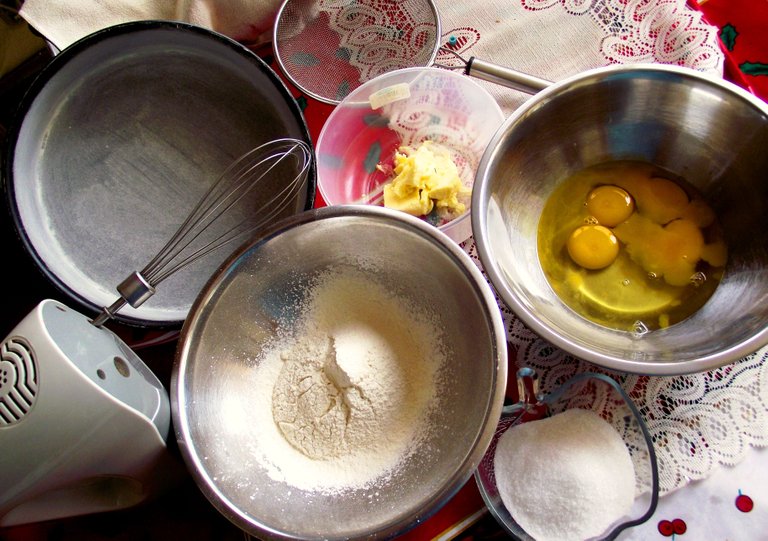
One 9-inch by 2-inch pan. Greased and floured (This is particularly important to prevent it from sticking to the mold).
Electric beater with balloon rod (It facilitates the whisking. We have found that with the regular rods it is also possible to reach the desired point in the mixture, but it takes longer).
Have all ingredients properly weighed or measured before beginning. Butter in a microwave-safe container, or in a saucepan to melt on low heat. Corn flour and starch sieved together twice.
Preparación:
*1. Preheat the oven to 175 ° C (350 ° F).
*2. Prepare a pot for water bath. It’s important that the fire is on very low heat and the water has only small bubbles of boil.
*3. Place the eggs and sugar in a bowl that will not touch the hot water. Stir slowly by checking the temperature until the mixture is barely warmer than the body temperature. Add the salt.
Tip 1. Warming the eggs slightly in water bath encourages the growth, allows much more spongy cakes with a lighter crumb, due to the stimulation of the protein present in them. Adding salt before whipping provides stability.
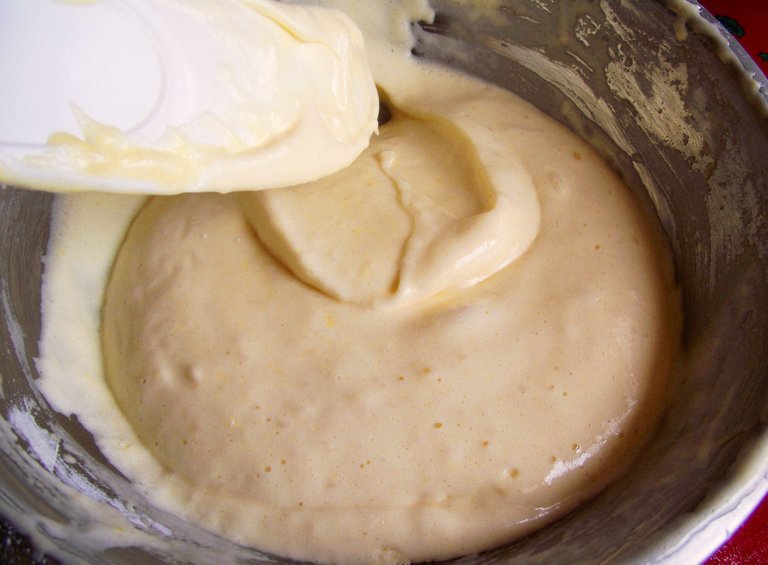
*4. Mix with the mixer at a fast speed for 5 to 10 minutes (With a hand mixer the beat time will be closer to 10 minutes than with a stand mixer), until it triples its volume, thicken considerably and when lifting the beater and leave the mix fall back into the bowl, it is possible to draw strips on the surface that remain visible for a few seconds (Ribbon stage).
*5. Melt the butter without heating too much until it is completely dissolved but just lukewarm. Mix with vanilla.
*6. Take a cup of the egg mixture and sugar and mix with the melted butter in a separate bowl until fully integrated.
Tip 2. Add melted butter to the preparation provides moisture and flavor, but the excess leads to heavy, high-fat biscuits. So they must be added in their proper measure.
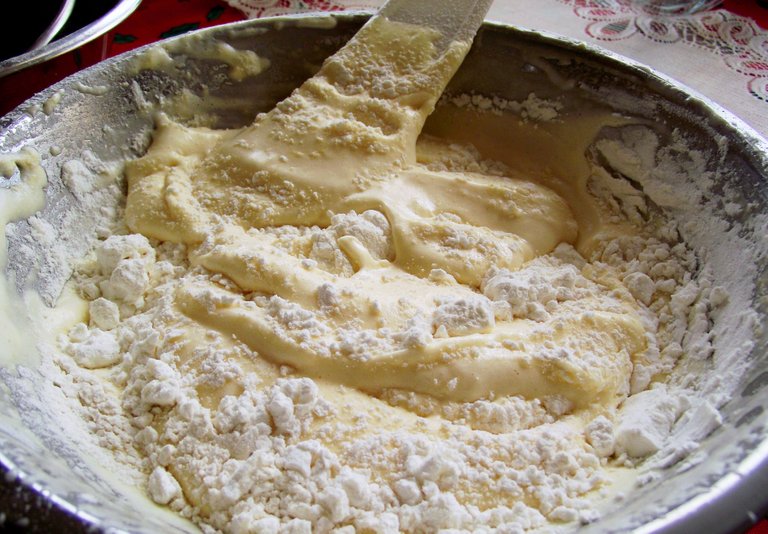
*7. Integrate half of the flour mixture and cornstarch with the rest of the egg and sugar preparation in a folding but fast movement. Continue to add the dry ingredients and integrate until you do not see any rest of flour.
Tip 3. Do not mix too much. Excessive whisking after adding the flour causes dense, dry and not growing cakes because of mixture's air losin.
*8. Fold in the butter mixture until fully incorporated. Remember not to mix too much (Tip 3).
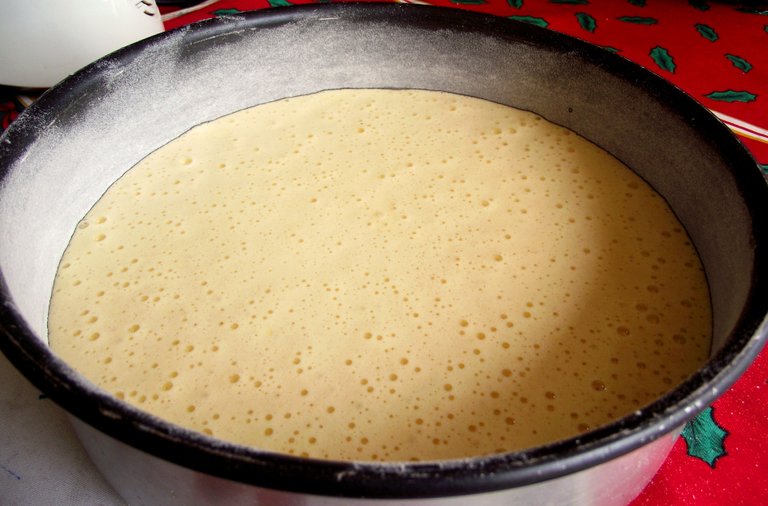
*9. Pour the mixture into the previously prepared pan and bake for 25 to 35 minutes or until the cake is golden and has shrunk slightly at the edges.
Tip 4. Do not open the oven door until at least half of the total baking time has pass. Opening the oven before time affects the structure of the cake. This works for any cake.
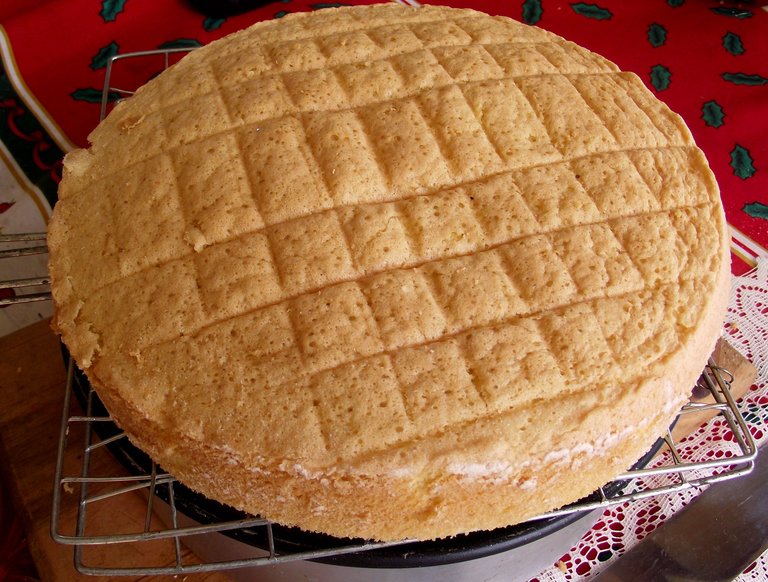
*10. Once the cake is ready, remove from the oven, hit the bottom once against a flat surface and proceed to relase cake from pan, using a spatula to release the edges of the cake from the mold. Place on a wire rack to cool completely and your genoise cake is finished.
Tip 5. Hitting the bottom of the mold against a flat surface prevents the shrinking of the sponge cake and helps to release cake from pan.
We recommend moistening the cake with the syrup of preference.
We use this recipe to make a “3 leches“ cake.
Soon we’ll be posting how to make some simple syrup for moisten cakes, as well as the recipe for the 3 leches.


nice
Thank you!
Looks amazing! I will have to try this!
We are glad that you like it! We'll be happy to hear how it went. Do not hesitate to ask us any questions.