Bonjour à tous !
Hi everyone!
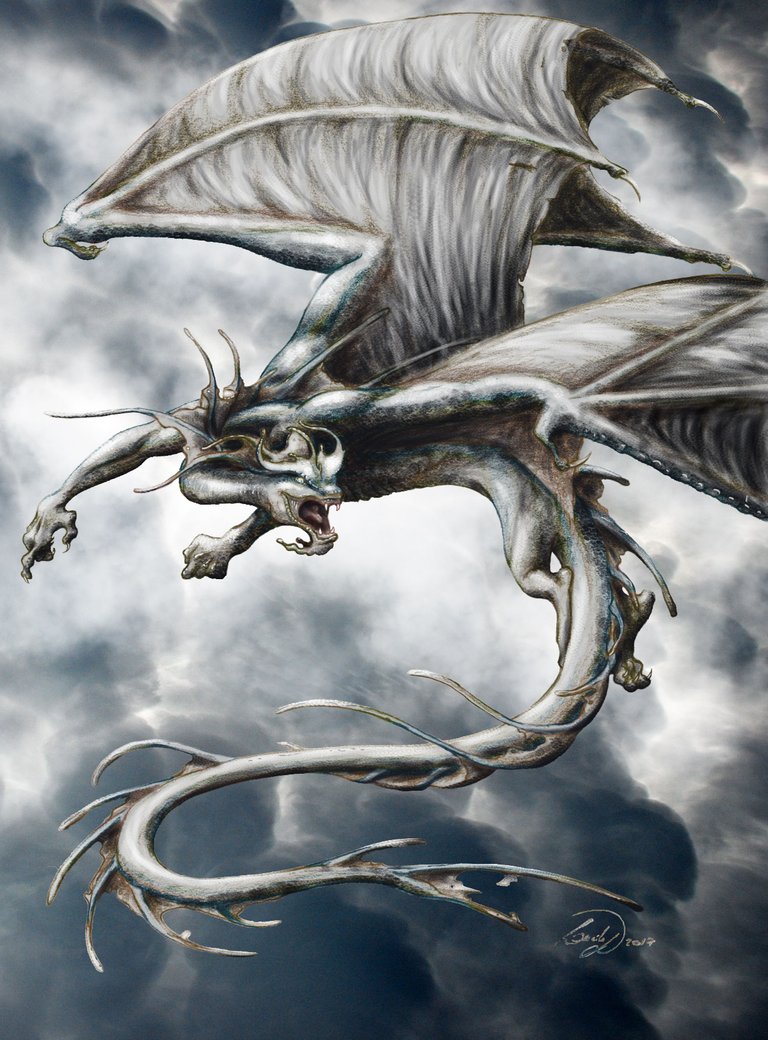
Voici le petit frère du Snake-Dragon. Réalisé dans un style plus occidental, j'en suis moins fière au niveau du tracé, mais j'ai trouvé très intéressant le travail de la couleur sur celui-là, en testant une nouvelle technique.
This is the little brother of the Snake Dragon. Made in a more western style, I'm less proud of it in terms of drawing, but I found the work of colour on this one very interesting, testing a new technique.


Matériel utilisé
Papier canson 90 g/m²
Crayon rouge
Photoshop
Tablette graphique Intuos 5 Medium
Canson paper 90 g/m²
Red pencil
Photoshop
Intuos Graphics Tablet 5 Medium

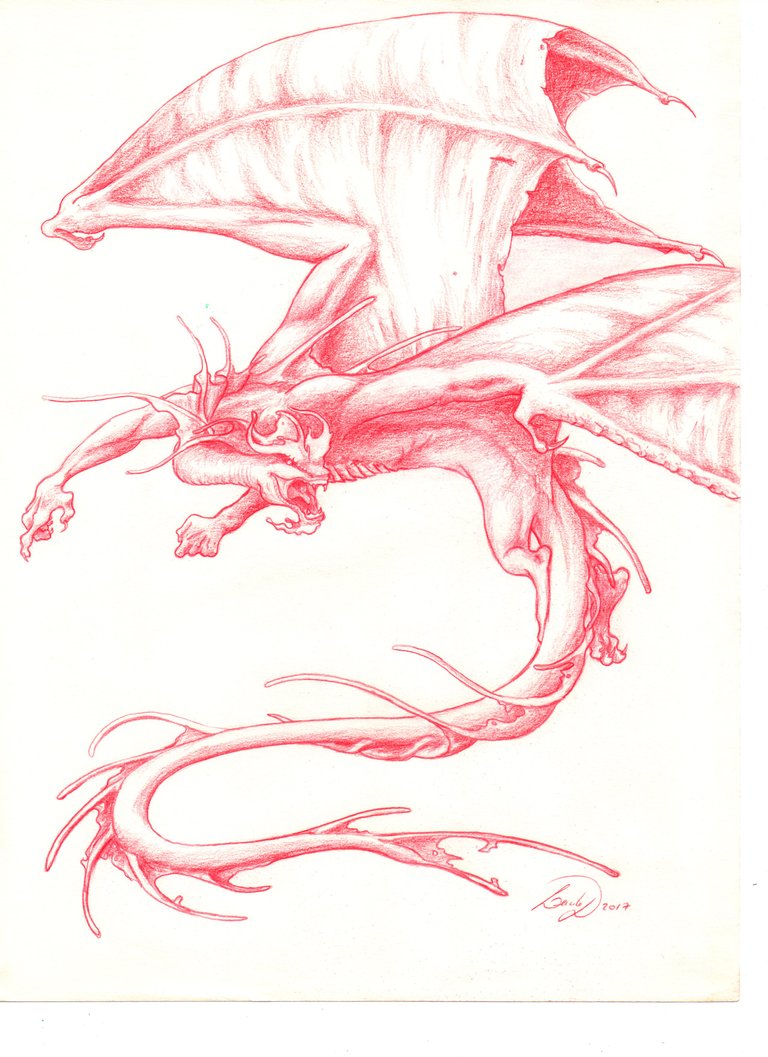
Dessin original / original drawing
Dessin réalisé lors d'un salon du livre et retravaillé sur ordinateur chez moi.
Drawing realized during a bookshow and reworked it on a computer at home.


Photoshop
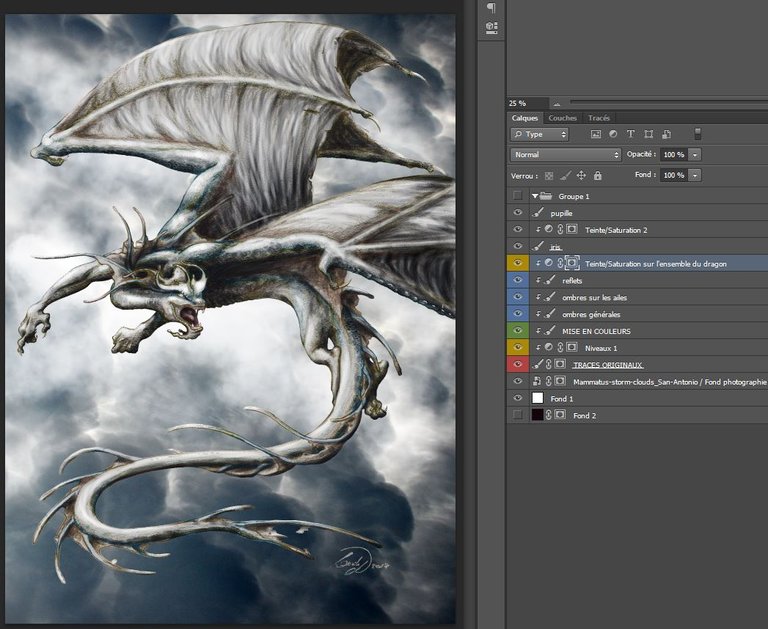
Mon "step by step" sera surtout un "calque par calque", afin de vous montrer les différents ajustements et réglages faits l'un sur l'autre.
My "step by step" will be mostly a "layer by layer", in order to show you the different adjustments and settings made on top of each other.
1 - Importation des tracés au crayon tels quels. Occultez les tracés gris, c'est juste que je me suis plantée de calque au moment où j'ai dessiné les ombres, honte sur moi.
1 - Pencil drawing importation as it is. Don't mind the gray lines, it's just that I screwed up some layers when I drew the shadows, shame on me.
2 - Réglage des niveaux afin de créer des gris là où je n'ai que des blancs.
2 - Adjusting the levels to create greys where I only have whites.
3 - Positionnement de mes zones de couleurs. Je me suis inspirée ici des couleurs qu'arborent certains poissons tropicaux. Le calque des couleurs est en mode "teintes" : ainsi les couleurs s'appliquent aux pixels de mon calque "tracés originaux" sans modifier leur luminosité. Je conserve mes tracés, ombres et lumières d'origine.
3 - Positioning my color zones. I have been inspired here by the colours of some tropical fish. The color drawing layer is in "hue" mode: so the colors apply to the pixels of my layer "original traces" without changing their brightness. I keep my original lines, shadows and lights.
4 - Ombrage avec une brosse type "écailles".
4 - Shading with a "flake"type brush.
5 - Pose des lumières et reflets avec la même brosse.
5 - Laying the lights and reflections with the same brush.
6 - Arrivée à ce niveau-là, les couleurs flashies ne me plaisaient plus. J'ai donc décidé de les atténuer avec un calque de réglage "teinte / Saturation", en diminuant la saturation et en modifiant très légèrement les teintes.
6 - When I arrived at this level, the flashy colours no longer suited me. So I decided to attenuate them with a "Hue / Saturation" setting layer, decreasing the saturation and modifying the hues very slightly.
7 - Détail de réalisation de l’œil, avec le même principe : Tracé / réglage de la couleur / détails.
7 - Detail of eye realization, with the same principle: Trace / color adjustment / details.
8 - En fond, j'ai récupéré une texture libre de droits et l'ai modifiée pour mettre en valeur la bestiole.
8 - In the background, I recovered a royalty-free texture and modified it to emphasize the creature.

J'espère que ça vous a plu !
N'hésitez pas à upvoter, resteemer, commenter... vous connaissez la chanson :)
Merci à vous pour votre soutien ^^
I hope you enjoyed it!
Don't hesitate to upvote, resteem, comment... you know the song :)
Thank you for your support ^^
Oreille Pointue


Its cool
Thank you :)
very nice work. Thanks for showing the layering.
Thank you and you're welcome ^^
@originalworks
The @OriginalWorks bot has determined this post by @oreille-pointue to be original material and upvoted it!
To call @OriginalWorks, simply reply to any post with @originalworks or !originalworks in your message!
wowww this is amazing! :)
Thank you so much :)
Excellent drawing @oreille-pointue, I liked the techniques you used on this.
Thank you very much :)