Do you want to get yourself a domain or hosting but don't want to pay for it?
Today, we'll look at how to use Freenom, 000webhost and Cloudflare DNS to get ourselves a free website that is secured with SSL.
But before that...
Note that these free domains do not show up on search engines like DuckDuckGo, Bing or Google. If you want to get visitors to your website, consider buying yourself a domain and then continue to step 2.
Also, the domains that you'll receive will not be .com or .net or whatever. You can only get .tk, .ml, .gq, .ga and .cf for free
Step One: Free domain
Visit Freenom and sign up.
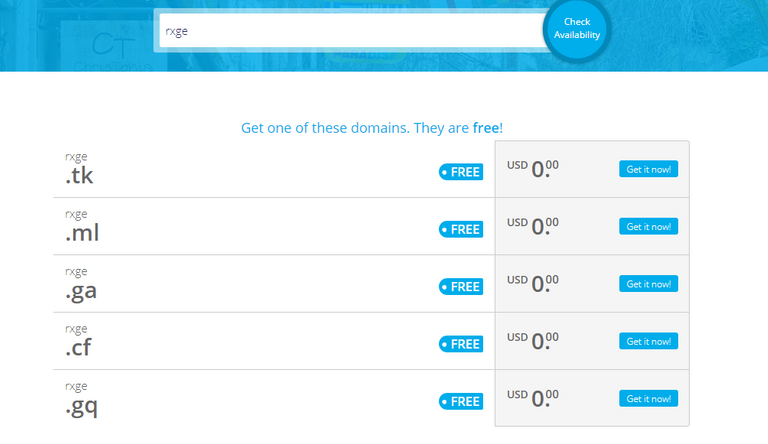
Go to the search bar and search for the domain that you want
(plz don't buy my domainz)
IMPORTANT: I recommend you to get a non .tk domain. .tk domains are notorious for spam and may be blocked by some DNS services.
- Checkout with a non
.tkdomain > Choose "12 months @ FREE"

After filling in your (real or fake) info, you should get your domain. Go to manage your domains and click "manage domain".
Next, go to Management Tools > Nameservers and choose "Use custom name servers"
Leave this tab open, we'll come back in a bit.
Step Two: Free Hosting
At this point you should have a domain. We will now use 000webhost.com to host our website.
Visit 000webhost and sign up
Create a website
Click "Manage Website"
Click "File Manager"
Upload your files in the
public_htmlfolder
We're half done! Now go back to "Manage Website" and then Tools > Set Web Address
Then select "Connect a domain you already own"
Choose "Park domain" and then put in the domain you got from Freenom.
Before pressing the park domain button, go to the Freenom tab and put ns01.000webhost.com and ns02.000webhost.com into the boxes.

Leave the rest blank and click "Change Nameservers"
After this, press "Park Domain" in 000webhost. Then after every 10 or so seconds press "Recheck Nameservers" until it shows your domain name in the "Linked Website" column.
Step Three: Free SSL
Before you continue, make sure that:
a. "Waiting for Nameservers" is not shown next to your website.
b. You are able to visit your Freenom domain to view your site.
Visit Cloudflare and sign up.
Put in your freenom domain
Choose "Free" as your plan (obviously)
If you want to add some DNS records, do that and then press continue
You will receive two CloudFlare Nameservers. Replace the 000webhost DNS with Cloudflare nameservers.
At this point. You now have a Freenom domain, hosted on 000webhost, with SSL derived from Cloudflare.
Note that SSL will take 24 hours to propagate. After this, all connections will automatically be served over HTTPS.
So that's it! In three simple steps, we got ourselves a place on the web.
If you are new to my blog, consider reading my other articles to get up to speed.
Cheers!


I recently started using https://hostkey.com/ hosting services and would like to share my experience. I chose this service because of its reliable reputation and reviews. The first thing that pleased me was the fast deployment of the server. Even with minimal settings, everything went smoothly. Technical support works great, they helped me quickly sort out issues related to security settings. I am pleased with the stability of the servers, there are no interruptions or slowdowns, which is important for my project.