Flashback
In the last couple of entries in the NaughtScape series I generated a ground plane, and got basic character and camera movement. Then I realized I needed to change how the ground was generated and built a tile map editor to create a simple 2D map. I was also able to add the functionality to store the 2D texture in the same object as the 3D models associated with it.
All this meant that I currently had 2 options on what to start on next:
- Start coding the generation of the 3D world based on the current tile map.
- Create some 3D models.
I decided to take a break from programming and create some 3D models. I would need a few models to start off with, a couple ground models and at least one structure model. During the week while I had some down time at work I did some quick little concept art drawings so I would have something to reference while modeling.
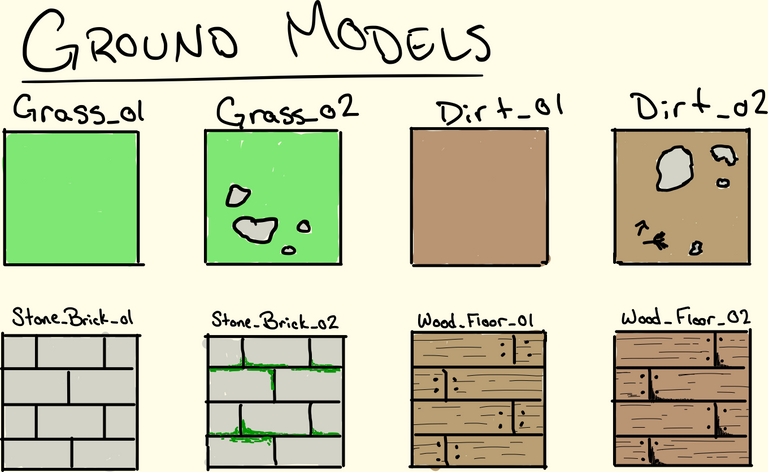
These are the first concepts for ground tiles I thought of. Grass, dirt, stone bricks and wooden planks.
First Steps
That gave me a great starting point for my modeling, a simple grass tile. The software I am using to create my models is Blender, I use blender because it's free and the alternatives cost a lot.
I opened up Blender and got started.
Grass Tile
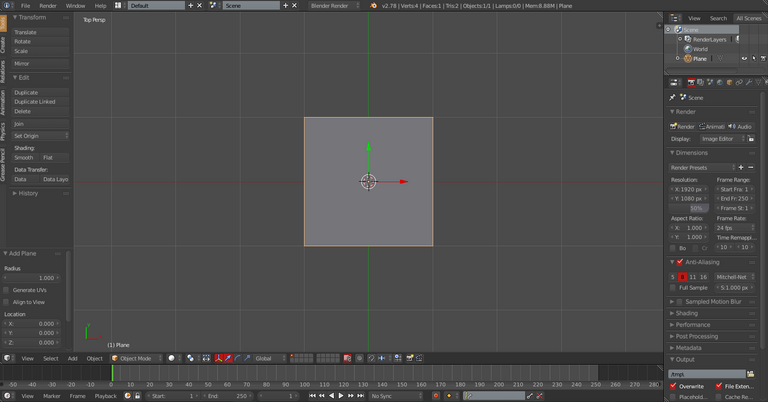
To begin with my grass tile all I had to do was spawn in a plane (shift + A, Mesh->Plane) and left it the default size. I am going to model everything to the scale of 1 tile being a single default unit in Blender wide and tall.
Default plane that will be the base of my tiles.
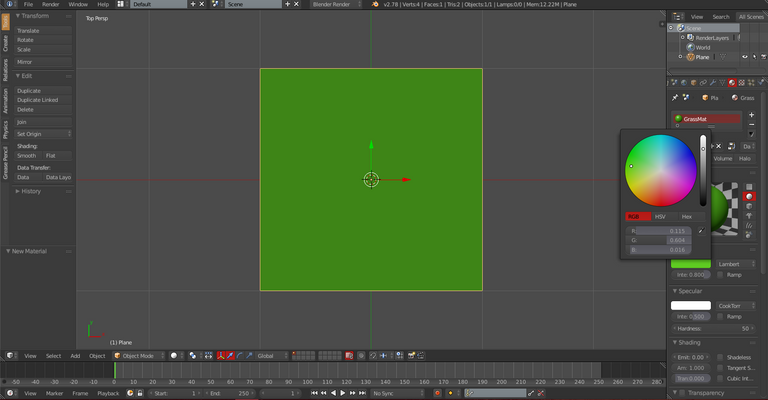
I remembered in another design stream the OSRS team had mentioned that instead of using textures the polys themselves were coloured. This has it's limitations, but it also means I won't have to deal with making specific textures or uv mapping. To finish off this grass tile all I had to do was select the top face and select the material tab in the inspector on the right. Then I can add a new material and change the diffuse to a nice green colour. To keep things consistent I wrote down the exact RGB value Blender used for my grass colour, I ended up using (R, G, B) => (0.115, 0.604, 0.016).
Finished Grass Tile Model
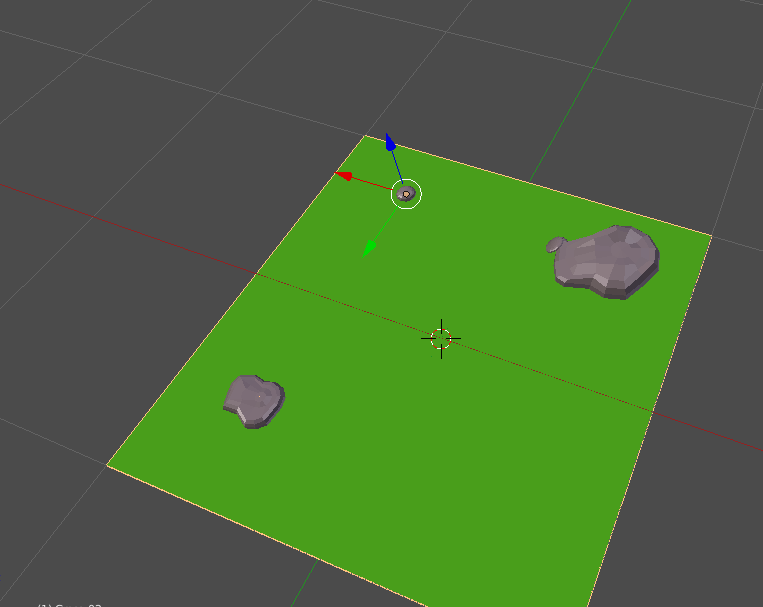
Grass, now with rocks !
Once I had this model complete I saved it directly into my Unity project in a Models/Terrain folder. Then I could use this as a starting point for any variations on a grass tile I make. I wanted to make one more grass tile model, but this one I wanted to add some rocks to break up the monotony of green.
Starting from the completed grass tile, I spawned in a new sphere (shift + A, Mesh->UV Sphere) and before clicking anything I went to the "Add UV Sphere" tab that opened on the left. In this tab I lowered the segments and rings options to each be 12.
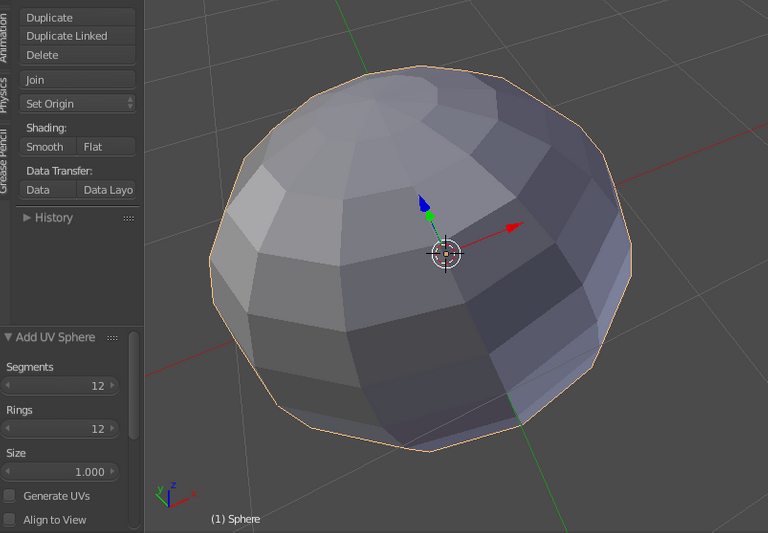
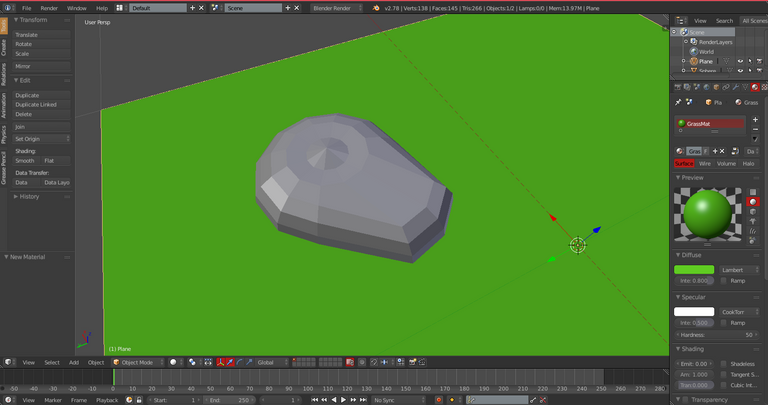
I scaled this sphere down to about the size I wanted the first rock to be, then created a duplicate (shift + D) so that I had an unmodified starter sphere for the next few rocks. Then I went to town shaping the rocks, just trying to get odd shapes and not have crazy sharp edges. This took a bit of time, but over all wasn't too difficult.
Starting to deform the sphere and create a rock shape.
After repeating this for a few rocks I moved them around in the tile to break it up the look. Once I was happy with the amount and placement of the rocks, I went back to the material screen, and selected just the rock models in the scene. I added a new material, and changed the diffuse by lowering the value a little bit to create a grey.
NOTE: The value is the gradient bar from white->black that appears next to the colour picker in the diffuse menu.
Importing into Unity
Once I have all of the objects coloured I had to combine all of the separate objects into a singular object so it will import into Unity more easily. To do this I just selected all of the objects (A) and combined them with ctrl + J, then saved the model into the same folder using a new file name so I wouldn't overwrite the original grass tile.
Since I saved the models directly into the Unity project, they were imported as soon as they were saved. But I needed to do a little set up to get them ready to be used by my code. To set this up I created an empty game object in the scene, then placed the model as a child of the new game object. The parent object acts as a holder and will always keep the same scale and rotation. It's better to not deal directly with the model from your code and is better to have this intermediary parent object.
An example of why you should have the parent object is that Blender and Unity use slightly different definitions of "top" when it comes to the grid. In Blender when you look down from the top perspective you are look down the z-axis at a square of (x,y). In Unity the top perspective looks down the y-axis at a square of (x,z). This could cause your 3D model so show tilted 90 degrees, which is easily fixed by adding a rotation of 90 degrees to the appropriate axis on the model. By adding the rotation to the model it won't effect any code referencing a "front", "top", "back", etc of a model because the parent object always keeps the same rotation and scale.
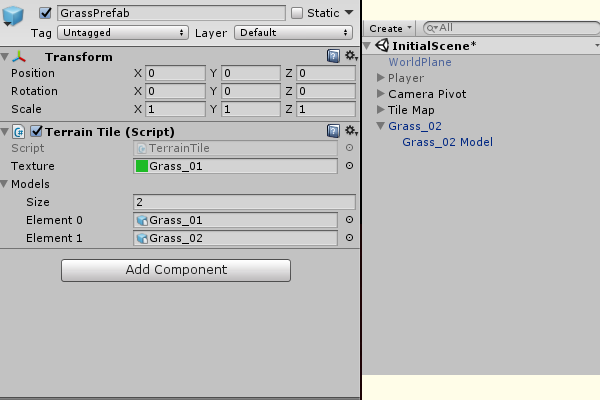
Once I had my model inside of it's holder object, I saved this into yet another folder called ModelObjects. These model objects are what I attach to a TerrainTile as the 3D model.
Until Next Time !
If you have any suggestions for improvements, questions, or links to resources that would help me out feel free to leave a comment. Upvote if you liked the post or found it helpful, and follow me for future updates on NaughtScape, sometimes other programming, and occasionally other stuff. All of the source code can be found on my Github.
You could also add me in game on OSRS if you play !
My ign is MapleThunder.
