Hi guys, it has been a long time since I last posted here on steemit. I will now cater my gamer followers. I am currently playing dota 2 and currently I aim to educate players on the know-how of being a good dota 2 player. for all players out there you are very welcome to read this post. Right now I will be teaching you guys on how to ward like a pro. we will begin of course from the basics down to advanced warding
Just a short introduction, wards are used to give and vision on a certain area. this helps because you would know what your enemy movements are and can act accordingly to how they move.
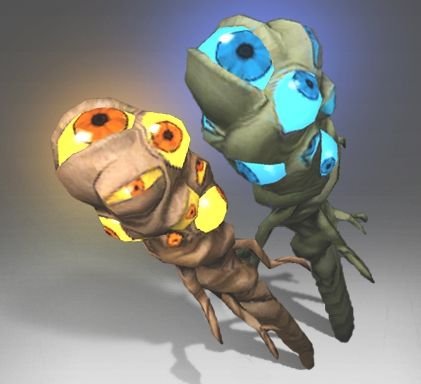
there are 2 types of wards (refer to the picture above) the observer wards (the yellow one), and the sentry wards (the blue one). observer wards grants you vision within 1600 radius in the area where you planted them for 6 minutes and can be removed (or DEWARDED in dota terms) for an extra 100 gold. you can only buy a certain number of observer wards for a certain period of time. sentry wards grants you vision of invisible units only within 850 radius and lasts for 4 minutes. both wards turn invisible after a second
just some quick facts about vision and warding, wards' vision works the same as the heroes vision. in short these wards can't see through trees and higher grounds.
so let's get to the tutorial proper
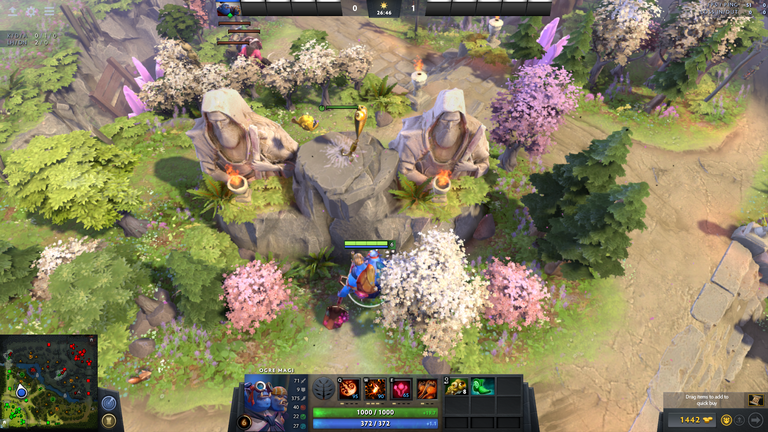
right on the picture above is the most basic ward spot. there are 8 of them on the map (locations shown below).
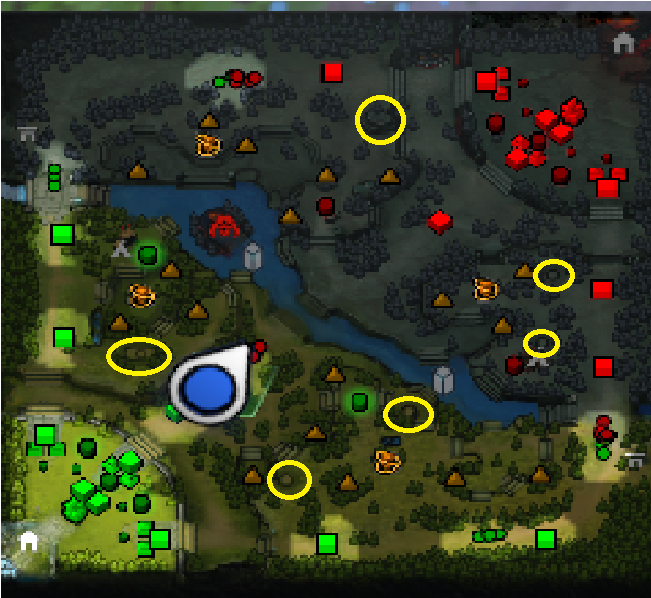
this ward spots grants undistracted vision but not ideal cause this is the most basic ward spot and most likely, easily to be dewarded. you don't want your wards getting removed cause you cannot buy wards anytime you want to.
I will divide this warding tutorial in 3 parts, early, mid and late game warding
Early game
Radiant
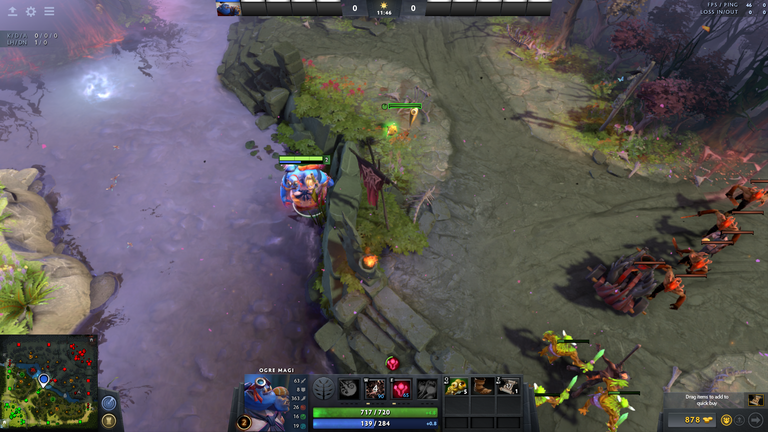
for the mid lane this one here is a good ward. it helps your midlaner have vision on the enemy side at the same time also having vision on the rune spot so he would know where exactly the rune is. It also has vision on the entrance on to the radiant side so he would be aware of incoming attackers
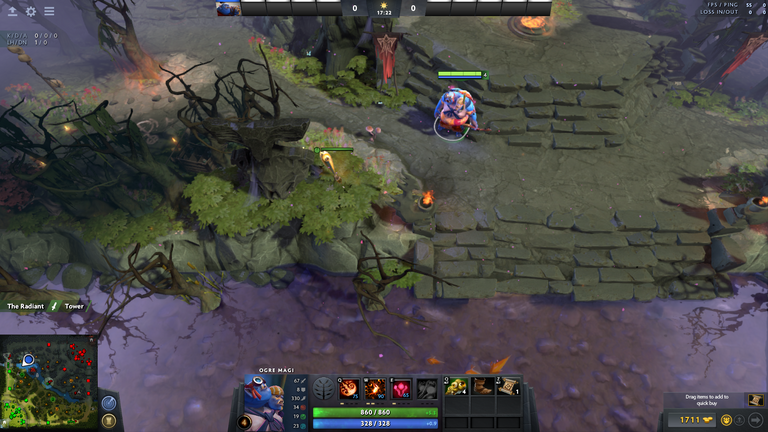
this right here is an ideal ward spot for the top lane. it shows you the top rune, entrance to the both teams side and also the river (where ganks are coming from most of the time)
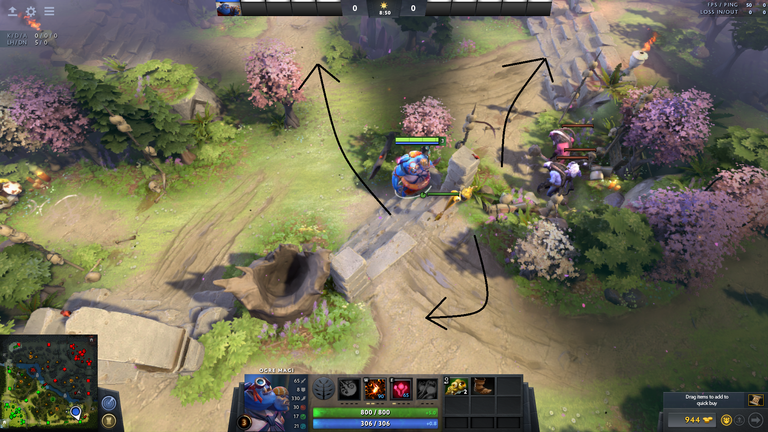
one of the advanced warding spot for early game at the bottom radiant side is this. This spot is so perfect cause it has vision on the entrance to the radiant jungle, another entrance from the lane itself and another one behind the trees parallel to the bottom lane. This covers almost all of the possible routes for early ganks on your safelane hero.
If your team decides to push:
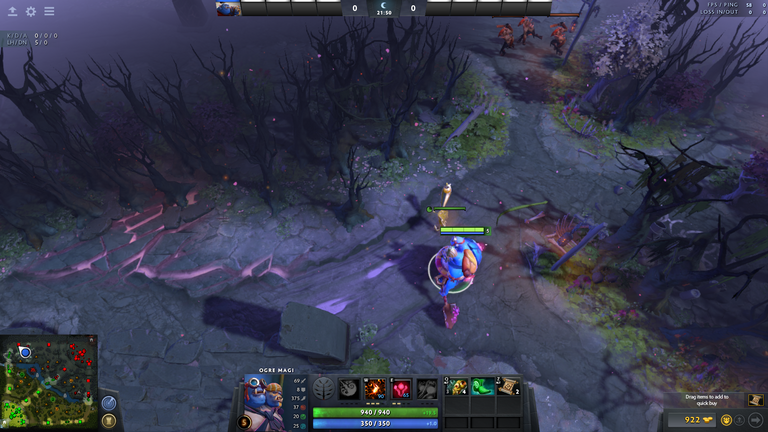
These are what we call safety wards, These wards serve as protection if you know that the enemy team will try to stop you from taking a tower or taking roshan. This is one safety ward location. its so efficient cause it shows you a part of the lane and a large area of the jungle where enemies are highly possible to pass when you are trying to take the top tower
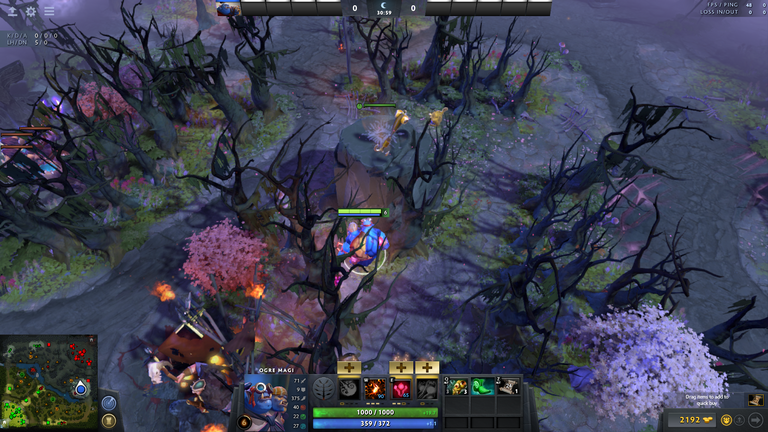
this basic ward spot right is an ideal safety ward spot! although it's located on a basic ward spot, as per experience, this ward spot right here is less likely to be dewarded due to the fact that it is somewhat deep in the enemy dire area. sneaking up a ward right there would be a big advantage when you are pushing
Dire
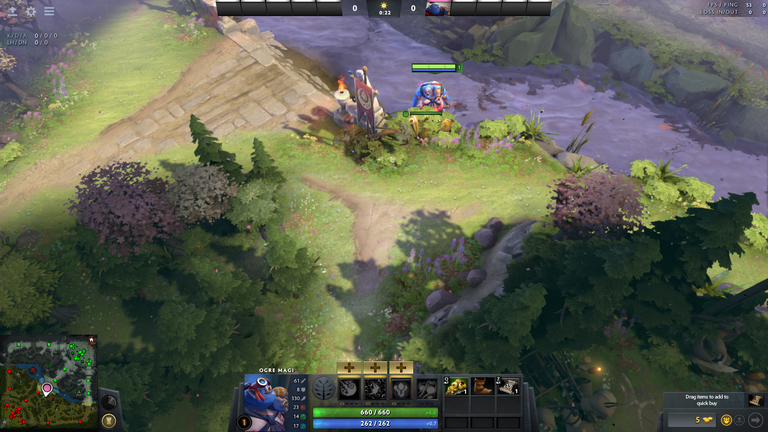
this is an ideal mid ward for the dire side. this shows a small path from the radiant side where gankers are mostlikely to pass or wait. also shows you the side of the river which also prevents you from ambushes from the other team.
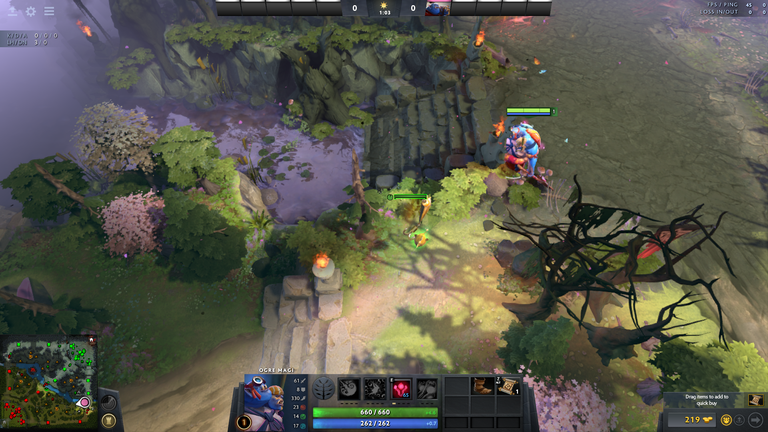
at the dire bottom lane, a ward in this area is very efficient. since bottom lane dire heroes are likely to be far from their tower, they are more prone from ganks coming from the river or coming from the radiant jungle area.
regarding ideal ward spot at the top dire tower, it is also the same as the top radiant tower so just refer at the radiant part above
If your team decides to push:
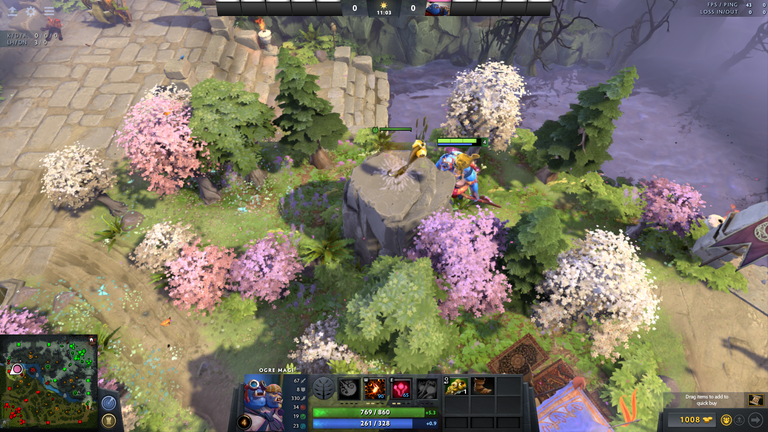
for the top safety ward for dire, it is another basic ward spot. you put wards there for the same reason you put wards on the basic ward spot on the bottom lane for the radiant. so yea, just scroll up if you forgot all about that.
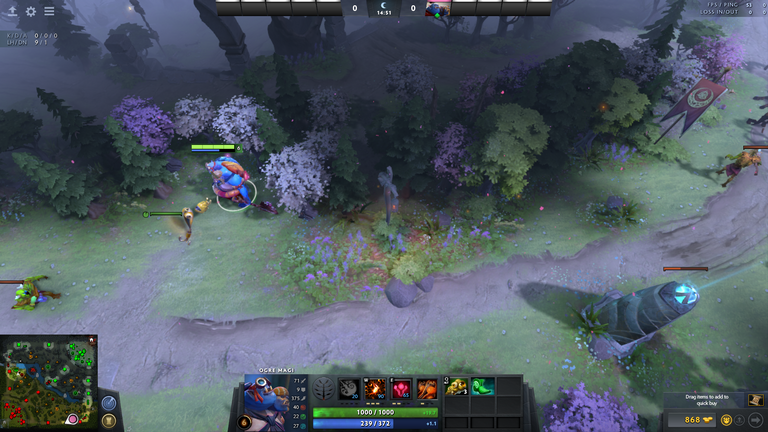
as for the bottom safety ward, this is the area. This shows what is happening at the back of the tower. This area covered by the ward is the most frequent area that teams tend to gather if they are aiming for a counter when you are pushing.
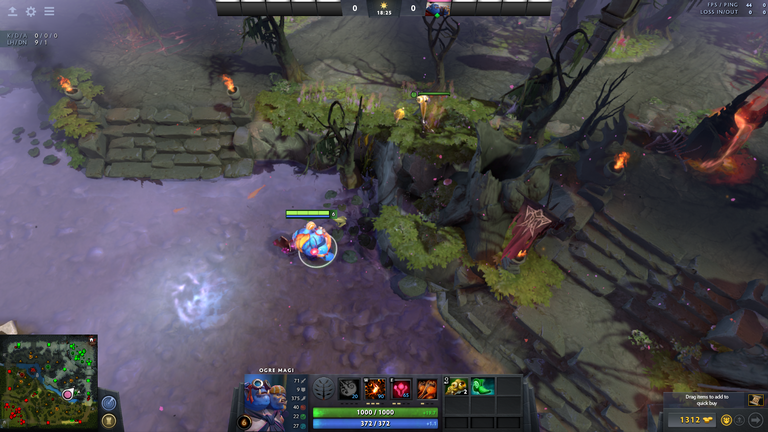
Mid game to early Late game
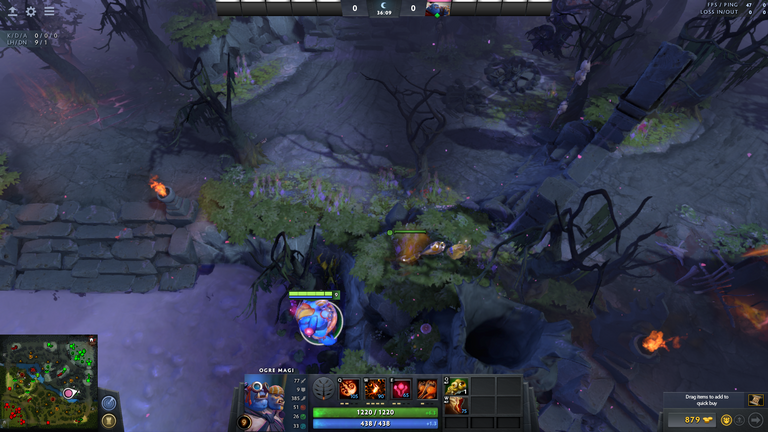
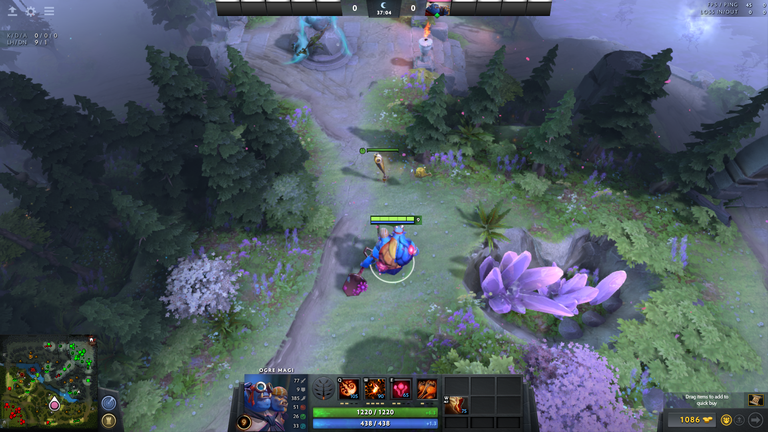
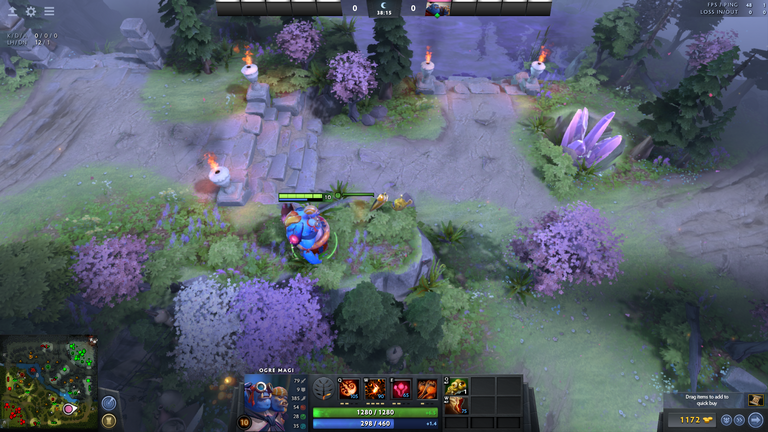
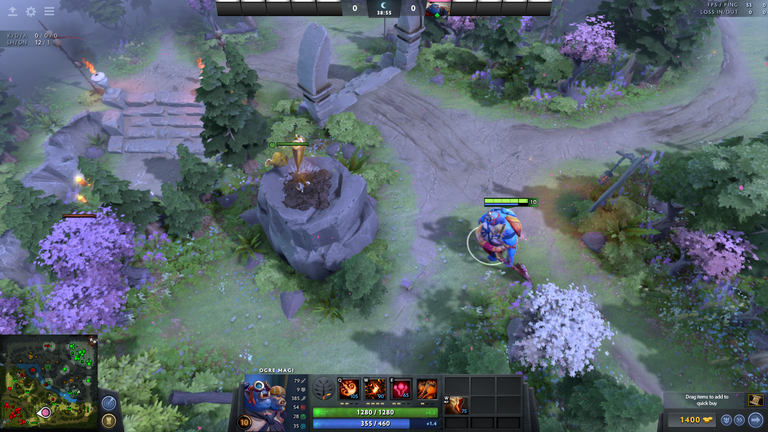
Just a heads up, these ward spots for mid game warding is beneficial both to the radiant and dire side. The only difference is that if it is closer to the team's base its more of a defensive ward than of an offensive ward and. same goes with the other team. All mid game warding spots has only 2 purpose, one to scout out enemy heroes, two, to avoid ganks and ambushes from the enemy hero. There will be no explanation needed on this parts. so just have fun looking at the pictures below.

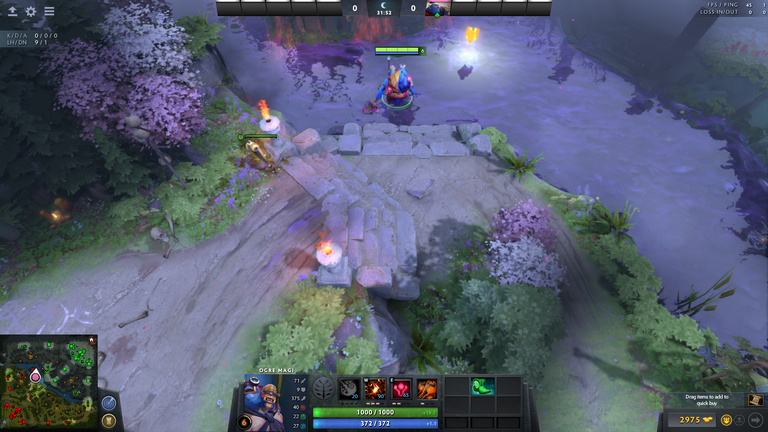
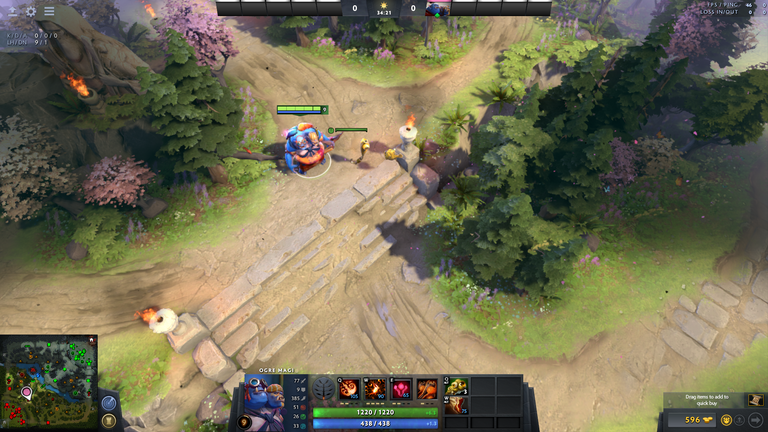
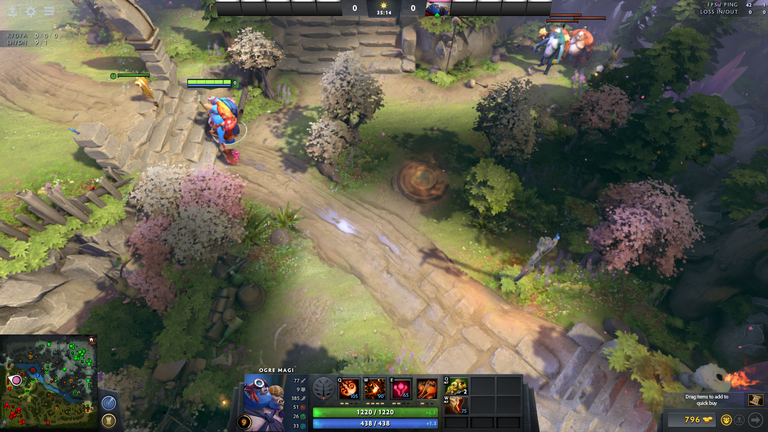
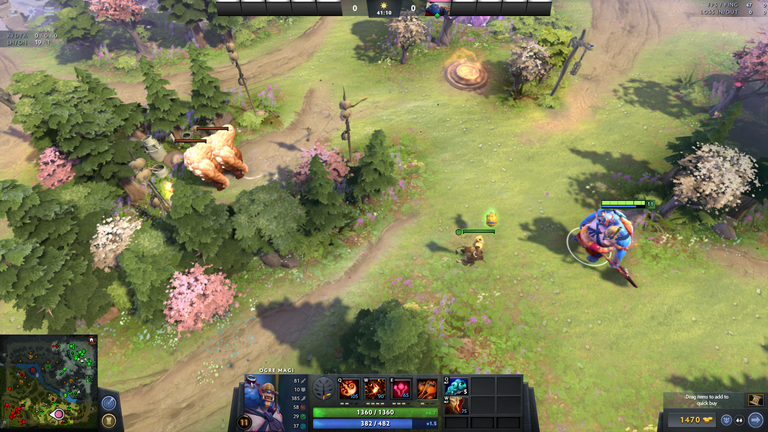
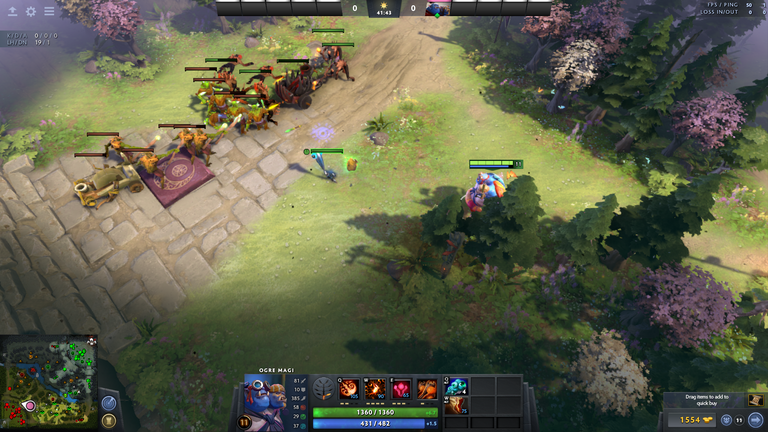
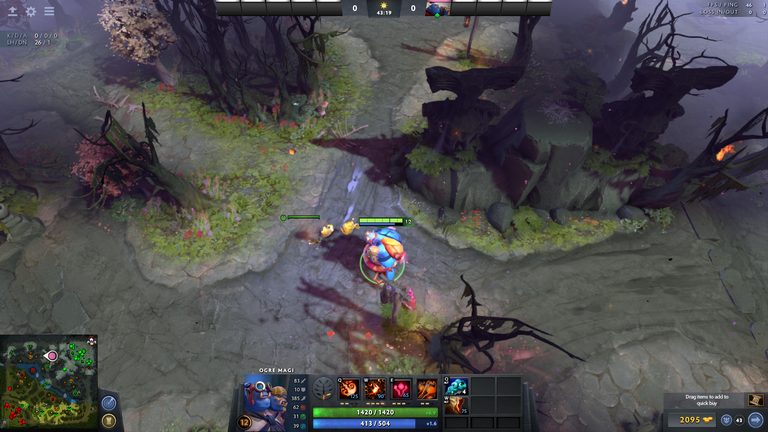
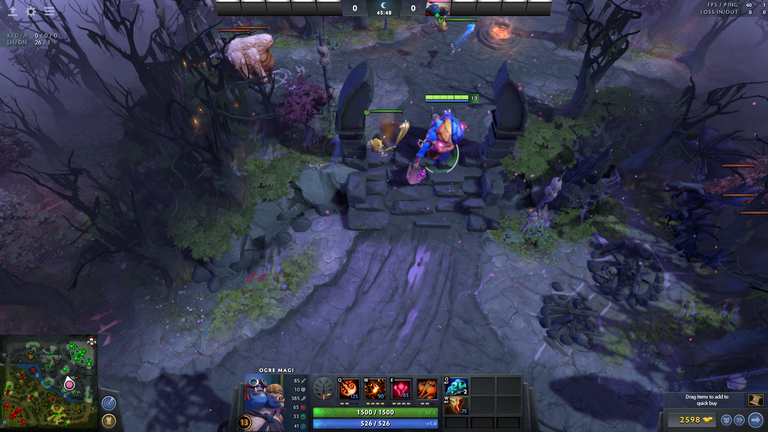
Special wards: Roshan Area
These are special warding spots used when you are trying to steal the aegis from roshan or avoid the enemy team getting the aegis from roshan. there are only 2 spots here one for each teams .wards are placed at the opposite area of the respective teams base as show below
If you are on the dire team:
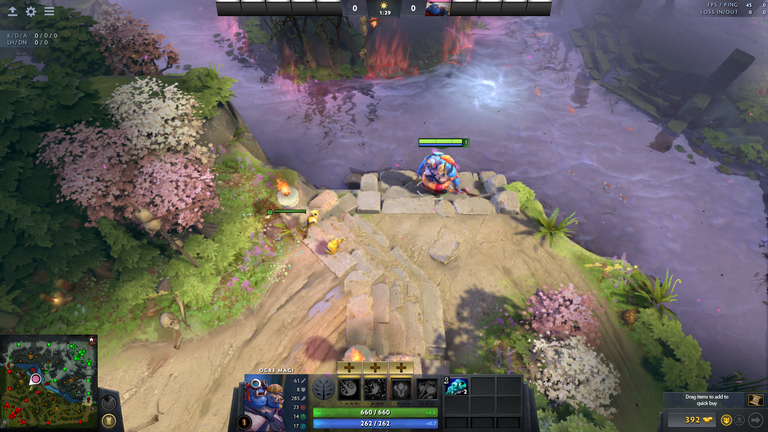
if you are on the radiant team:
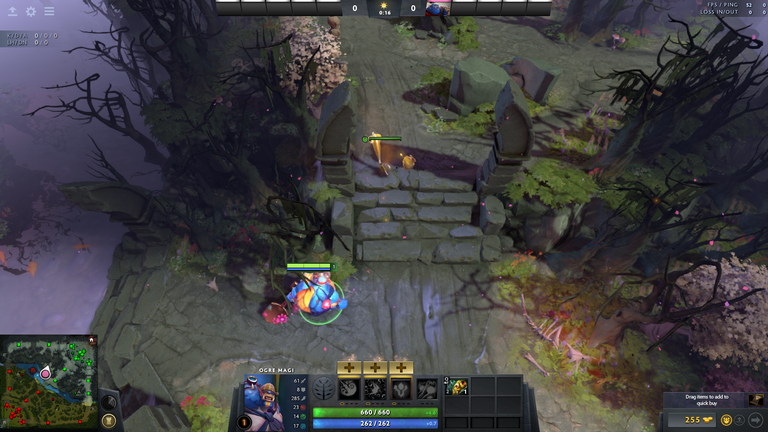
one more thing this sentry ward right here is so important. mostly if you are taking on roshan. It gives you vision of those invisible heroes trying to steal the aegis from you.
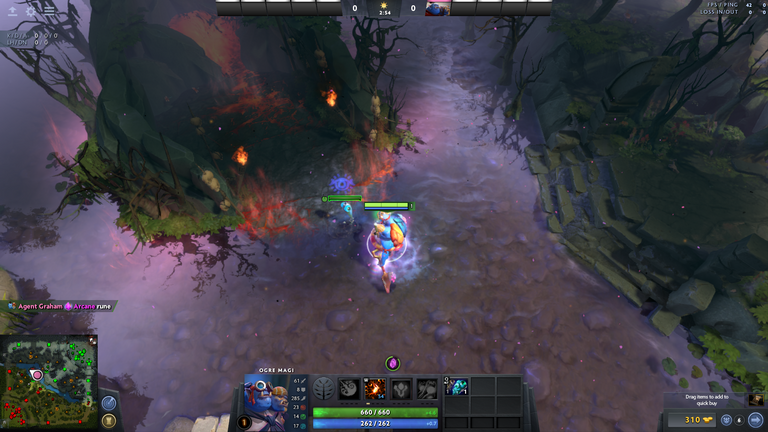
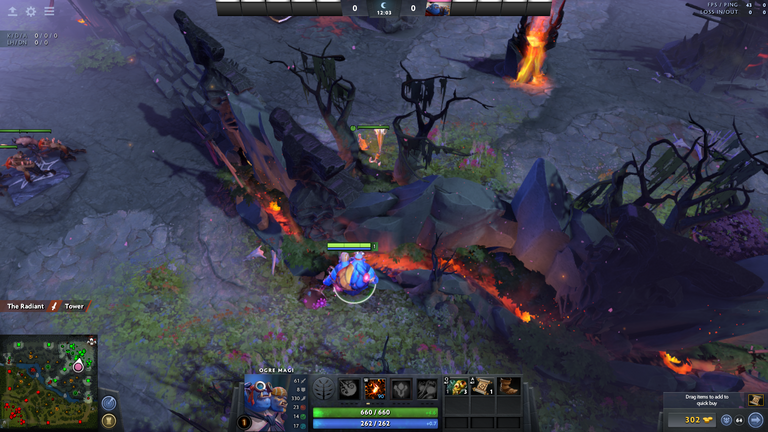
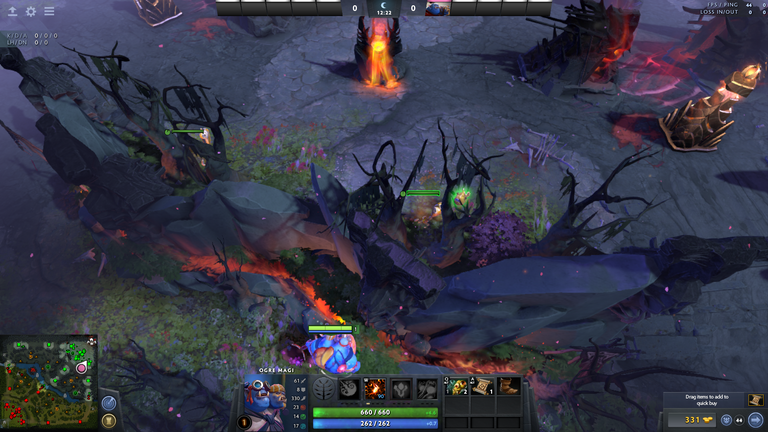
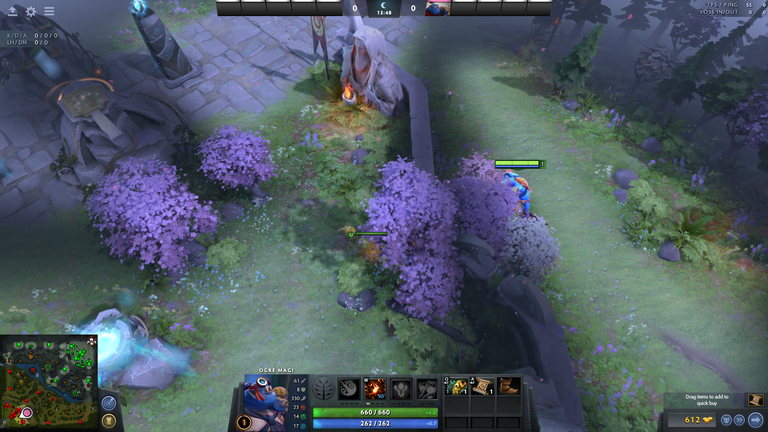
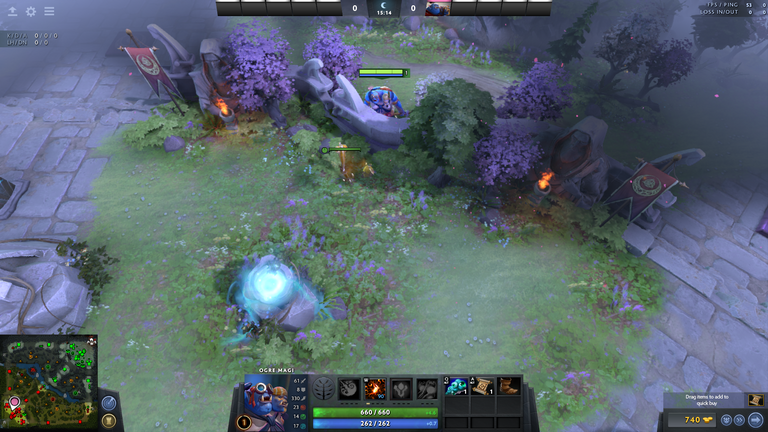
Late game: High Ground siege
During the latter part of the late game phase. your team is required to push up to the enemy's base in order to win and in order for you and your team, it's better if u have vision inside their own base. Here are some warding spots you should know to defeat your enemies
Dire:
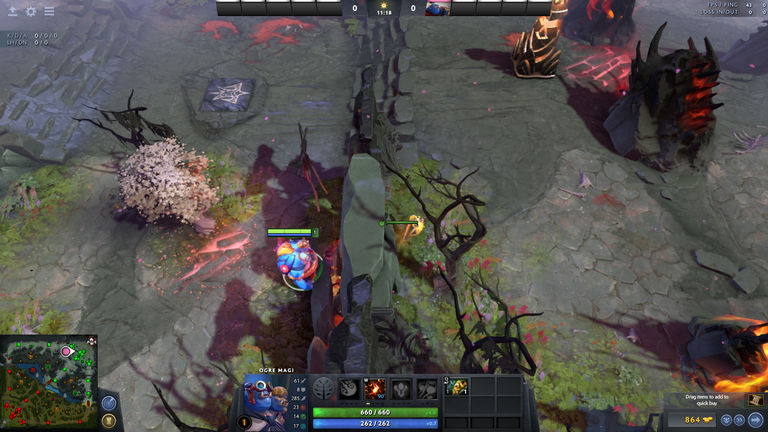
Radiant:
So there you go guys those are my warding guides. Hope you guys liked it. and for those of you reading who has a steem account, dont forget to follow me @agentgraham. If you have anything you want to know about dota 2 or if you want me to make a guide feel free to comment below. Thanks for reading!!