Last time, we learned how to make child sectors, raise/lower them, and stretch/pan textures to turn them into recognizable objects (like a crate). This time we'll be using those skills to detail this room, and learn how to make 3D structures out of flattened sprites.
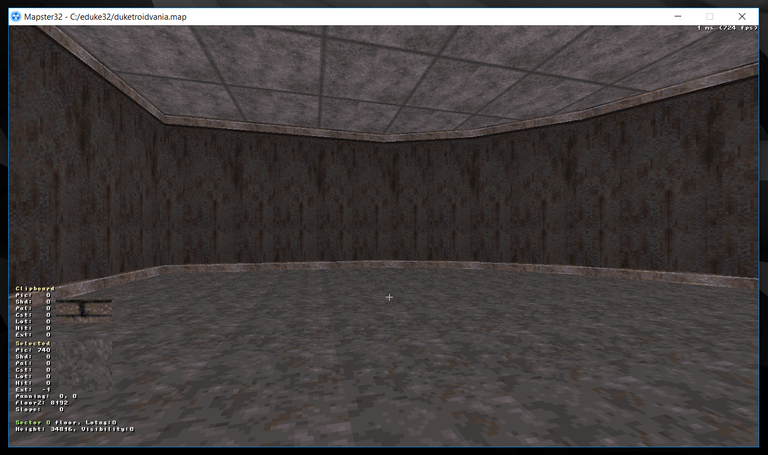
Here's the room as we left it. I deleted the crate since it was just for the purpose of demonstrating child sectors and texture manipulation. But now, let's make some child sectors to add detail to this space. For example, some trim for the ceiling and floor connected by vertical supports.
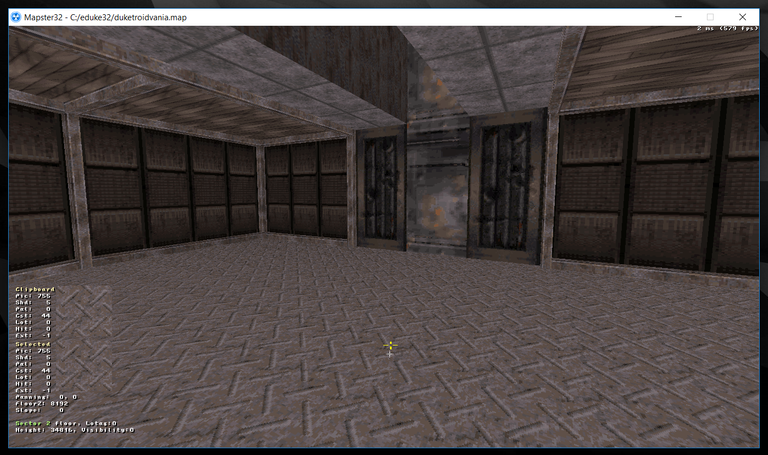
There, much better. Don't be overwhelmed, every change you see was done using the techniques already shown to you. To apply two different textures to the walls of a child sector's lowered ceilings and floors, hit "2" on one of them. To flip and rotate textures, use F and R. To change the scale of a floor or ceiling texture, use E.
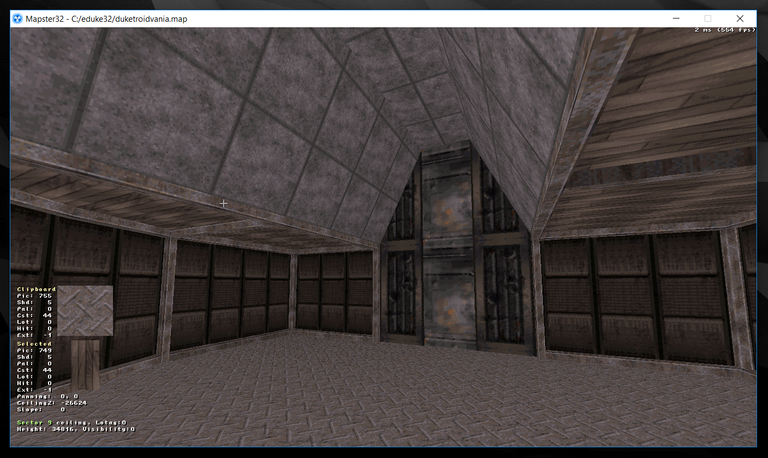
Now, by pointing to a ceiling sector we want to slope, we can add slope to it by using the bracket keys. [ to increase slope, ] to decrease. The textures will stretch as you increase the incline, but you can cause them not to by pointing to the stretched texture and hitting R. It will correct the texture relative to the slope.
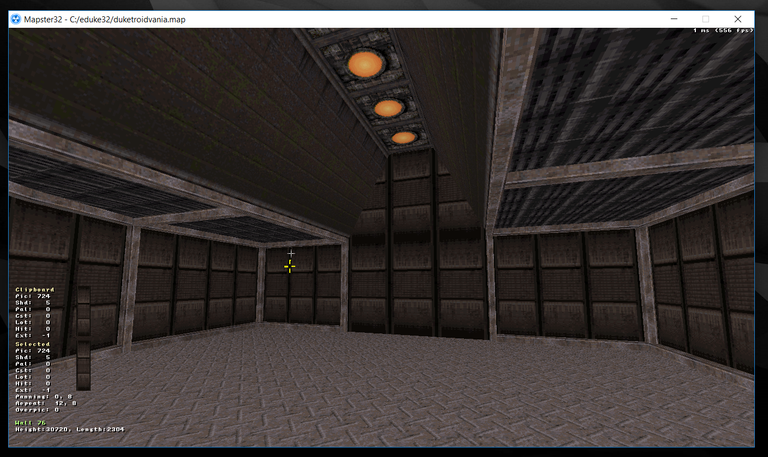
Some better looking textures. Even these aren't final by any means, and are subject to change throughout the rest of the mapping process. It still needs lighting and shadows, but that can wait until after we've gone over how to do some basic spritework. Let's create our first sprite now.
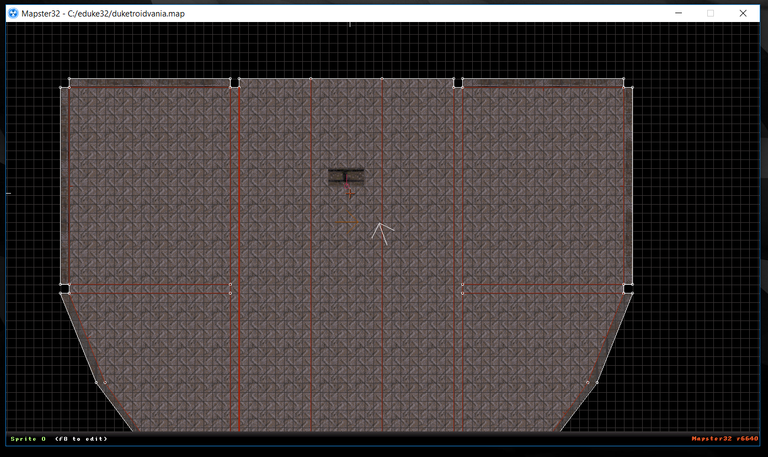
In the grid view, put the cursor where you want a sprite to appear and hit S. The default texture will appear in sprite form. Sprites are just pictures, so you can make sprites out of textures, they don't have to be monsters/items/weapons. This will be crucial for making our sprite platform. Let's see how it looks in the 3D view:
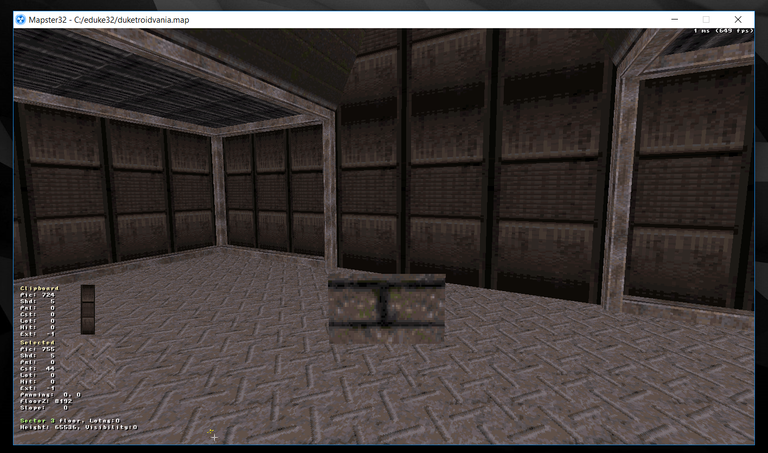
Not much to look at. Let's change it to something more suitable. Since I want to make a square platform, it should be proportionally a square.
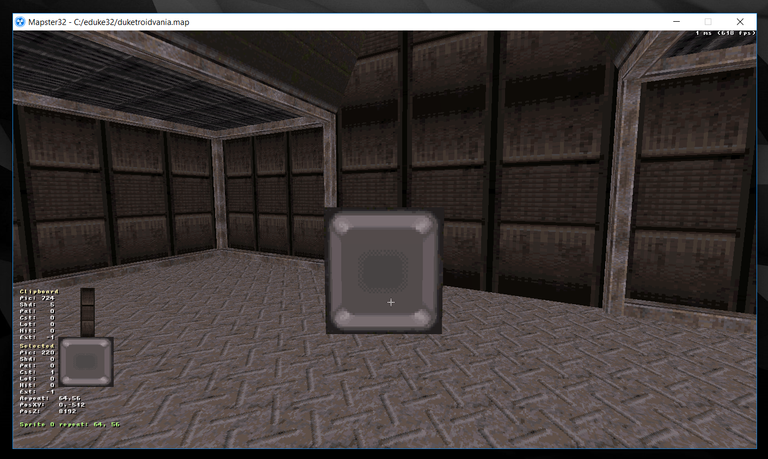
That looks alright. However right now, it faces me no matter where I look at it from. I can't make a 3D platform out of this! Let's try flattening it. You can flatten it in a wall aligned manner, or in a floor aligned manner. Let's try wall aligned first by pointing to the sprite in the 3D preview mode and pressing R:
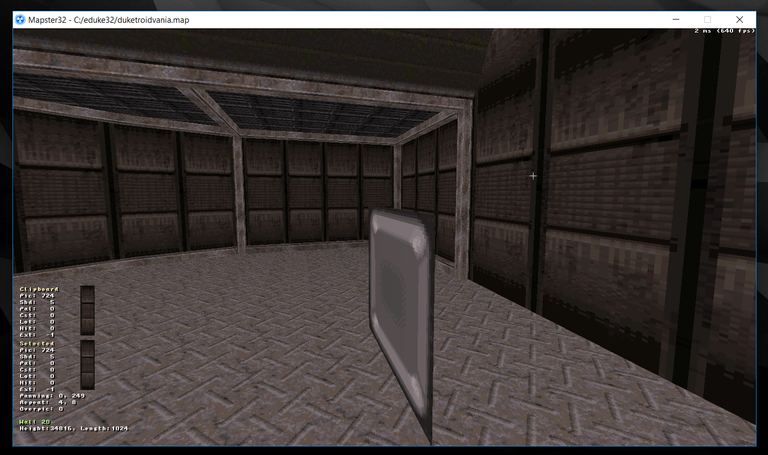
As you can see, it no longer faces me. Instead it's an infinitely thin, flattened 2D surface that is suitable for use constructing a rectilinear shape. First though, let's see what happens when we floor align it by pressing R again:
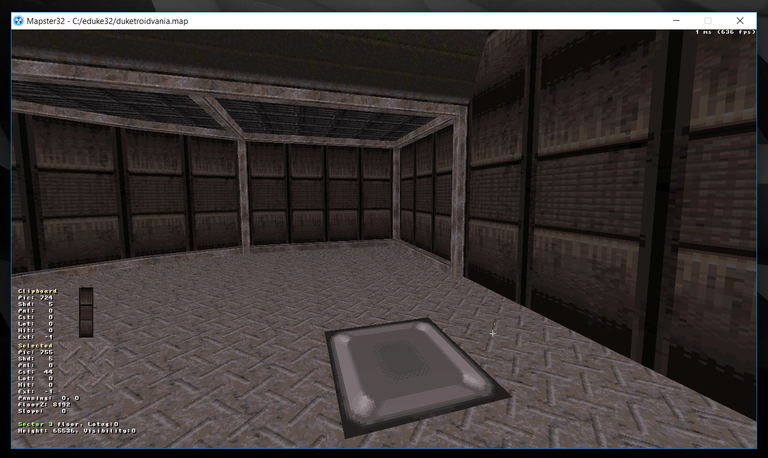
Now it's flattened to the floor! However, we can press PgUp or PgDn on it to raise and lower it, just like we would the ceiling or floor of a child sector. Let's do that now, to raise it to where we want:
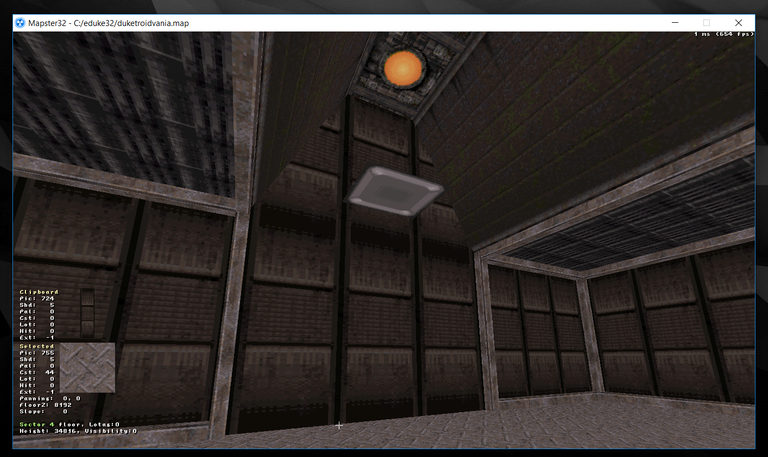
Now it's up there! Technically it will now function as a platform the player can stand on, if the blocking bit is turned on (B). However it's still razor thin, which doesn't look right. We need to wall align some sprites to put on the sides, and another on the bottom to create a platform with thickness.
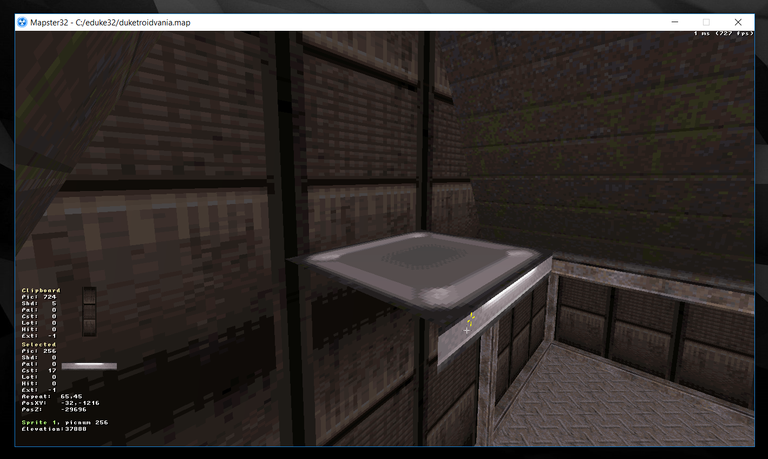
The same controls for shrinking/expanding/stretching textures also work on sprites. This is how you get it the size you want. You can also rotate sprites to face any direction using the , and . keys while the cursor is pointed at them, in either the grid or 3D preview modes.
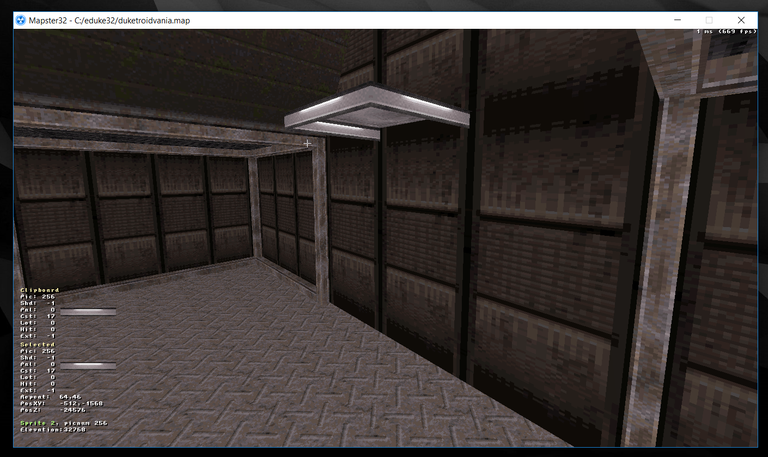
Looking good. I don't need an edge surface for the back side since it won't be visible to the player. Also I changed the top surface to a different pic because the other one aligned strangley, not to worry. However, if you make platforms this way, from certain angles the surfaces of different sides will glitch and be visible through the front. How to avoid this is to point to the outside surface you want to be visible, and hit 1.
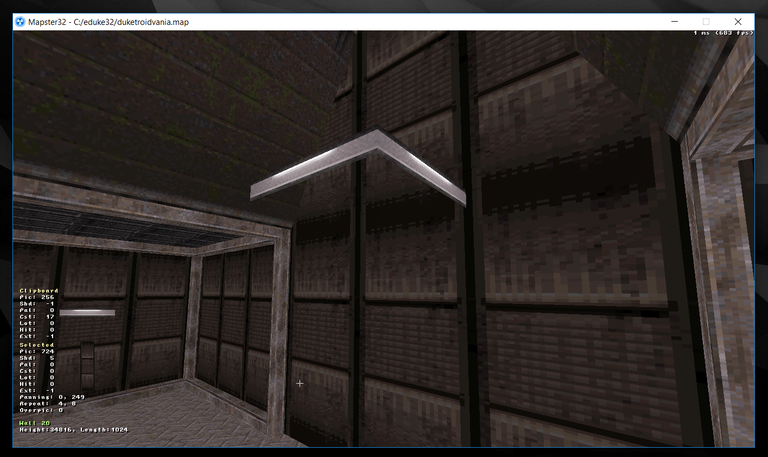
This makes the surfaces which face the interior of the 3D shape we're constructing invisible. The player shouldn't be able to see them anyway. Here's how the platform looks from underneath after having done this. Notice the edge surface on the other side is invisible because we're facing the interior side of it.
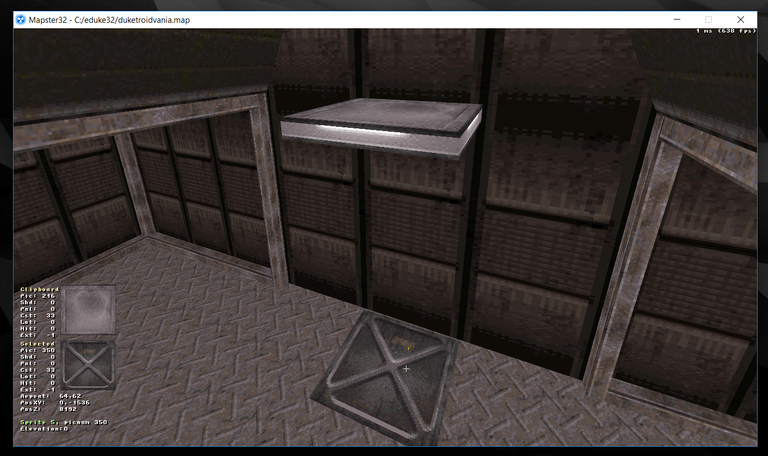
As you can see, from above, the top surface is visible. It's only invisible from the underside, as desired. I've also placed down a floor aligned sprite to become the bottom surface of the platform, which I'll raise into position next, and make the top side of it invisible to complete the platform.
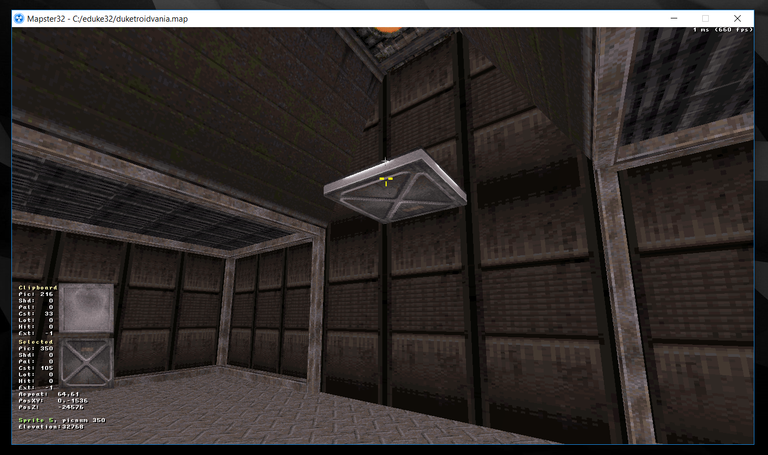
There is the completed 3D shape, made entirely from flattened sprites. Now you know the dirty secret of how bridges were made in Duke Nukem 3D despite the inability to have rooms above other rooms (or indeed, more than one floor or ceiling per sector). But it's missing something...
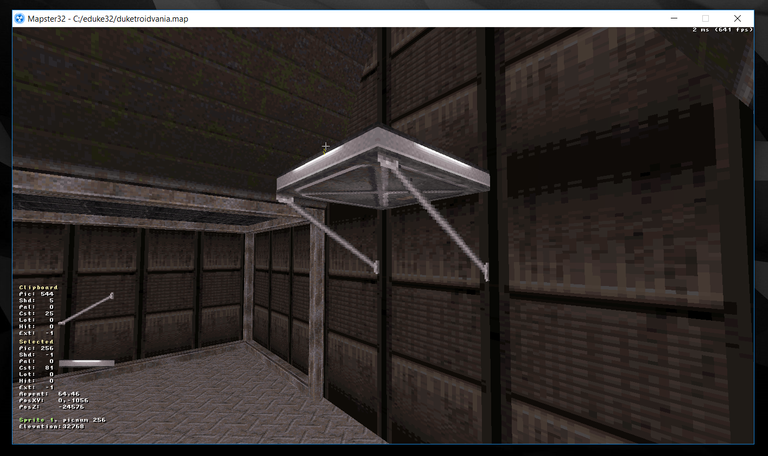
There we go. These two wall aligned sprites aren't invisible on either side. They are intended to be visible from either direction as they are meant to resemble structural supports. In this manner, intricate and visually interesting 3D-ish structures can be built entirely from flattened images.
That's all for now! Stay tuned for next time when we'll learn how lighting and shadow work in this engine.
Stay Cozy!
It's a piece of cake to bake a pretty cake.
♪ If the way is hazy ♫
The power of steemit. You can be a novelist, Duke Nukem game designer or a streaming horror games housewife. You can even be an alien Xenomorph.
Still can monetise it and not give a shit about anything else :D
No one doesn't even know what is waiting for them at the end of these design series.
Wahahaha! (Evilest laugher).
Ah, you go on with that stuff, I like it! The platform is a good idea - let's rock! ;)
I'm digging this tutorial!
Thats pretty damn cool. Aside from the 2 platform per vertical space limit, build is looking super versatile and simple. You're selling me on it, looks like fun.
WOW. It's really inspirational that you are developing a game. Best of luck for you. Hope we can play this soon. I am a crazy game lover.@alexbeyman
I am not developing a game. I am only making an environment for a game that already exists.
You know, I know you haven't done anything really crazy thus far with the level design yet, but this has been really fucking cool seeing what you've designed so far. I'm glad you thought this up for a series, bro!
Where's my bubble gum? Oh yeah..... Kicking ass and chewin bubble gum and I'm all out of bubble gum! I guess I will have to get some more at Wal-Mart
Mehehe...I'm here to chew ass and kick bubble chew...but I'm allllll out of ass.... ( ಠ‿ಠ)
seems like you are doing a great job..keep it up.. :)
Wow it is really coming together nicely. I can't wait to see the finished product. Video game design is something that has always interested me. Turning a 2D image into a 3D image seems is a very cool element to this as well.
how many game size you created this ?
What?
Amazing 3D game. Nice sharing
awesome game ...Duke Nukem 3D is a first-person shooter video game developed by 3D Realms and published by GT Interactive Software.
Awesome game it is, i like 3D game like this game. Thank u for share it
You are great, because can play a game like that, I really want to try it.
Duke nukem game is awesome
And this feature make it more awesome
I really can see you are good at programming
Nice work
Anyway am new to steemit also
I now have my introduction post
Please check up
Congratulations @alexbeyman! You have completed some achievement on Steemit and have been rewarded with new badge(s) :
Click on any badge to view your own Board of Honor on SteemitBoard.
For more information about SteemitBoard, click here
If you no longer want to receive notifications, reply to this comment with the word
STOPI am learning things from you.Keep it up!!!!!
-cheers-
Keep it up bro...
Good job.. Wow..!!
Cheers..