A CUTE BUNNY GIFT
UN LINDO REGALO DE CONEJITO
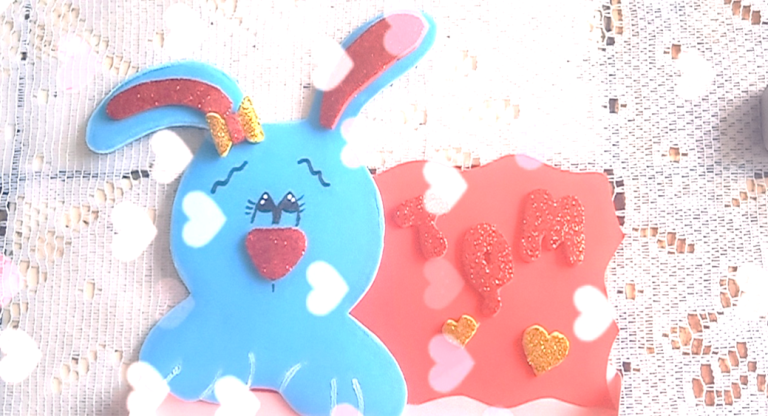
Greetings GEMS community, I was a little sick, but here we are back to show you the step by step of a cute bunny gift for you to make and give as a gift.
Saludos comunidad de GEMS, estaba un poco enferma, pero aquí estamos de vuelta para mostrarle el paso a paso de un lindo regalo de conejito para que lo puedan hacer y obsequiarlo.

Materiales
- Blue foami.
- Red frosted foami.
- Red foami.
- Pink cardboard.
- Black marker.
- Cold glue, scissors, pencil.
Materials
- Foami azul.
- Foami rojo escarchado.
- Foami rojo.
- Cartulina rosado.
- Marcador negro.
- Silicón al frio, Tijera, lápiz.
Step by Step (Paso a Paso )
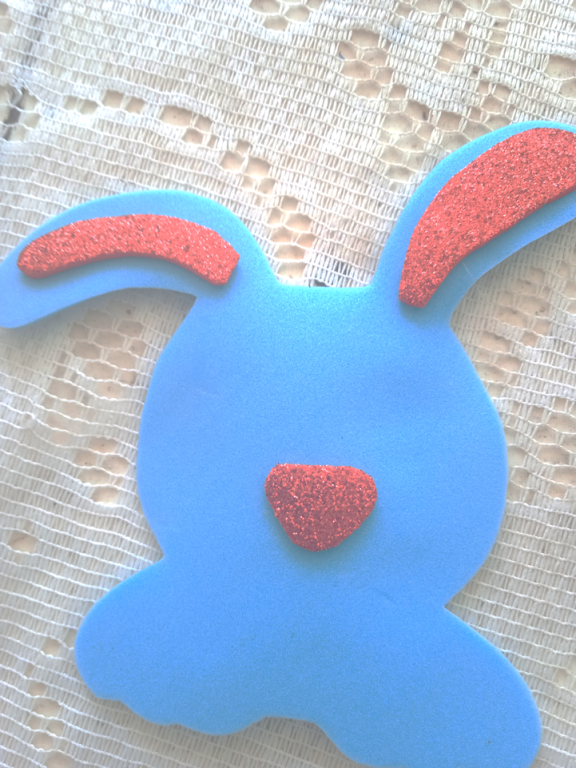
Dear community, the first thing I did was to use my bunny pattern to mark on the blue foami, its ears and extremities and cut out my figure.
Comunidad querida, lo primero que realice es utilizar mi patrón del conejito marcar en el foami azul, sus orejas y extremidades y recortar mi figura.
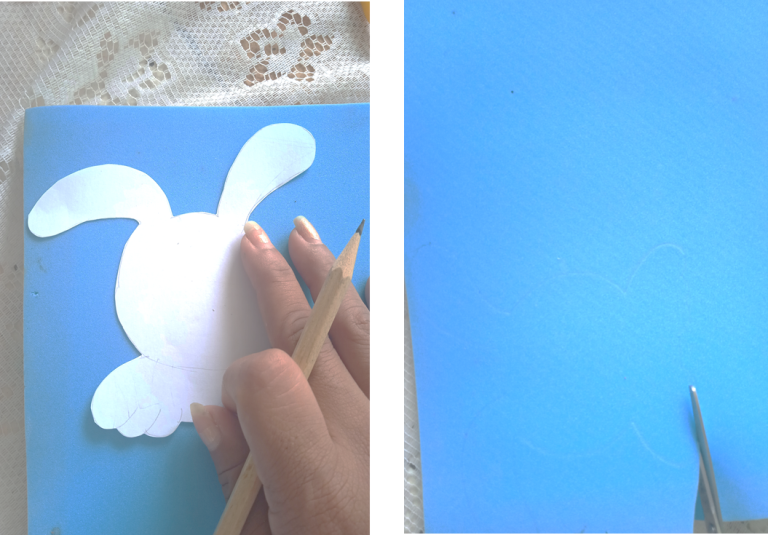
I then trimmed the ears smaller to highlight my figure, as well as the nose.
Below are the images.
Seguidamente recorte las orejas más pequeñas para resaltar mi figura, así como la nariz.
A continuación se muestra las imágenes.
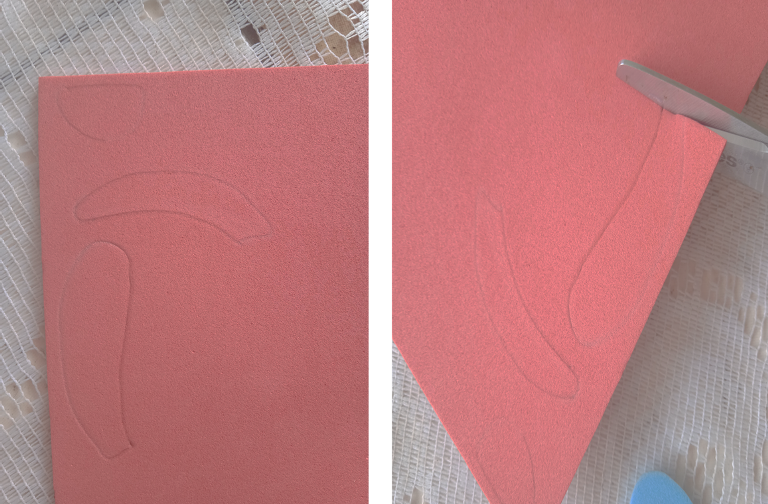
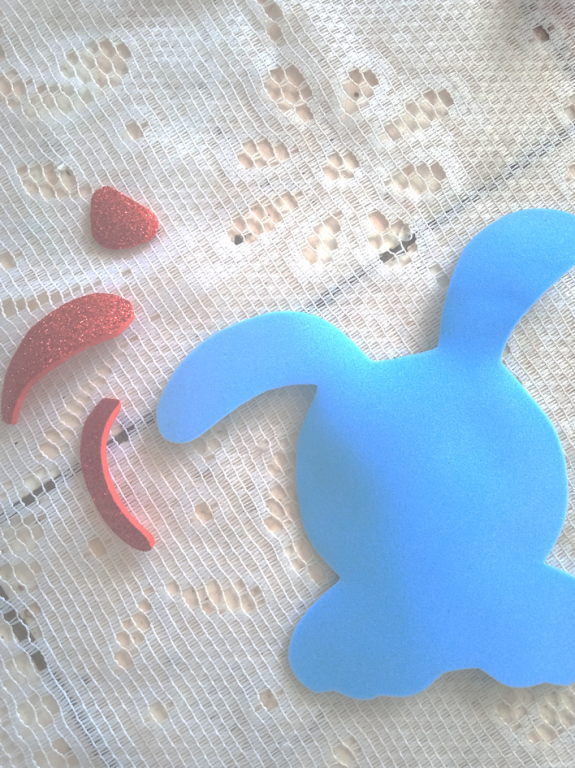
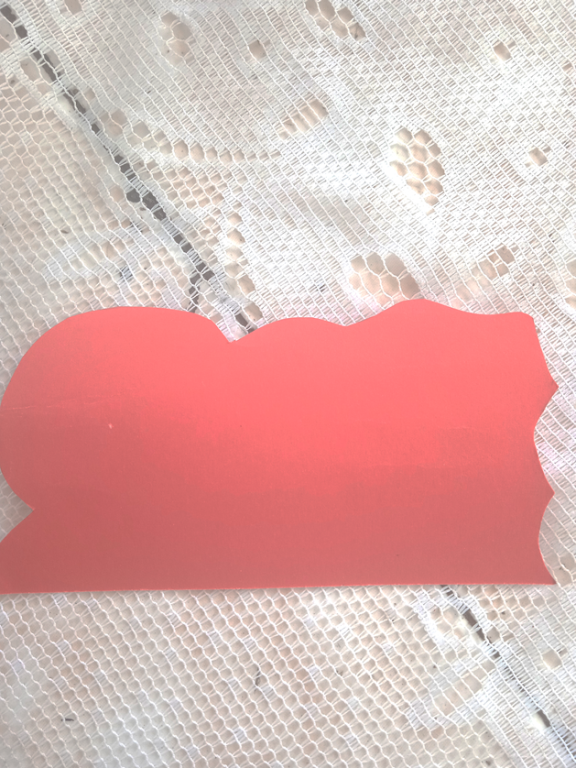
Once I had each part chopped, glue each part to form my bunny, it is very easy and quick to do, also cut a red cardboard support where I placed the bunny and to decorate the gift I placed the letters TQM.
The images are shown below.
Al tener cada parte picada, pegue cada parte hasta formar mi conejo, es muy fácil y rápido de hacer, asimismo recorte un soporte de cartulina color rojo donde coloque el conejo y para adornar el regalo coloque las letras TQM.
Las imágenes se muestran a continuación.
CUTE RABBIT AS A GIFT
LINDO CONEJO COMO REGALO
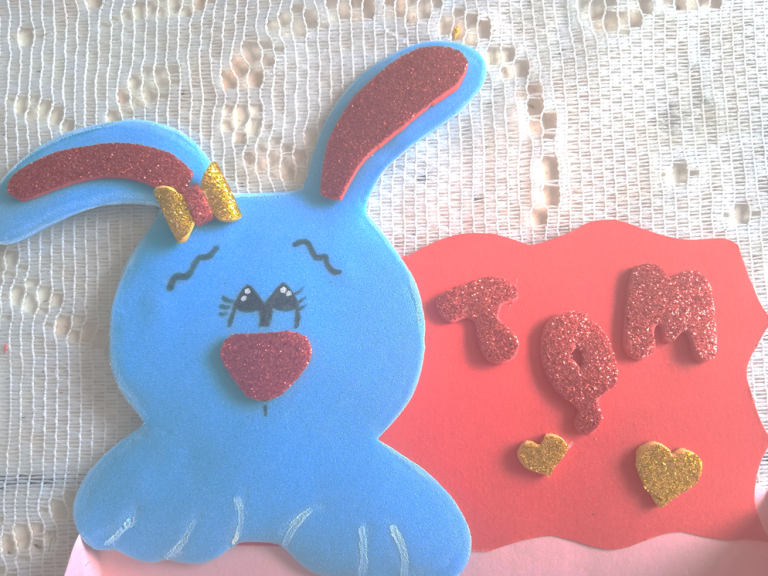
Here you can see the step by step of the creation of the box, which I previously published in my posh.
Aquí podrán observar el paso a paso de la creación de la caja, que anteriormente hice la publicación en mi posh.

• Fotografías tomadas de mi teléfono Redmi 9c • Photos taken from my Redmi 9c phone.
Translated with www.DeepL.com/Translator (free version)@Brindyschi
Congratulations @brindyschi! You have completed the following achievement on the Hive blockchain and have been rewarded with new badge(s):
Your next target is to reach 50 posts.
You can view your badges on your board and compare yourself to others in the Ranking
If you no longer want to receive notifications, reply to this comment with the word
STOPTo support your work, I also upvoted your post!
Check out the last post from @hivebuzz:
Support the HiveBuzz project. Vote for our proposal!