
Gridcoin Community Classroom #002 (PART ONE)
(Information on how to join the next gathering on Mumble is located at the end of this post)
Introduction
Overview
As planned, the second Gridcoin Community Classroom produced a fantastic overview of the Gridcoin Research Wallet. This article comprehensively covers the areas presented in the first half of the discussion in a text and image based format. The second half will follow in 24 hours of posting this article and will be linked here (Part Two is now live!).
What is the Gridcoin Community Classroom?
These discussions are intended to address the need for comprehensive information about all aspects of Gridcoin as well as providing live voice over I.P. support on Mumble for new users to ask questions. Find out more in the opening paragraphs of the first classroom overview
A Note on Redaction
Throughout this article the images of the wallet have been redacted so as not to show information related to the owner of the wallet. This is because this information has nothing to do with the overview of the wallet. When sharing information, for example when troubleshooting, there is no need to redact, remove or keep anything a secret - with two exceptions. NEVER share your Private Key or your password to your wallet.
Thanks and Appreciation
Special thanks to @peppernrino for hosting the Classroom and @fkinglag for streaming and recording the class. Further thanks is extended to the BeyondBitcoin Mumble server and @officialfuzzy for hosting the Gridcoin channel.
Classroom #002 - About the Wallet
Downloading the Gridcoin Research Wallet for Windows, MacOS or Linux
Go to Gridcoin.us. At time of writing you should be welcomed with the gridcoin banner on the homepage that looks like this:
Scroll down to the bottom of the homepage where you will find the download buttons.
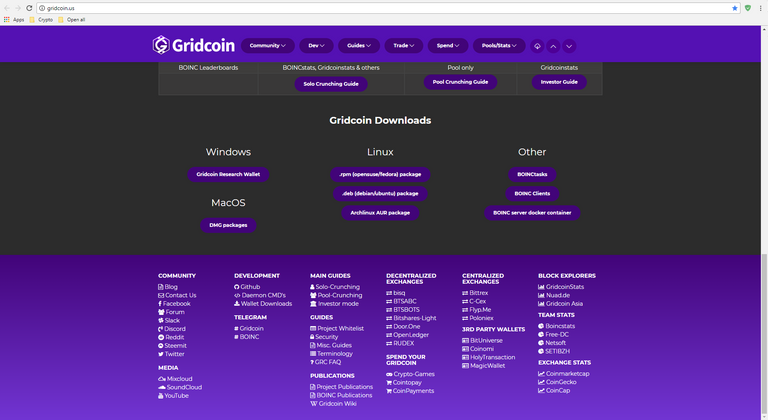
Download the file for your appropriate operating system and install the wallet. It is recommended to keep the default file path.
A Visual Tour Of The Wallet (on Windows)
Overview
When opening your wallet you should be greeted by the overview page. If this is the first time you open your wallet, it will say “(out of sync)” next to the “Wallet” text and you will need to leave it running for a long while so that it can synchronize with the network. In addition, you will not see any recent transactions on the right in your wallet.
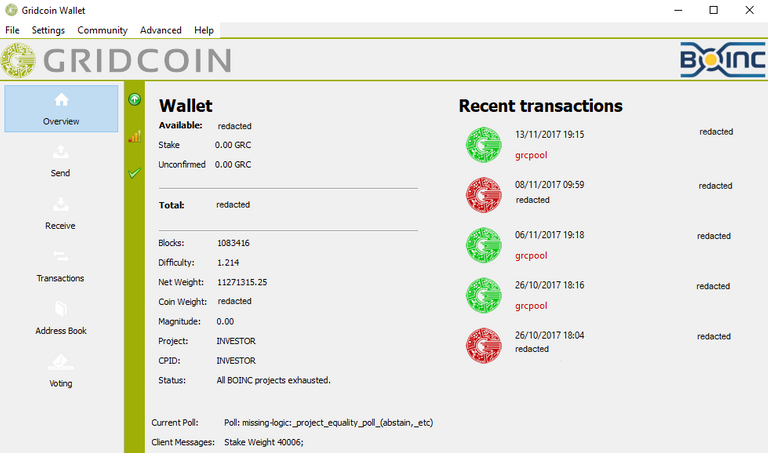
Synchronising and Connections
By hovering your cursor over the connection bars, located in the vertical green bar on the left of your wallet, you should see your number of connections to the network. For your wallet to synchronize it will need at least one active connection to the Gridcoin network. Your wallet should find these automatically. This number fluctuates. If, despite having an active internet connection, you have no connections to the Gridcoin network for an extended period of time then you will need to troubleshoot this problem online. A future Gridcoin Community Classroom will detail how to resolve poor connections.

You will know when your wallet has fully synchronised with the Gridcoin Network when the green check mark appears at the bottom of the vertical green bar on the left of your wallet. Hovering over this green check mark should produce a similar message to the following.

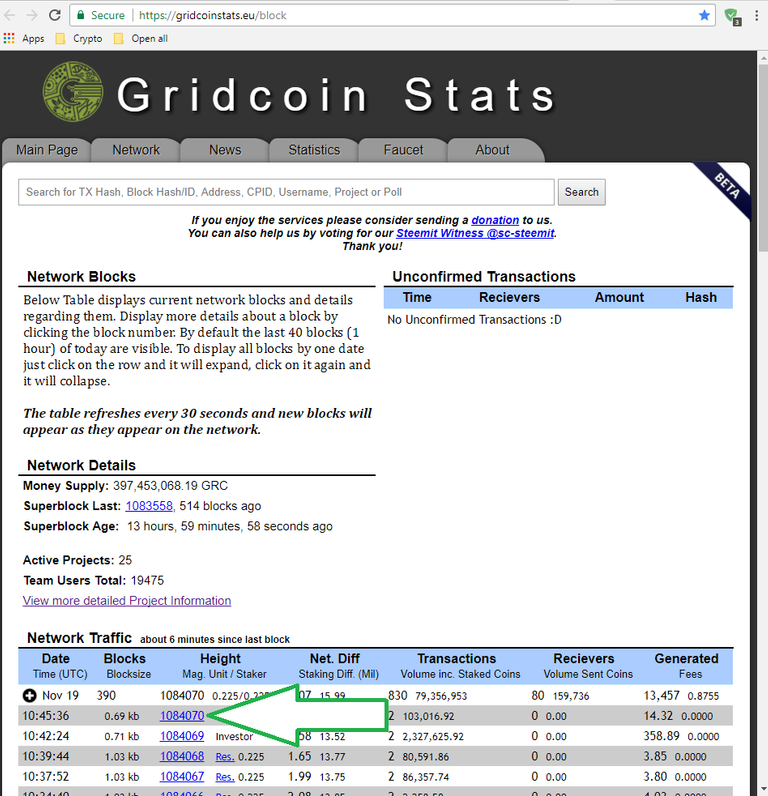
You can check if your wallet is truly up to date by visiting https://gridcoinstats.eu/block and viewing what the most recent accepted block is - your wallet may be ahead by a maximum of two or three blocks of this number (as Gridcoin stats checks for consensus before listing the most recently accepted block). There are more advanced ways of checking that you are on the correct chain that will be covered in later classrooms. Please note that the block numbers in the Gridcoin Stats example below and the green check mark dialog box above differ because the screenshots were taken at different times.
Staking
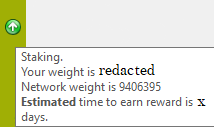
Once the green check mark has appeared the grey up arrow icon in the vertical green bar on the left of your wallet should also turn green. This indicates that your coins are staking and actively securing the network. Without this you will not stake your research reward nor your interest on your coins.

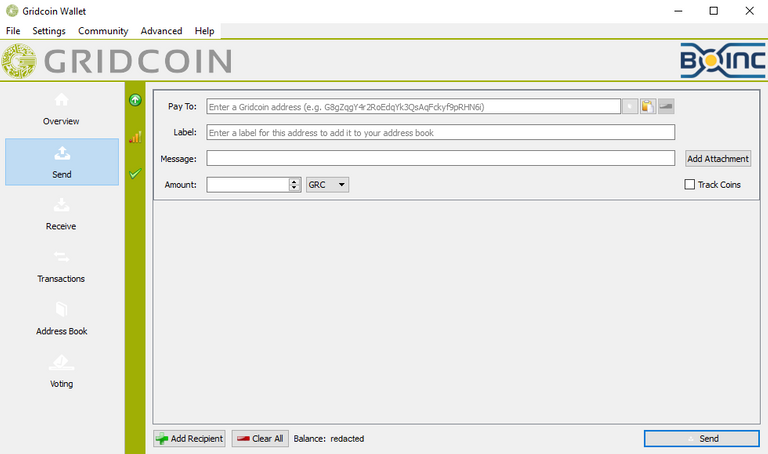
Send
The grey column on the left of the Gridcoin Wallet provides access to the various functions of the wallet. Second in this list is the “Send” tab. This is where you can create a transaction to send coins from your wallet to another wallet.
Receive
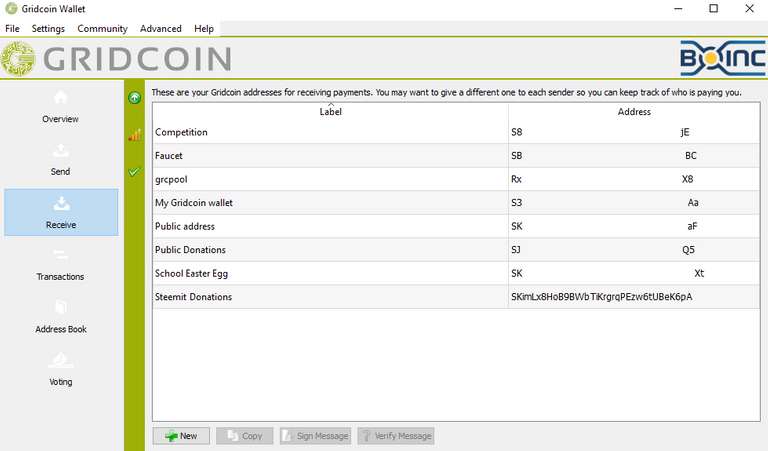
Following this is the “Receive” tab. This is used to generate addresses to help keep your transactions organised - all of these addresses will cause the sender to pay money into your wallet. Once you’ve created an address you cannot delete it .
Transactions
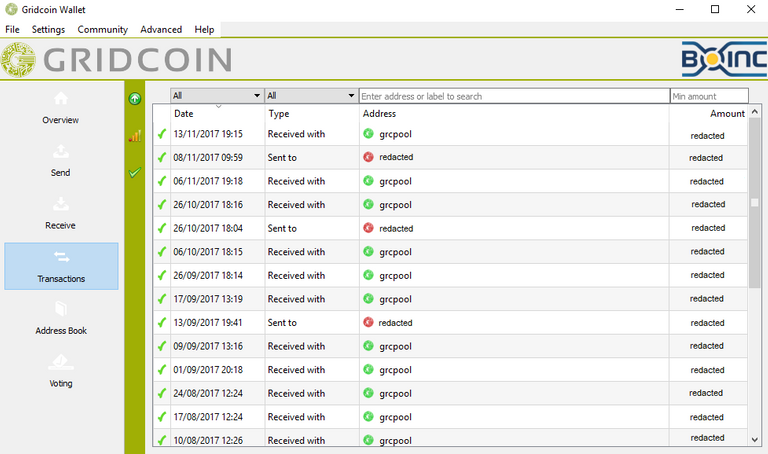
Next is “Transactions”. This keeps a list of all the details of the transactions related to your wallet. It is basically a history of past transactions.
Address Book
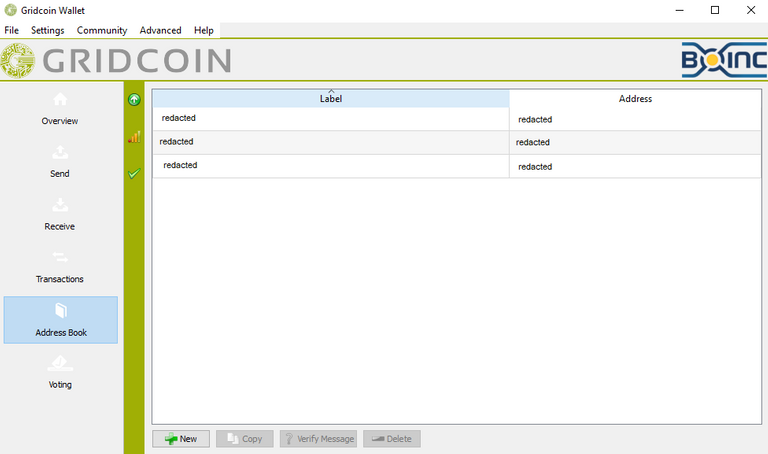
Second to last (for now) is the “Address Book” tab. This keeps a record of all the addresses you have sent GRC to. You can delete these addresses from the list by right clicking and selecting delete (the wallet will delete this address instantly so be sure that you want to be rid of it). By deleting the address you will also be deleting the label that you gave that transaction when you first sent it. This means that it will now appear as simply an address in your “Transactions” tab instead of with the unique label you had decided to bestow upon it.
Voting
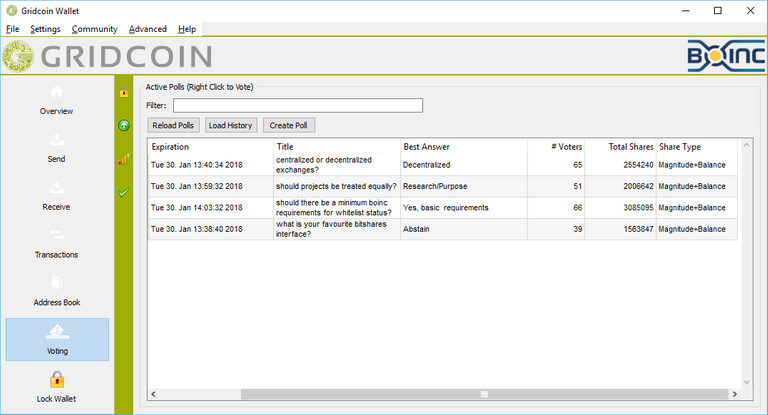
Finally, (for now) the “Voting” tab lies at the bottom of the list. This is a unique feature to Gridcoin wallets and allows the community to have their say regarding polls that have been put into place. The title of the poll indicates the question that is being asked. Usually there have been discussions around the issues being polled on the community forums such as CryptoCurrencyTalk, Slack, Discord, Telegram, Steemit and Mumble before the poll goes live.
The “Best Answer” column indicates which answer is currently leading the poll. “# Voters” shows the number of unique wallets that have voted on that poll. “Total Shares” indicates the collective weight of all the voters that have voted on a particular poll (the more coins you have the higher your weight and the same for your magnitude - this is indicated by the “Share Type” column).
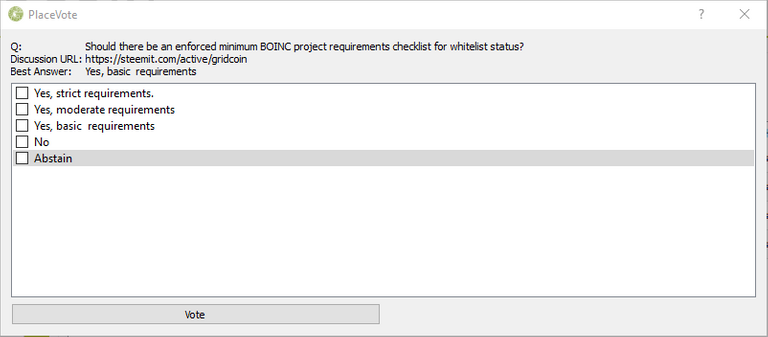
To vote on a poll right click on the row you would like to cast your vote for and click “vote”. This will bring up a ballot box like the following.
After selecting the option you wish to vote for and clicking “vote” you should receive a confirmation message located at the bottom right of the voting box. It should look like the following with a few more details about your vote included.
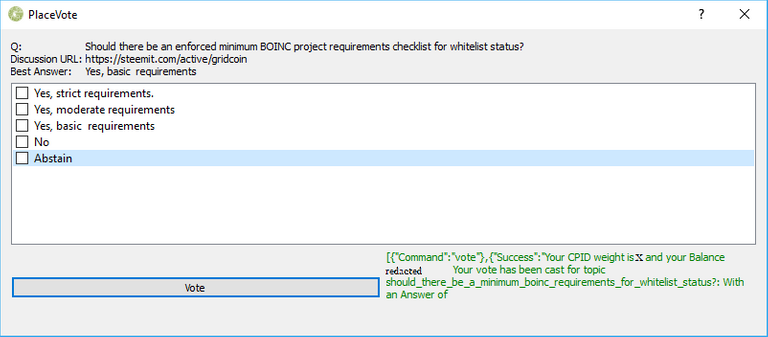
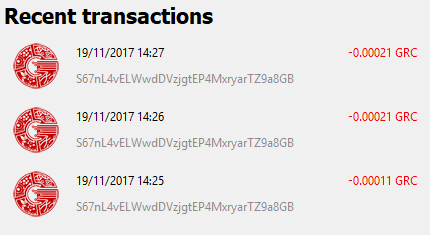
You can now change your vote by selecting a different option and voting again. After changing your vote you should receive a similar message as the one above. Note that each vote costs a small amount of GRC and that it takes a few blocks for your vote to be acknowledged by the network before the number of voters increases by one. Here’s an example of a vote transaction followed by two transactions changes for two vote changes.
Conclusion
For an uncut look at the livestream of the discussion see Fkinglag’s recording on Youtube (The start time is at 9m19s).
To join the next gathering on Mumble see this article by @peppernrino about the next Gridcoin Community Hangout.
Keep a lookout for part two coming in 24 hours! Once it is live it will be linked here (Part Two has now been posted!).
Here’s to the growth and development of Gridcoin!
Signed
@GeeBell
Note to the reader: being relatively new to Steemit, you resteeming this article has a powerful effect and will be greatly appreciated.

Excellent work @geebell!!
A must read for new users ..
Courtesy of @joshoeah