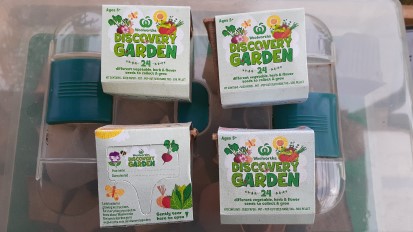
This morning, I was in the mood again to spend some time in my garden, thanks to TigerLily and her #grovid20 initiative. I finally used the freebies that I got from Woolworths last year. These are the Discovery Garden seedling kits I got for free with every $30 I spent in any Woolworths supermarket. How awesome was that! They came with a variety of herbs, vegetable and flower seeds. I prefer to receive these giveaways over some mini-collectables that are made of plastics and rubber, such as Ooshies Lion King from Woolworths or Little Shop from Coles. I hope Woolworths will do the promotion again where they don't give away free stuff that is not sustainable and has a negative environmental impact.
Last year, I had over 20 seedling kits and then I planted them, but either these seedlings didn't sprout at all or they did but then didn't even grow and eventually died. Apparently, there was a technique that you could apply in order to successfully grow these free seedlings but, at the time, I didn't bother to look it up on YouTube or some websites. I won't be too slack this time.
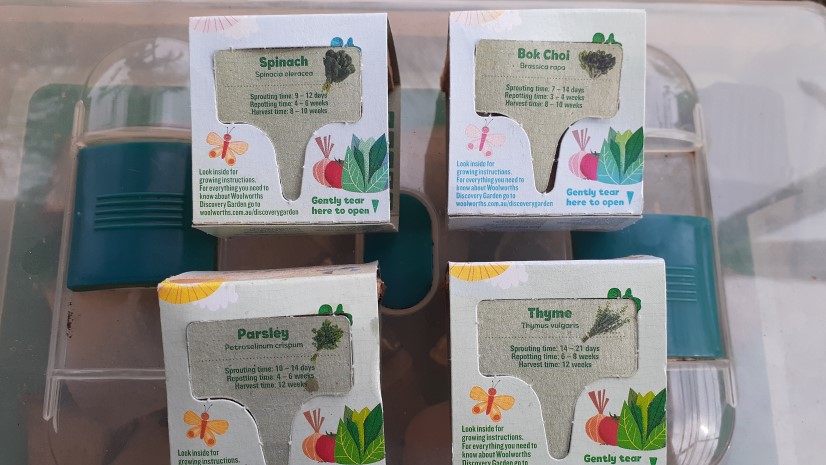
Thankfully, I got 4 seed kits left. Yay!!! I got spinach, bok choi (or pak choy), parsley, and thyme. Each of these seed kits contains a pot, seed paper, soil pellet, and pop-out seed name tag (as you can see in the photo above).
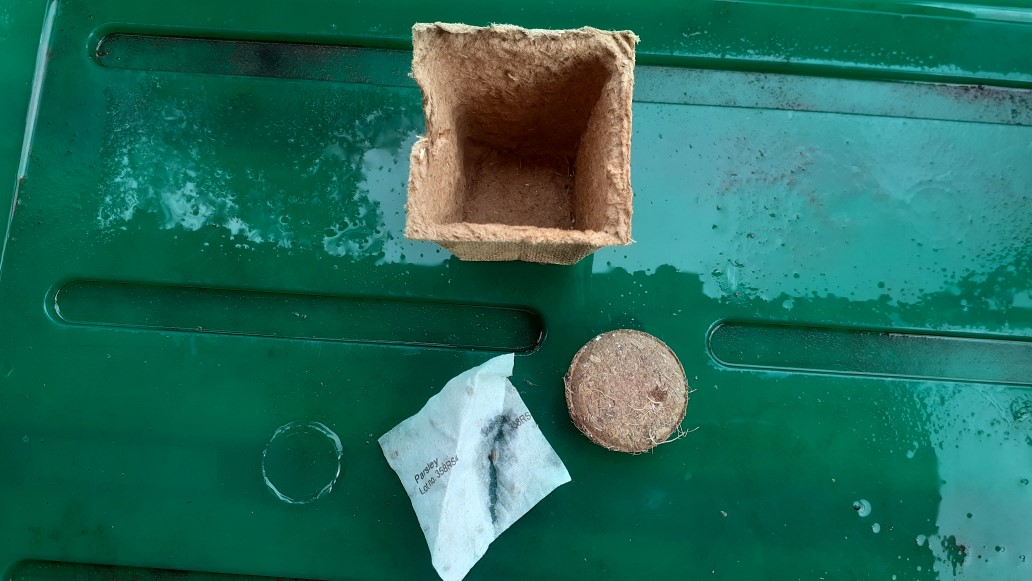
Getting the Seed Pots Started
First, I grabbed a small shallow bowl from the kitchen and a spoon, which will be used for gardening purposes only. I put the soil pellet in the bowl and poured 50 mL of water over it. (I used a medicine cup to measure the water. I wanted to strictly follow the instructions as stated in the Discovery Garden label.)
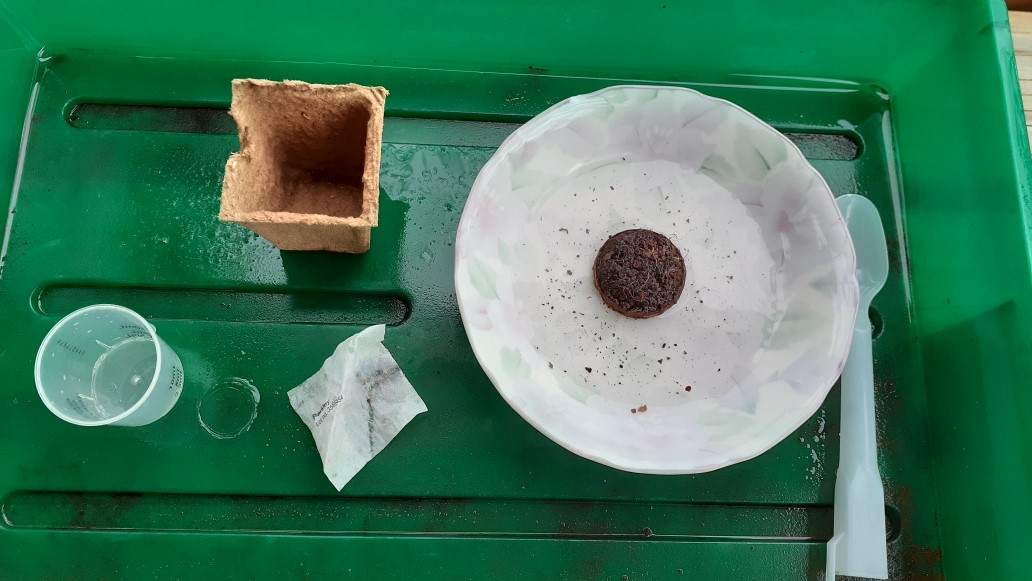
You can see in the picture below that the soil pellet expanded as it continued to absorb the water.
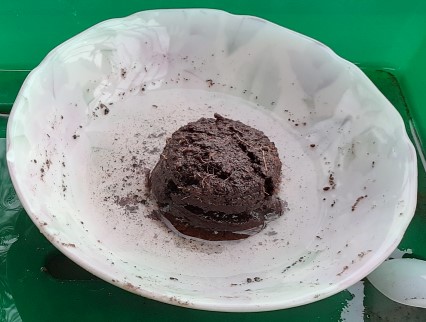
It said on the label that I should put gloves on to mix the soil and water with my hands to make a wet mixture, but that's what the spoon was for. I didn't use gloves because both the garden and kitchen gloves were torn so I had to use a spoon instead.
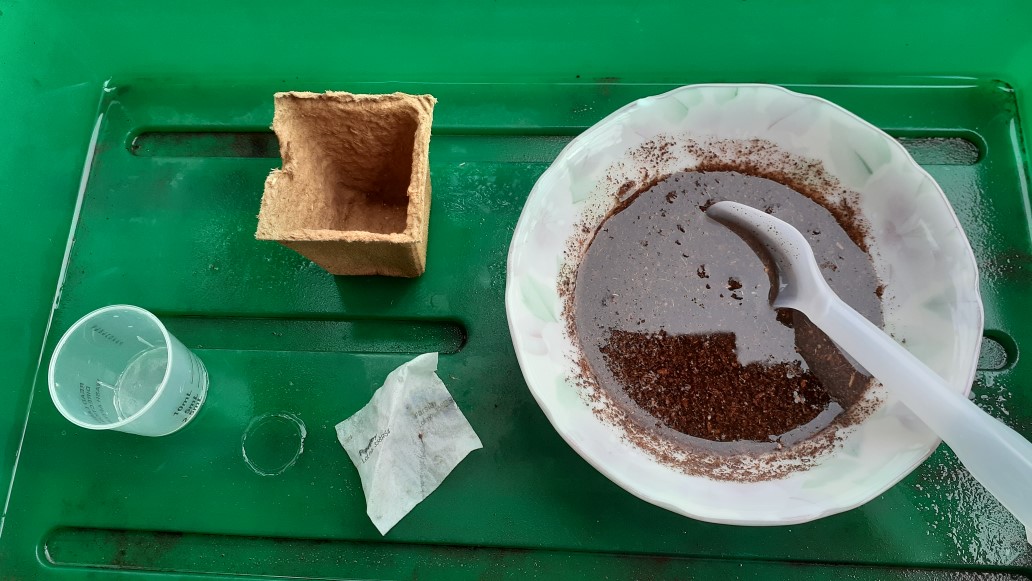
Using the spoon, I filled the pot up with the soil mixture to around 1 cm below the top, and then I placed the seed paper on top of the soil. I gently pressed down the seed paper and then covered it with the rest of the soil. Then I placed the name tag on the side of the pot so I would know which one is which.
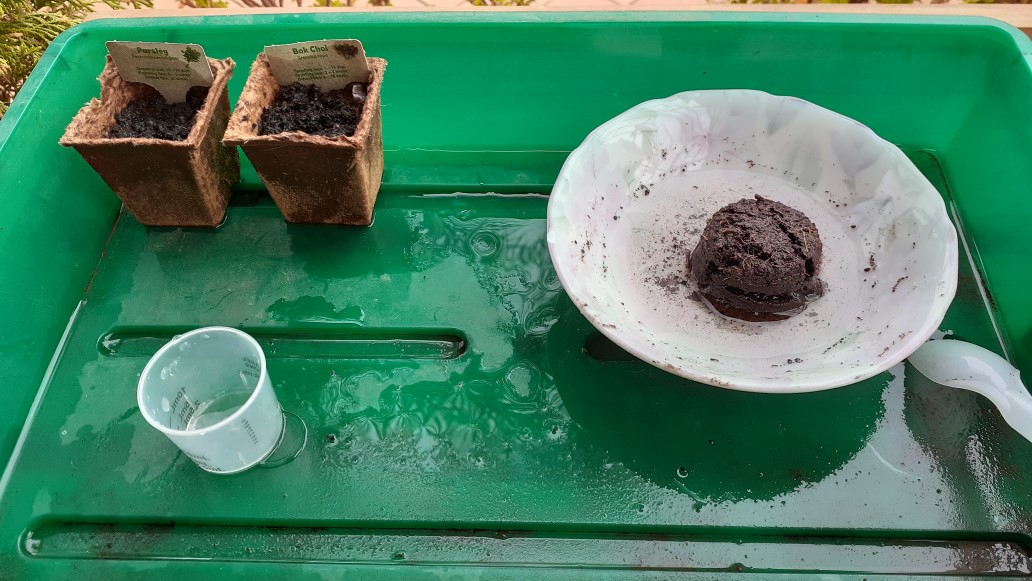
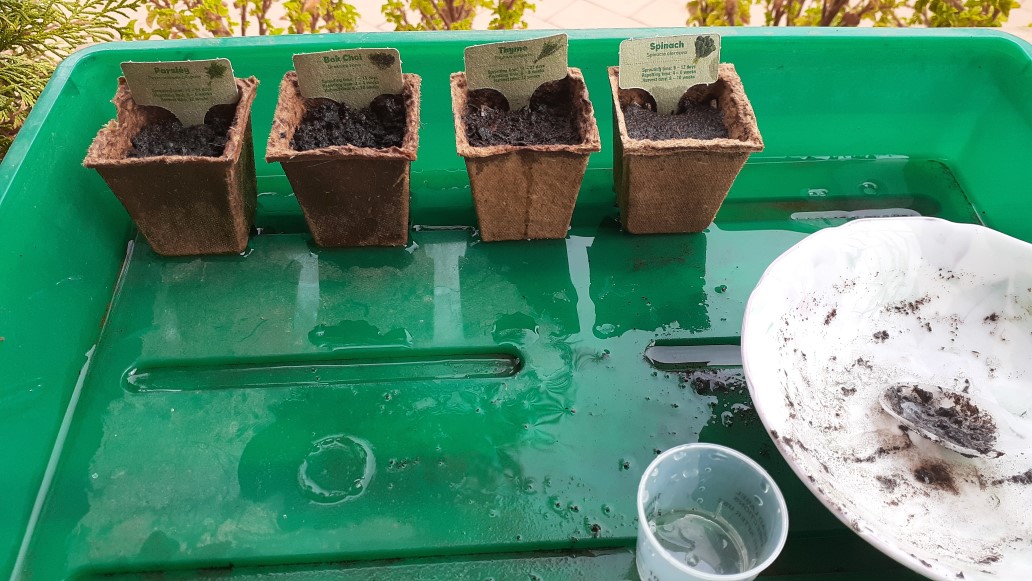
I planted all four seedlings and then I placed them in this mini-greenhouse and put the cover on top but with vents opened. Now it's sitting next to my one and only succulent, which a child from the Early Learning Centre where I work gave me as a Christmas present in December last year.
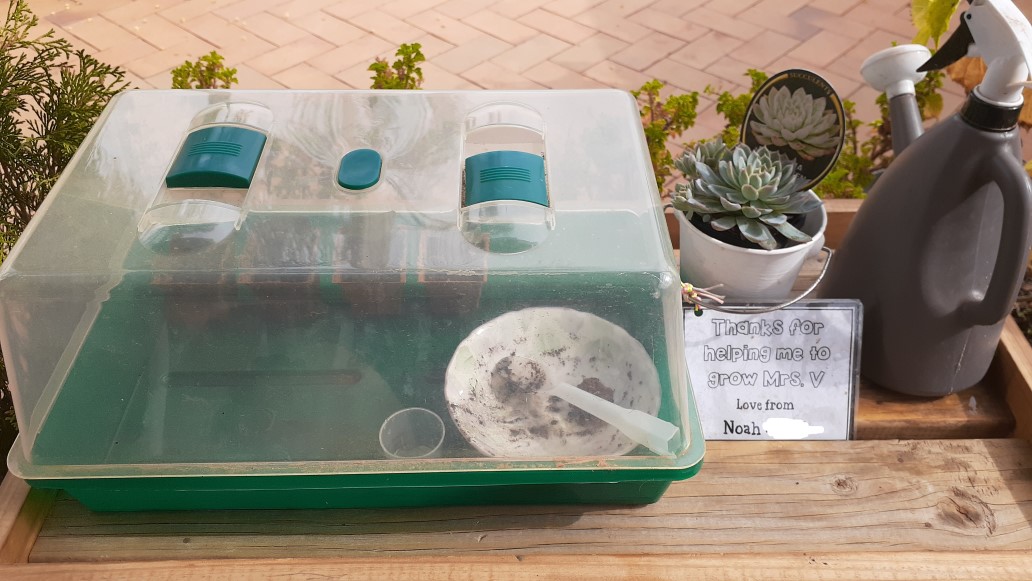
So now, my four seed pots are ready and I hope these plants will grow.
This Discovery Garden has given me an idea on how to plant seeds in a pot from a scratch. I will just follow the same instructions and hopefully, it's going to be a success. (fingers crossed)


#grovid20 banner by TigerLily

Thank you, @qurator.
Fingers crossed!
It is so much fun to see the seeds sprout and then be able to eat it :)
Yes, fingers crossed . It will be rewarding to see that my hard work will eventually pay off.
Thank you for curating my post. I appreciate it.
I am sure they will grow fine.
My pleasure :)