Hello, hivers!
This post is about a tube powered guitar amplifier that I've been working on intermittently over the winter. I finally got the amp finished, so now I can share the process here.
This amp started life as an early 1960s era Bogan CHB-100, a public address amplifier like you would find in a public building such as a grocery store, used for background music and announcements. These amps are set up for music inputs and microphone inputs. Neither of those types of inputs are very suitable for electric guitar use. When I modify one of these old amps for guitar use, I often end up rebuilding the entire amp, replacing all the old power supply parts and changing the circuits to proper guitar amp circuits.
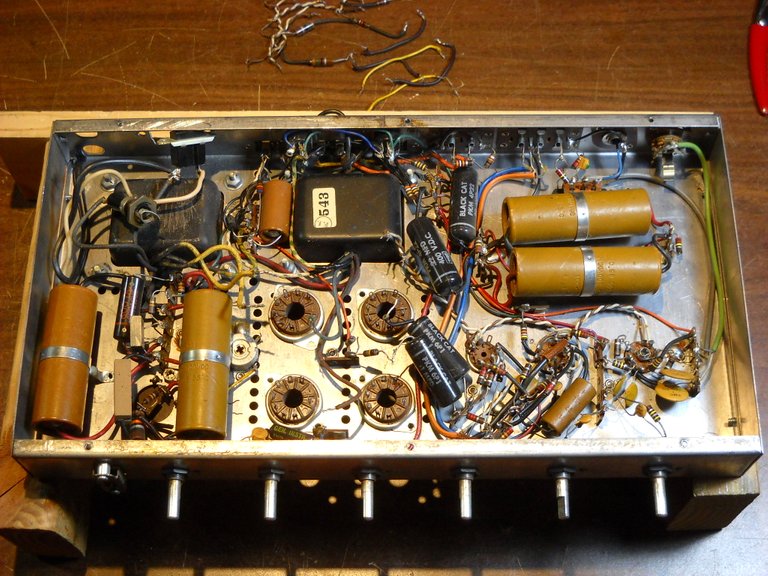
First, let's take a look at the amplifier from when I started the rebuild process.This is what the inside of the chassis looked like. I had already started removing the wiring from the power tube sockets when I took this picture.
The tan color cylinders are the power supply capacitors, those all have to be replaced for proper operation of the amp.
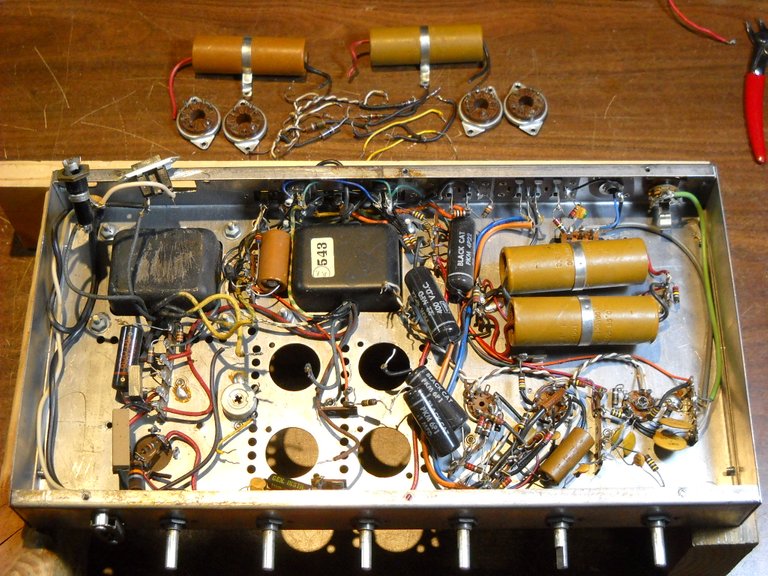
In this picture, you can see that I've removed the power tube sockets, and started removing the power supply capacitors. I removed the tube sockets because I changed to a different tube which required a different type of socket. These amps normally have 7868 type power tubes, which are a fine hi-fi tube, but not necessarily the best for guitar use, especially if you want distortion. The 7868s are too clean sounding. I wanted to replace them with the 7591 type, which is very similar to the 7868, but more suitable for guitar use. A few of the 1960s Ampeg guitar amps use the 7591 tube. The 7591 tube requires an octal socket.
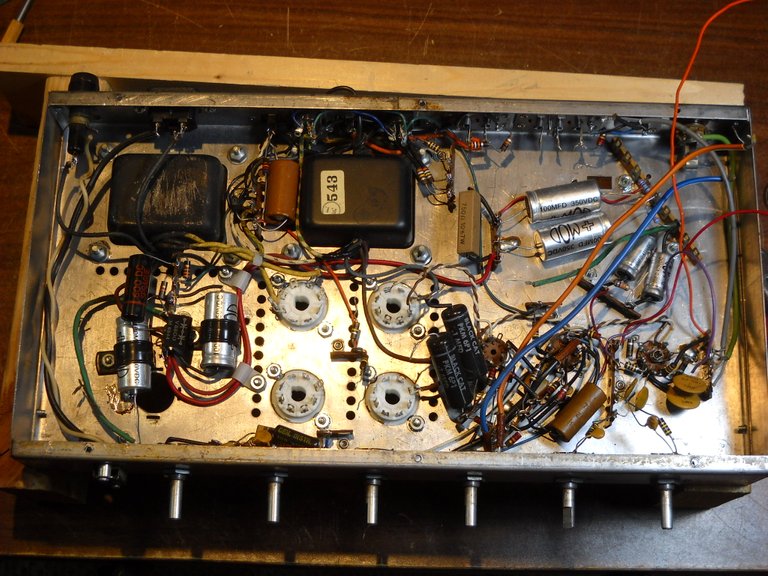
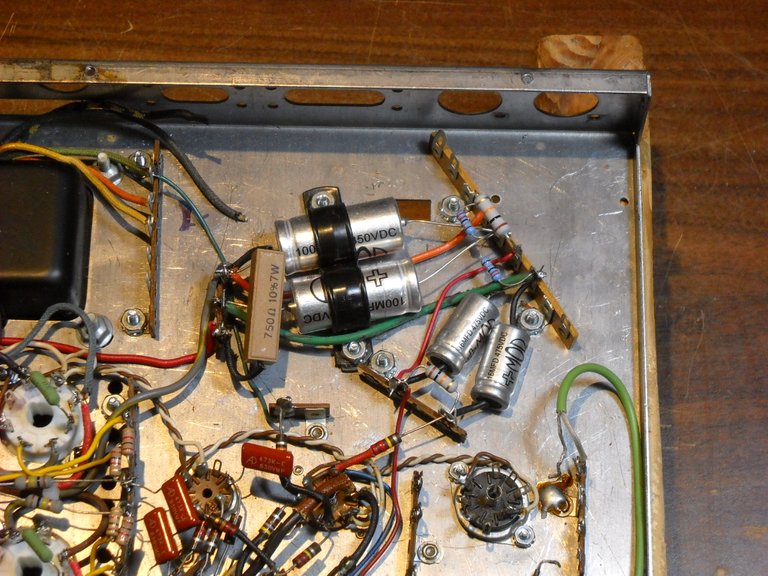
In this picture, you can see that I've replaced the power supply capacitors with modern smaller ones, and installed the tube sockets.
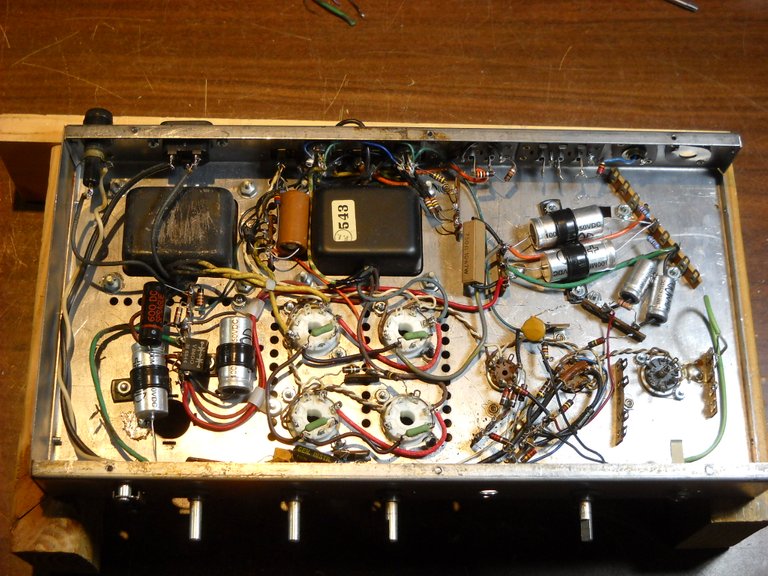
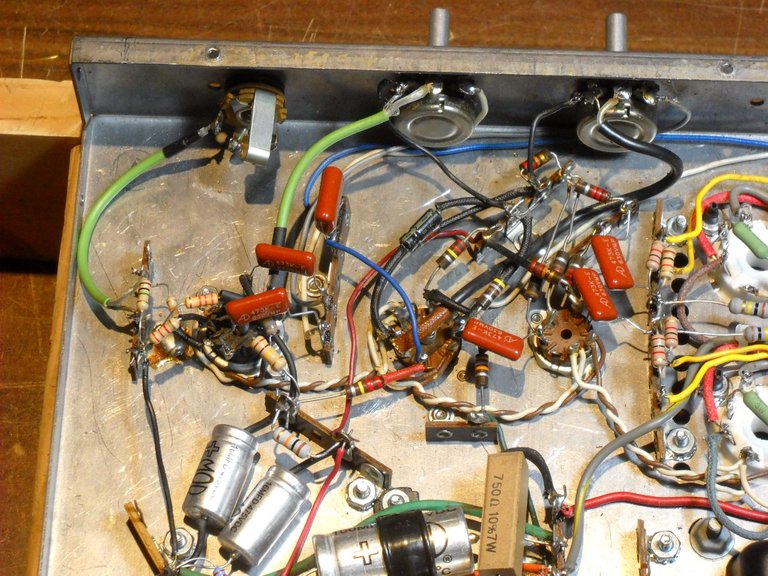
Here's the chassis after much of the wiring has been done on the tube sockets and the secondary power supply parts. At this point, I had also removed all the parts and wires from the first preamp tube socket. I had to rewire it for use with a 12AX7, the standard guitar amplifier preamp tube. The original tube was a 6EU7. The 6EU7 is much like the 12AX7, but they are not interchangeable because of the differences in the way the socket is wired.
Here's a close up view of the secondary power supply circuit with all it's connections.
This is the preamp tube socket and circuits after being rewired.
The next thing to do was to rebuild the tone circuits, the bass and treble control circuits. The original circuits could have been left in place, but guitar specific circuits will give a bit more control over the sound. The tone control circuit design that I used for this was based on the tone controls of an Ampeg Gemini 2 guitar amp.
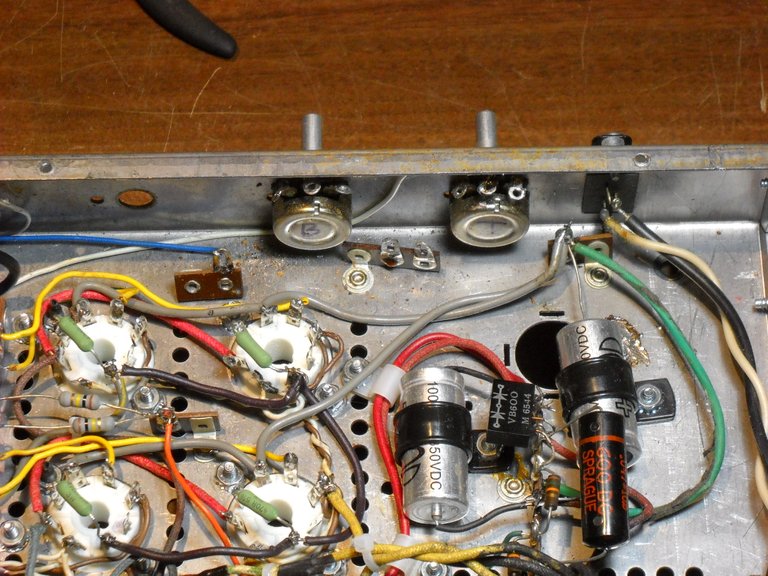
This is after I removed the original parts.
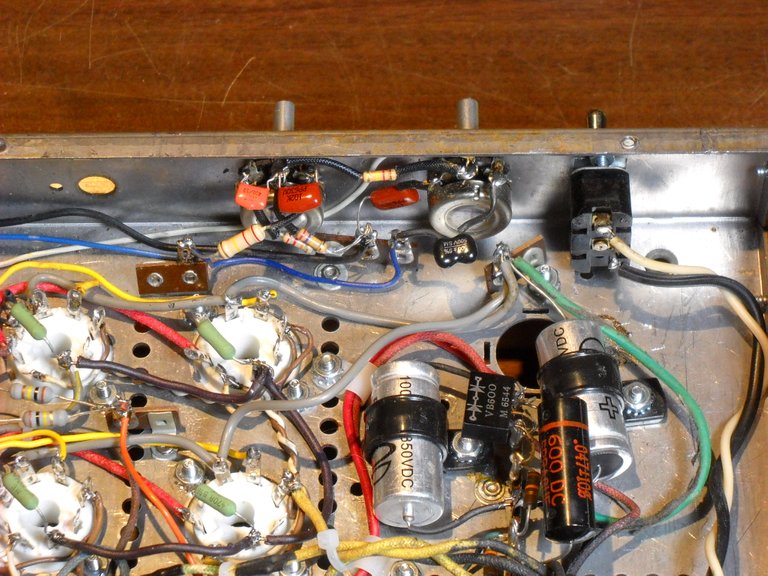
This is after I finished rebuilding the tone control circuit. I also replaced the power switch, which is the black thing next to the tone controls. I wanted to have a heavier duty switch. I later mounted that power switch on the back of the chassis so that I could use that hole for a power indicator light.
This is all I have for part 1. In part 2, I'll talk about how I decided to change the type of power tubes I wanted to use for the amp, and the changes that were necessary for that. I'll also talk about finishing the amp.
Thanks for checking out this post, I hope you found it interesting!

That's a really good piece of over there. Giving new life to a nice amp and transforming it into a guitar amp. Hope we can listen to it soon.
Congratulations @amberyooper! You have completed the following achievement on the Hive blockchain And have been rewarded with New badge(s)
Your next target is to reach 93000 upvotes.
You can view your badges on your board and compare yourself to others in the Ranking
If you no longer want to receive notifications, reply to this comment with the word
STOPTo support your work, I also upvoted your post!
Check out our last posts: