Hello everybody,
here I am again, I will continue the making of a 29er MTB bicycle steel frameset, if you have lost it, here it is the first post.
I have promised you warm and here it is, the main character of the post it will be fire.
This one goes out to the one I love
This one goes out to the one I've left behind
A simple prop to occupy my time
This one goes out to the one I love
FireThe One I Love,
R.E.M.
At first, I am going to tack on the jig all the tubes together what I have done in the previous post. Technically, as tacking, it means to make different single welding, in this case, brazing points in the right position in the way to lock mobile elements before the fillet brazing process.
As I have written before the previous work it has been described here:
TACKING SEAT TUBE
The very first tube that I am going to tack and then braze is the seat tube with the bottom bracket shell, first I tack, then I check on the surface plate, if needed I can correct and then I fillet braze, check and correct if needed again.
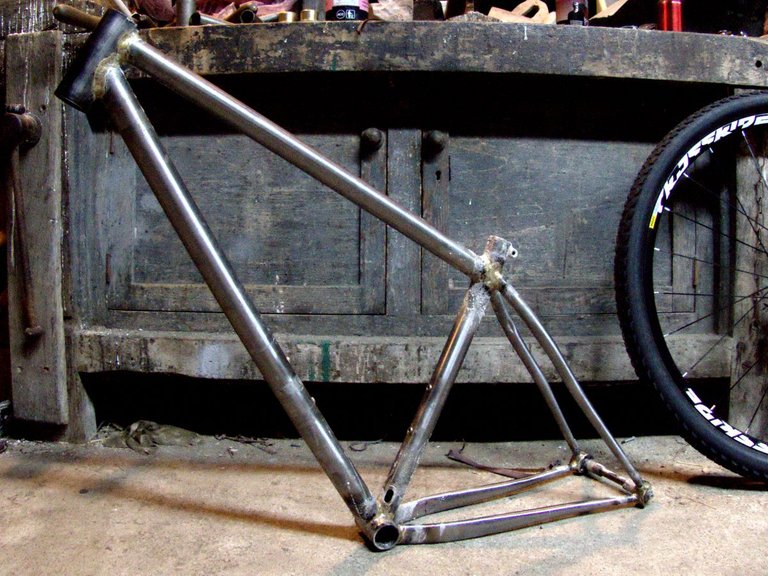
At the end it looks like the picture below:
TACKING AND FILLET BRAZING FRONT TRIANGLE
Then I can tack on the jig the front tubes. My sequence is the down tube with head tube and down tube with seat tube. I check, I correct if needed then I tack the top tube and I fillet braze all together.
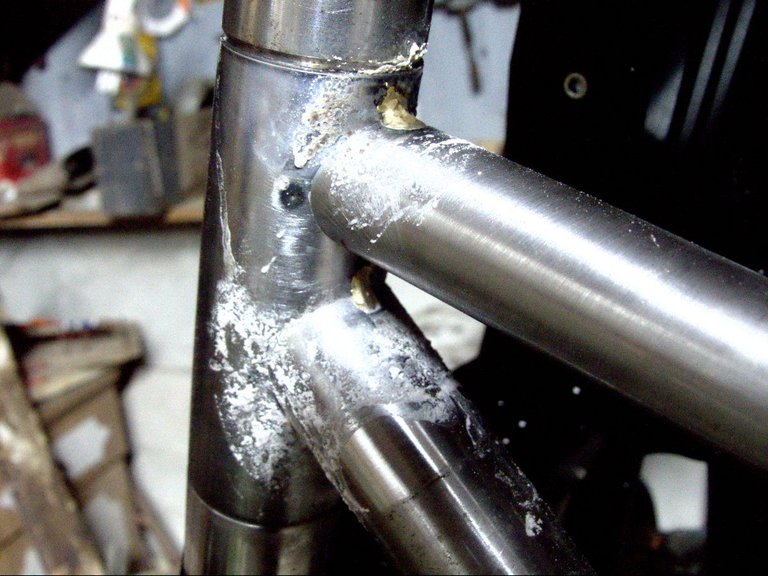
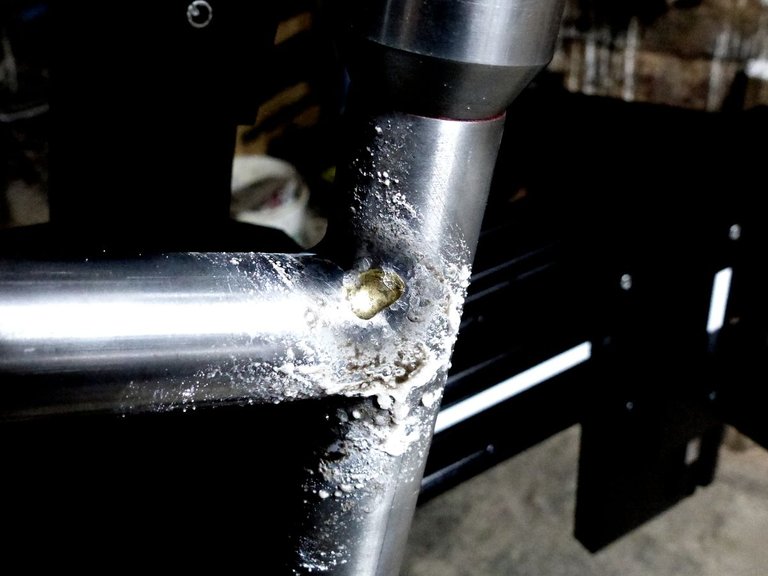
TACKING AND FILLET BRAZING THE REAR TRIANGLE
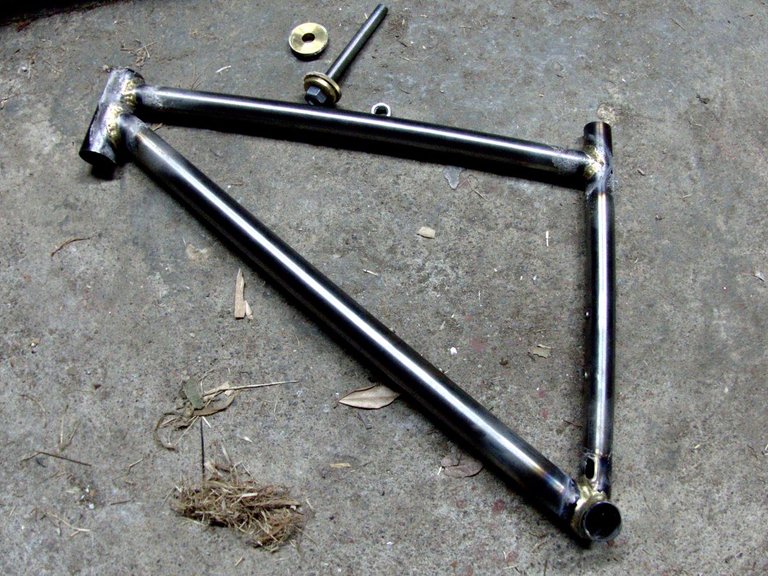
The rear triangle is the most complex part of the frame to make it.
Usually, this is my typical process:
- tacking chainstays
- check wheel clearance and crankset clearance
- tacking seatstays
- check again wheel clearance
- complete fillet brazing
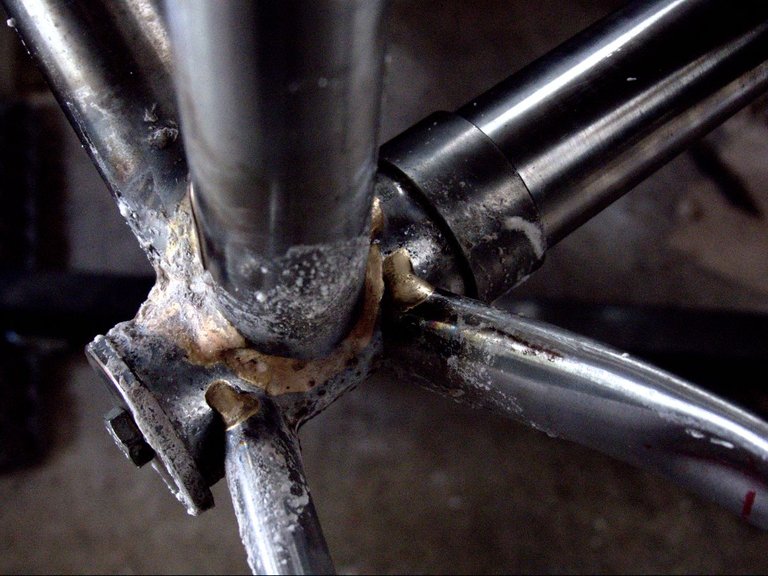
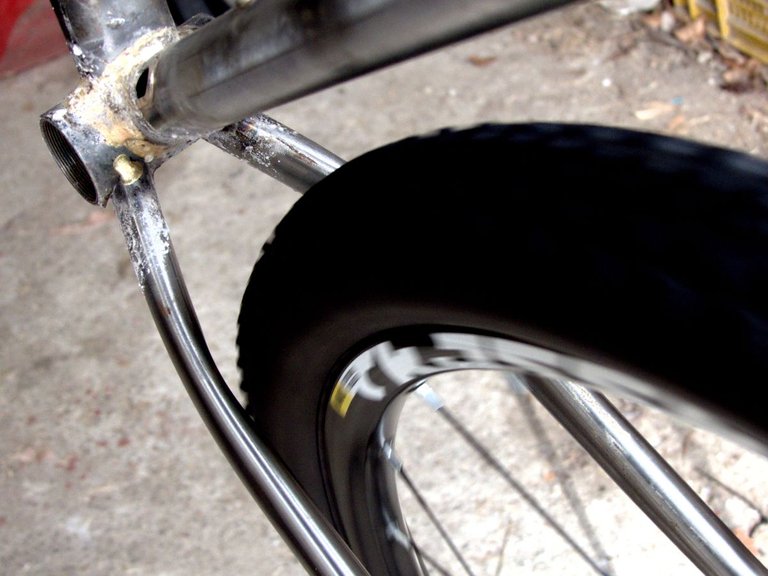
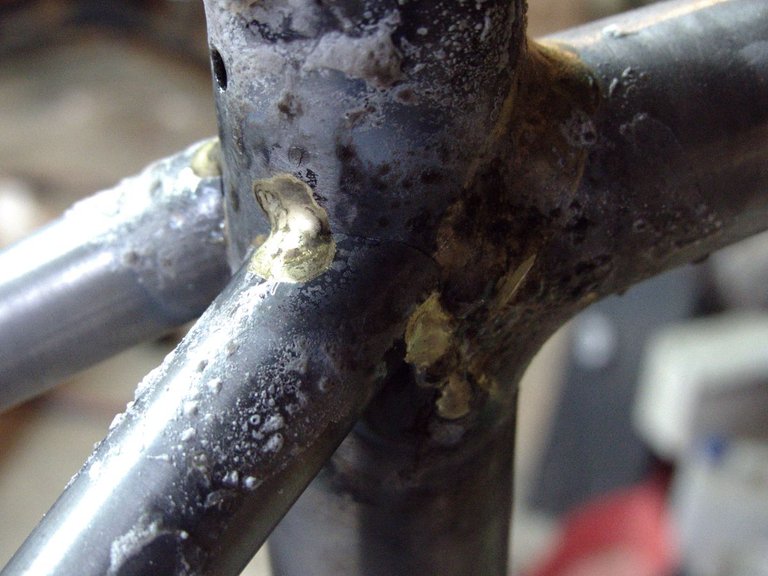
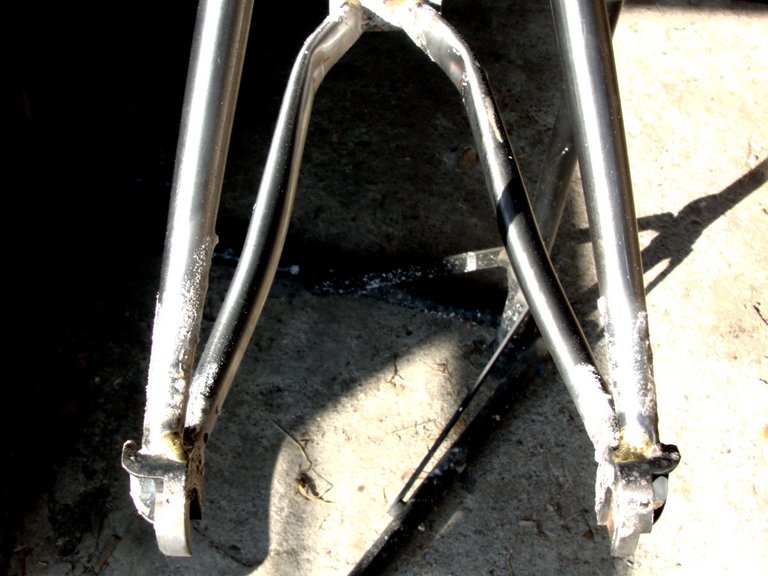
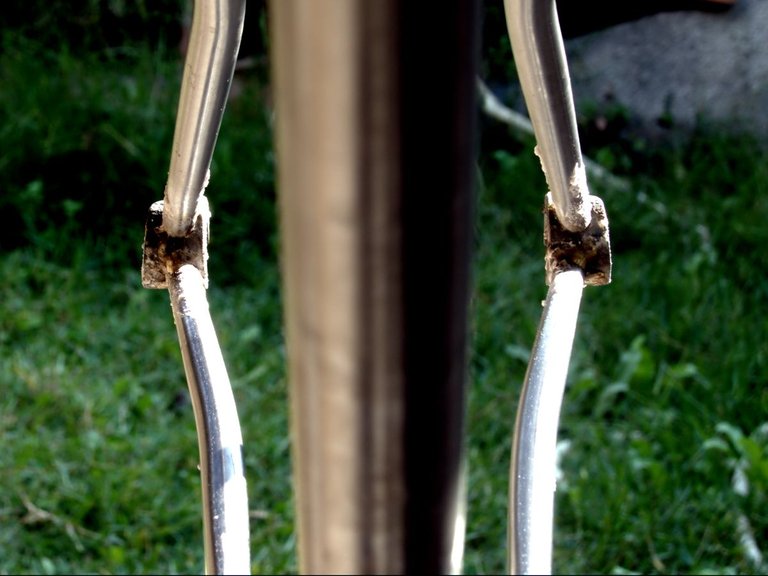
After this, I can take out the frameset from the jig for the last time, turn on the torch, I can adjust the torch flame take the rod on my left hand and fillet braze the rear triangle
In the opening picture you can see the end of the chapter and of the work day, I am tired of course, but really satisfied of the result.
All the best,
G.

img credz: pixabay.com
Nice, you got a 29.0% @peaceandlove upgoat, thanks to @lacremo-it
Want a boost? Minnowbooster's got your back!
To call @OriginalWorks, simply reply to any post with @originalworks or !originalworks in your message!
Thx @pixresteemer
👍