¡HELLO AND WELCOME TO MY BLOG💚!
¡HOLA Y BIENVENIDOS A MI BLOG!💚

Un cordial saludo para todos y espero esten teniendo un excelente y gran dia,para el post de hoy les tengo una gran idea de postre de media tarde y para merendar luego de el almuerzo,es muy rico y con muy pocos ingredientes y pasos,espero que lo hagan y disfruten mucho el proceso .
INGREDIENTES
- 1OO GR DE MANTEQUILLA
- 1 TAZA Y MEDIA DE CACAO EN POLVO
- VAINILLA AL GUSTO
- 3 HUEVOS
- 2 TAZA DE HARINA TODO USO
- CHOCOLATE NEGRO O BLANCO EN TROZOS
- 1 TAZA DE AZUCAR BLANCA
- 1OO GR OF BUTTER
- 1 CUP AND A HALF OF COCOA POWDER
- VANILLA TO TASTE
- 3 EGGS
- 2 CUP ALL-PURPOSE FLOUR
- DARK OR WHITE CHOCOLATE IN PIECES
- 1 CUP WHITE SUGAR
PASO 1
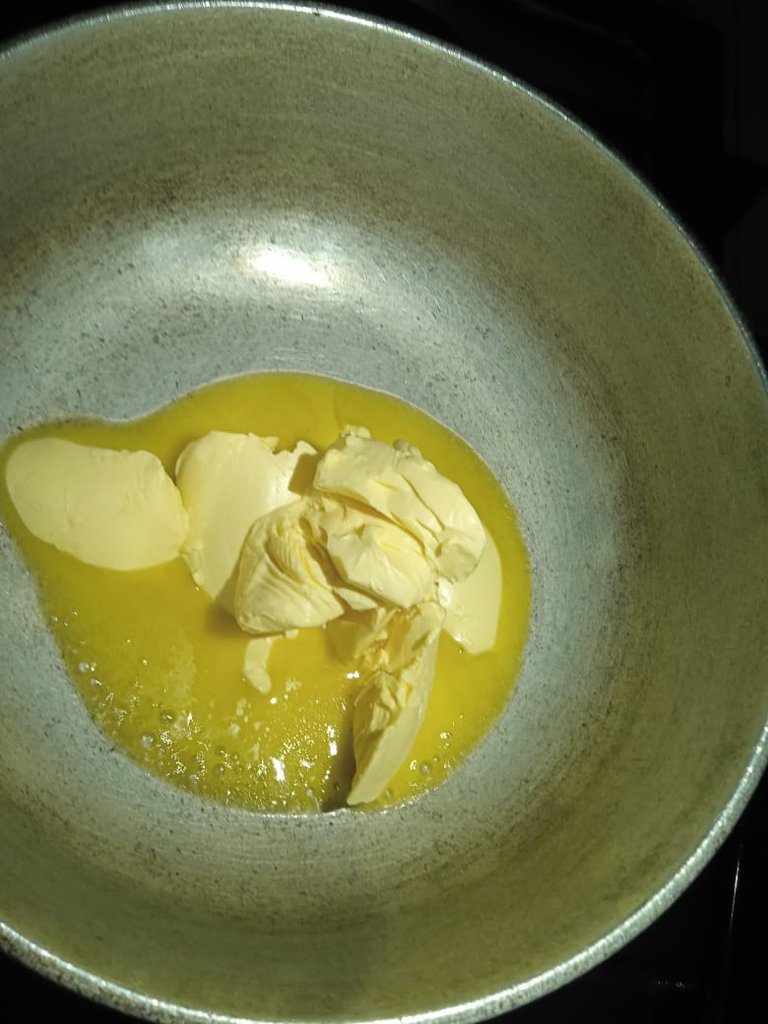
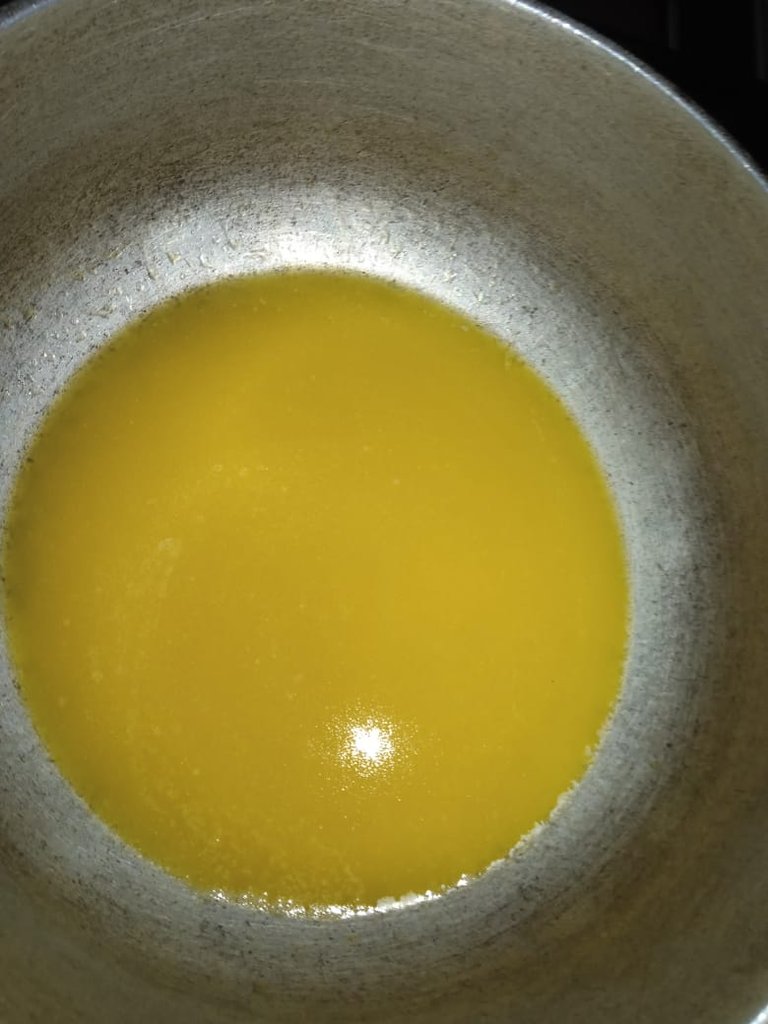
Primero derretimos la mantequilla ya sea en una olla o en el microondas hasta que no le queden grumos.
PASO 2
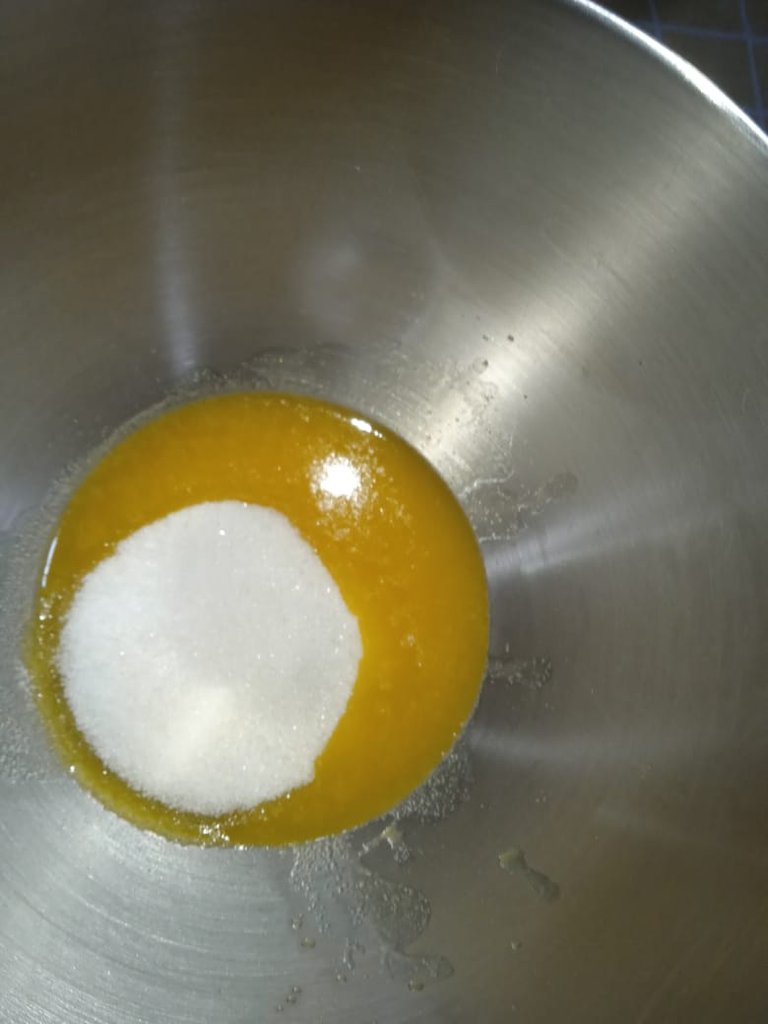

Luego de el paso 1,pasamos la mantequilla a el bowl donde haremos la mezcla y agregamos el azucar blanca y la batimos muy bien sin que queden grumos,esto es muy importante para la textura del brownie.(Esta receta se hace sin batidora,se hace con un batidor en forma de globo.Se hace sin batidora ya que no necesita una alta velocidad para ejecutarla)
PASO 3
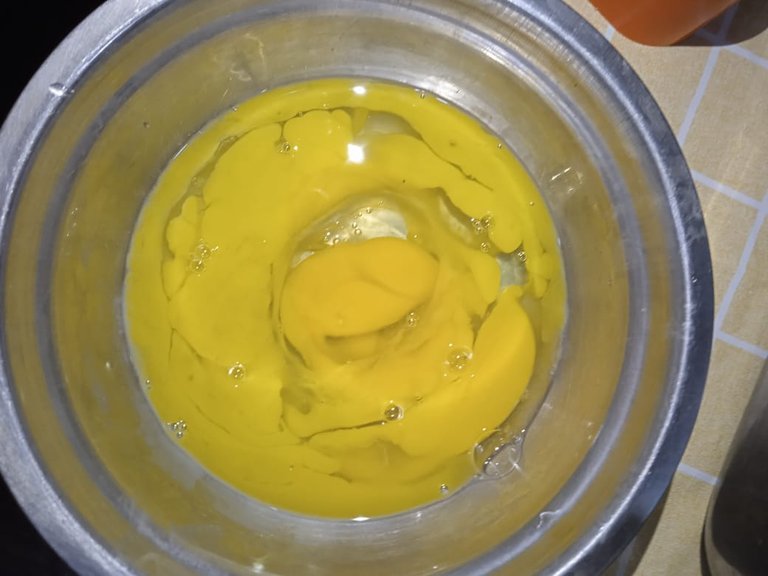
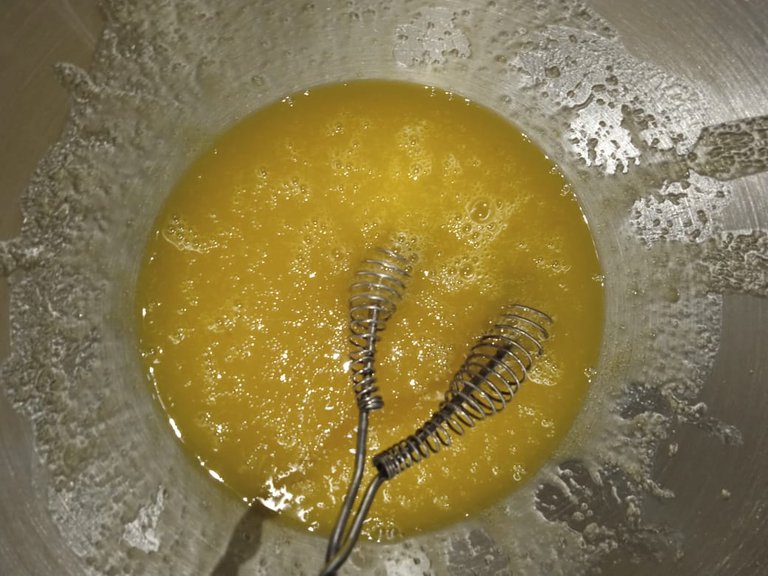
Partimos los huevos en una taza aparte para no dañar la mezcla si estaban podridos,luego de comprobar que los huevos estan bien se añaden a la mezcla y se baten muy bien hasta que se vea un poco espumoso.(Sin que caiga la cascara de el huevo a la mezcla y si cae lo puedes sacar con un tenedor o un cuchillo de mesa)
PASO 4
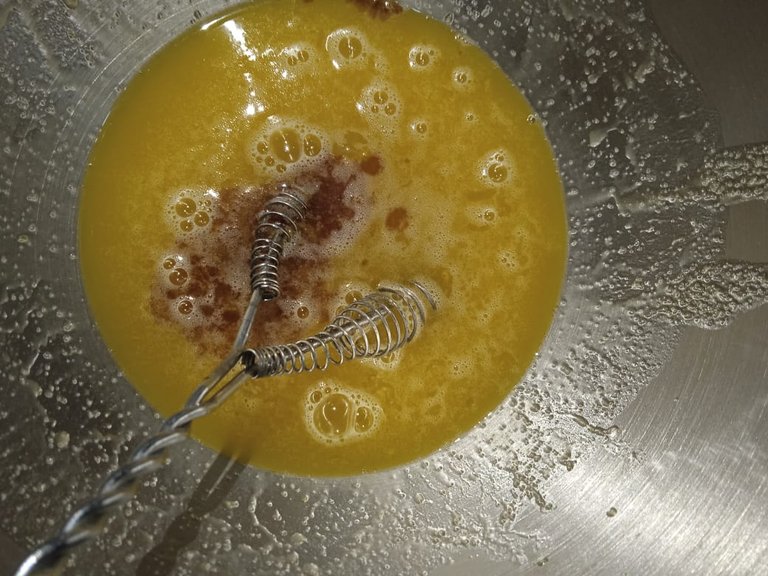
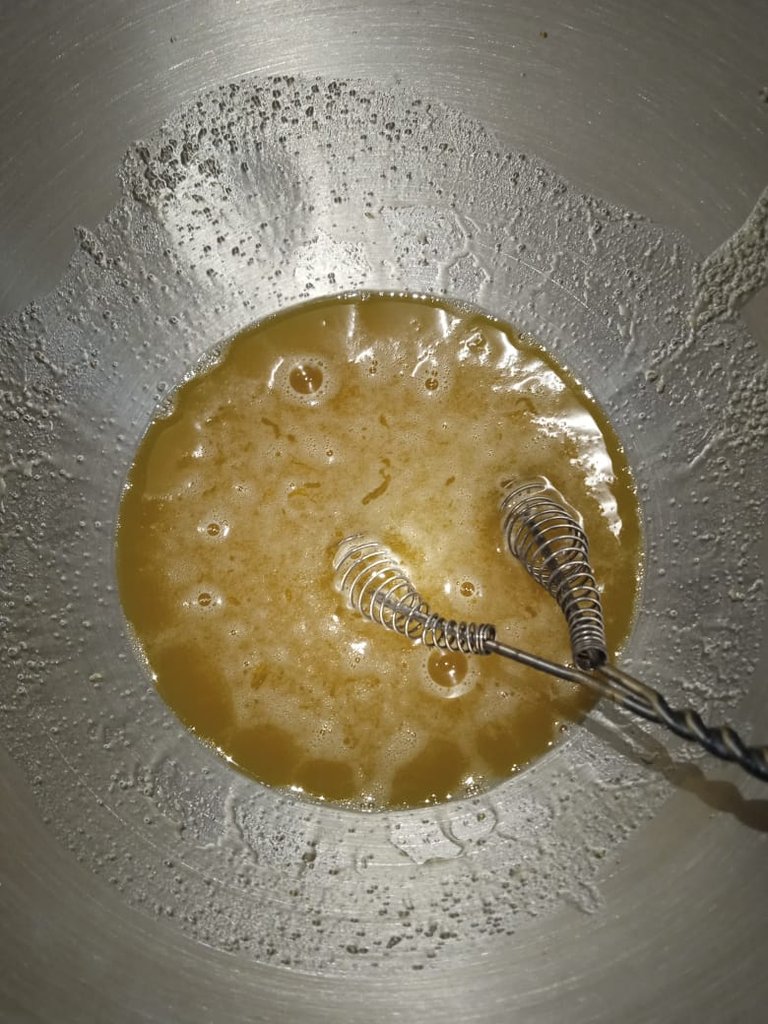
Luego de batir los huevos muy bien,se agrega la vainilla y la integramos bien hasta que quede como en la imagen.(Como el cacao es fuerte pueden agregar un poco mas de vainilla de lo normal,claro sin exagerar. )
PASO 5
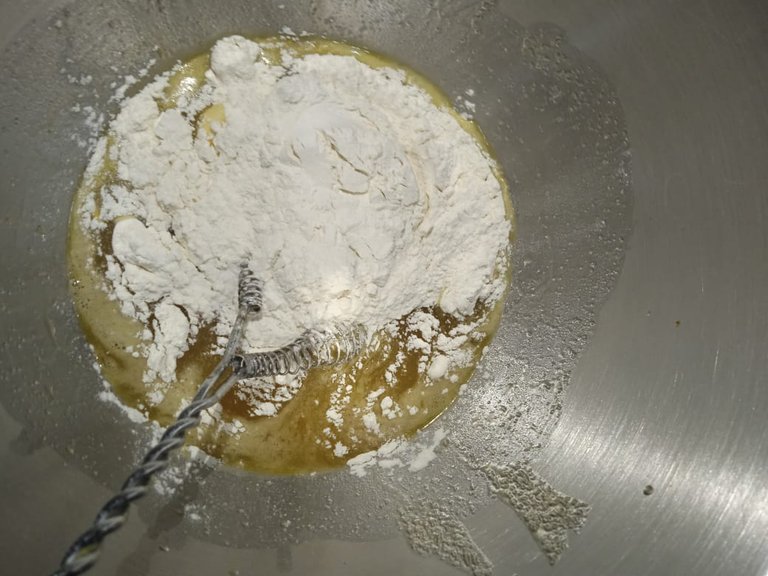
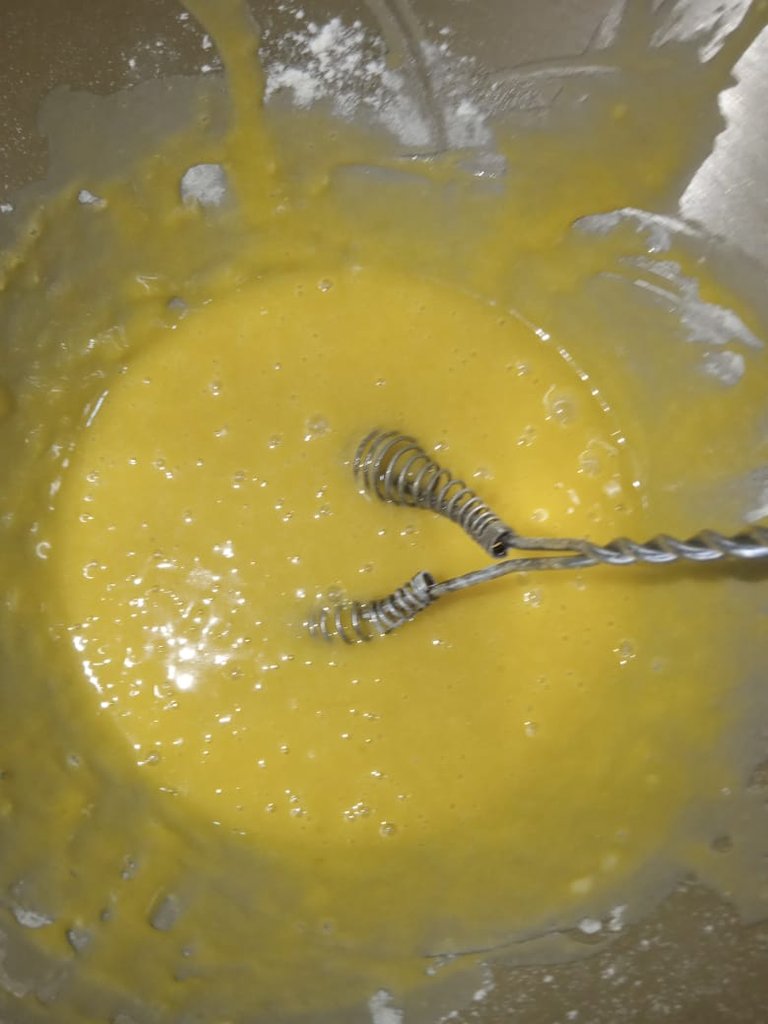
Despues agregamos la harina tamizada todo uso(Es muy importante que sea todo uso porque si utilizamos harina leudante seria un bizcocho y no un brownie)
PASO 6
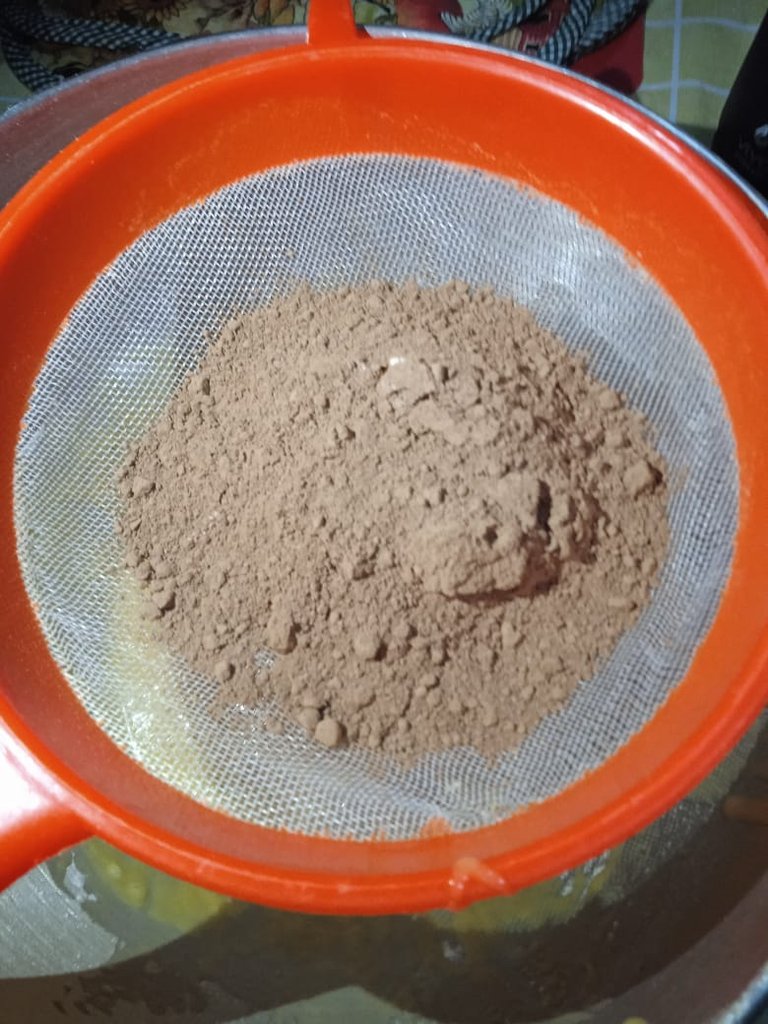
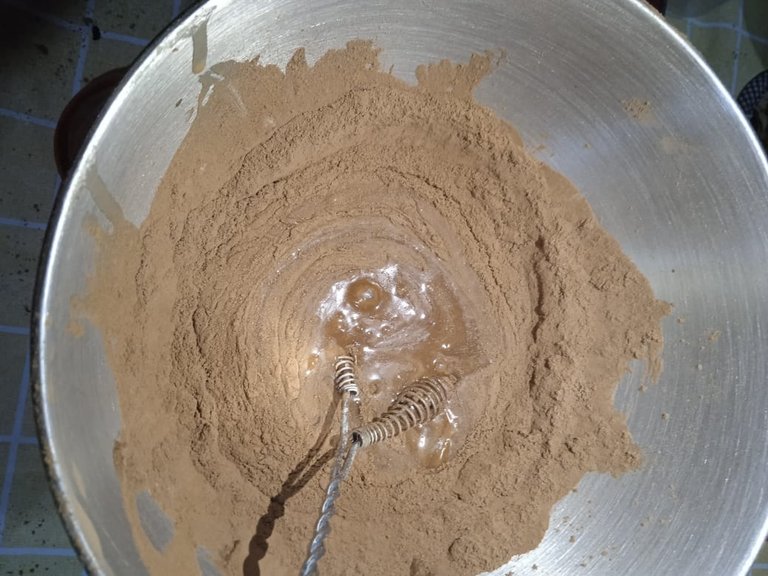
Agregamos el cacao a la mezcla luego de tamizarlo muy bien, y empezamos a mezclar hasta que no queden grumos y la mezcla quede un color uniforme.(Es esencial que se tamize el cacao para que no halla incidencias con la mezcla.)
PASO 7
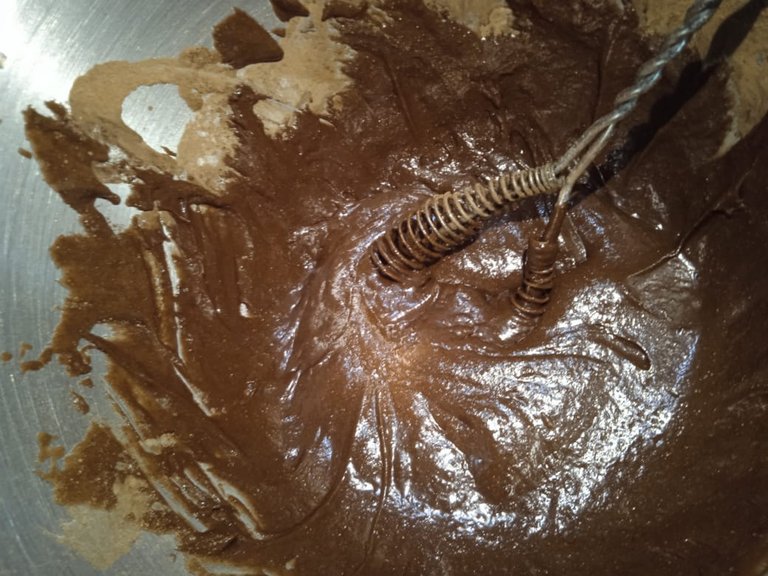
PASO 8
 💚
💚
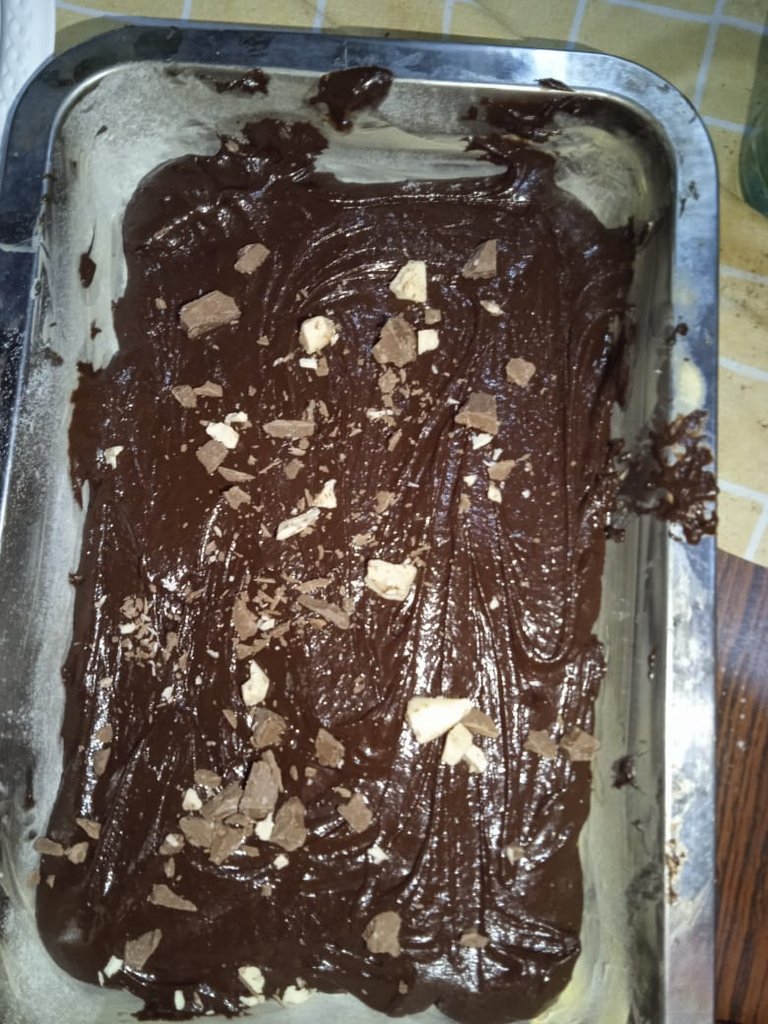
En este paso ya dejamos la mezcla en el bowl donde estaba, y buscamos una bandeja plana y onda para colocar la mezcla en ella.
Lo esparcimos muy bien para que quede nivelado a la hora de estar hecho.
Luego el chocolate lo dividimos con un cuchillo(Con mucho cuidado para no cortarse)y lo colocamos por encima de el brownie sin hornear .
PASO 9
En este paso lo que haremos sera colocar la bandeja con la mezcla adentro de el horno para hornear y que se cocine,mientras se hornea el brownie,pueden limpiar el area que utilizaron para hacer la receta y fregar los utensilios.(El brownie se hornea a 175 grados por 20 minutos)
¡HORA DE COMER Y DEGUSTAR
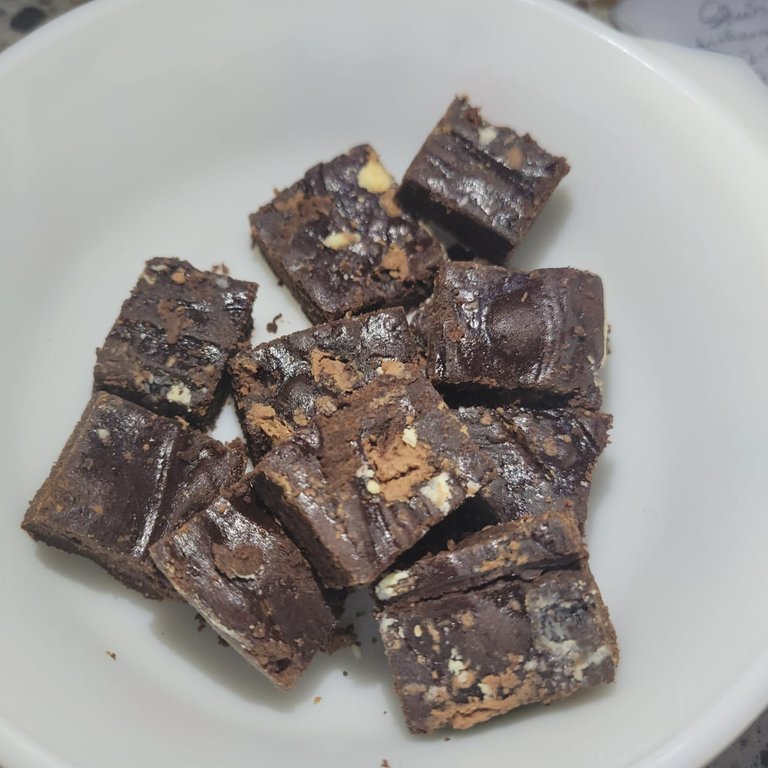
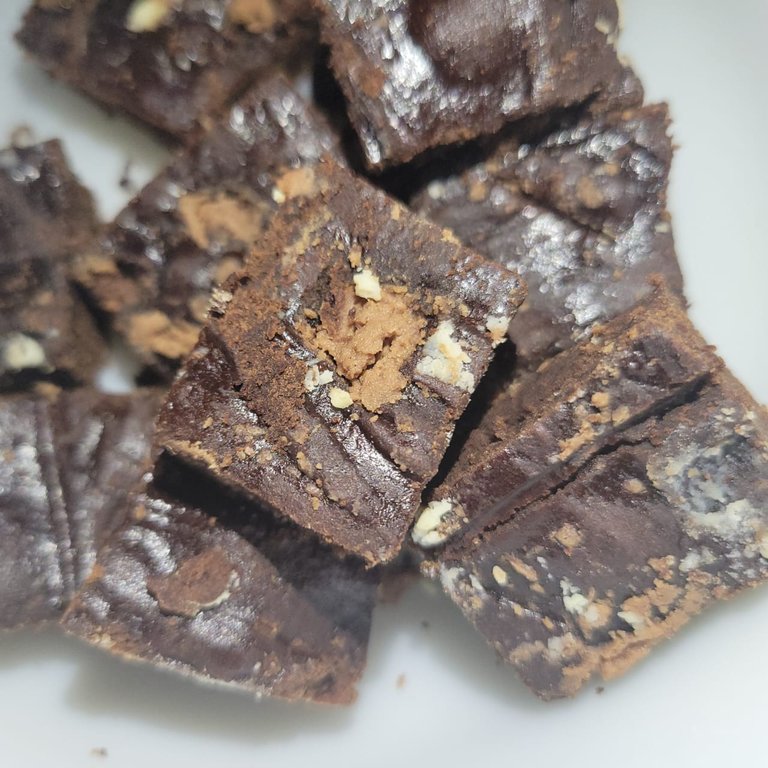
Luego de sacacarlo de el horno lo cortan en cuadritos,esperan que se enfrien un poco y ya podrian probar su creacion
English
HELLO AND WELCOME TO MY BLOG💚!
HOLA Y BIENVENIDOS A MI BLOG💚!

A warm greeting to all and I hope you are having an excellent and great day,for today's post I have a great idea for a mid-afternoon dessert and snack after lunch,it is very rich and with very few ingredients and steps,I hope you make it and enjoy the process very much .
INGREDIENTS
STEP 1


First melt the butter either in a saucepan or in the microwave until smooth.
STEP 2


After step 1, we pass the butter to the bowl where we will make the mixture and add the white sugar and beat it very well without lumps, this is very important for the texture of the brownie. (This recipe is made without a mixer, it is made with a balloon whisk, it is made without a mixer because it does not need a high speed to make it).
STEP 3


Break the eggs in a separate cup so as not to damage the mixture if they were rotten, after checking that the eggs are well, add them to the mixture and beat very well until it looks a little frothy (without the eggshell falling into the mixture and if it does, you can remove it with a fork or a table knife).
STEP 4


After beating the eggs very well, add the vanilla and integrate it well until it looks like in the image. (As the cocoa is strong you can add a little more vanilla than normal, of course without exaggerating. )
STEP 5


Then add the sifted all-purpose flour (It is very important that it is all-purpose because if we use leavening flour it would be a cake and not a brownie).
STEP 6


Add the cocoa to the mixture after sifting it very well, and start mixing until there are no lumps and the mixture has a uniform color (It is essential that the cocoa is sifted so that there are no incidences with the mixture).
STEP 7

After mixing very well, the mixture will look like the one in the image, in this step I recommend you to preheat the oven to 175 degrees for approximately 20 minutes... ----------------------------------------------------------------------------------------------------------------------------------------------------------------------------------------------------
STEP 8
💚

In this step we already leave the mixture in the bowl where it was, and we look for a flat tray and wave to place the mixture in it.
We spread it very well so that it is level when it is done.
Then we divide the chocolate with a knife (very carefully so as not to cut it) and place it on top of the unbaked brownie.
STEP 9
In this step what we will do is to place the pan with the mixture inside the oven to bake and cook, while the brownie is baking, you can clean the area you used to make the recipe and wash the utensils (the brownie bakes at 175 degrees for 20 minutes).
TIME TO EAT AND TASTE


After taking it out of the oven, cut it into squares, wait for it to cool a little bit and then you can taste your creation.
Translated with DeepL
Banners made in Canva
Congratulations @felita! You have completed the following achievement on the Hive blockchain And have been rewarded with New badge(s)
Your next payout target is 100 HP.
The unit is Hive Power equivalent because post and comment rewards can be split into HP and HBD
You can view your badges on your board and compare yourself to others in the Ranking
If you no longer want to receive notifications, reply to this comment with the word
STOPCheck out our last posts:
The brownies look delicious, and they seem easy to make, I hope I can make them
Thank you❤️✨
Pronto la haré a ver cómo me queda😅 muchas gracias amiga ✌🏻
Por nadaaaa espero disfrutes el proceso