Saludos,
Queridos amigos una vez más por aquí hoy les voy a mostrar lo sencillo que es preparar el cerdo en el horno y que no sepa a navidad.
Está vez prepare un corte de costillas de cerdo hacia el lado de la falda, por supuesto con piel y todo para obtener el rico y crujiente chicharrón.
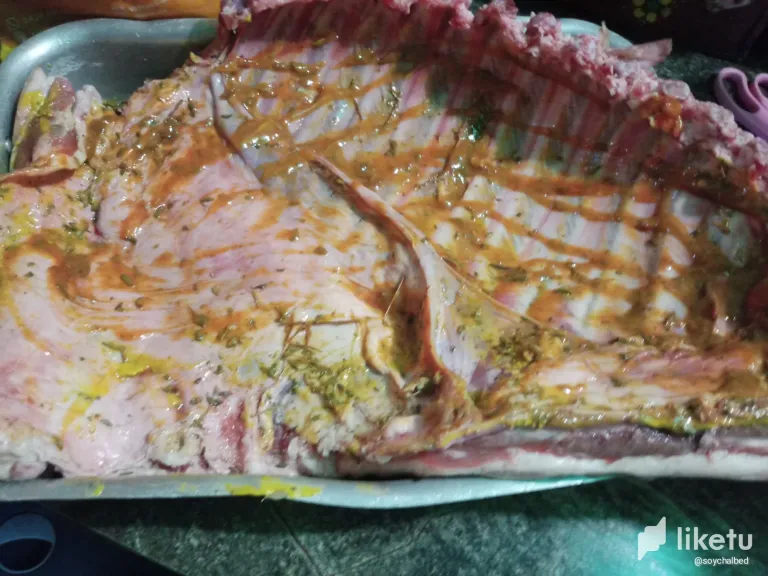
Lo primero que necesitamos es tener nuestro corte de carne con piel y lo aderezamos con mostaza, salsa de soya, ajo, sal y pimienta al gusto y el toque que más destaca es el orégano.
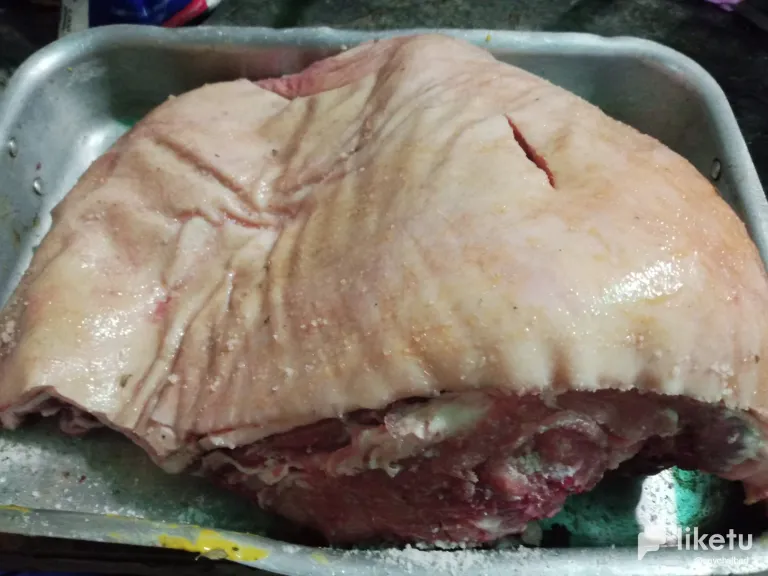
Todas estas especias la vamos a colocar por el lado de la carne, mientras que por el lado de la piel vamos a colocar abundante sal por toda la superficie, si no colocas suficiente sal no se forma el chicharrón ya que la sal es quien deshidrata la piel en la cocción y logra la textura del chicharrón.
Está técnica funciona hasta para preparlo en un ahumador, luego que ya tenemos nuestra pieza bien sazonada lo colocamos en una tortera con toda la piel hacia arriba o que quede visible.
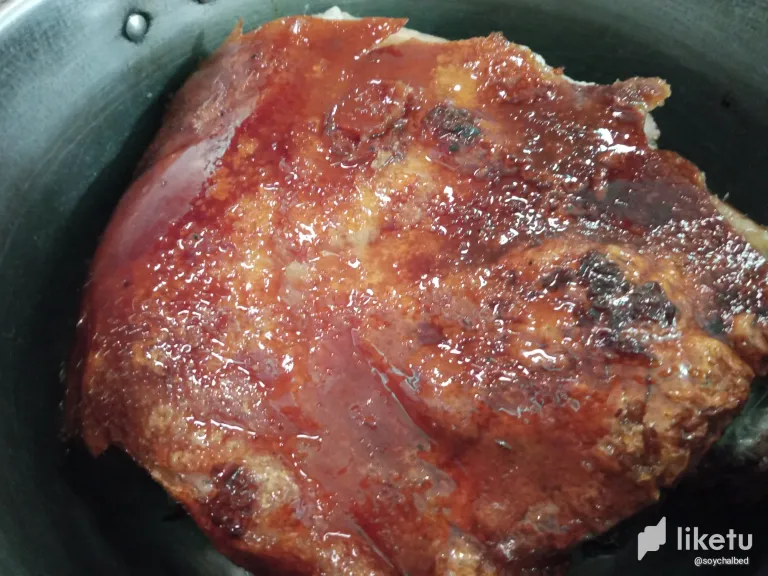
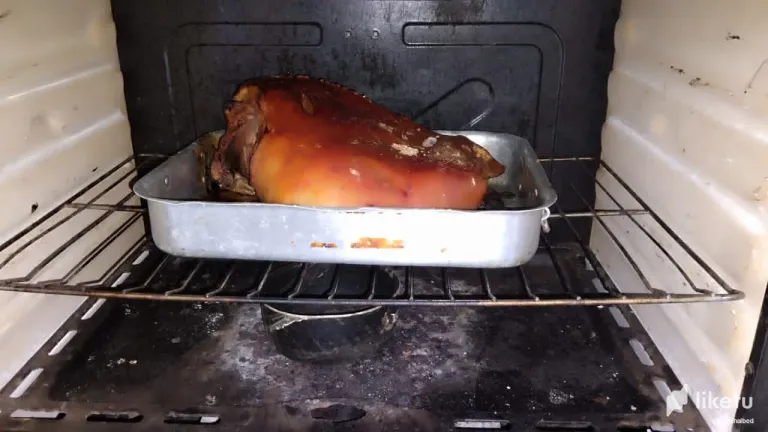
Colocamos el horno a 180°c y cocinamos unos 35 minutos por cada kg de carne, en mi caso fue un espacio de 80 minutos, una vez que vemos que la carne está cocida y la piel está tomando color subimos la temperatura del horno y si el horno es como el mío que tiene gratinador lo encendemos.
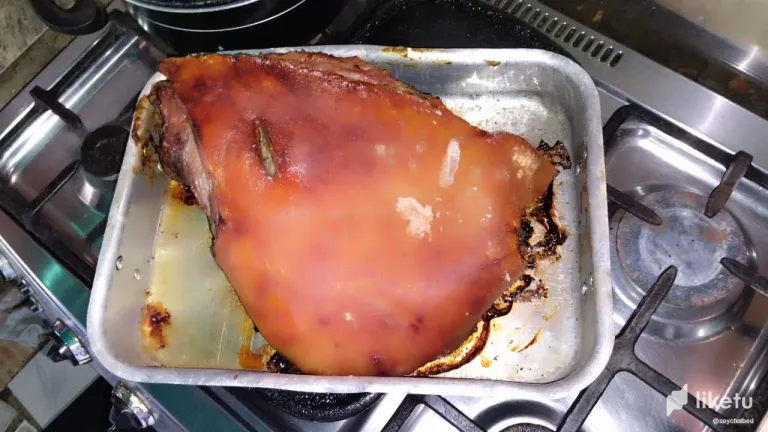
Dejamos cocinar por unos 20 minutos y vamos revisando hasta que la piel este crujiente en su totalidad.
Si no tienes el gratinador puedes calentar aceite o manteca en una olla y cuando esté bien caliente lo vas dejando caer sobre la piel del cerdo para que te dé la textura.
Al tener la textura que buscamos sacas la carne de la torta para escurrir el exceso de grasa y dejas reposar por unos 5 minutos para servir.
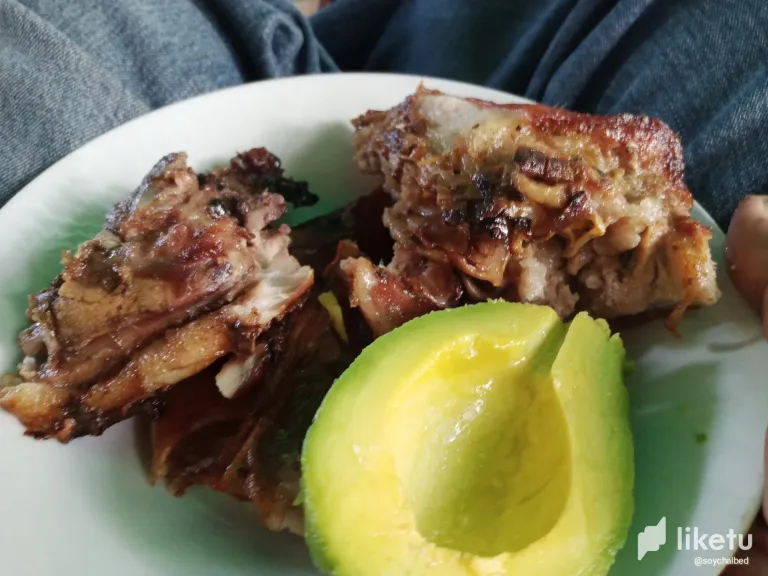
En mi caso como estoy haciendo dieta keto solo acompañe con aguacate como puedes ver en la imagen.
Espero que les sea útil está técnica y que se atrevan a prepararla en casa.
Gracias por acompañarme en esta receta y que Dios les bendiga grandemente.
Las fotos son de mi propiedad tomadas con el celular Infinix Hot 10 i.
ENGLISH
Greetings,
Dear friends, once again today I am going to show you how easy it is to prepare pork in the oven and that it doesn't taste like Christmas.
This time I prepared a cut of pork ribs to the side of the brisket, of course with skin and everything to get the rich and crunchy chicharron.
The first thing we need is to have our cut of meat with skin and we season it with mustard, soy sauce, garlic, salt and pepper to taste and the touch that stands out the most is oregano.
All these spices will be placed on the side of the meat, while on the side of the skin we are going to place abundant salt all over the surface, if you do not place enough salt the chicharrón will not form since the salt dehydrates the skin during the cooking process and achieves the texture of the chicharrón.
This technique works even to prepare it in a smoker, after we have our piece well seasoned we place it in a tortera with all the skin upwards or that is visible.
We place the oven at 180°c and cook for about 35 minutes for each kg of meat, in my case it was about 80 minutes, once we see that the meat is cooked and the skin is taking color we raise the oven temperature and if the oven is like mine that has a gratinator we turn it on.
Let it cook for about 20 minutes and check until the skin is crispy all over.
If you do not have the gratinator you can heat oil or lard in a pot and when it is very hot you drop it on the pork skin to give you the texture.
Once you have the texture you are looking for, take the meat out of the cake to drain the excess fat and let it rest for about 5 minutes to serve.
In my case, as I am on a keto diet, I only served it with avocado as you can see in the picture.
I hope you find this technique useful and that you dare to prepare it at home.
Thank you for joining me in this recipe and may God bless you greatly.
The photos are my property taken with the Infinix Hot 10 i cell phone.
For the best experience view this post on Liketu
eso se ve espectacular
Si queda muy bueno
Sí, te acompaño! jejeje Muy bueno, buen provecho!
Gracias, espero que te animes a prepararlo y me cuentas
Saludos amigo, eso se ve muy bueno y Perfecto para comerse un pedazo en estos momentos, me gusto ese color que agarro y cada uno de los ingredientes que usas y en tan solo tiempo tienes una gran pieza cocinada y muy buena. Las fotos te quedaron increíble, eres todo un chef profesional. Espero que hayan disfrutado.
Gracias mi pana, poco a poco mejorando