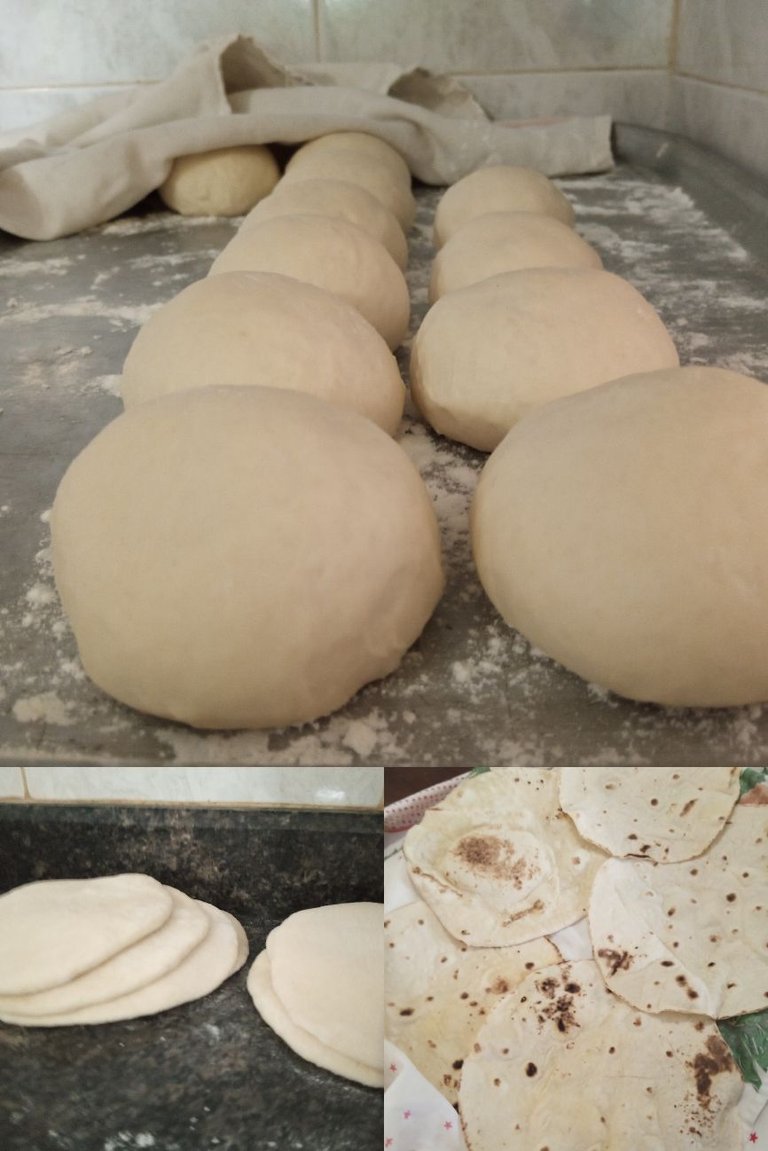
¡Hola, mis amigos! Hoy les quiero contar sobre una de mis aventuras culinarias más recientes: hice panes pita a mano. Desde hace tiempo quería probar esta receta, sobre todo porque el pan es algo que disfrutamos tanto aquí en casa, y además, quería hacer algo diferente. Así que, decidí que era el momento perfecto para ponerme el delantal y meterme en la cocina. El pan pita es una opción muy versátil y puede ser nuestra salvación para días en los que estemos muy apurados y resulta hasta más atractivo que un pan.
Hello, my friends! Today I want to tell you about one of my most recent culinary adventures: I made pita breads by hand. I've been wanting to try this recipe for a while now, especially because bread is something we enjoy so much here at home, and besides, I wanted to do something different. So, I decided it was the perfect time to put on my apron and get in the kitchen. Pita bread is a very versatile option and can be our salvation for days when we are in a hurry and it is even more appealing than a loaf of bread.
Primero que todo, me puse a buscar una receta que no llevara huevo, porque uno de los integrantes de la familia es alérgico. Encontré una receta bastante sencilla que se adaptaba a lo que necesitaba. Aquí les dejo los ingredientes que utilicé:
First of all, I looked for a recipe that did not contain egg, because one of the family members is allergic. I found a fairly simple recipe that suited what I needed. Here are the ingredients I used:
- 2 tazas de harina de trigo (pueden usar integral si prefieren)
- 1 cucharadita de sal
- 1 cucharadita de azúcar
- 1 cucharadita de levadura seca
- 3/4 de taza de agua tibia
- 2 cucharadas de aceite de oliva (o el que tengan a mano)
- 2 cups wheat flour (you can use whole wheat flour if you prefer)
- 1 teaspoon salt
- 1 teaspoon sugar
- 1 teaspoon dry yeast
- 3/4 cup warm water
- 2 tablespoons olive oil (or whatever you have on hand)
Preparar la masa fue bastante fácil. Empecé mezclando la harina, la sal y el azúcar en un bol grande. Después, agregué la levadura seca y lo mezclé todo con una cuchara. Luego, le echamos el agua tibia poco a poco, mientras vamos mezclando todo con las manos. Esto puede parecer un poco desastroso, ¡pero así es que se hace!
Preparing the dough was quite easy. I started by mixing the flour, salt and sugar in a large bowl. Then, I added the dry yeast and mixed it all with a spoon. Then, we poured in the warm water little by little, while mixing everything with our hands. This may seem a bit messy, but that's how it's done!
Cuando la masa se fue uniendo, le añadí las dos cucharadas de aceite de oliva. Una vez que todo estuvo bien mezclado, ¡qué rico comenzó a oler! Tras eso, pasé la masa a una superficie limpia para amasarla un poco más. No se olviden de enharinar la mesa para que no se pegue. Amasé por unos 10 minutos, hasta que la masa estuviera suave y elástica. Es como hacer ejercicio, pero más sabroso, porque al final me quedé con las manos un poco pegajosas, pero muy contenta.
When the dough was coming together, I added the two tablespoons of olive oil. Once everything was well mixed, how good it started to smell! After that, I moved the dough to a clean surface to knead it some more. Don't forget to flour the table so it doesn't stick. I kneaded for about 10 minutes, until the dough was smooth and elastic. It's like exercising, but tastier, because in the end my hands were a little sticky, but very happy.
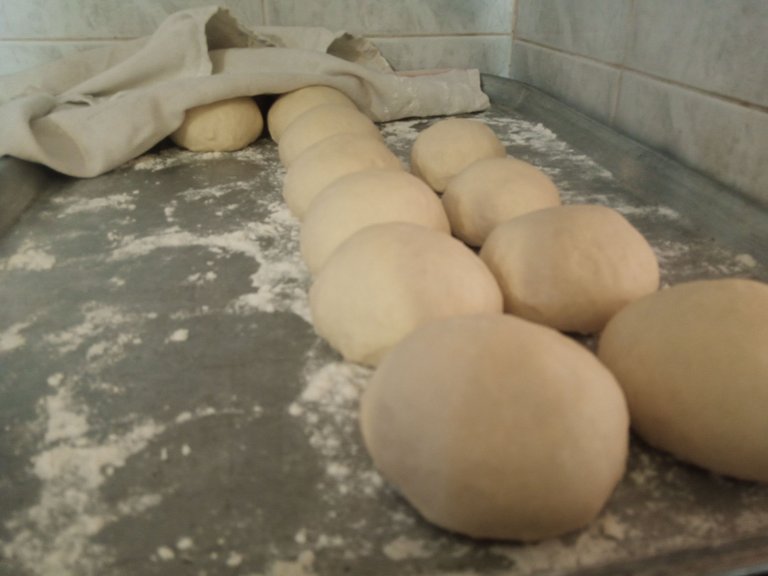
Después de amasar, dejé reposar la masa en un bol cubierto con un paño, en un lugar cálido. Esto es importante porque la masa necesita tiempo para crecer. Lo dejé reposar aproximadamente una hora, aunque siéntanse libres de dejarlo un poco más, si tienen tiempo.
After kneading, I let the dough rest in a bowl covered with a cloth in a warm place. This is important because the dough needs time to rise. I let it rest for about an hour, although feel free to let it rest a little longer if you have time.
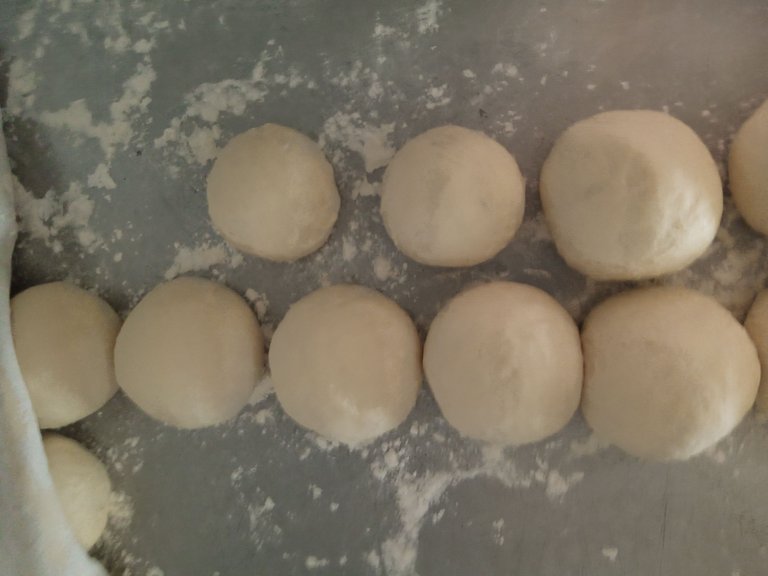
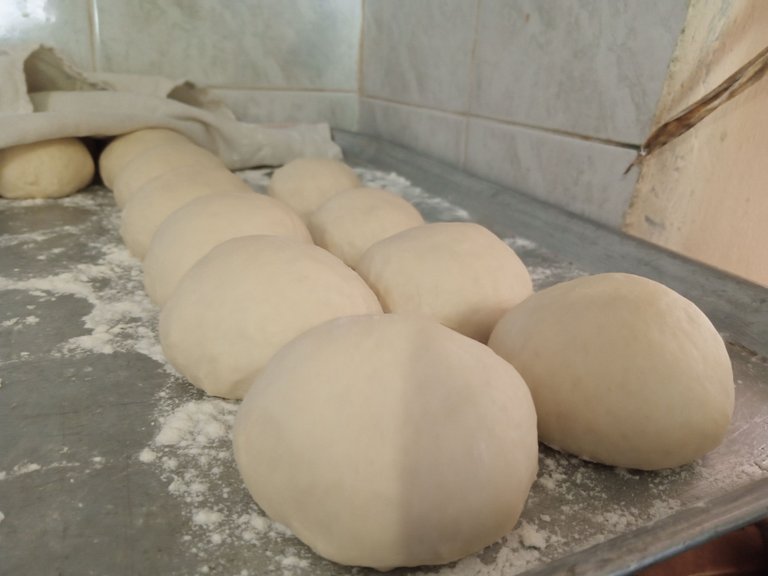
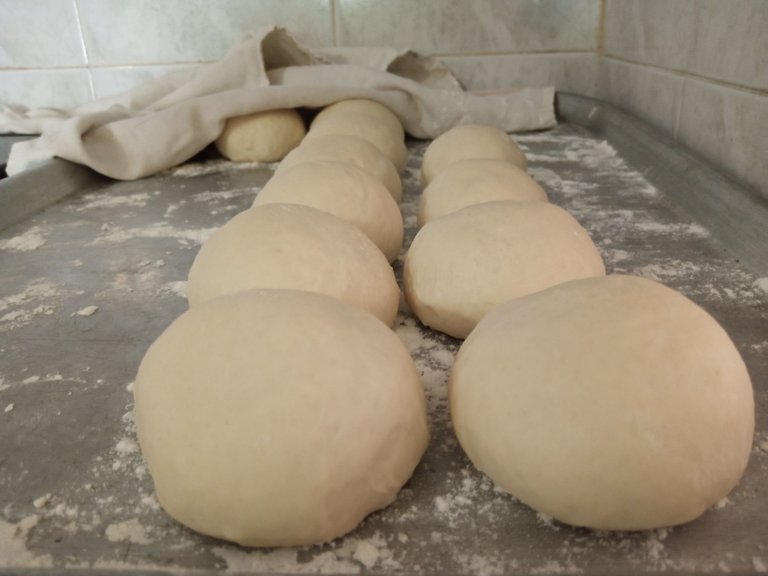
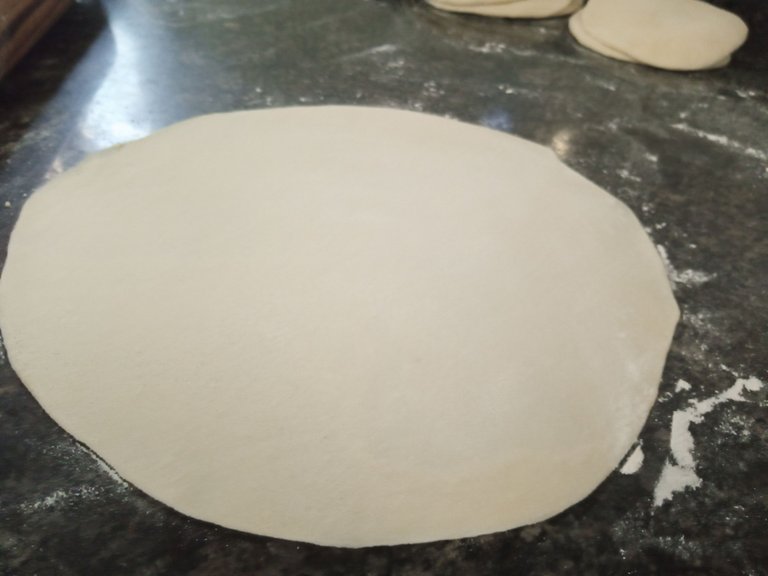
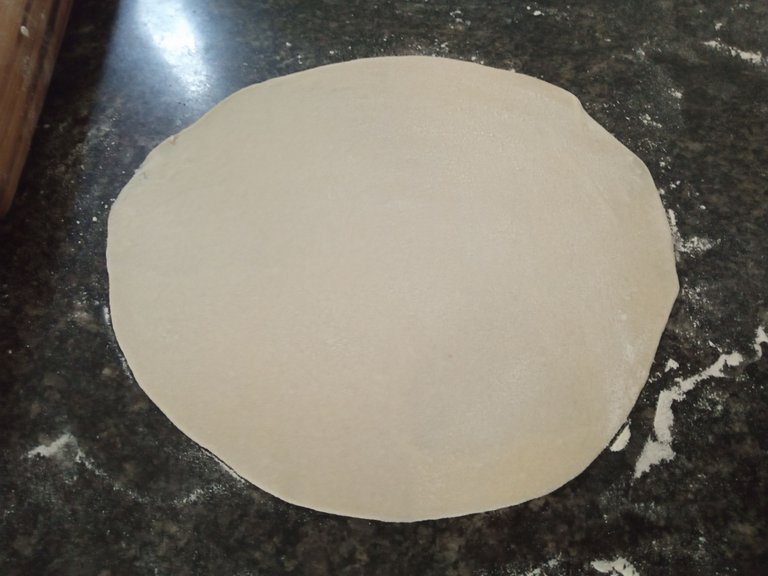
Pasado ese tiempo, la masa había duplicado su tamaño. En este punto, la saqué del bol y la coloqué sobre la mesa nuevamente. La dividí en bolitas, más o menos del tamaño de una pelota de golf. ¡Aquí es donde comienza la parte divertida! Agarré el rodillo y empecé a estirar cada bolita. Este es el momento en el que hay que dejar volar la creatividad, yo intenté que me quedaran lo más redonditas posible.
After that time, the dough had doubled in size. At this point, I took it out of the bowl and placed it on the table again. I divided it into little balls, about the size of a golf ball. This is where the fun part begins! I grabbed the rolling pin and started rolling out each ball. This is the moment when you have to let your creativity run wild, I tried to make them as round as possible.
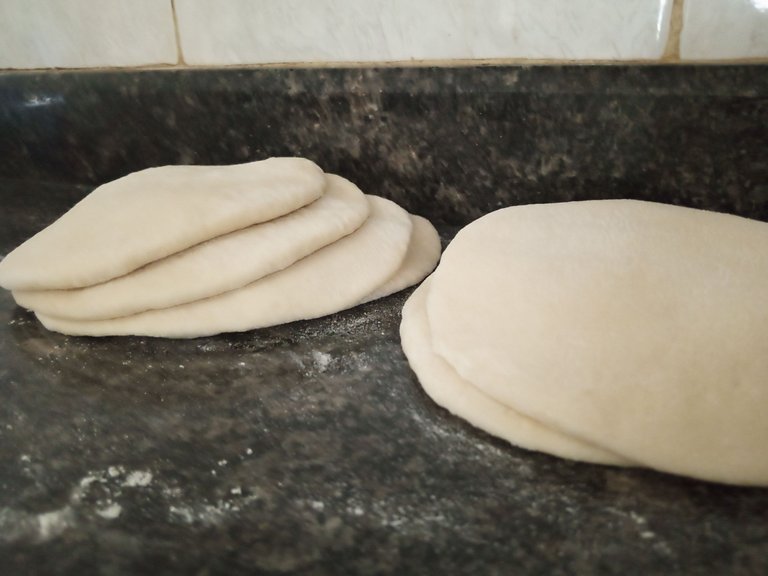
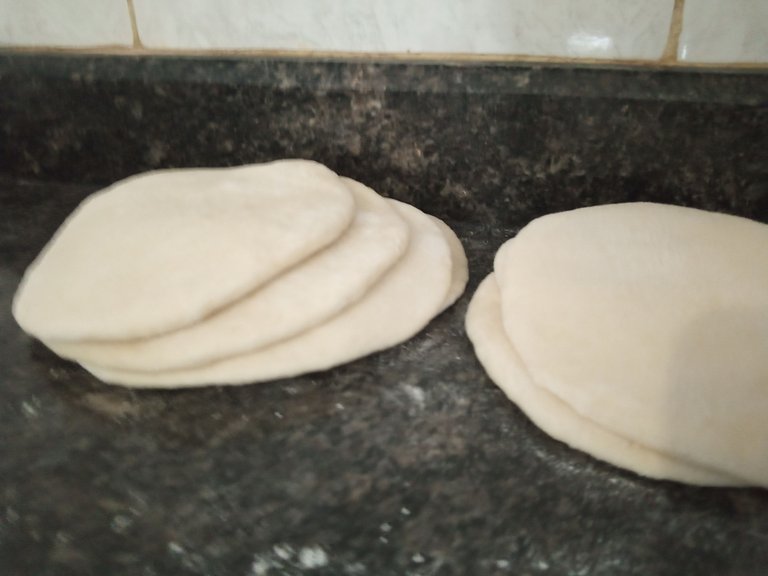
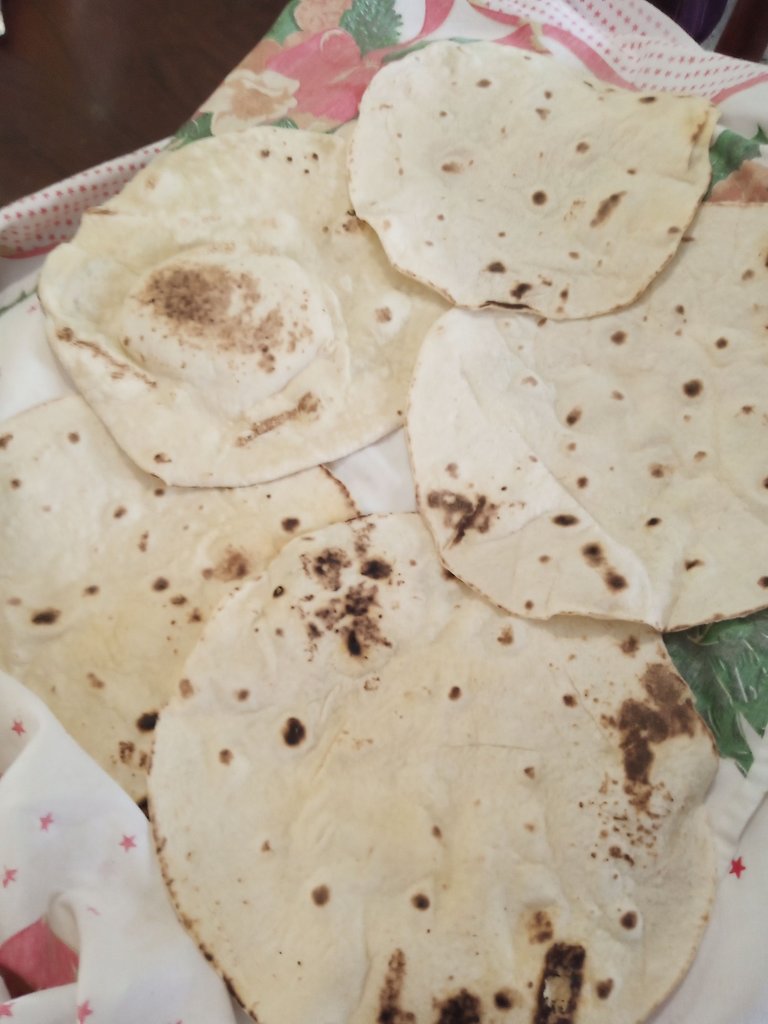
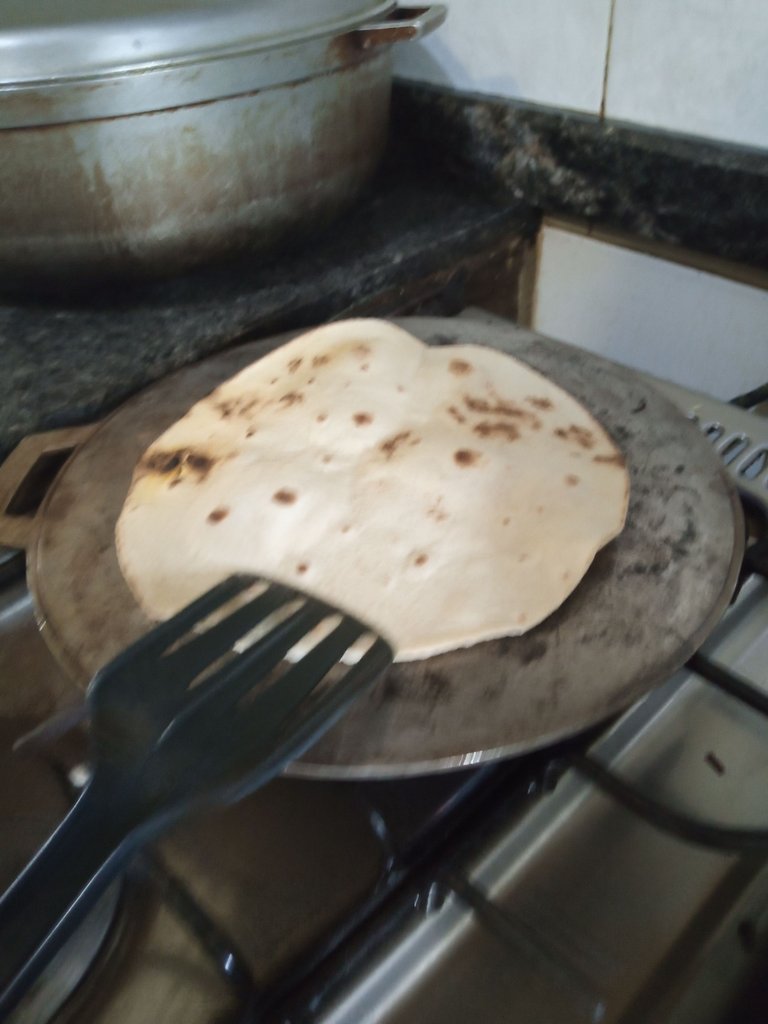
Con el rodillo, estiré cada bolita hasta que quedaron más o menos de un centímetro de grosor. Luego, las dejé reposar un ratito más mientras preparaba el sartén. Pueden calentar una sartén antiadherente a fuego medio. Una vez caliente, coloqué las pitas una por una. Cada pita se infla poco a poco, ¡y es tan emocionante verlo! Les di unos 40 segundos de un lado y luego les di vuelta y la dejé por unos 12 segundo.
With the rolling pin, I stretched each ball until they were about one centimeter thick. Then, I let them rest a little longer while I prepared the pan. You can heat a non-stick pan over medium heat. Once hot, I placed the pitas one by one. Each pita puffs up a little at a time, and it's so exciting to watch! I gave them about 40 seconds on one side and then flipped them over and left it for about 12 seconds.
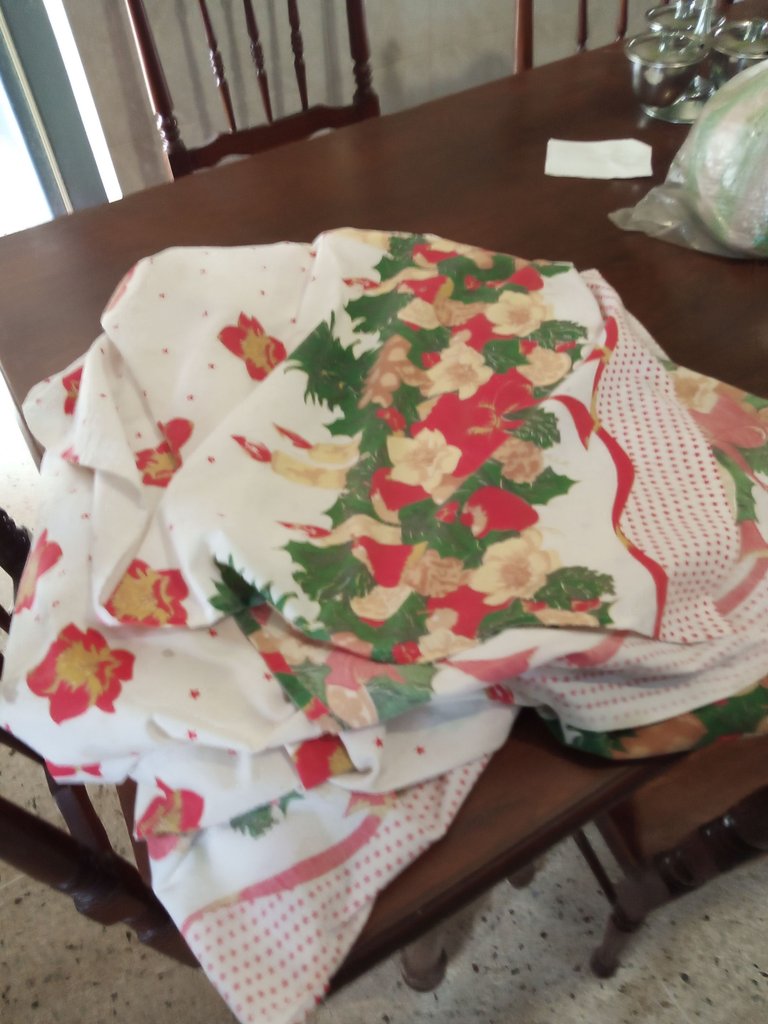
En total, cada pita se cocina en unos 1 a 1,5 minutos. A medida que las iba sacando, las ponía en un plato cubierto con un paño limpio para mantenerlas calientes.
In total, each pita takes about 1 to 1.5 minutes to cook. As I took them out, I put them on a plate covered with a clean cloth to keep them warm.
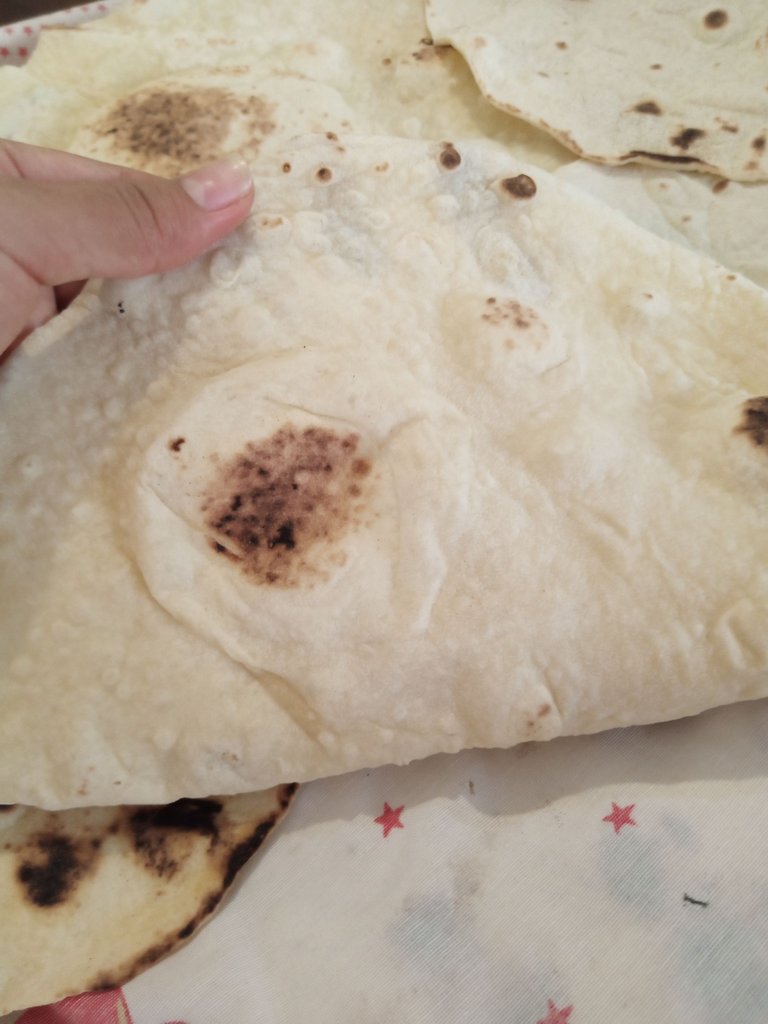
Y así, ¡listo! Tenía mi cantidad de panes pita recién hechos, perfectos para un acompañante de guisos, ensaladas o simplemente para disfrutar con un dip. Les aseguro que el sabor y la frescura no tienen comparación. Así que, anímense a probar hacerlos, ¡es un proyecto súper divertido y delicioso!
And just like that, done! I had my share of freshly made pita breads, perfect for a side dish for stews, salads or simply to enjoy with a dip. I assure you that the taste and freshness are unparalleled. So, go ahead and try making them, it's a super fun and delicious project!
Me gustó la receta, es sencilla y no necesita de horno. A mi por lo general cuando hago pan del común me quedan o crudos o quemados, no logro el término medio. En cambio con esta fórmula de seguro no pasaré por esos malos ratos. Gracias por compartir la receta.
Esto es sùper practico, al principio puede ser un poco duro estirarlos a mano, pero con la práctica conseguirás hacerlo fácilmente y rápido