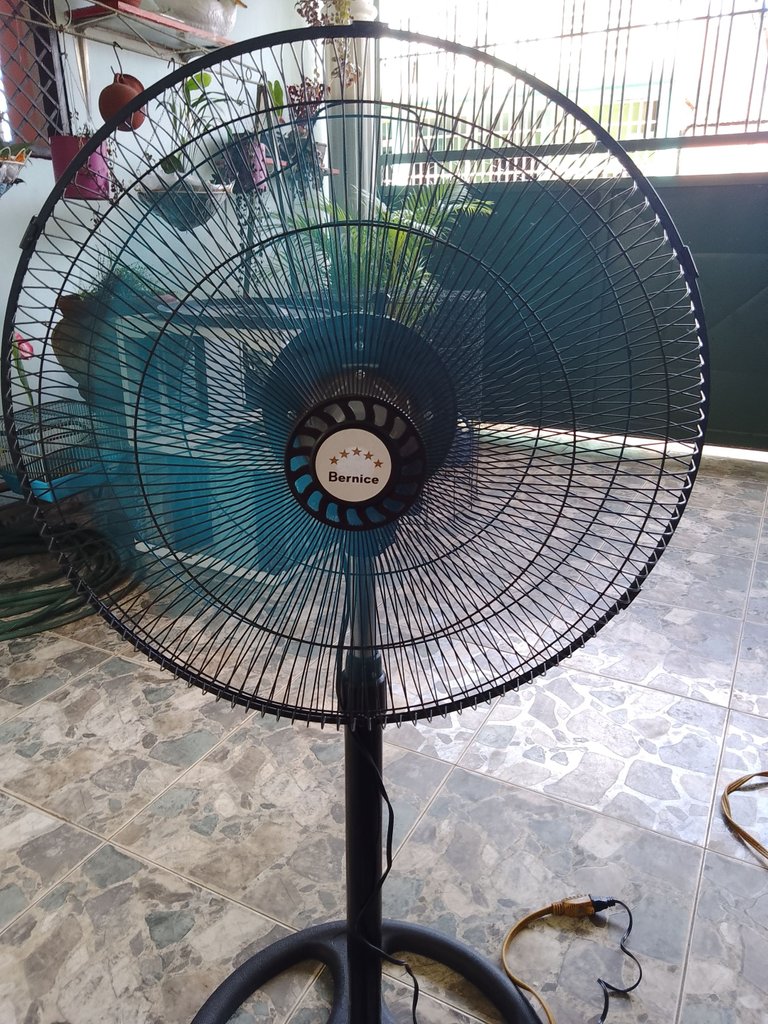
Replacement of horn to a fan
Hola comunidad de Hive, por acá nuevamente para hacer mi aporte para ustedes y esperando en Dios que les pueda servir de apoyo a la hora de atrevernos a realizar un mantenimiento preventivo y correctivo.
Hello Hive community, here again to make my contribution to you and hoping to God that you can serve as support when we dare to perform preventive and corrective maintenance.
Hoy en mi post quiero comentarles que en un escrito pasado aproximadamente un mes, hice el mantenimiento a un ventilador de pedestal que es de mi cuñada.
Today in my post I want to tell you that in a written last about a month, I did maintenance to a pedestal fan that belongs to my sister-in-law.
Hace unos días me informó que el ventilador tenía un ruido extraño que por momentos se le quitaba y en esta semana se paró completamente, por tal motivo me pidió que se lo revisara.
A few days ago she informed me that the fan had a strange noise that at times was removed and this week it stopped completely, for that reason she asked me to check it.
Lo enchufe a la corriente y no hacía nada, le coloqué la mano en la parte trasera y note que solo tenía una pequeña vibración en el motor y un zumbido, yo no soy muy experto en este tipo de artefactos, pero pude notar que este tipo de fallas están relacionadas con las bocinas cuando presentan desgaste.
I plugged it to the current and it did nothing, I put my hand on the back and noticed that it only had a small vibration in the engine and a buzzing sound, I am not very expert in this type of devices, but I could notice that these types of failures are related to the horns when they have wear.
Procedí a sacarlas para llevarlas de muestra para comprarlas, por acá les dejo el procedimiento que realice para el cambio respectivo. Esperando que les sea de su agrado y siempre procurando ser lo más sencillo posible.
I proceeded to remove them to take them as a sample to buy them, here I leave the procedure I performed for the respective change. I hope you like it and always trying to be as simple as possible.
Primeramente retire su parrilla delantera, su aspa y su segunda parrilla, luego su parte de plástico que protege el motor.
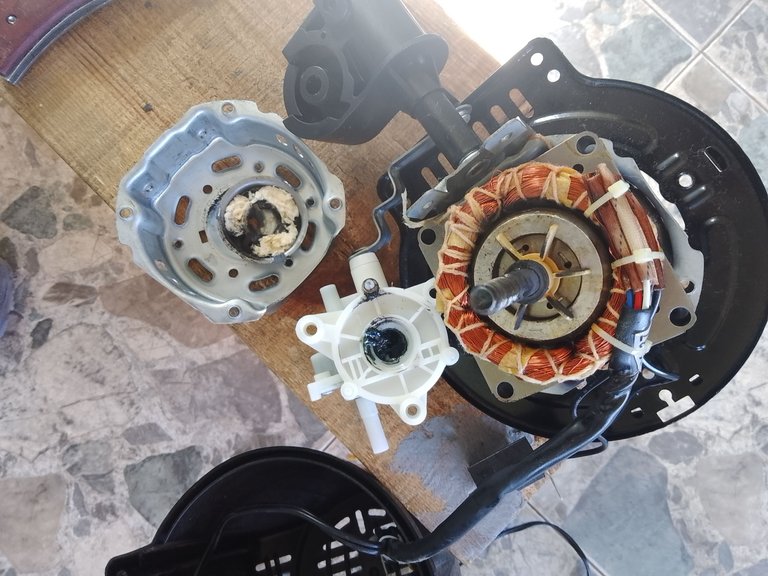
Ya teniendo solo el motor sacamos la parte de atrás donde está el depósito de grasa y su engranaje que lo hace girar, son tres tornillos que lo sujetan al motor y lo sacamos con cuidado.
First remove the front grill, its blade and its second grill, then the plastic part that protects the engine. Once we have only the engine, we remove the back part where the grease reservoir is and the gear that makes it rotate, there are three screws that hold it to the engine and we take it out carefully.
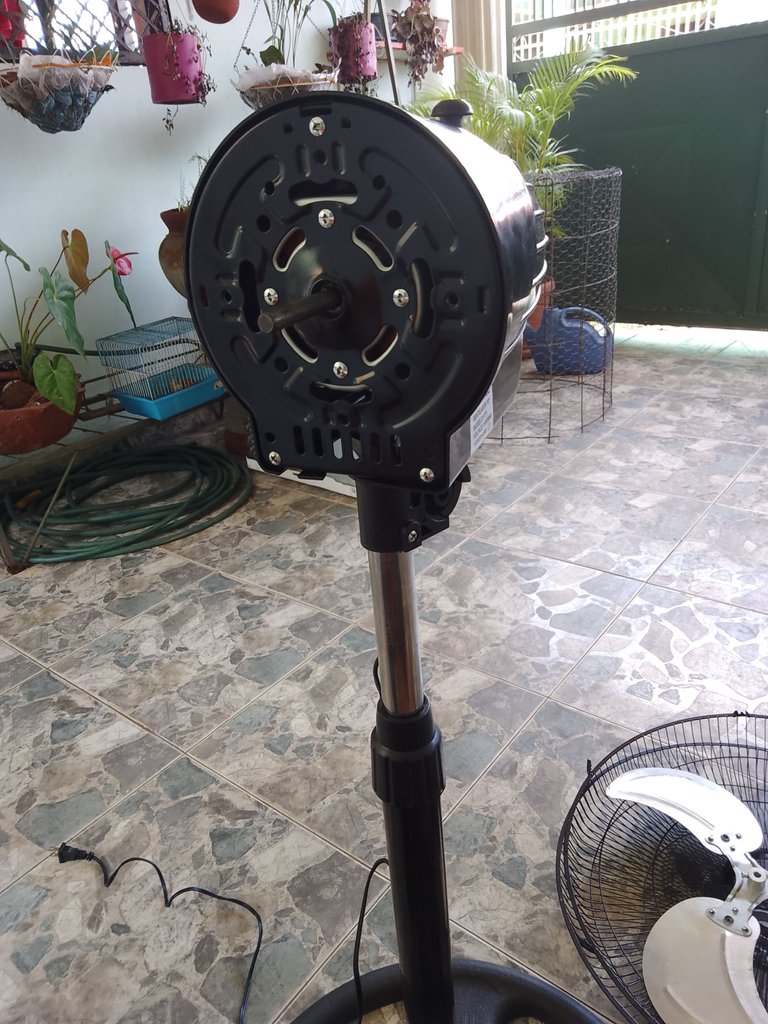
Procedemos a sacar los cuatro tornillos que sujetan al motor (inducido, embobinado, tapas delantera y trasera), procedemos a sacar una de las tapas donde se encuentra la bocina con cuidado de no desarmar todo.
We proceed to remove the four screws that hold the motor (armature, winding, front and rear covers), we proceed to remove one of the covers where the horn is located, being careful not to disassemble everything.
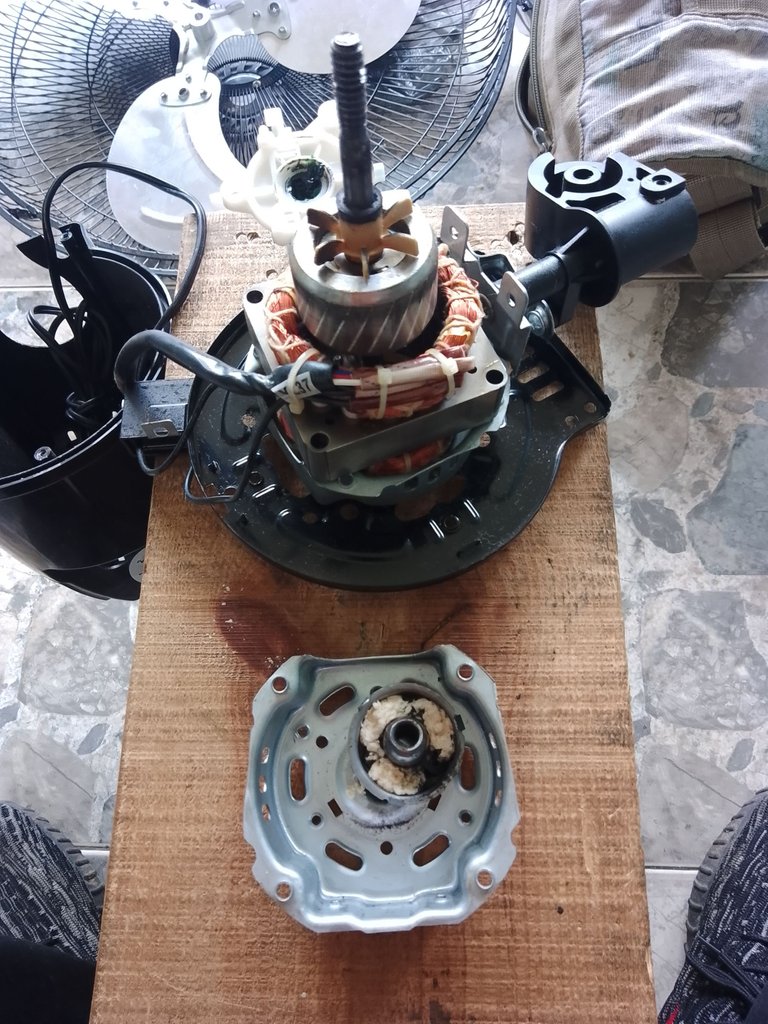
Ya teniendo la primera tapa por su parte de adentro tiene como una cápsula donde está la bocina, en estos ventiladores tiene tres enganches los enderezamos un poco y sale el porta bocina y la bocina, reemplazamos por la nueva.
Already having the first cover on the inside has as a capsule where the horn is, in these fans has three hooks, we straighten them a little and the horn holder and the horn comes out, we replace it with the new one.
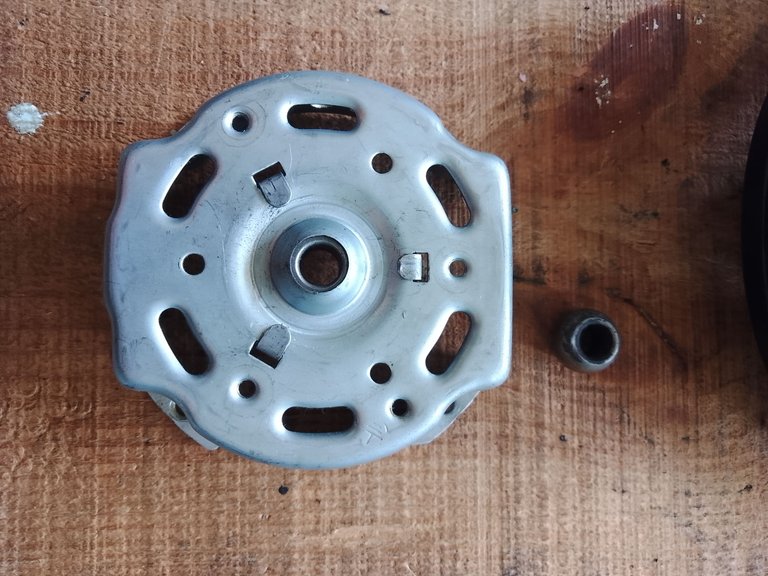
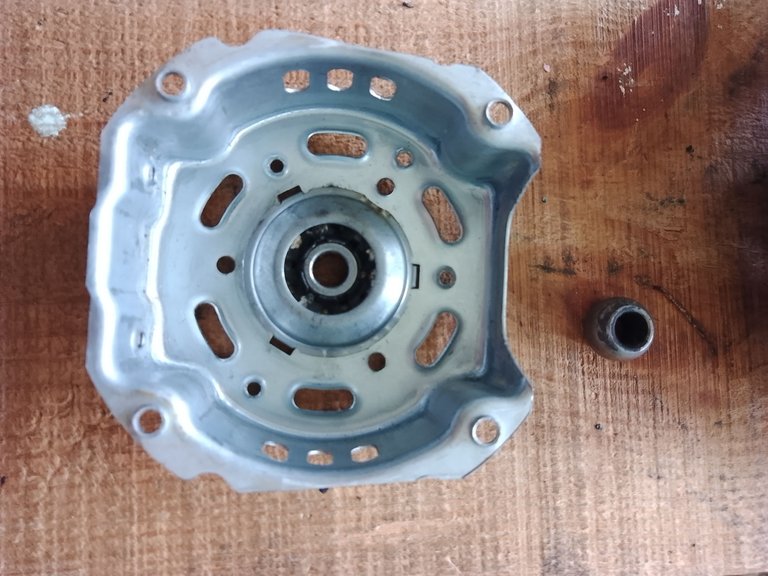
De la misma forma que sacamos el porta bocina lo colocamos con su bocina y doblaremos sus tres enganches, tomamos un poco de grasa y le colocamos a la bocina y procedemos a armar ese lado en el eje del ventilador
In the same way that we took out the horn holder we place it with its horn and we will bend its three hooks, we take a little grease and we place it to the horn and we proceed to assemble that side on the shaft of the fan.
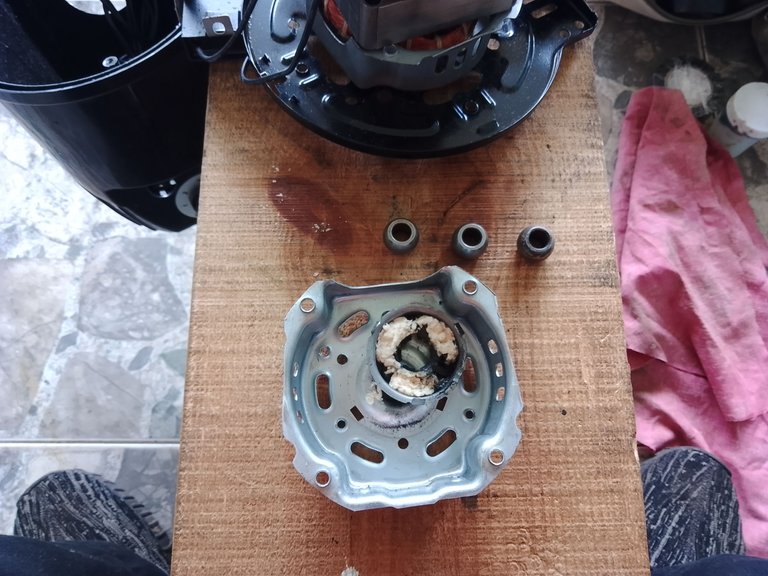
Luego el mismo procedimiento con la otra tapa, si lo hacemos de esta forma no tendremos problemas a la hora de armarlo, hasta que tengamos un poco de conocimiento más y podamos desarmar por completo todo y no tener problemas para armarlo.
Then the same procedure with the other cover, if we do it this way we will not have problems when it comes to assemble it, until we have a little more knowledge and we can completely disassemble everything and not have problems to assemble it.
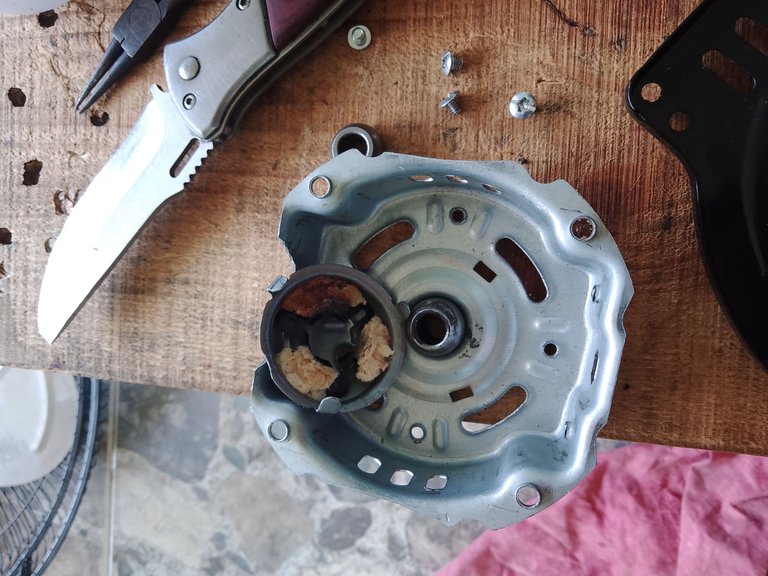
Y empezamos a armar poco a poco e ir ajustando sus tornillos, por acá les dejo algunas fotos del proceso que hice saludos.
And we started to assemble little by little and go adjusting their screws, here I leave some pictures of the process I did greetings.
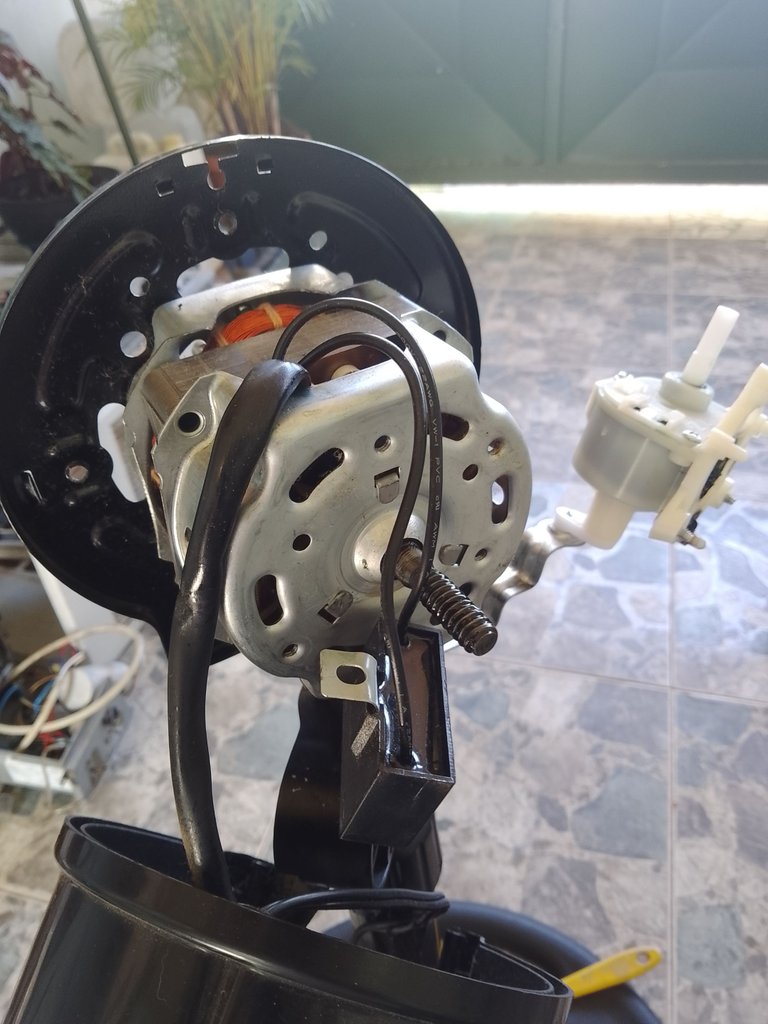
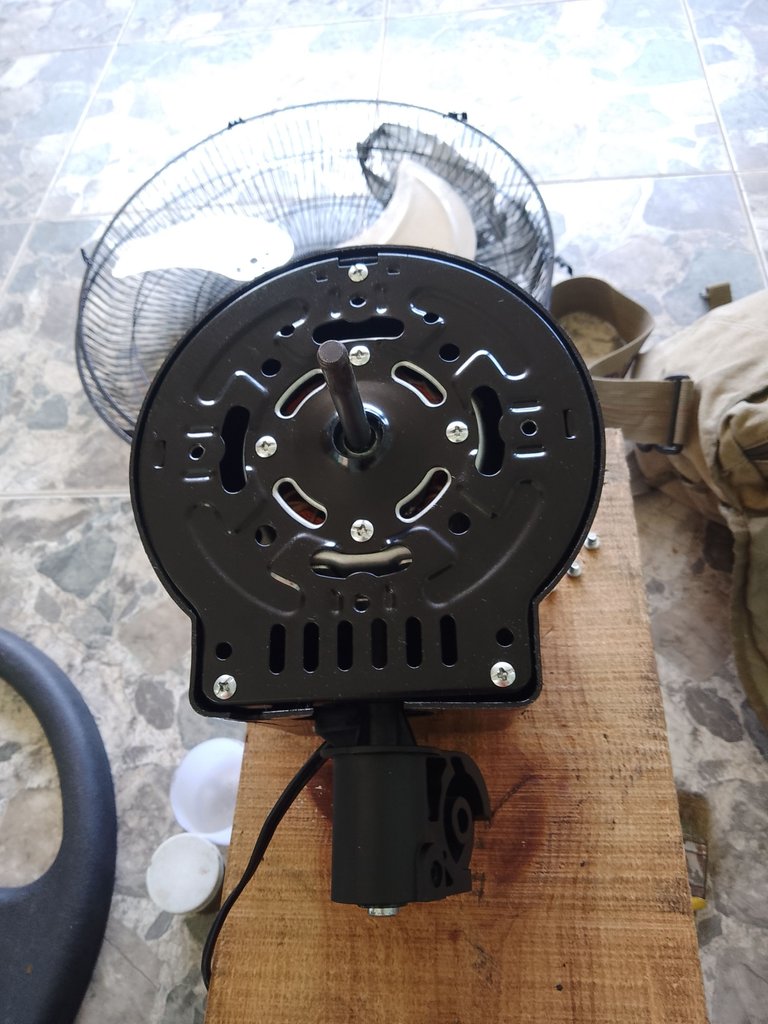
Lo importante es que ha quedado funcional, y la verdad que es algo que siempre podemos hacer en casa, al menos con este tipo de modelos, si fuere un ventilador patton de esos de altas velocidades seria mas complicado, por la naturaleza del mismo y la complejidad de sus piezas, pero un ventilador común es en comparación un paseo, tengo dos días levantando un patton, ya prende y anda, pero me ha quedado con dos velocidades, máximo(encendido) y apagado y no se que hice mal xD Pero aun ando investigándolo jajaja. Realmente si tienes algún consejo sobre cual pudiere ser la causa, si es que he puenteado algo mal o similar, te lo tomo sin dudarlo :)
Hola amigo gracias por tomar tu tiempo y leer mi post, pero cuéntame del principio cuál era la falla, las velocidades ?? Dices en tu comentario que punteaste dónde ???
La falla era todo el ventilador XD tenia dañado el cableado y no prendia en ninguna velocidad.