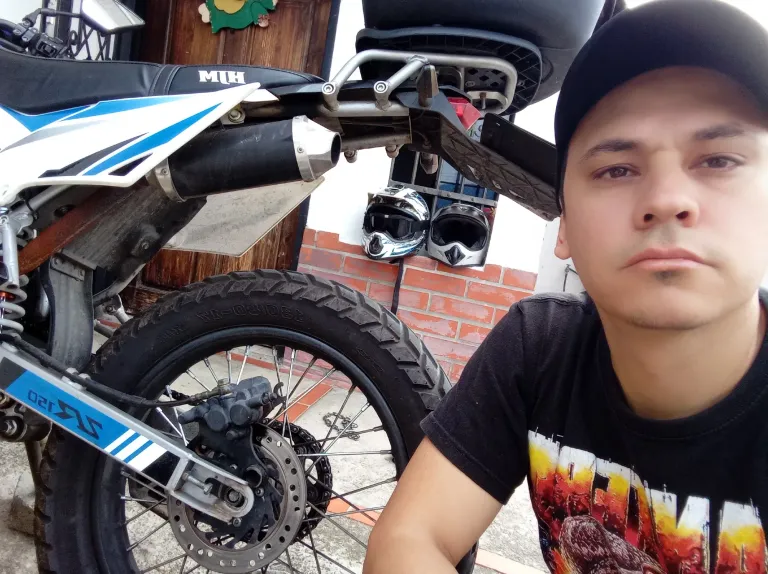
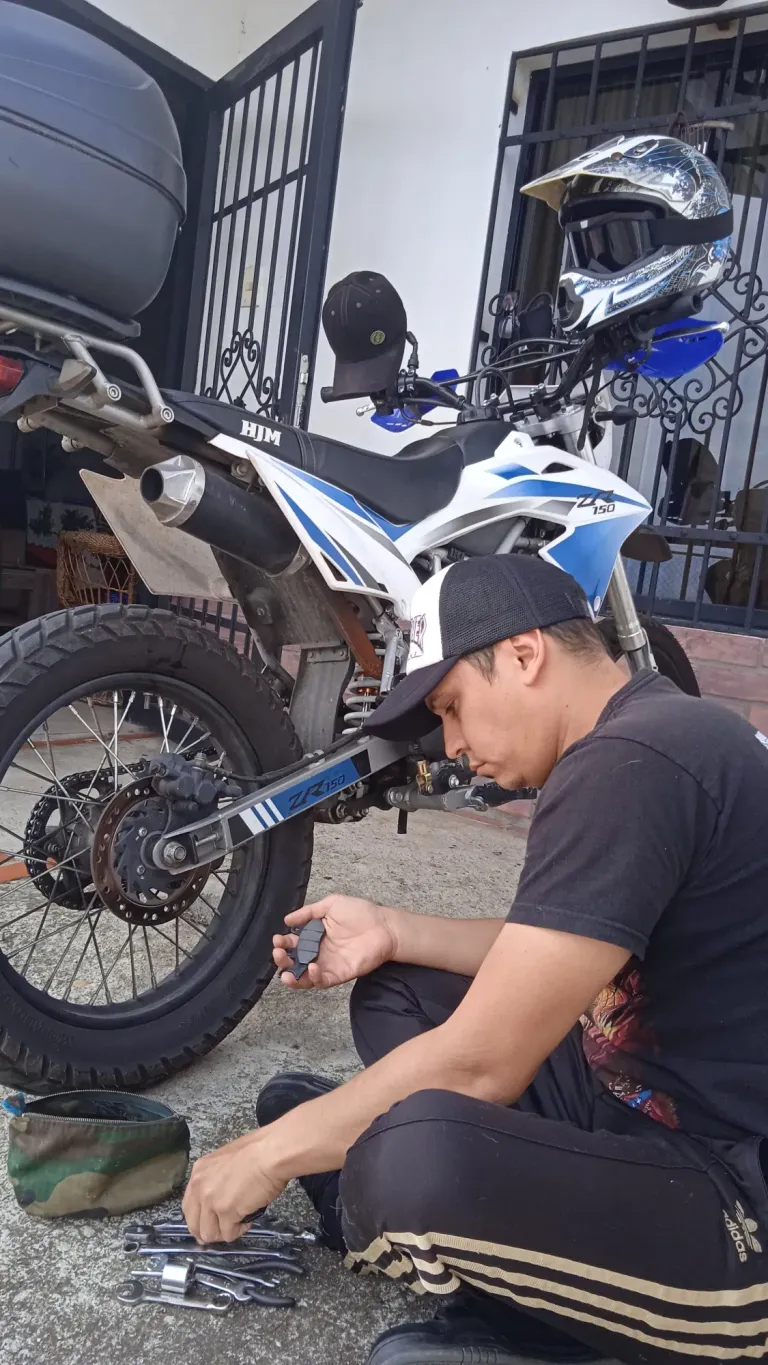

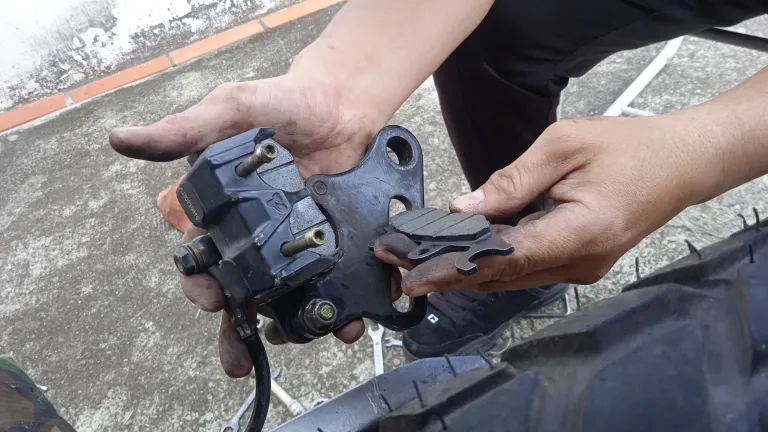
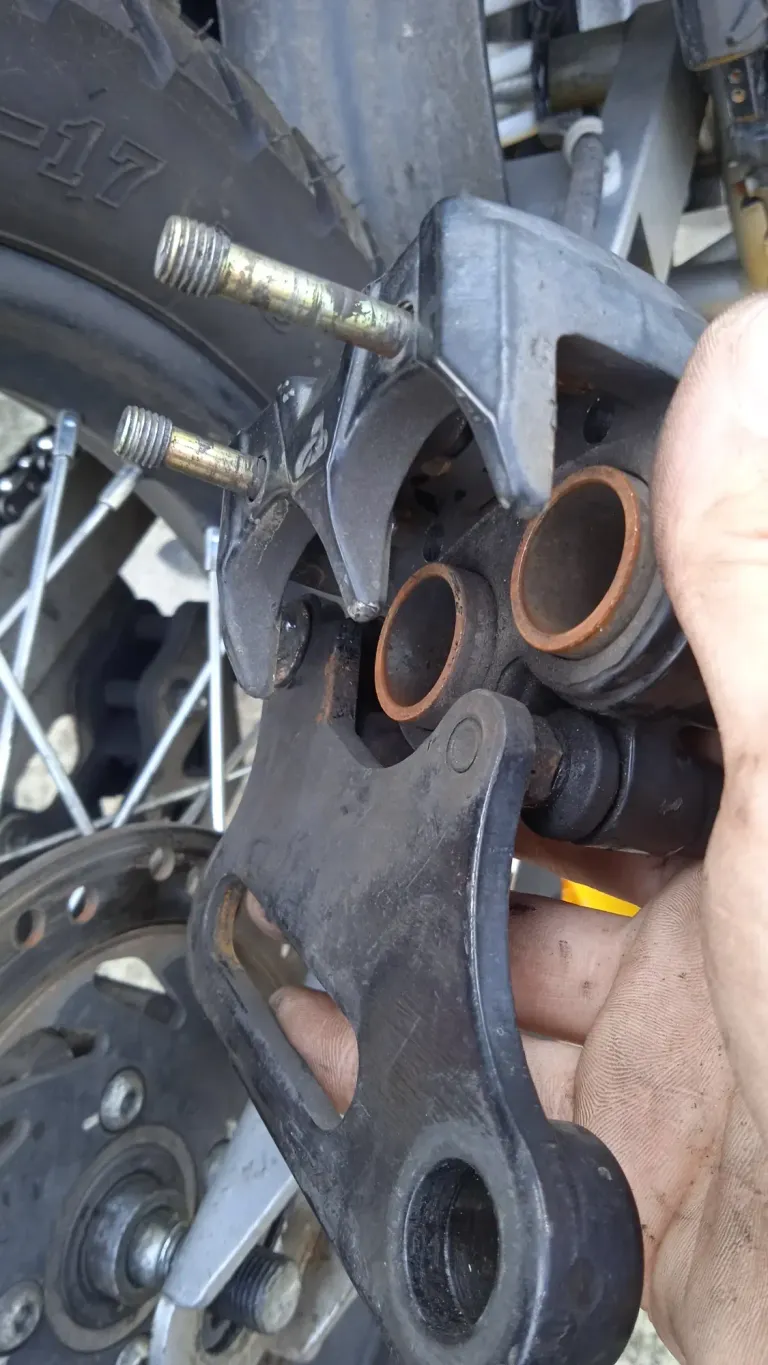
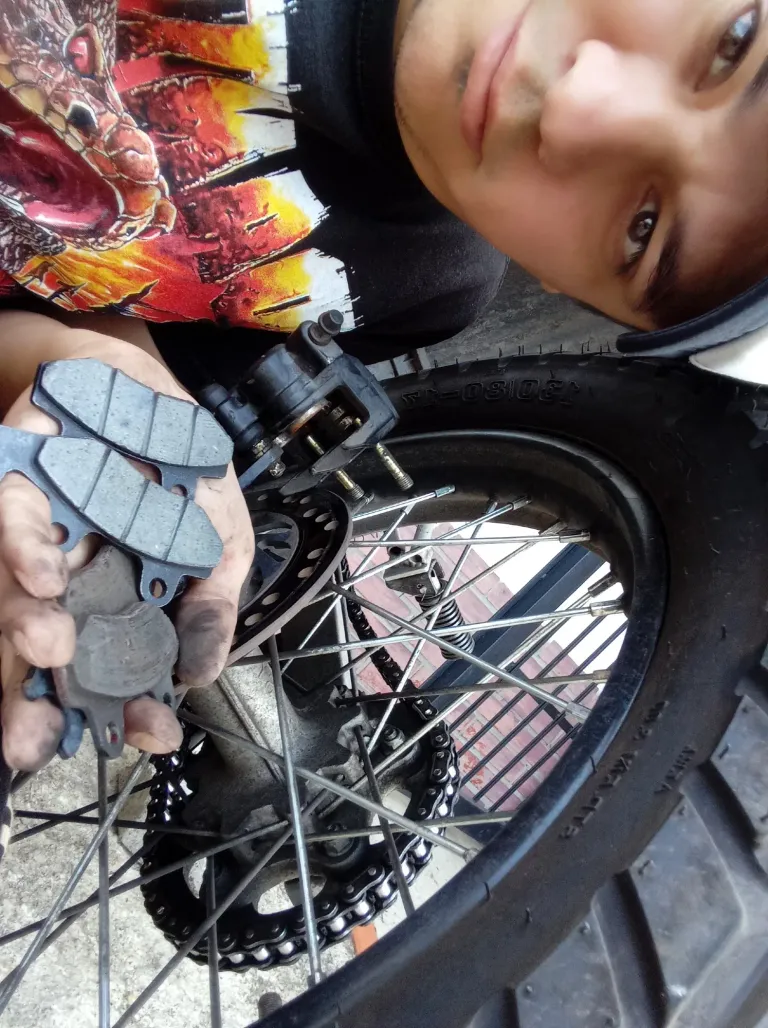
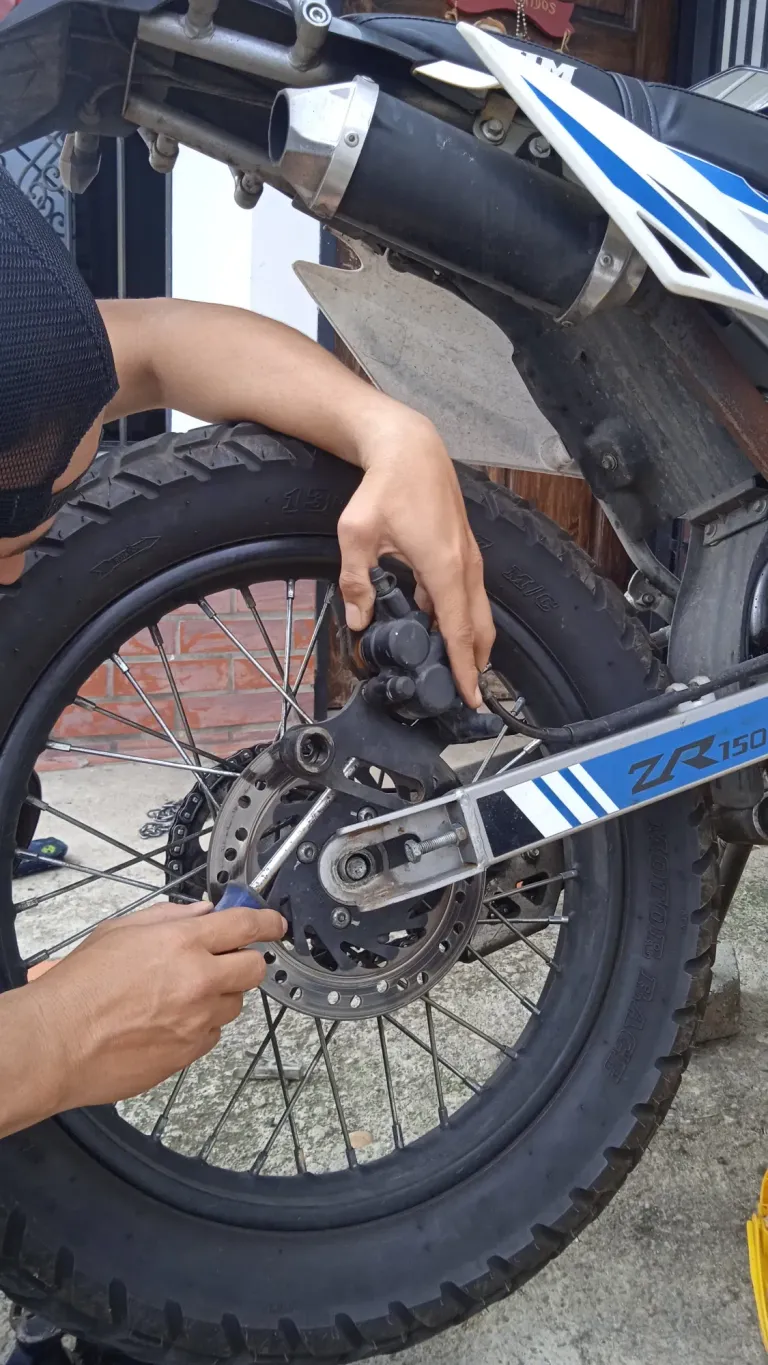

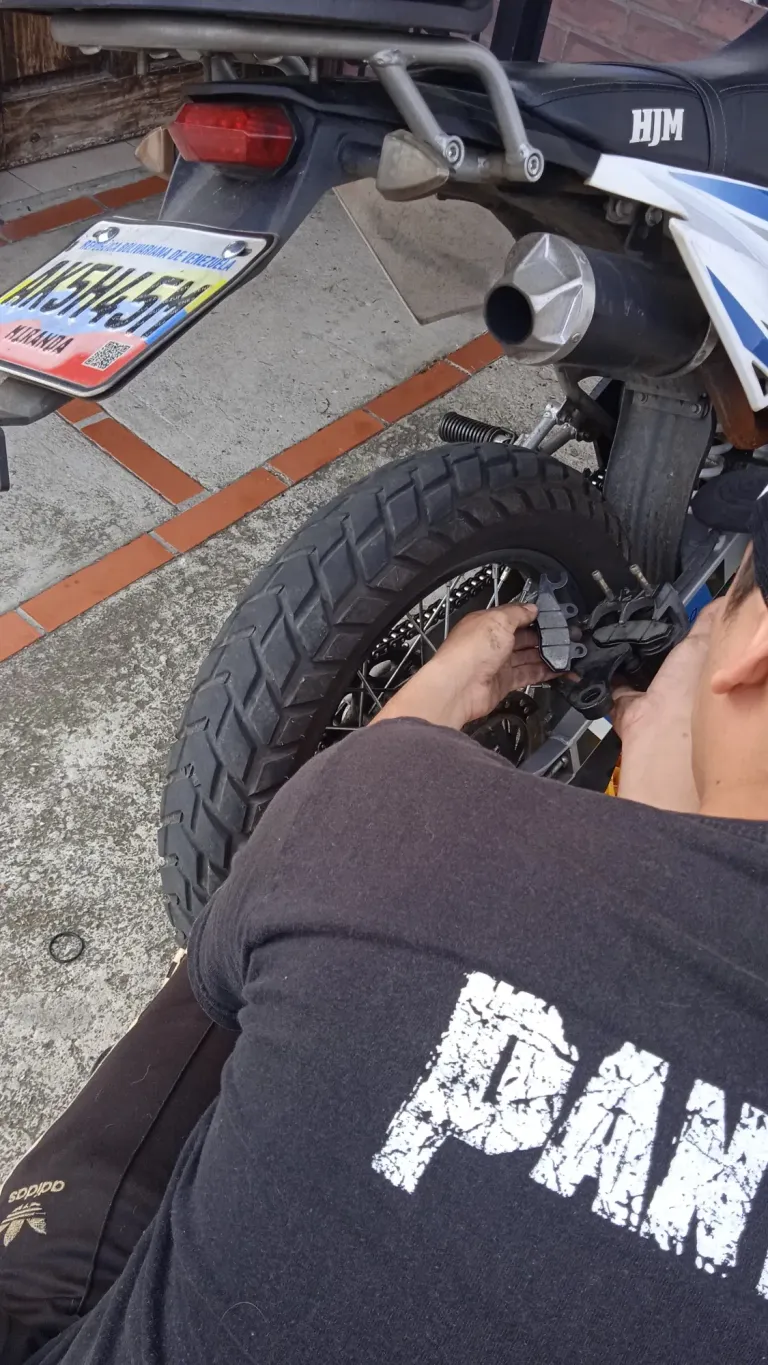
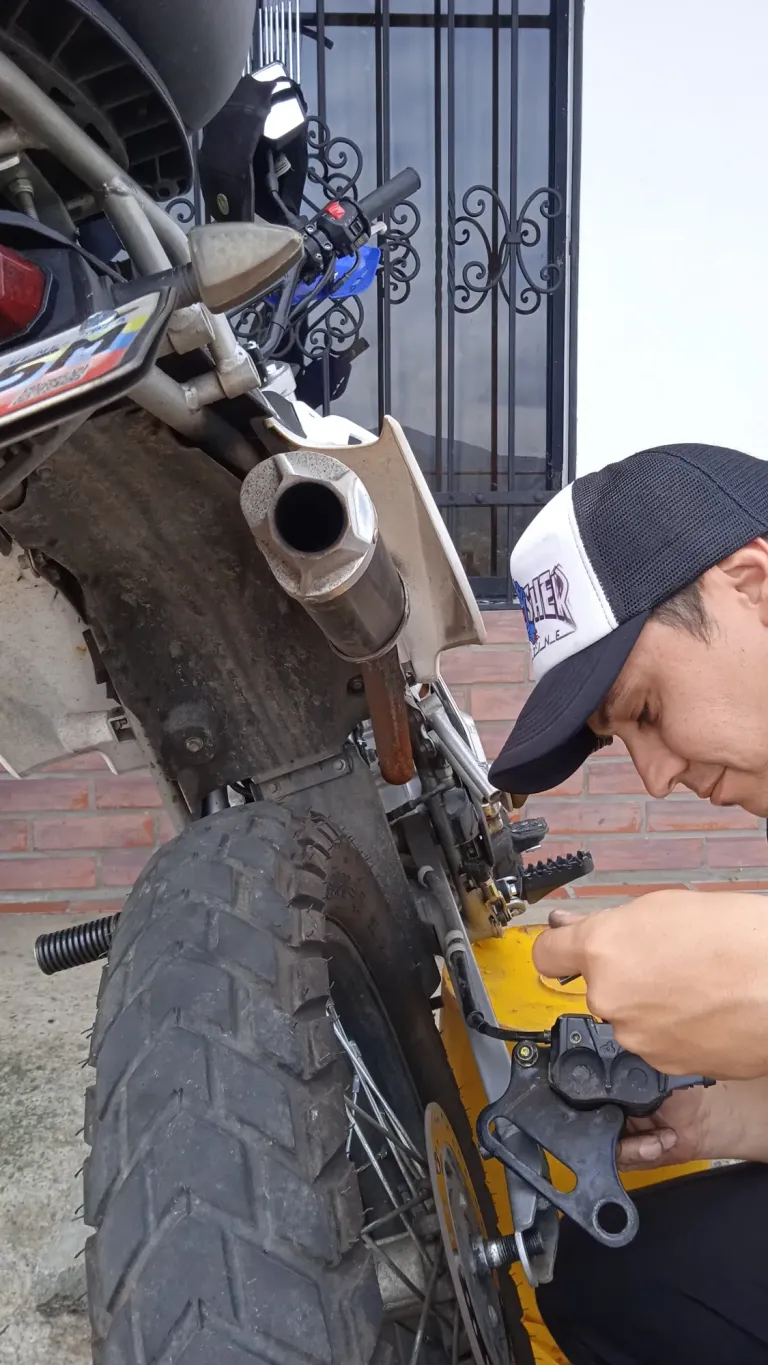
Hey, Liketu and Hive community! Today, on the first day of the year and my first day back at work, it's just the right time to change the brake pads on my HJ 150 ZR motorcycle. They were pretty worn out, and I'm thrilled to learn how to do this myself. I've talked a lot about it and now I want to share this experience with you and show those interested what types of brake pads this motorcycle needs.
Tips for Changing Motorcycle Brake Pads:
- Gather Your Tools: Ensure you have a wrench, screwdriver, and the new brake pads ready.
- Safety First: Use a bike stand to keep your motorcycle stable while you work.
- Remove the Caliper: Unscrew the bolts holding the caliper and slide it off the disc.
- Take Out Old Pads: Remove the worn-out pads carefully, noting their positioning.
- Install New Pads: Insert the new pads in the same position as the old ones.
- Reassemble: Place the caliper back over the disc and screw the bolts back in place.
- Test the Brakes: Before hitting the road, test the brakes to ensure they are working correctly.
When to Change Your Brake Pads:
- Noise: If you hear a screeching or grinding noise when braking, it's a sign that your pads are worn.
- Reduced Braking Power: If your bike takes longer to stop, the pads might be worn down.
- Visual Check: Inspect the thickness of the pads; if they look thin or uneven, it's time for a change.
Changing the brake pads yourself not only saves money but also gives you a better understanding of your bike's mechanics. Remember to always use high-quality brake pads and follow the manufacturer's recommendations for the best performance. It was quite easy and fun, and I encourage all bikers to take on the maintenance of their bikes.
Without further ado, here are some photos of the process. Happy New Year to everyone! 🎆📸
Translated by Copilot
Mantenimiento en el Primer Día de 2025 🛠️🏍️
¡Hola, comunidad de Liketu! Hoy, en el primer día del año y mi primer día de regreso al trabajo, es justo y necesario cambiarle las pastillas de freno a mi moto HJ 150 ZR. Están bastante gastadas, y estoy muy contento de aprender a realizar este cambio por mí mismo. He hablado mucho sobre esto y ahora quiero compartir esta experiencia con ustedes y mostrarles a los interesados qué tipos de pastillas de freno necesita esta moto.
Consejos para Cambiar las Pastillas de Freno de la Moto:
- Reúne tus Herramientas: Asegúrate de tener una llave, un destornillador y las nuevas pastillas de freno.
- Seguridad Primero: Utiliza un soporte para mantener la moto estable mientras trabajas.
- Quitar la Pinza: Desatornilla los tornillos que sujetan la pinza y deslízala fuera del disco.
- Sacar las Pastillas Viejas: Retira las pastillas gastadas con cuidado, tomando nota de su posición.
- Instalar las Pastillas Nuevas: Inserta las pastillas nuevas en la misma posición que las viejas.
- Reensamblar: Coloca la pinza de nuevo sobre el disco y atornilla los tornillos.
- Probar los Frenos: Antes de salir a la carretera, prueba los frenos para asegurarte de que funcionan correctamente.
Cuándo Cambiar las Pastillas de Freno:
- Ruido: Si escuchas un chirrido o un ruido de molienda al frenar, es una señal de que las pastillas están gastadas.
- Reducción del Poder de Frenado: Si tu moto tarda más en detenerse, las pastillas podrían estar desgastadas.
- Inspección Visual: Inspecciona el grosor de las pastillas; si se ven delgadas o irregulares, es hora de cambiarlas.
Cambiar las pastillas de freno tú mismo no solo ahorra dinero, sino que también te da una mejor comprensión de la mecánica de tu moto. Recuerda siempre usar pastillas de freno de alta calidad y seguir las recomendaciones del fabricante para obtener el mejor rendimiento. Fue bastante fácil y divertido, y animo a todos los bikers a atreverse a hacer el mantenimiento de sus motos.
Sin más preámbulos, aquí les comparto algunas fotos del proceso. ¡Feliz Año Nuevo para todos! 🎆📸
Traducido por Copilot
For the best experience view this post on Liketu