How to Replace a Bimetallic Refrigerator and Check its Continuity.
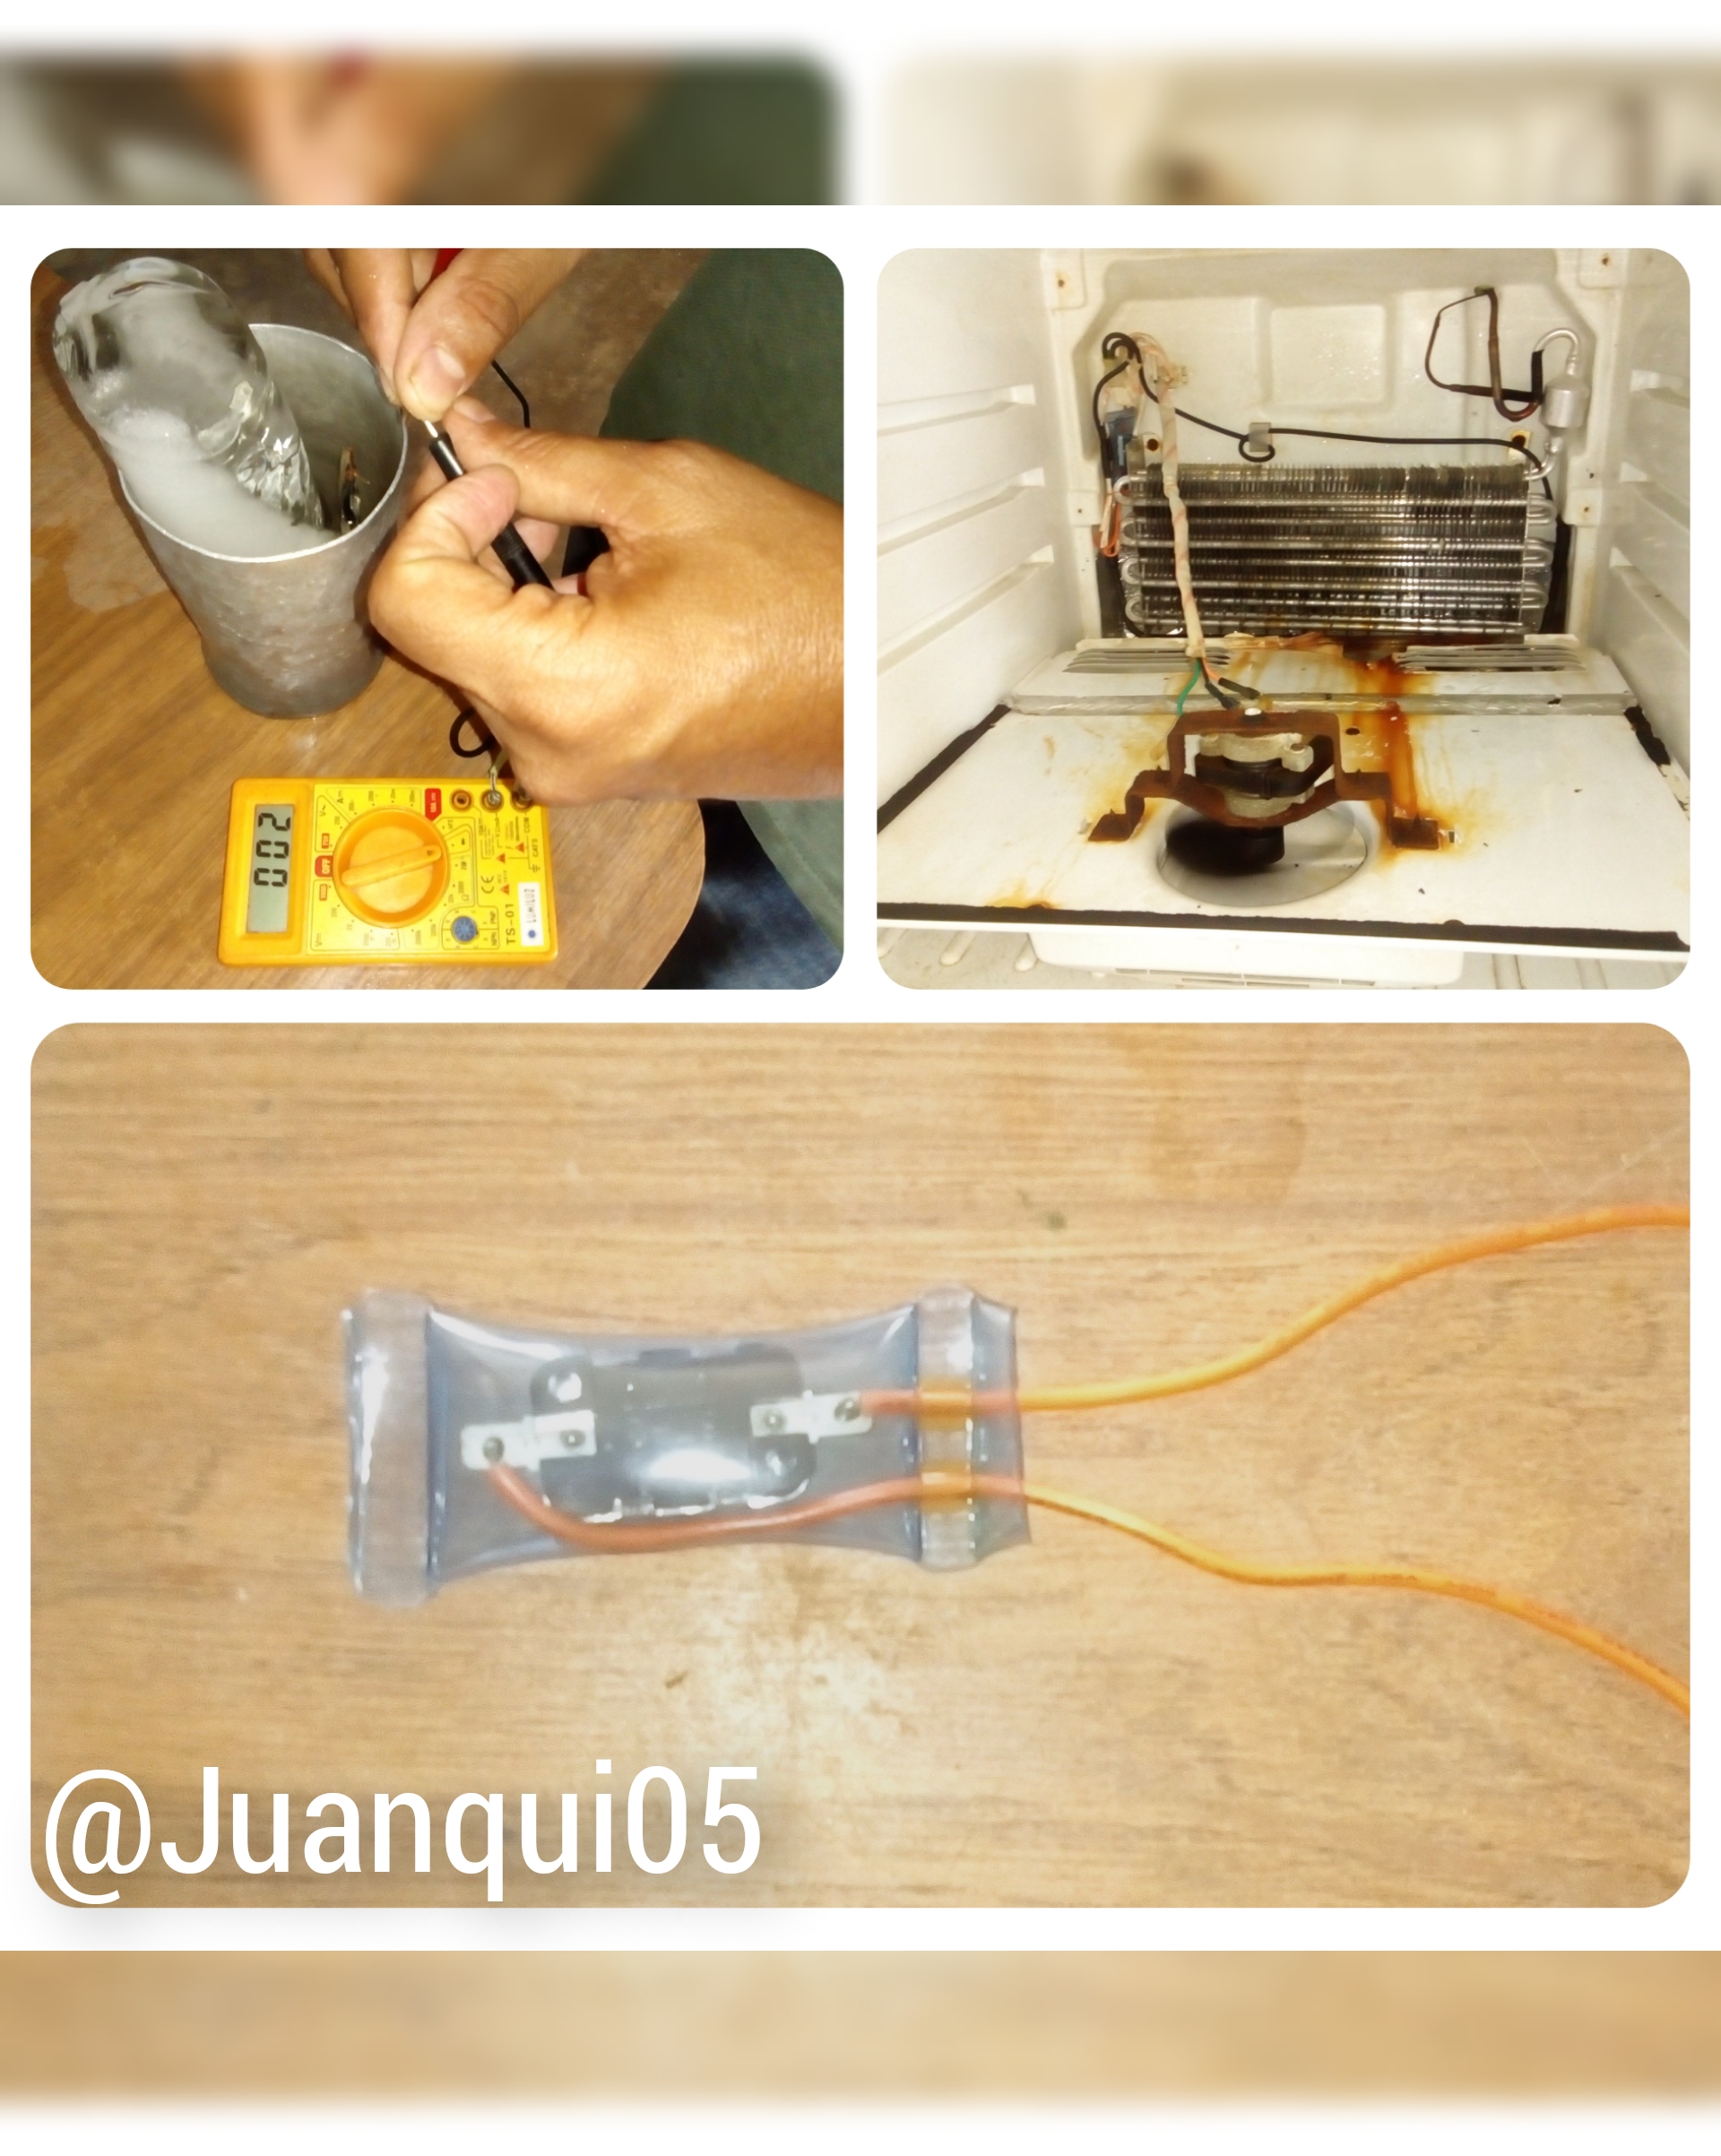
Hola amigos, bienvenidos de nuevo a mi blog, en esta ocasión les mostraré como reemplazar un bimetalico. Y te enseñaré a comprobar la continuidad para ver si funciona o no.
Hello friends, welcome back to my blog, this time I will show you how to replace a bimetal. And I will teach you how to check the continuity to see if it works or not.
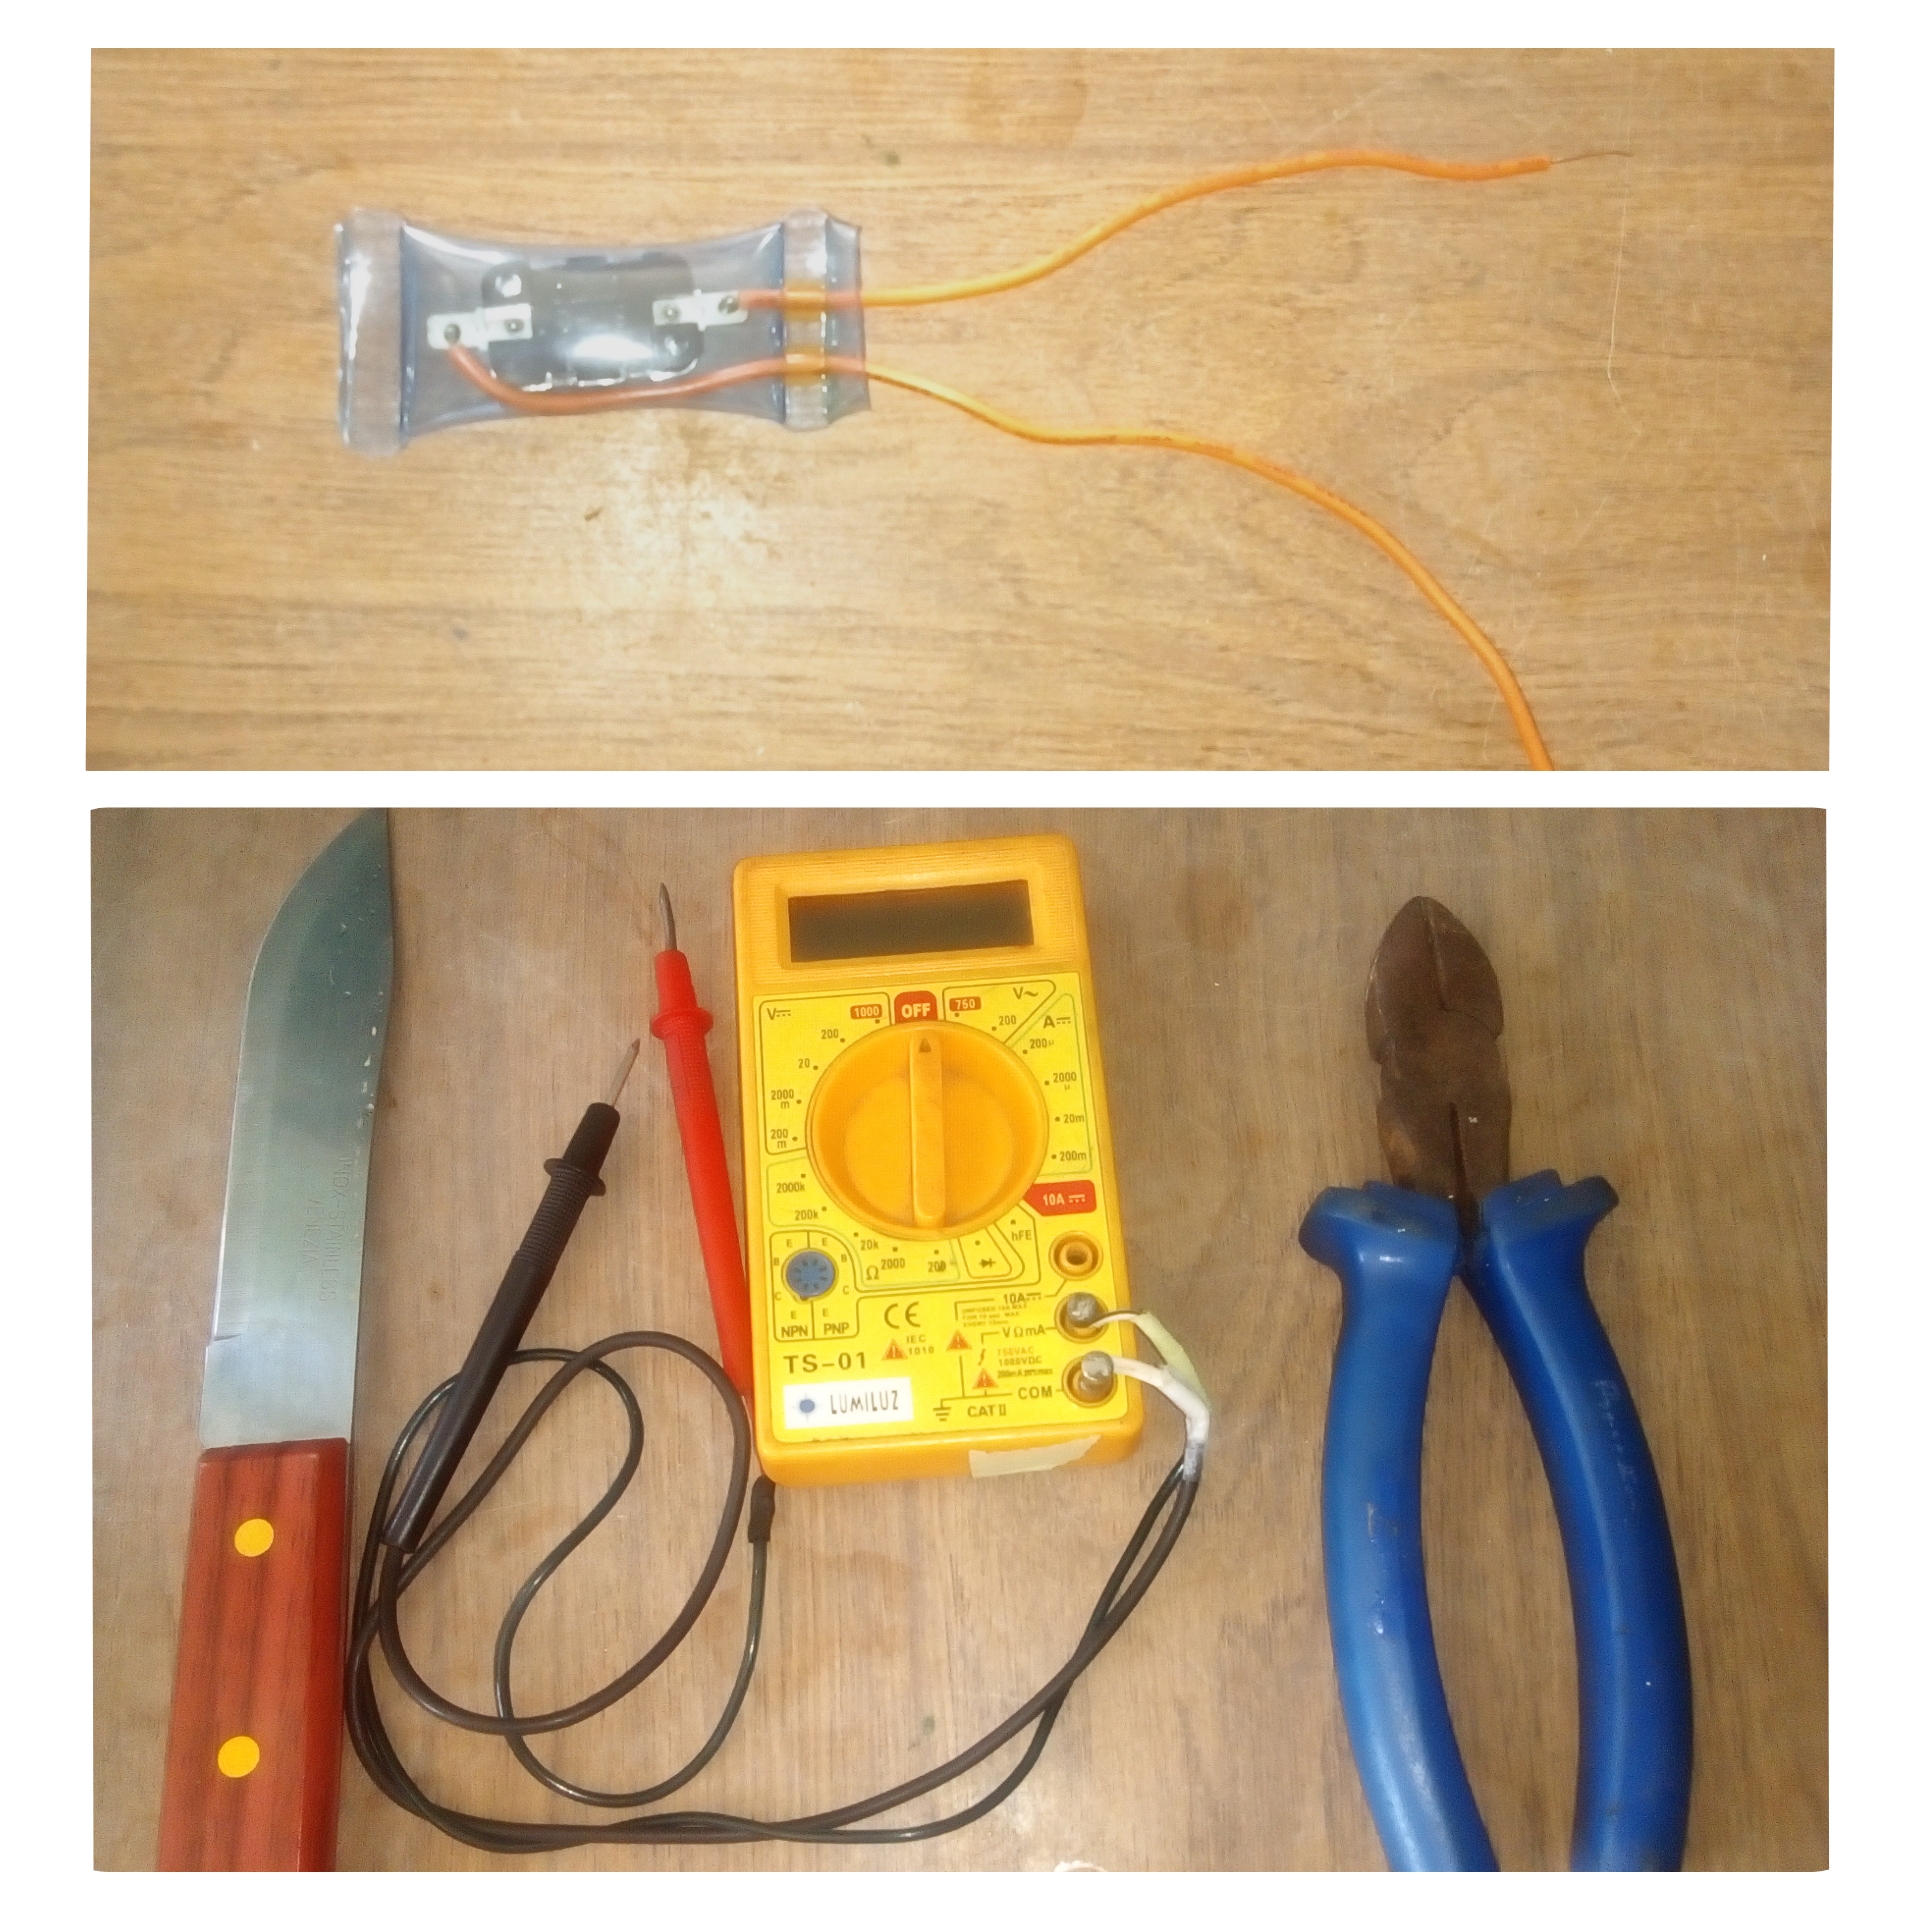
Para ello necesitaremos un destornillador, una piqueta, un cuchillo, un tester, un bimetalico nuevo para nevera.
For this we will need a screwdriver, a pickaxe, a knife, a tester, a new bimetal for refrigerator.
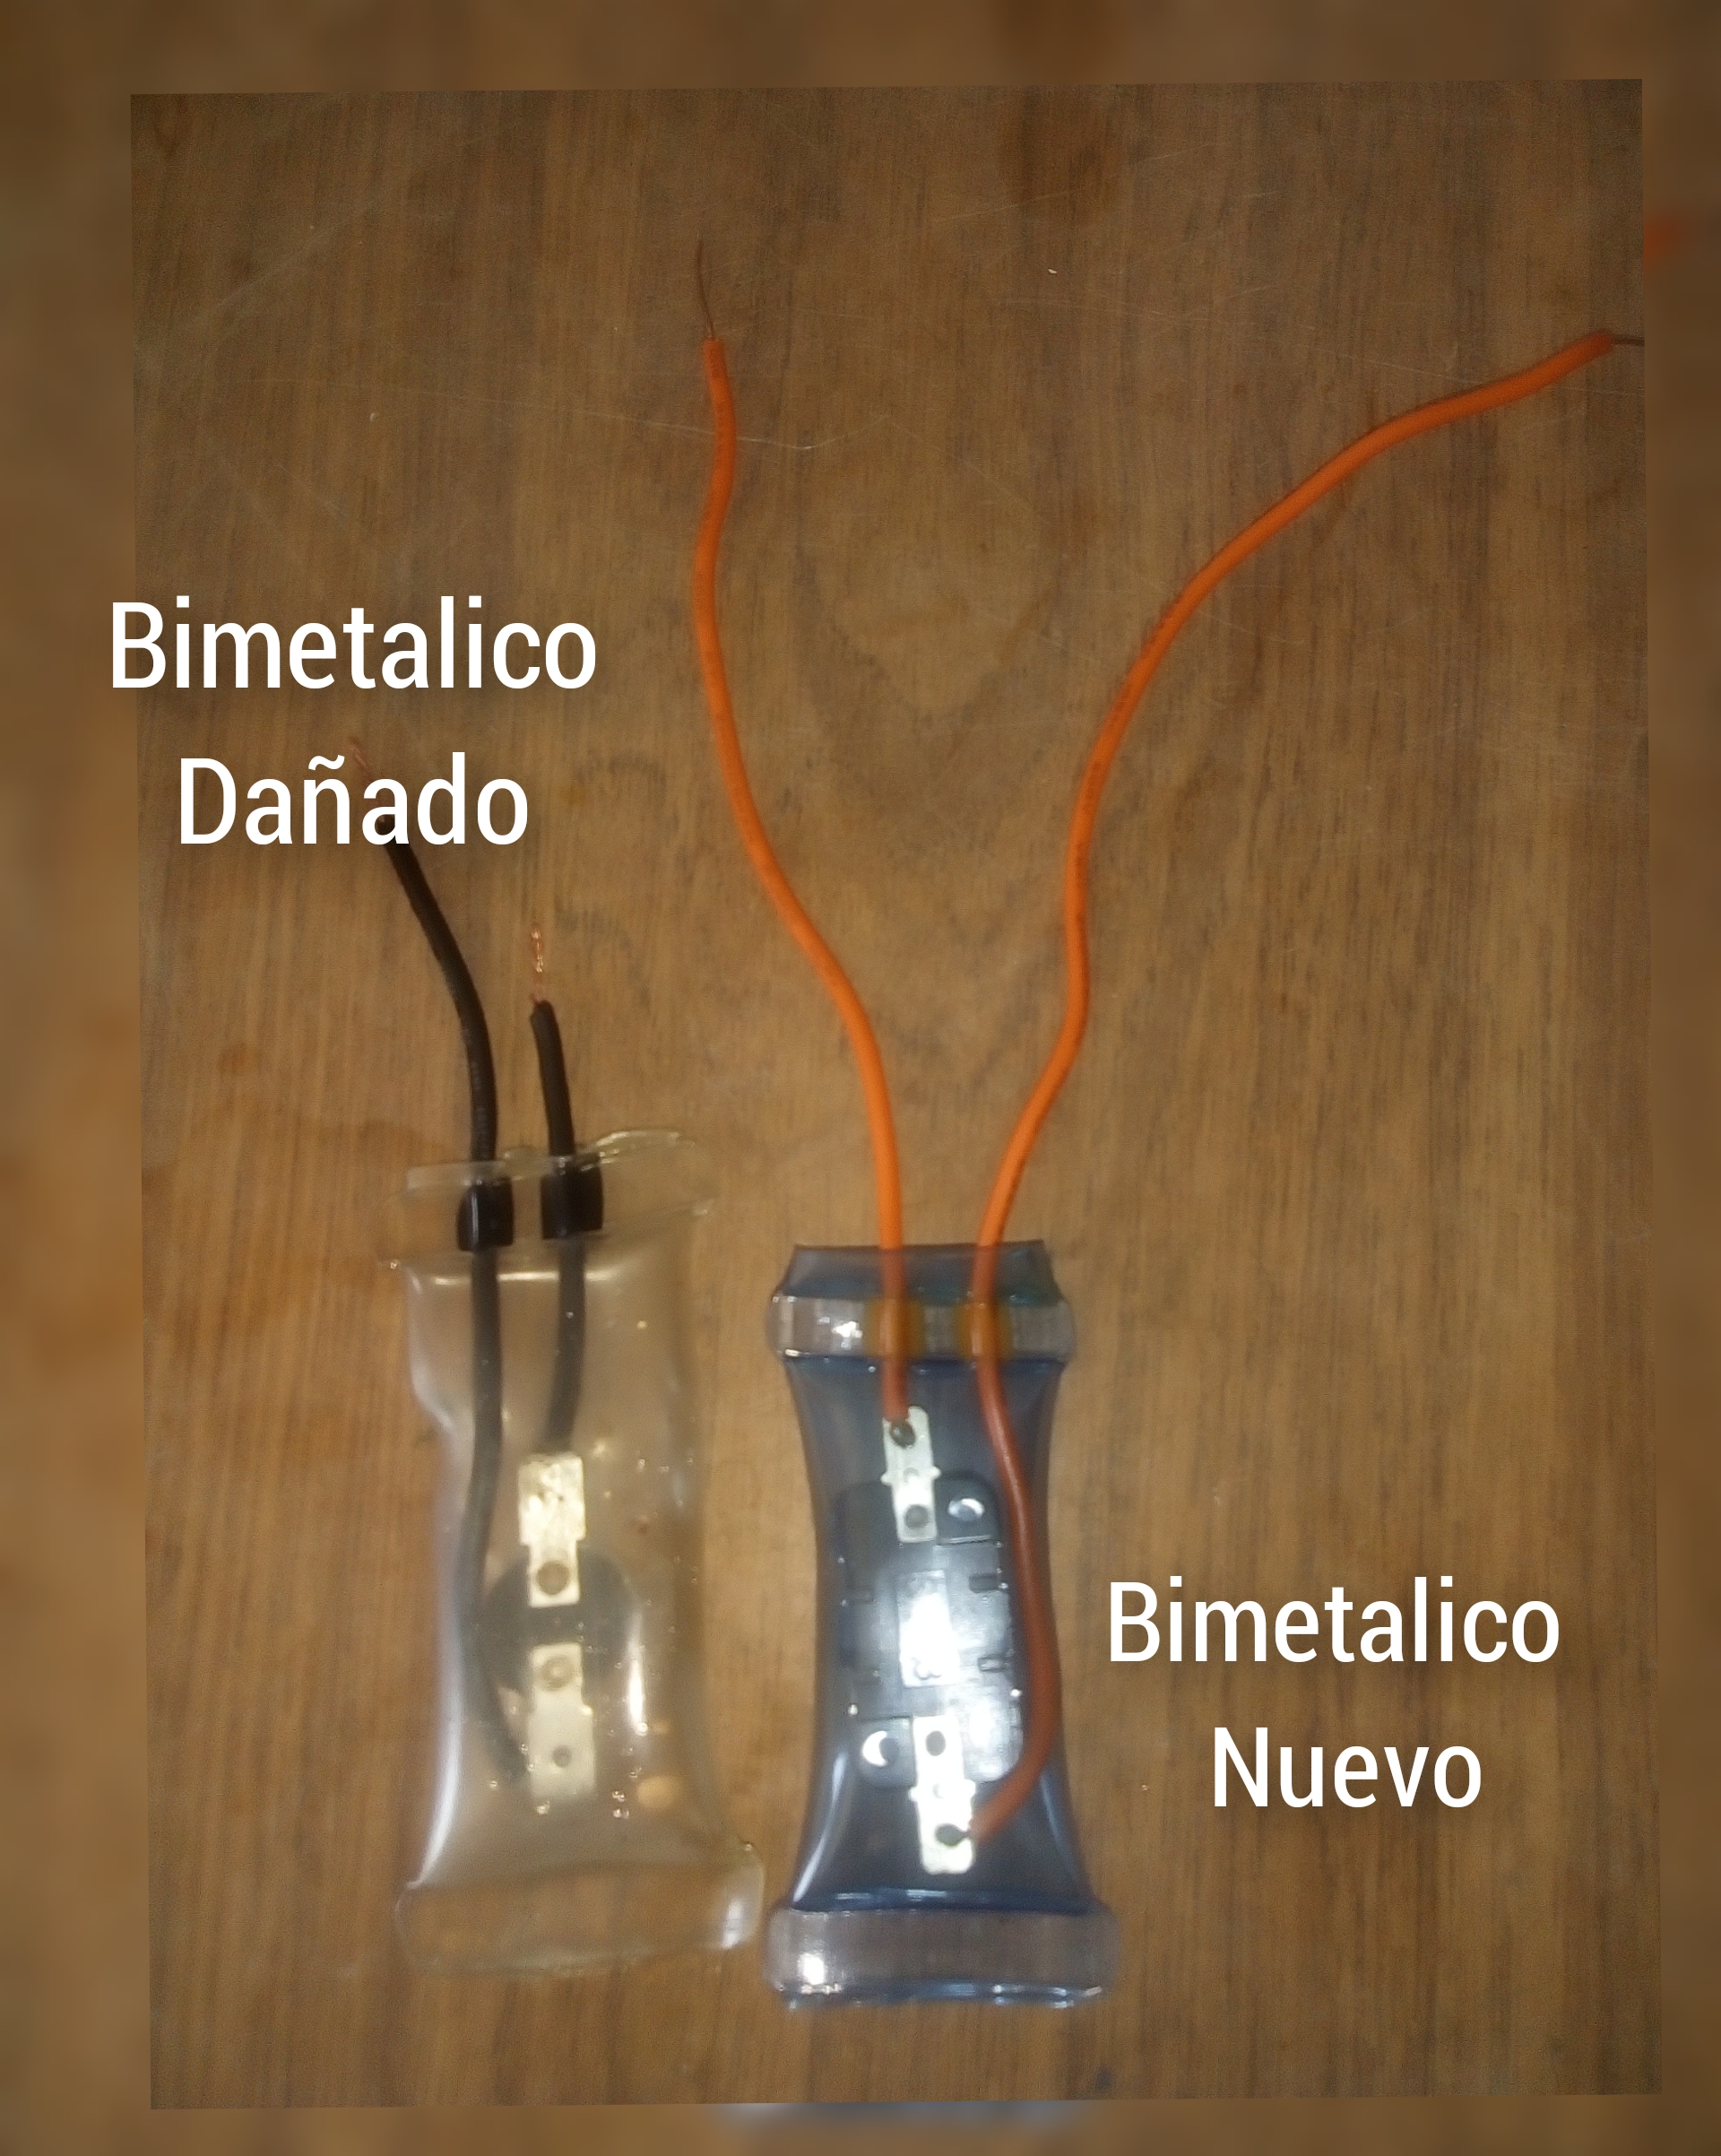
Porque vamos a hacer este reemplazo porque un refrigerador sin escarcha debe hacer su ciclo y descongelarse solo, si eso no pasa algo anda mal, tenemos tres opciones que son el bimetálico, el reloj o la resistencia. En este caso fue el bimetalico.
Because we are going to make this replacement because a refrigerator without frost must do its cycle and defrost itself, if that does not happen, something is wrong, we have three options that are bimetallic, clock or resistance. In this case it was the bimetal.
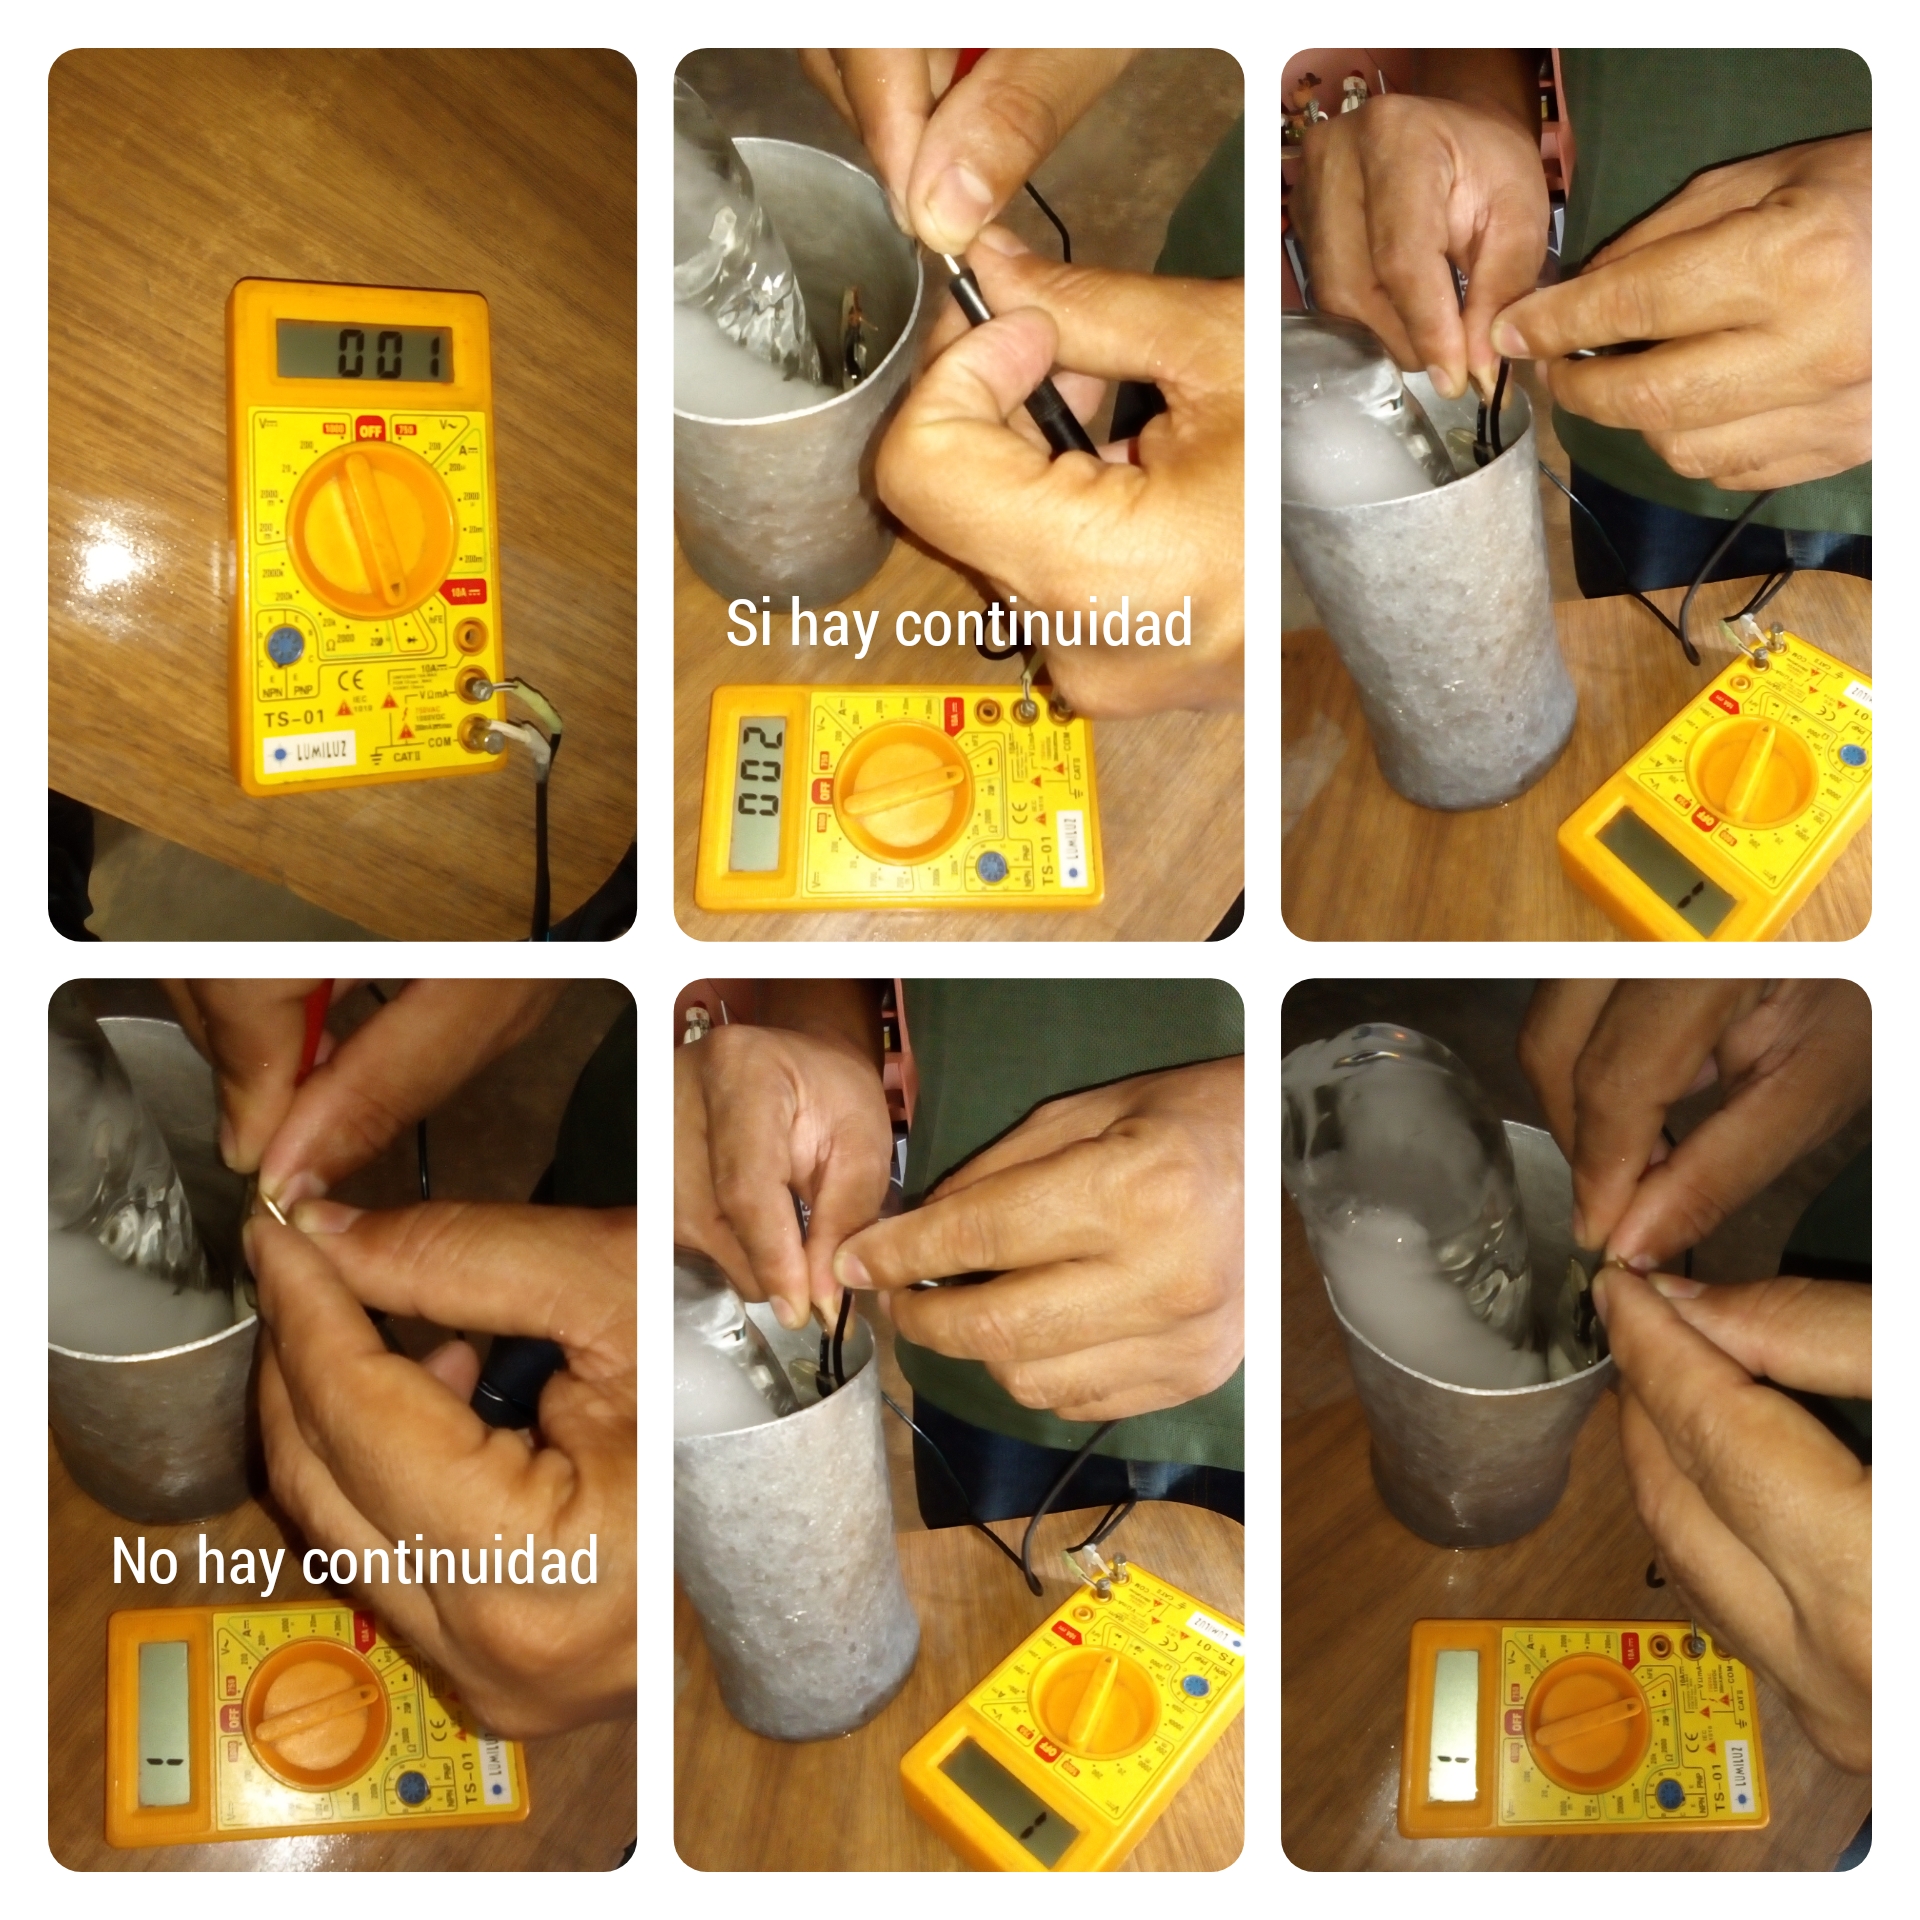
Te explico como debe funcionar, lo haré en un vaso con hielo y el tester.
I explain how it should work, I will do it in a glass with ice and the tester.
Tomamos el bimetálico y lo metemos en el vaso con hielo, colocamos el tester en continuidad, se debe cerrar el bimetálico para dar continuidad si esto no sucede el bimetálico se dañó, ya que al sentir el frío del hielo se debe cerrar para que la resistencia haga su función y baje la temperatura y el refrigerador empezará a descongelarse solo.
We take the bimetallic and put it in the glass with ice, we place the tester in continuity, the bimetallic must be closed to give continuity if this does not happen the bimetallic is damaged, since when feeling the cold of the ice it must be closed so that the resistance makes its function and lower the temperature and the refrigerator will begin to defrost itself.
Ahora vamos a empezar a hacer el reemplazo.
Now let's start doing the replacement.
Lo primero que debemos hacer es retirar la tapa del refrigerador con la ayuda del destornillador.
The first thing we must do is remove the refrigerator cover with the help of the screwdriver.
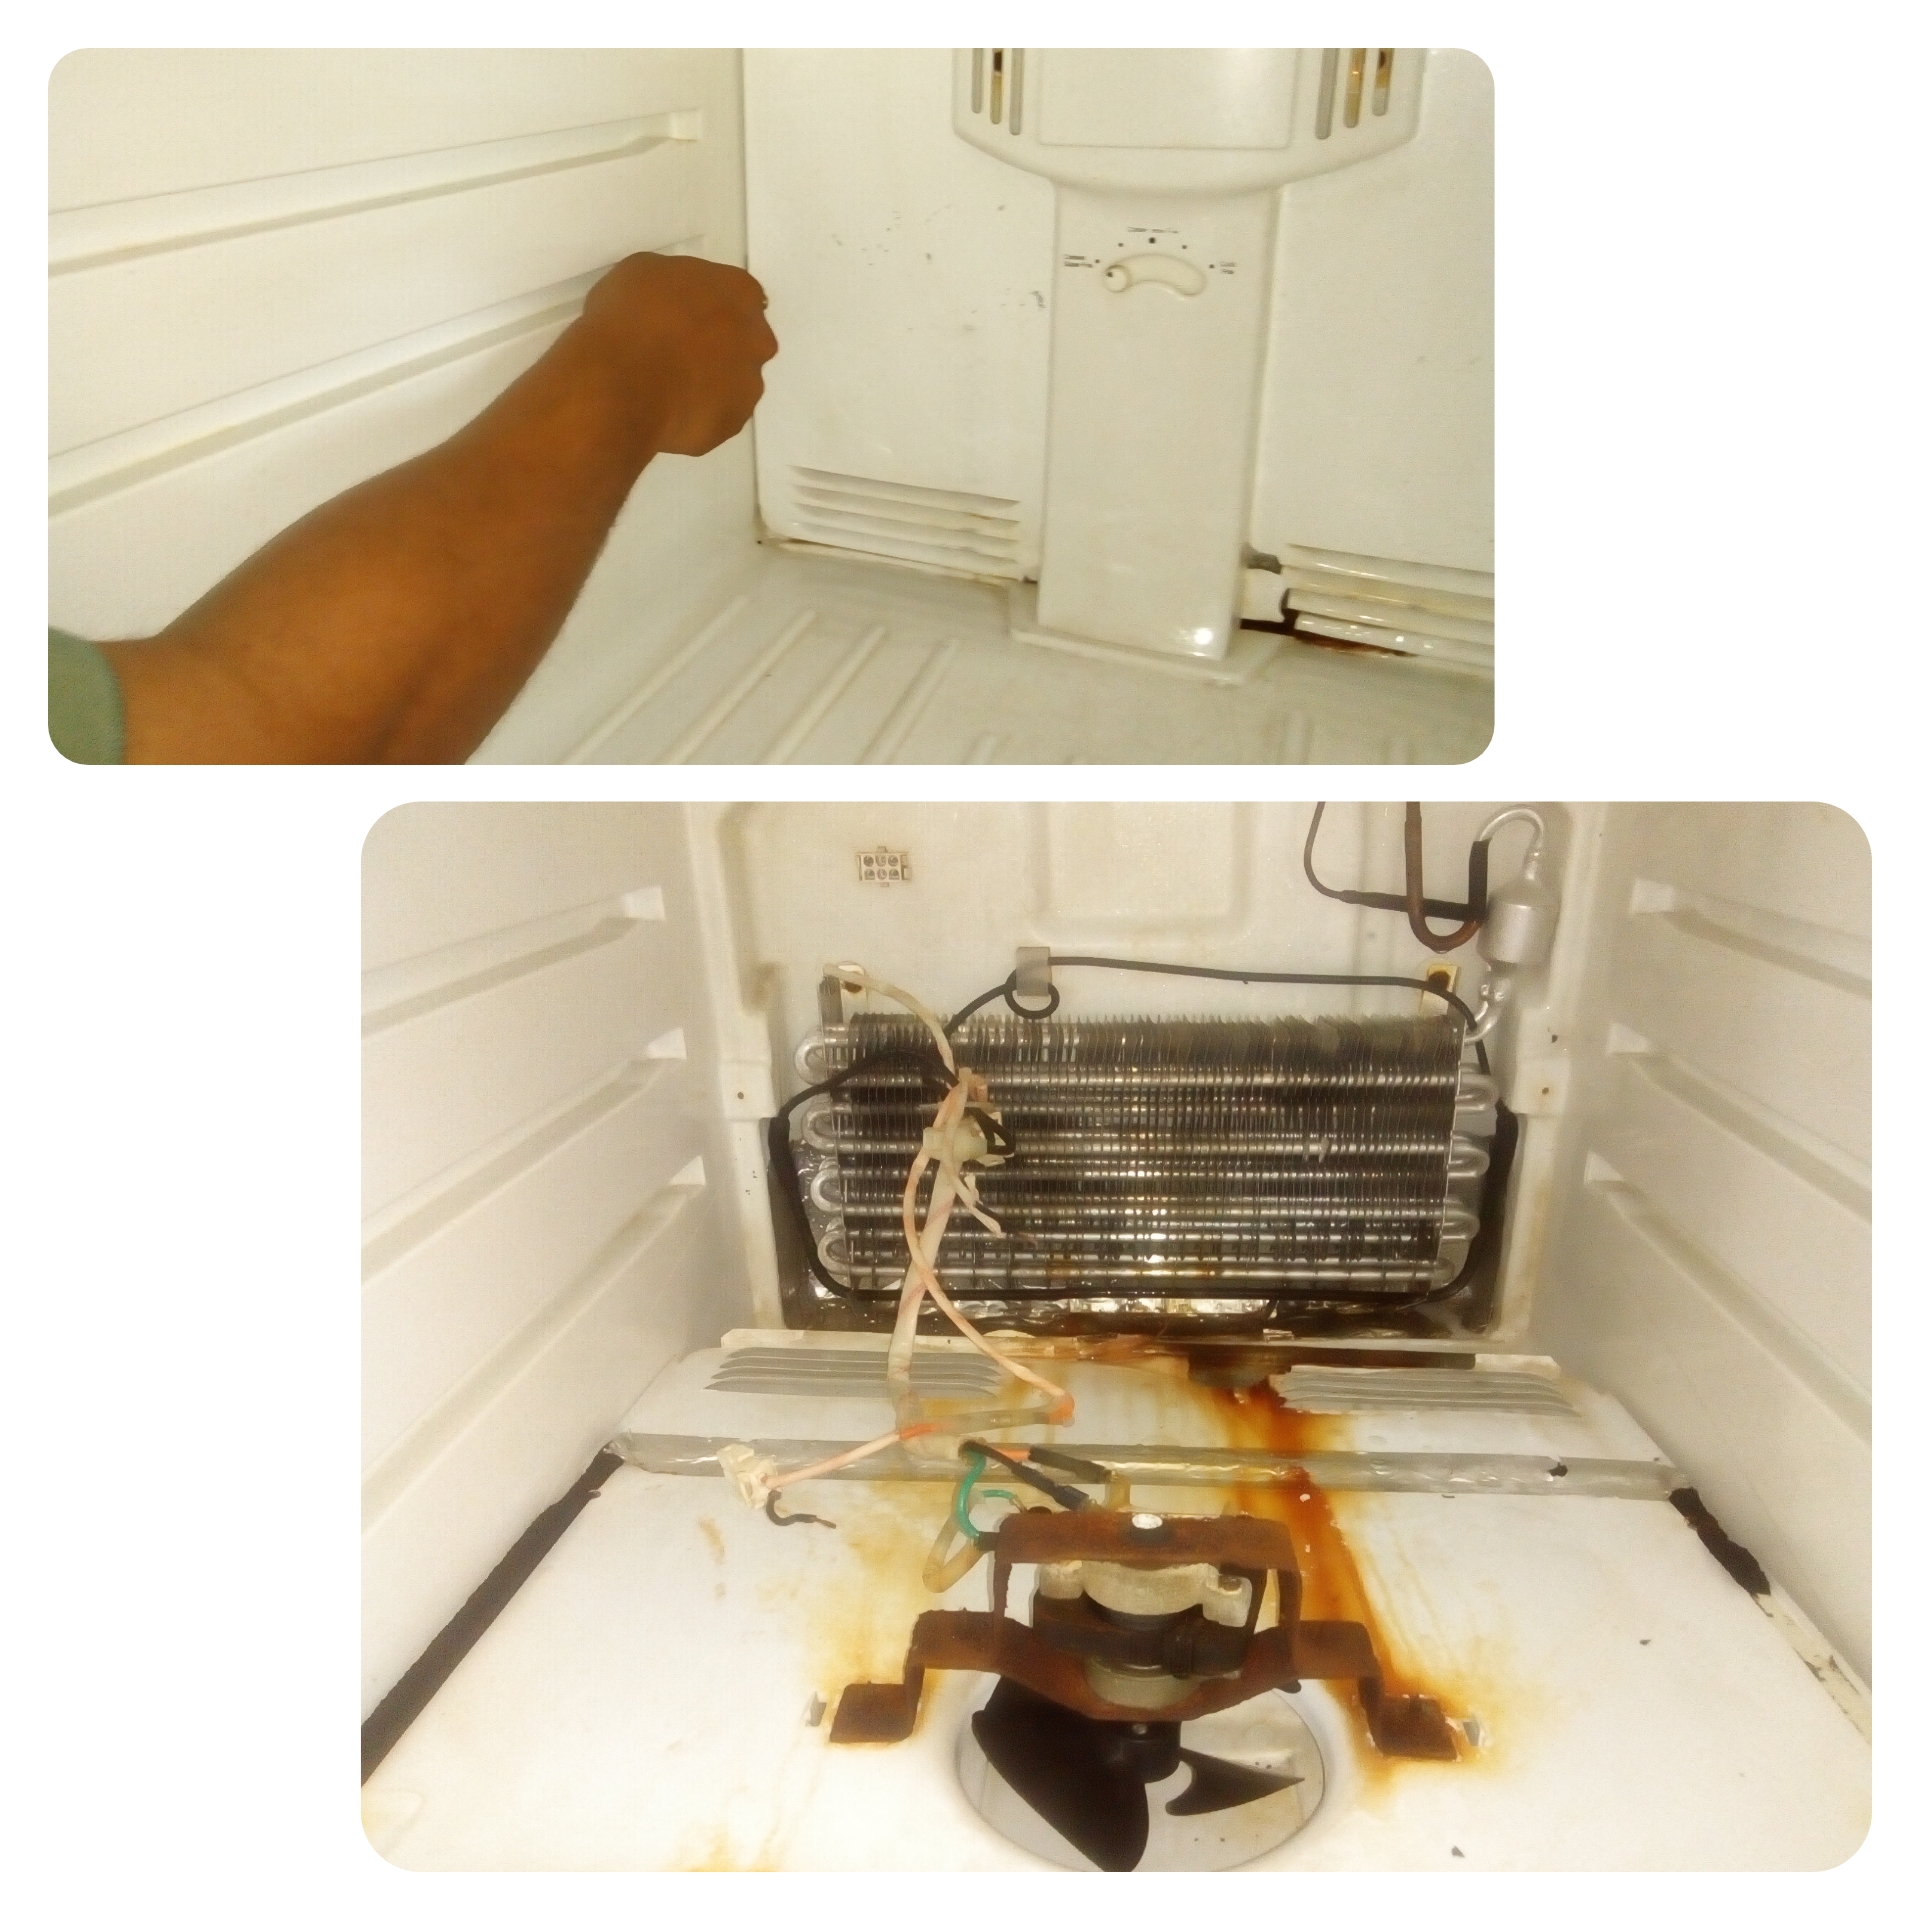
Quitamos el bimetalico malo cortando los cables con la piqueta.
We remove the bad bimetal by cutting the cables with the pickaxe.
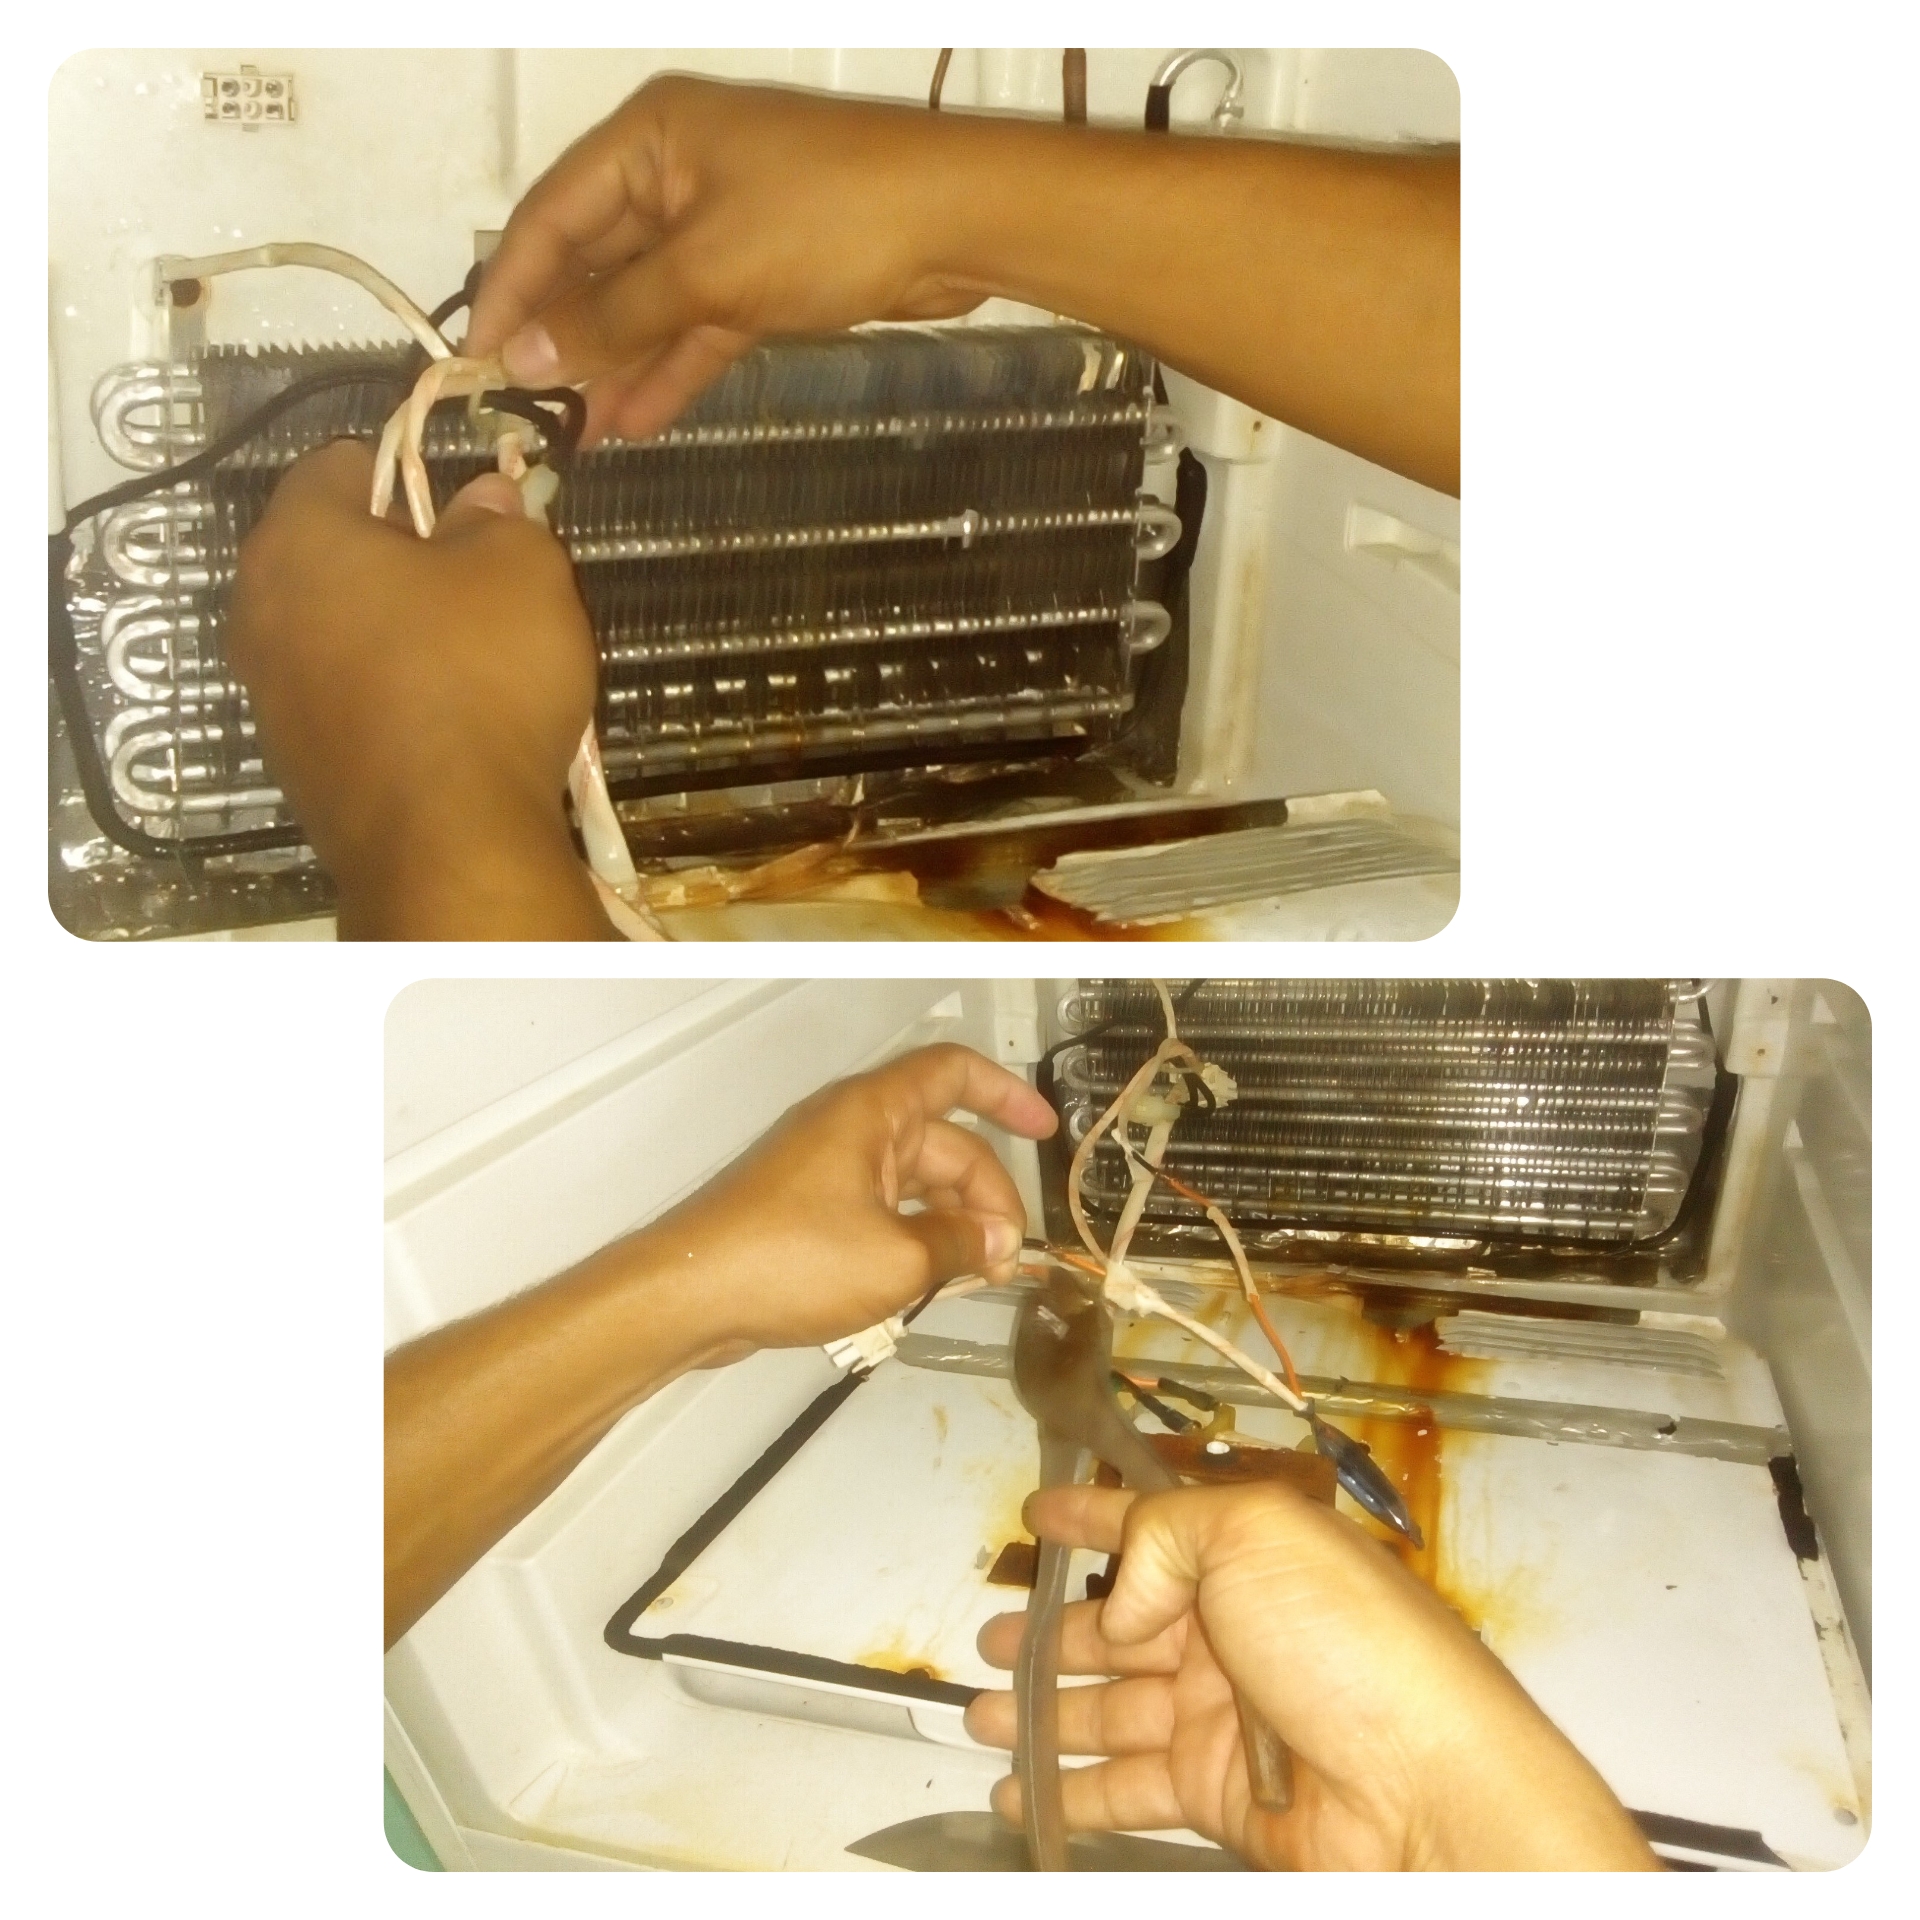
Tomando el bimetal nuevo pelamos los cables con la ayuda del cuchillo.
Taking the new bimetal we peel the cables with the help of the knife.

Luego los unimos nuevamente con los cables del condensador, aquí en este punto no importa como vayan los cables ya que no hay ni positivo ni negativo, el orden no implica aquí, luego le colocamos teipe y la malla original.
Then we join them again with the condenser cables, here at this point it doesn't matter how the cables go since there is neither positive nor negative, the order does not imply here, then place teipe and the original mesh.
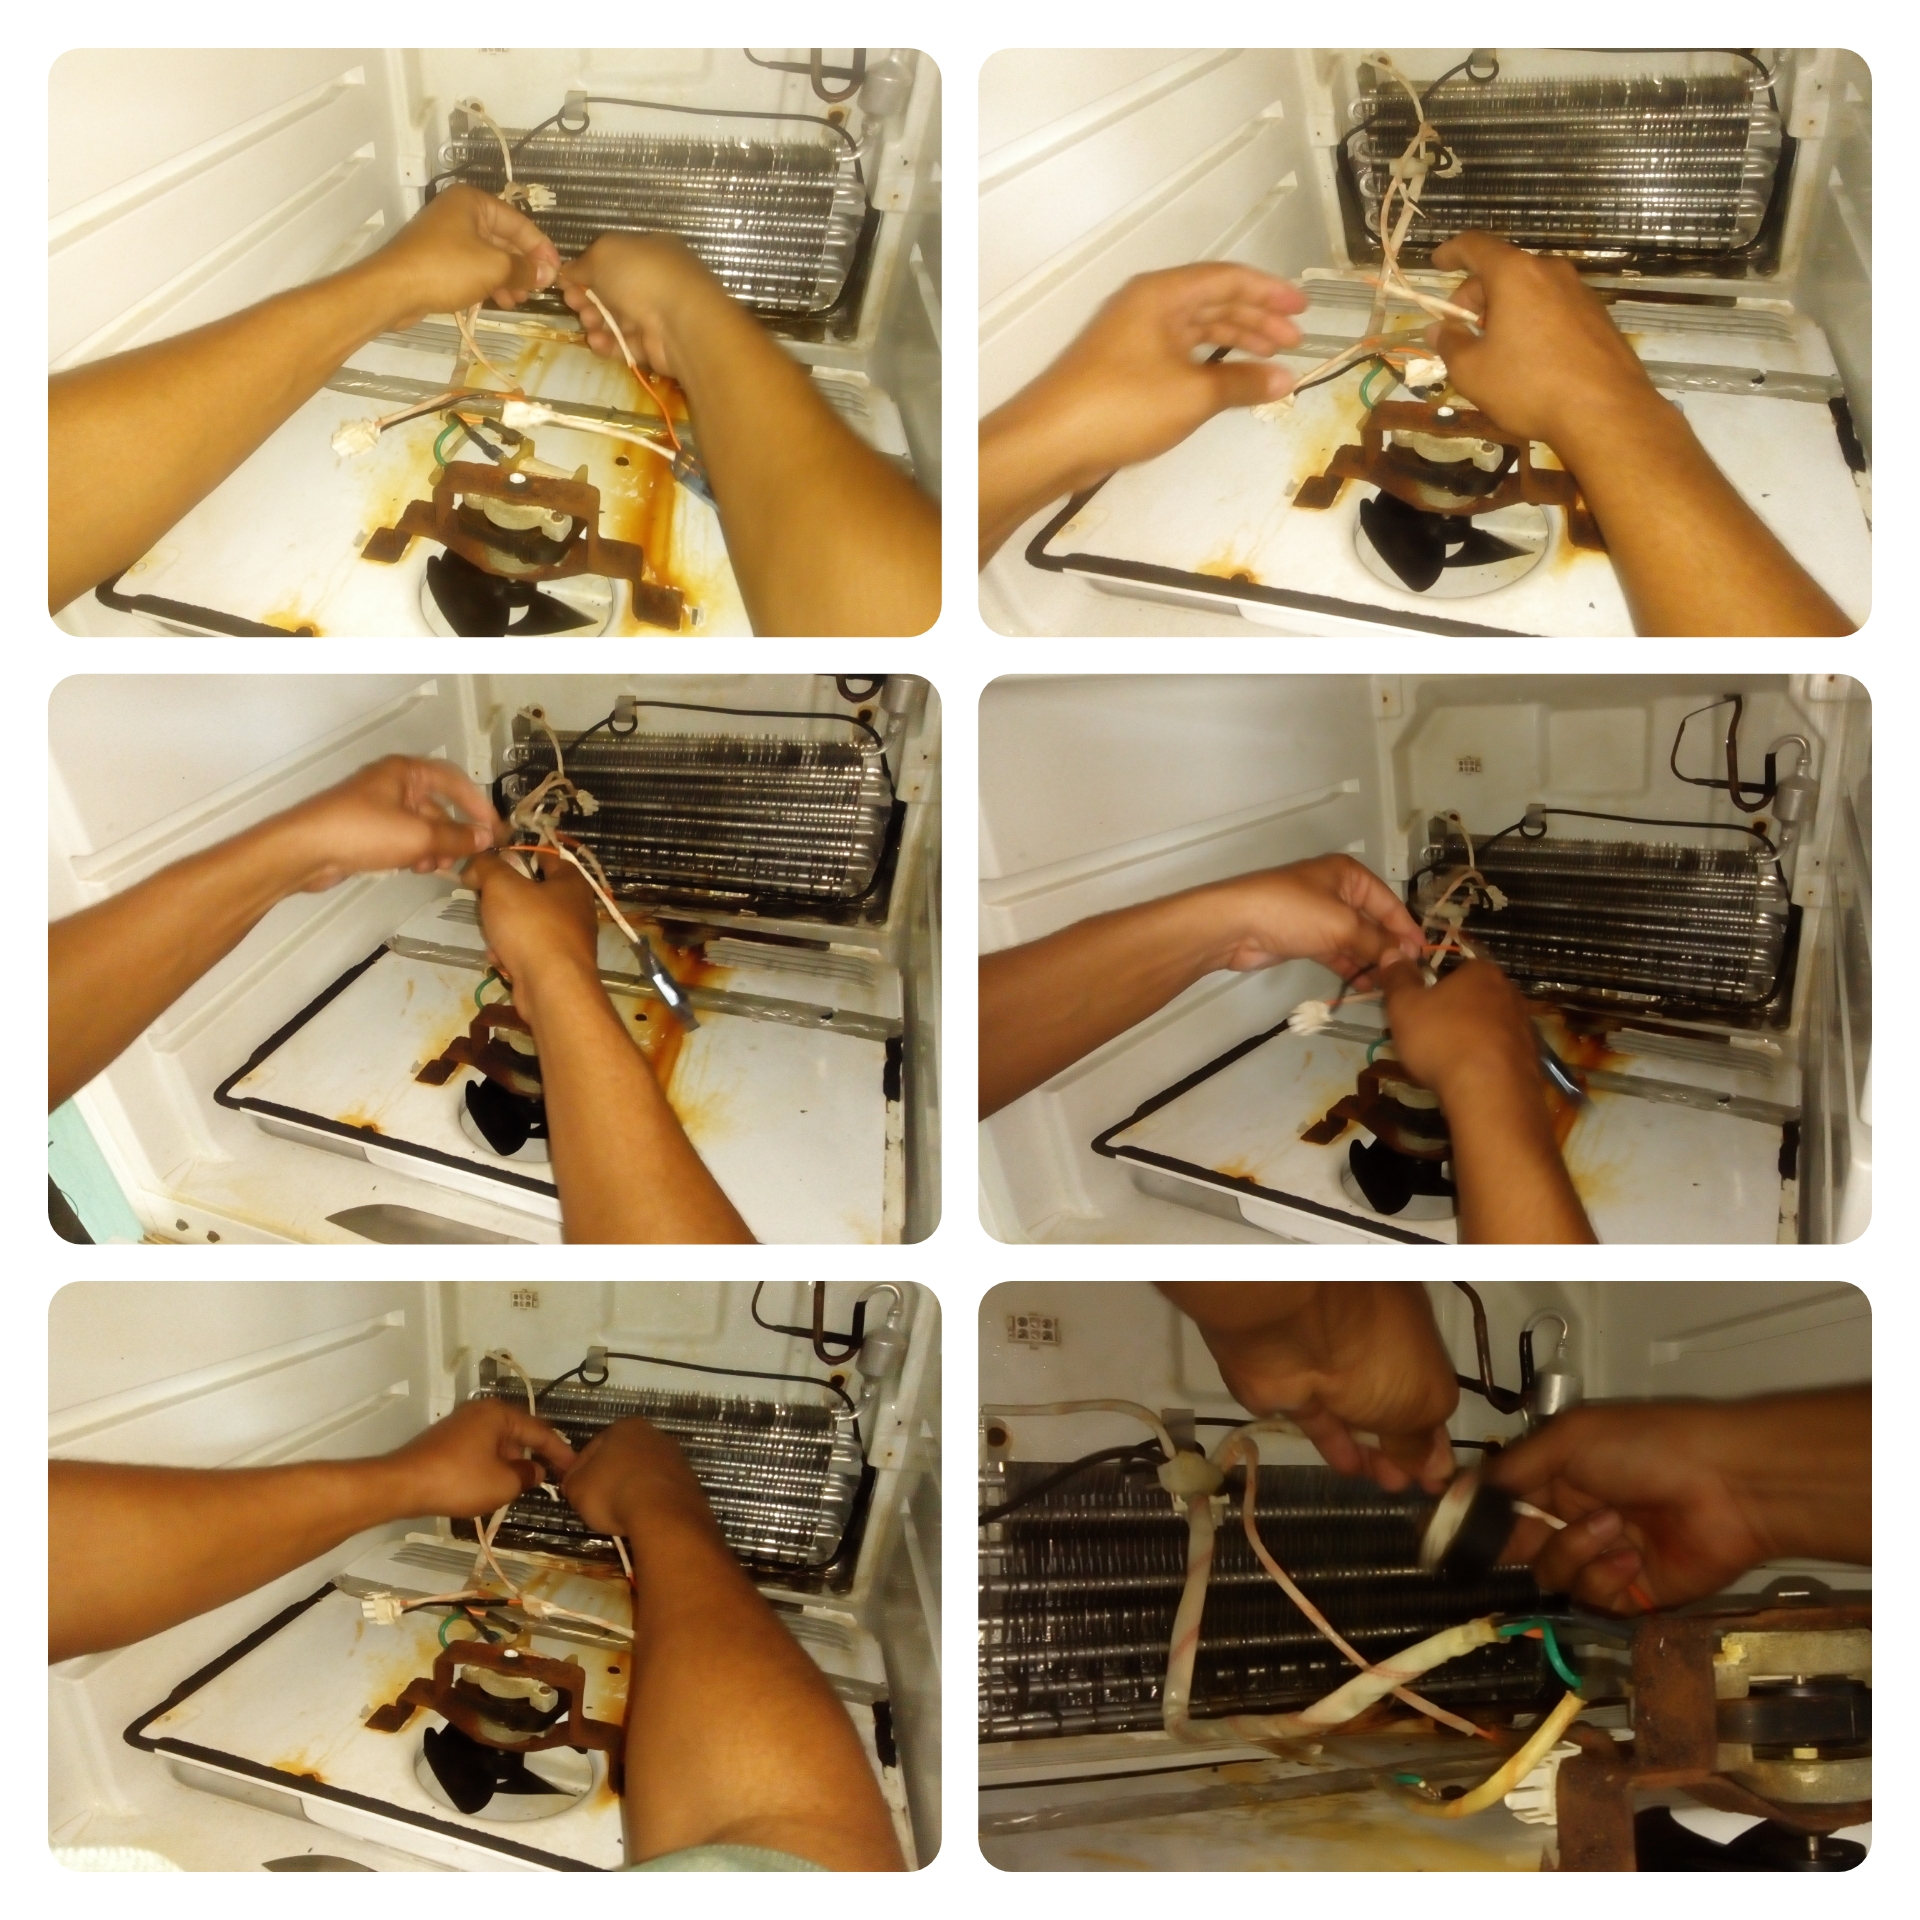
Con la ayuda de un Tairra volvemos a poner el bimetálico en el condensador.
With the help of a Tairra we put the bimetallic back in the condenser

Probamos el refrigerador conectadolo a la electricidad, a ver si todo va bien y si comienza a condensar todo está bien, volvemos a cerrar la tapa del refrigerador.
We test the refrigerator connected to electricity, to see if everything goes well and if it starts to condense, if everything is fine we close the lid of the refrigerator again.
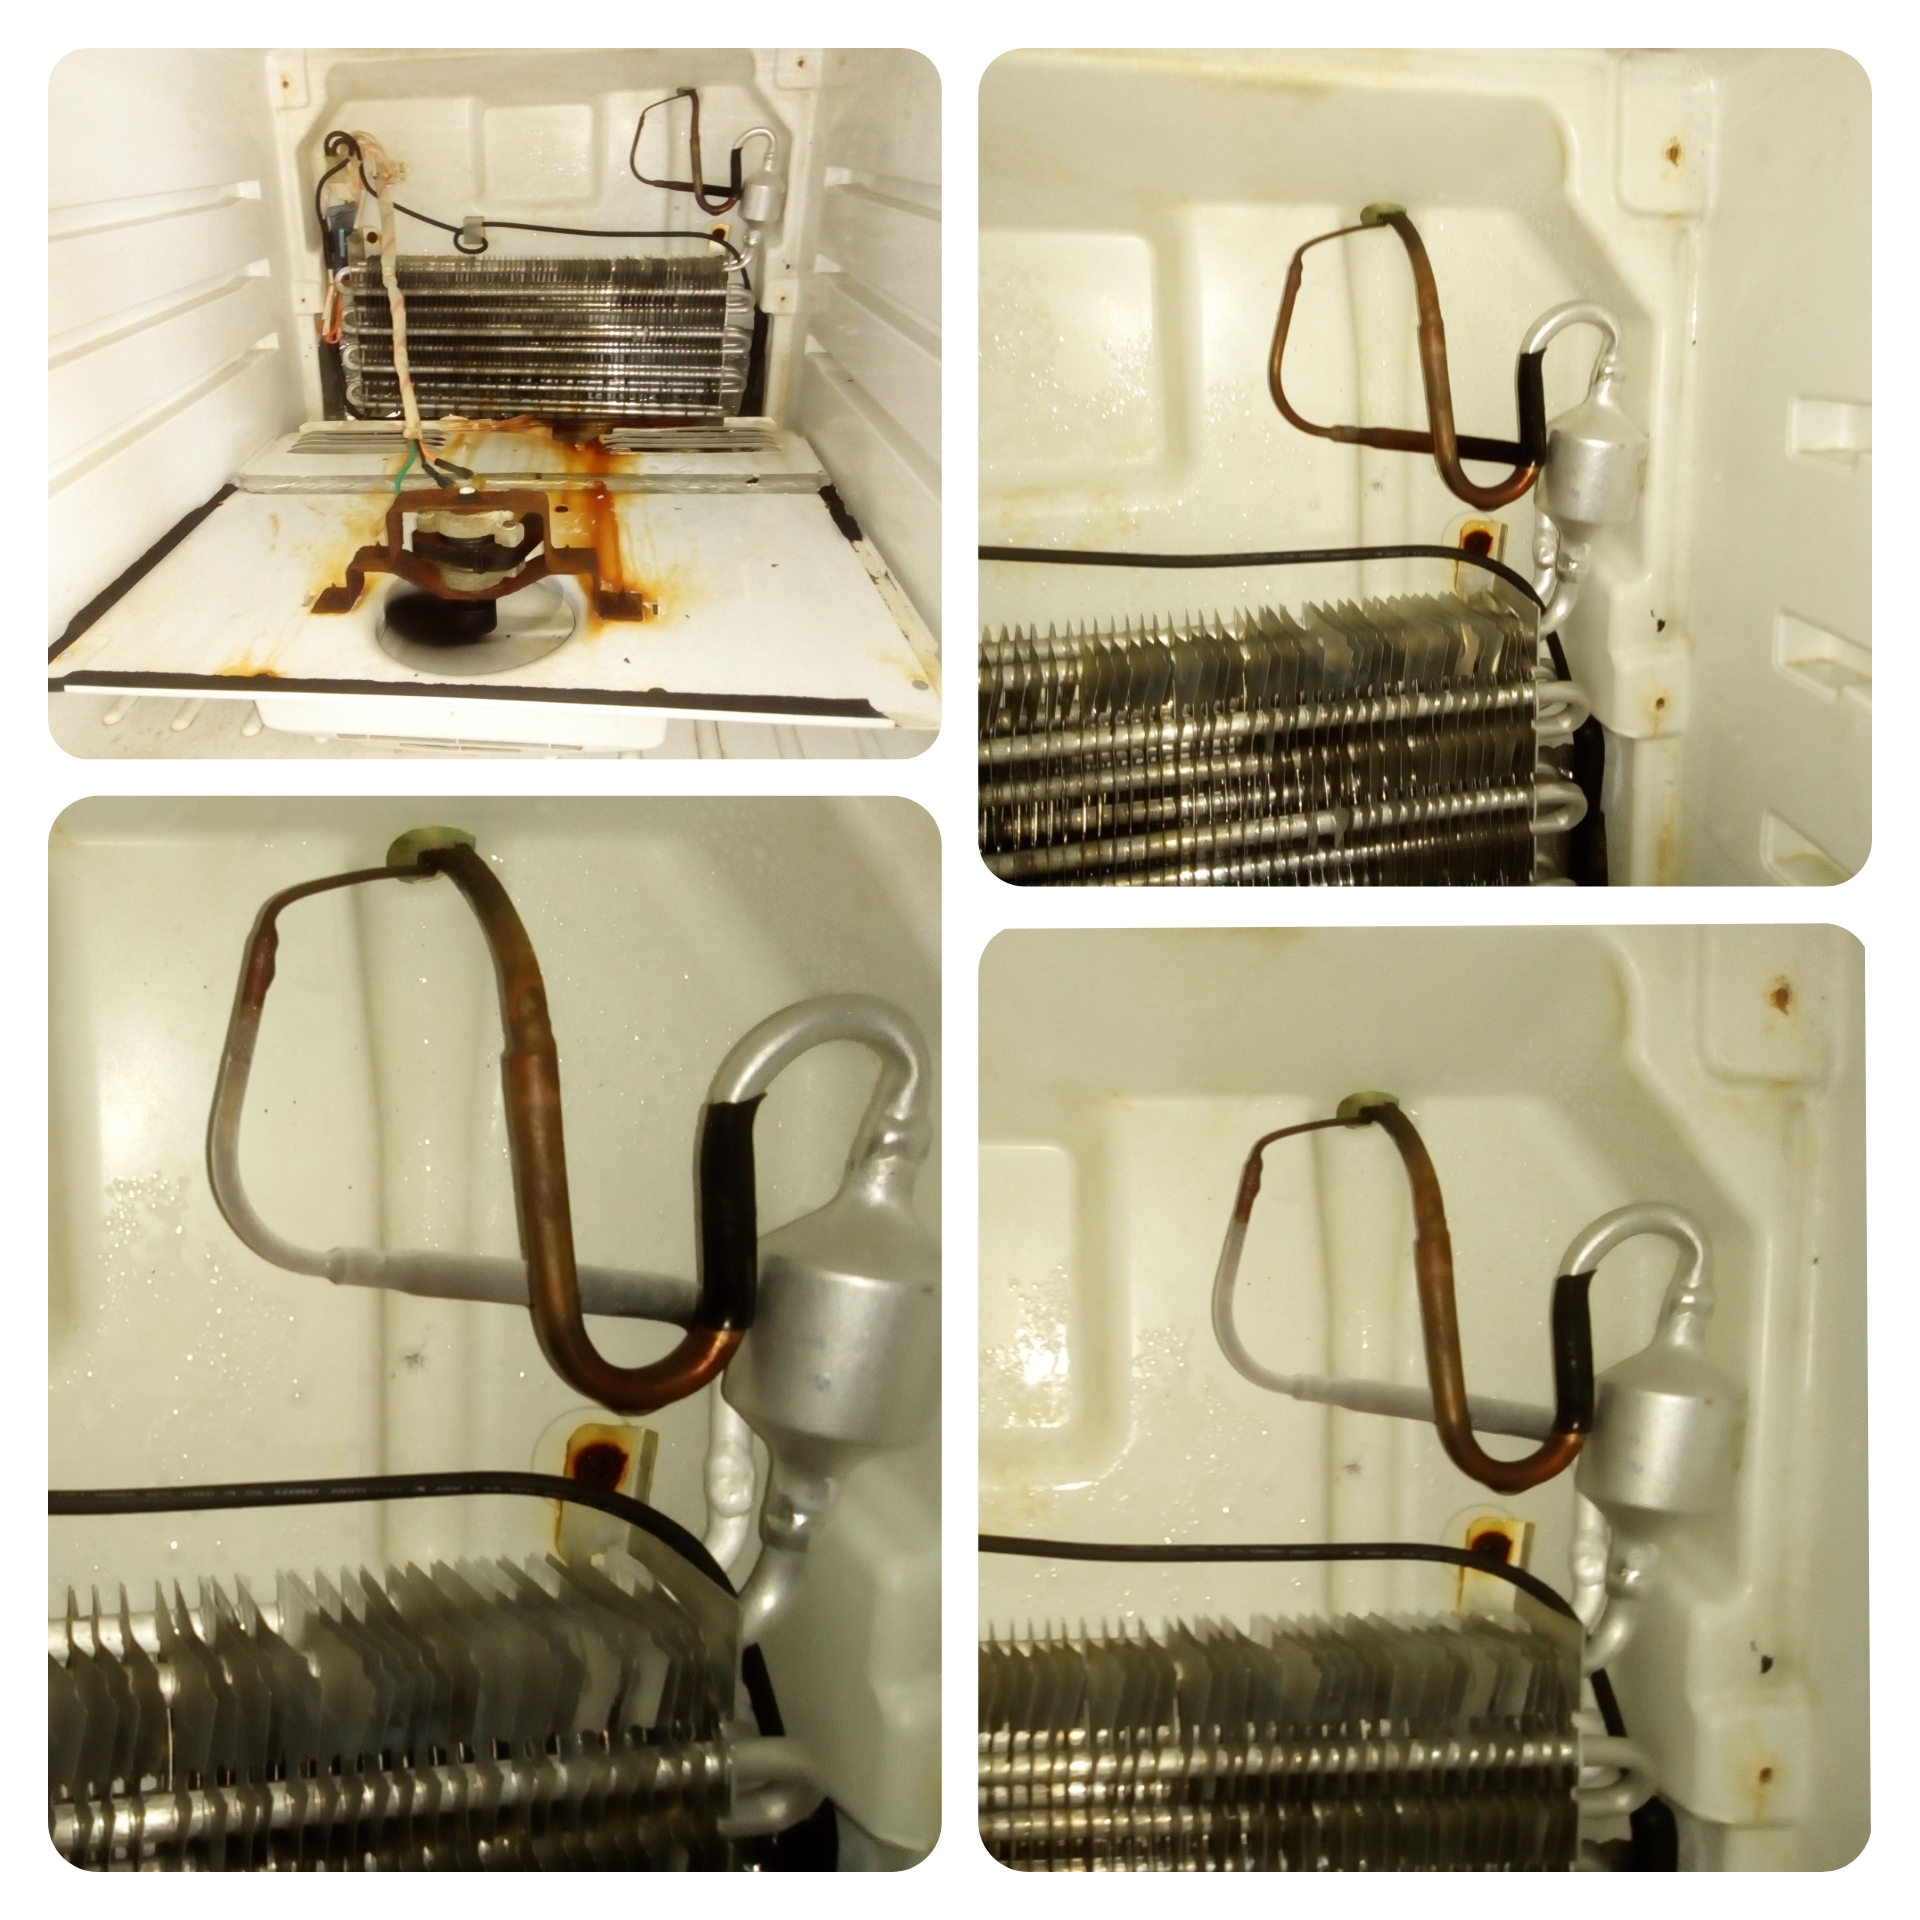
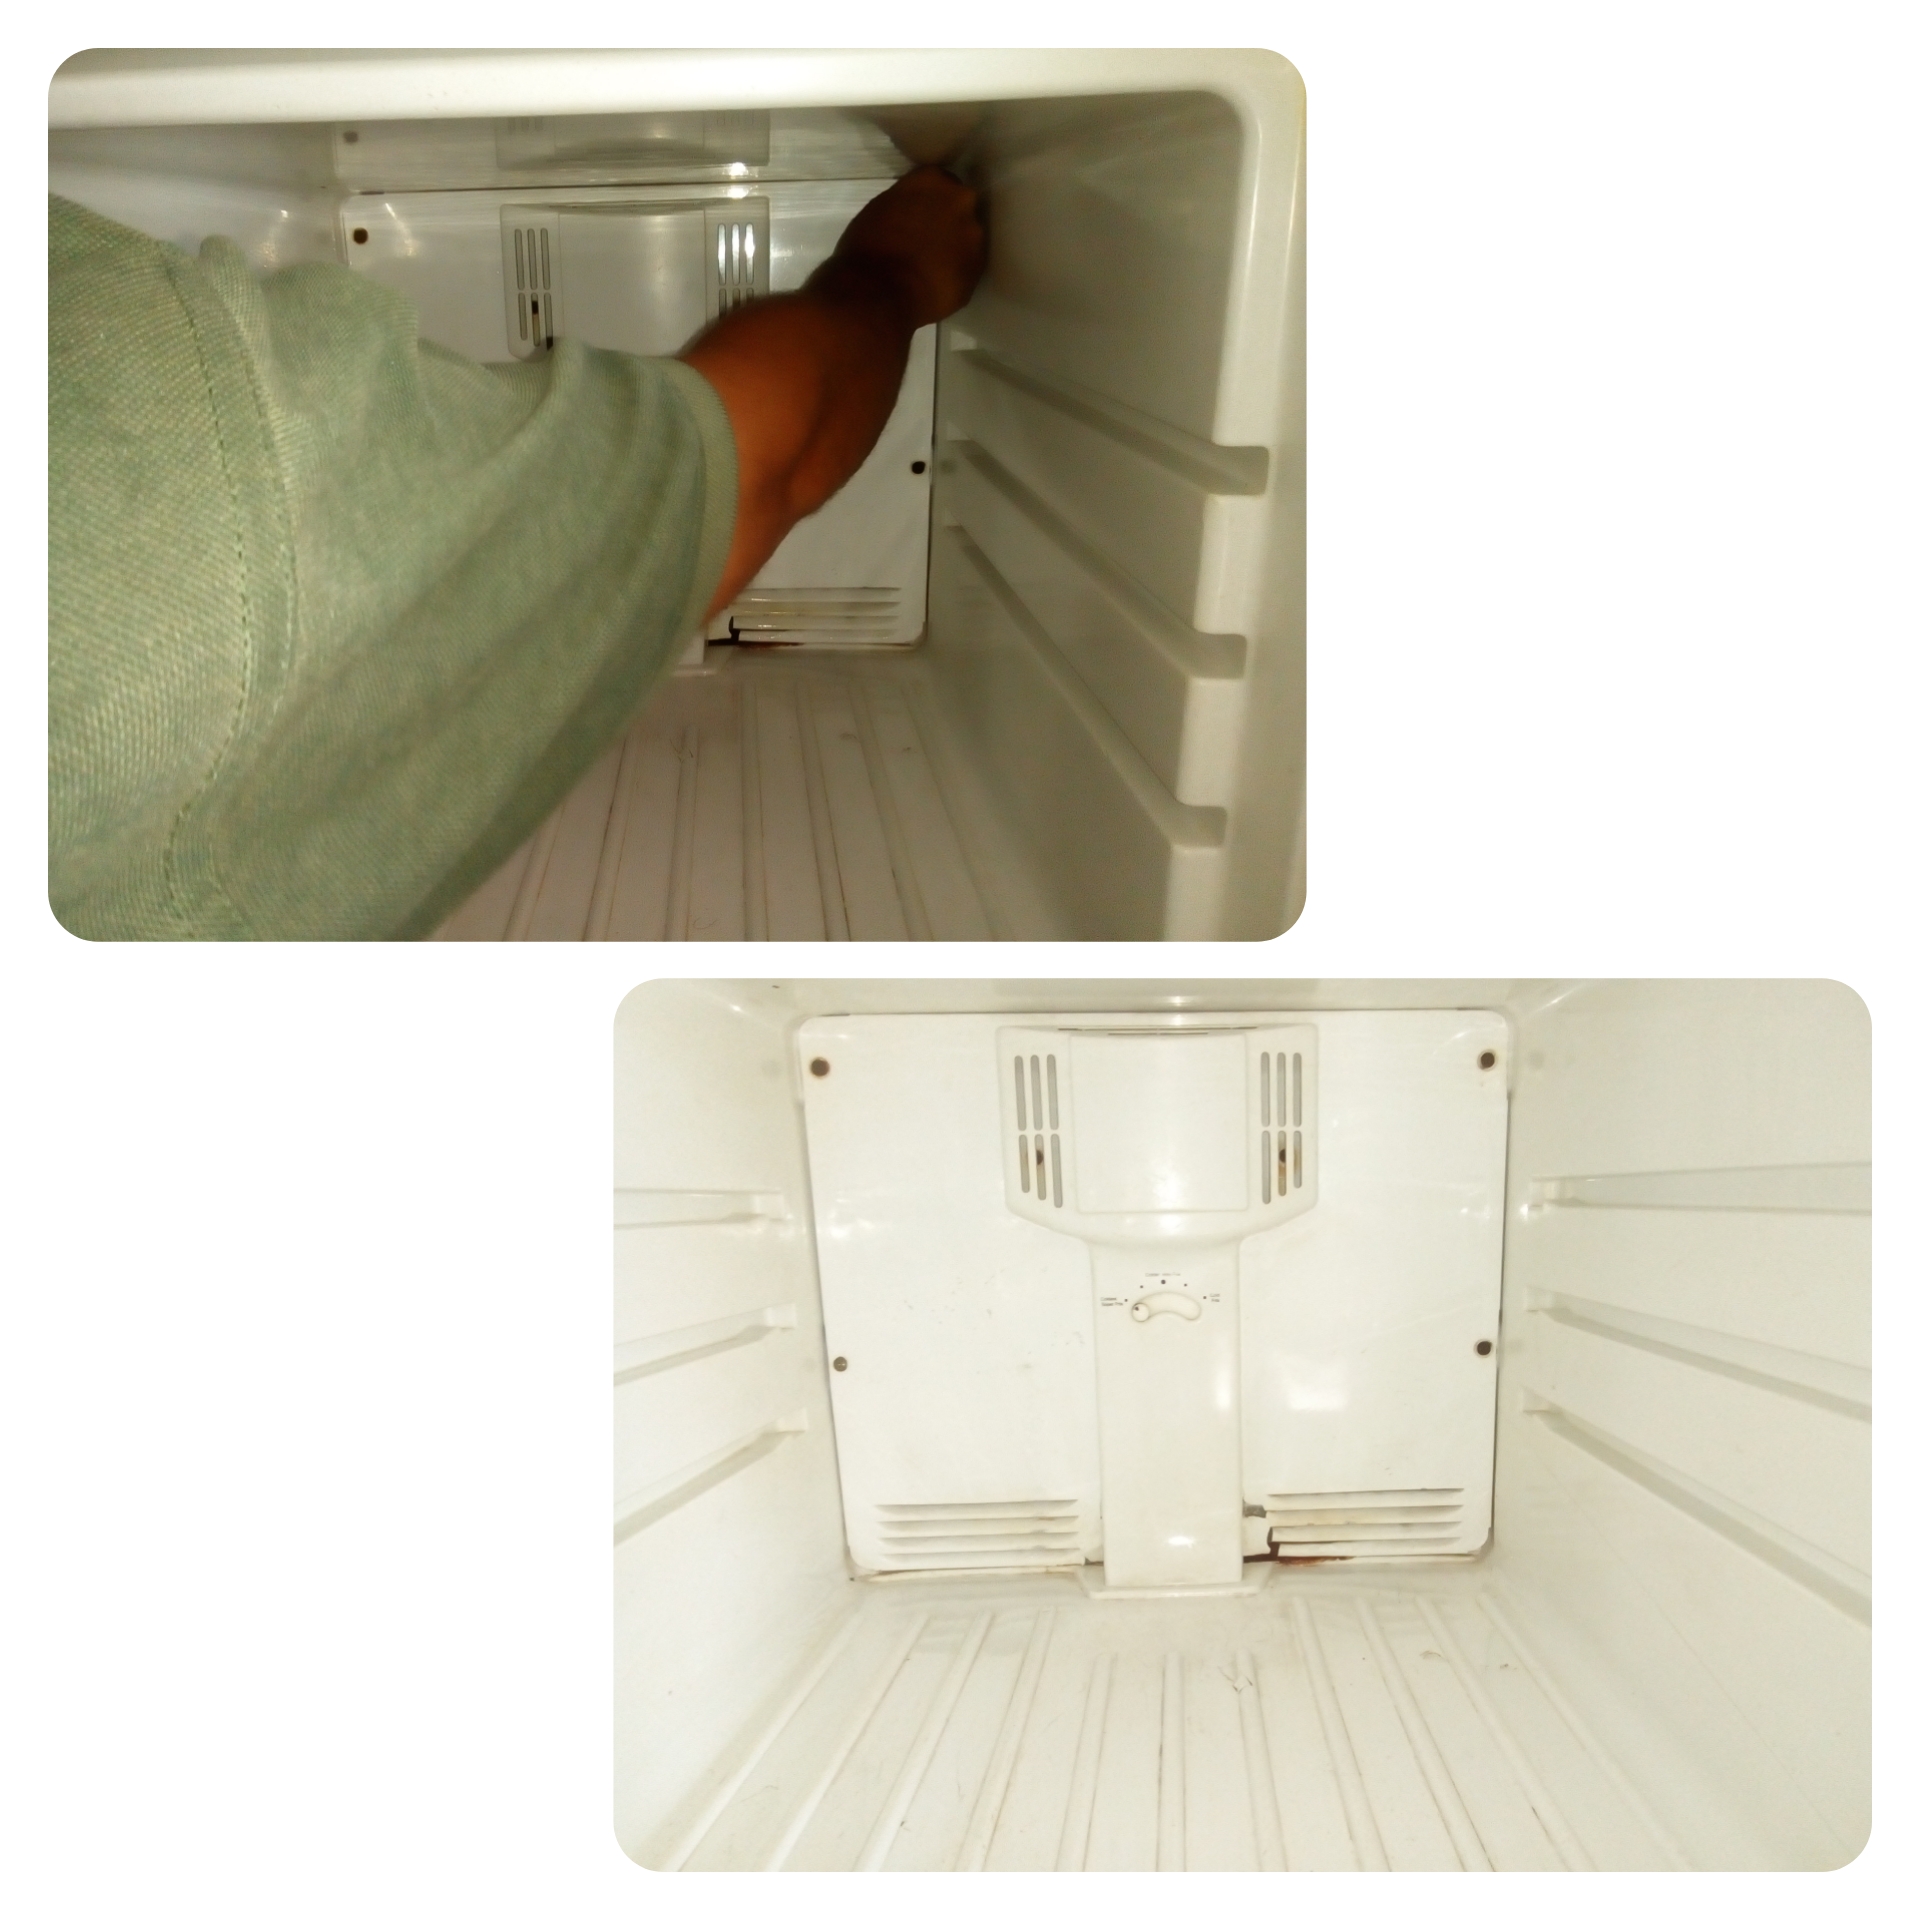
Lo cólocamos a prueba durante 6 horas, si todo va bien puede hacer su ciclo solo y descongelar.
We put it to the test for 6 hours, if everything goes well it can do its cycle on its own and defrost.
Espero que este pequeño tutorial te ayude en algún momento.
I hope this little tutorial will help you at some point.
Gracias por visitar mi blog. @Juanqui05
Thanks for visiting my blog. @Juanqui05
Muy buena reparación, nunca había visto un cambio de un Bimetal :D