Blessed and successful day for all this dynamic community that every day strives to give the best. In this opportunity I am going to explain step by step what is related to a work of automotive mechanics, to be more specific it is to disassemble and repair an engine and gearbox to a Ford vehicle, model Corcel, year 1989. For presenting a strange noise in the internal part of the engine.
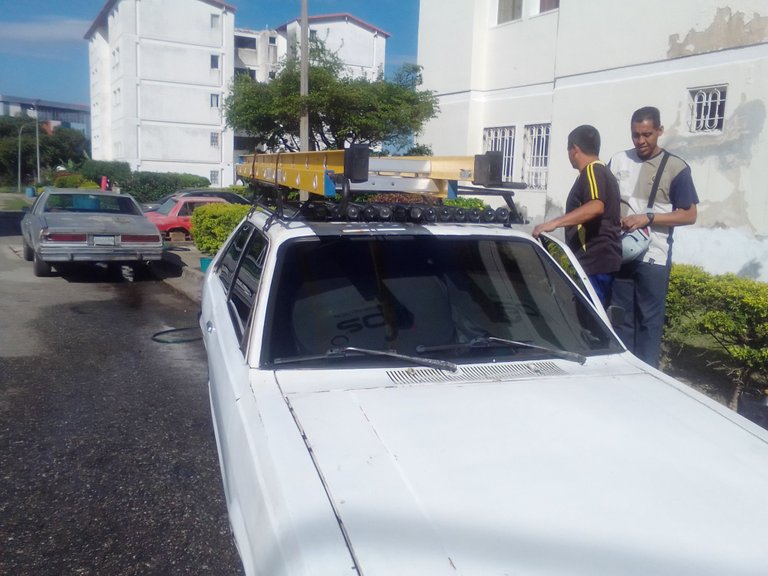
Motivated by the fact that the owner of the vehicle is a neighbor who is always there to help when I need a favor, out of gratitude I had to collaborate with him in this repair.
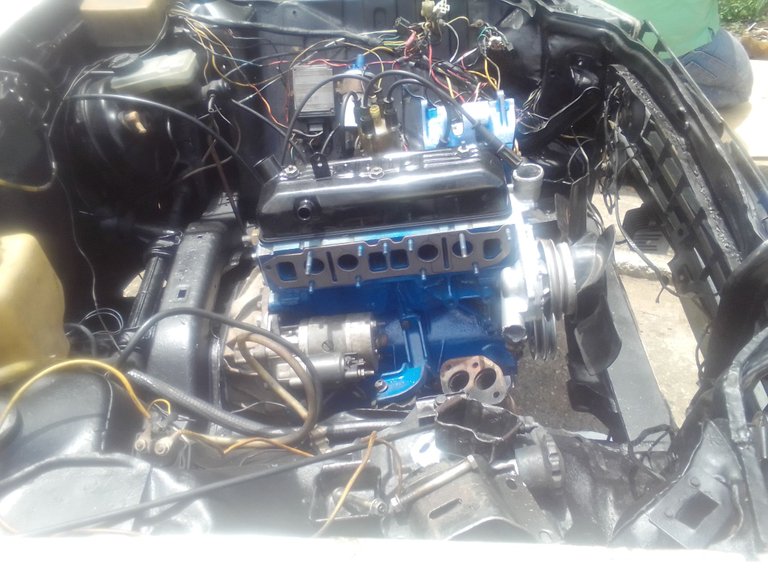
To start with the disassembly of the engine we first proceeded to drain the oil, then we separated the exhaust pipe system from the manifold downpipe, we also disassembled the radiator and its hoses, the carburetor, the electrical system (spark plug wires) among others. On this occasion, the engine and the gearbox were disassembled together, using a crane, making the work much more comfortable.
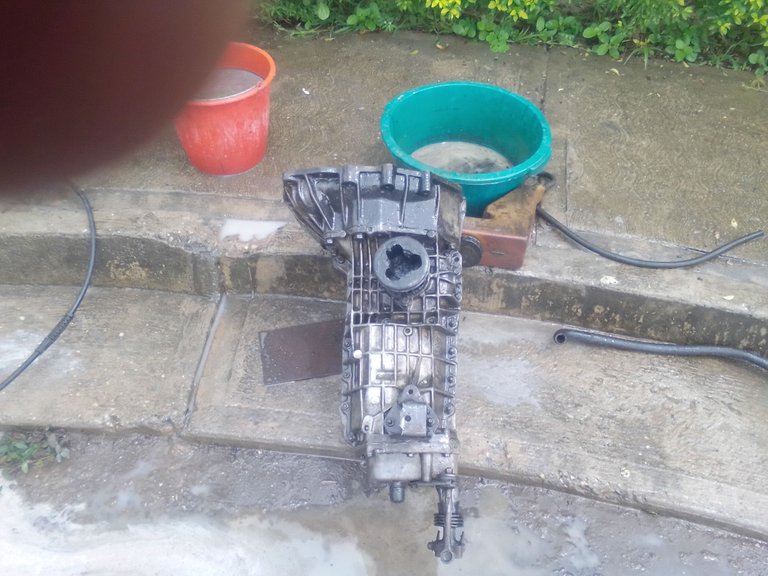
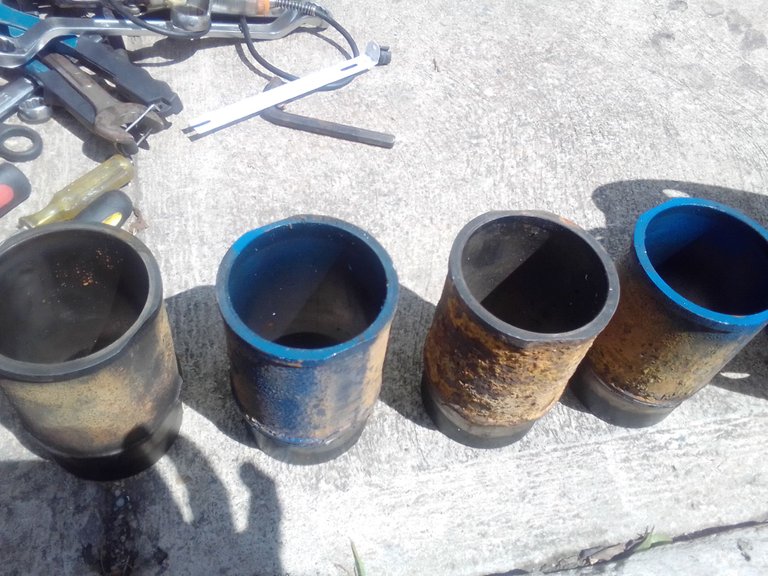
We proceeded to separate the engine from the gearbox, in order to disassemble it piece by piece, when removing the pistons we observed that the shells of the connecting rods had leftovers, a piston with broken rings, also leftovers in the block liners (cylinders). The surface of the crankshaft was notoriously uneven on the bedplates and connecting rods. Due to the bad conditions, the block and crankshaft were taken to the rectifier, the liners were replaced and the engine and crankshaft were rectified to 0,10.
The compression chamber in general aspect did not present any anomaly however as it is customary it was taken to the rectifier to check if it had suffered some double by overheating, it was made the test of the plane being found well, then the intake and exhaust valves were accentuated leaving already ready to mount the valve rubbers and assembling completely the intake chamber.
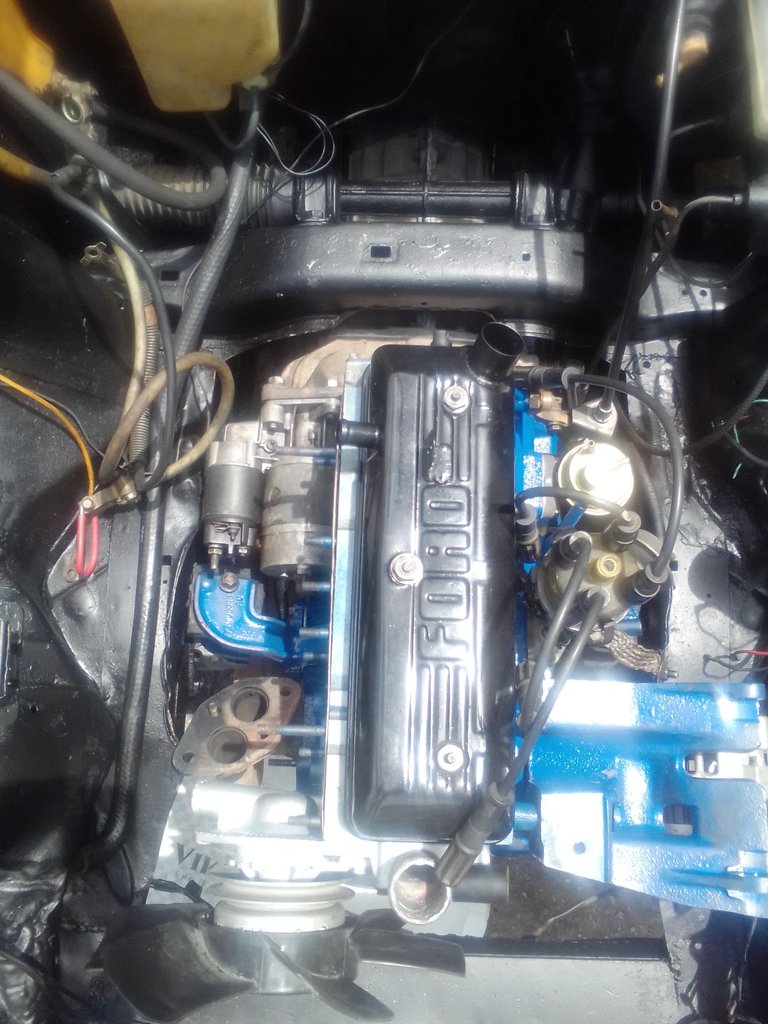
To start this time to reassemble the engine with its respective chemical bath, the pistons were mounted very carefully, in the same sequence that was listed the connecting rods, also installed new oil pump, the compression chamber was placed with its asbestos gasket adjusting correctly, that is, always taking into account that it begins to adjust from the center of the chamber in "X" to the ends. using for adjustment an important tool called "Torquimetro".
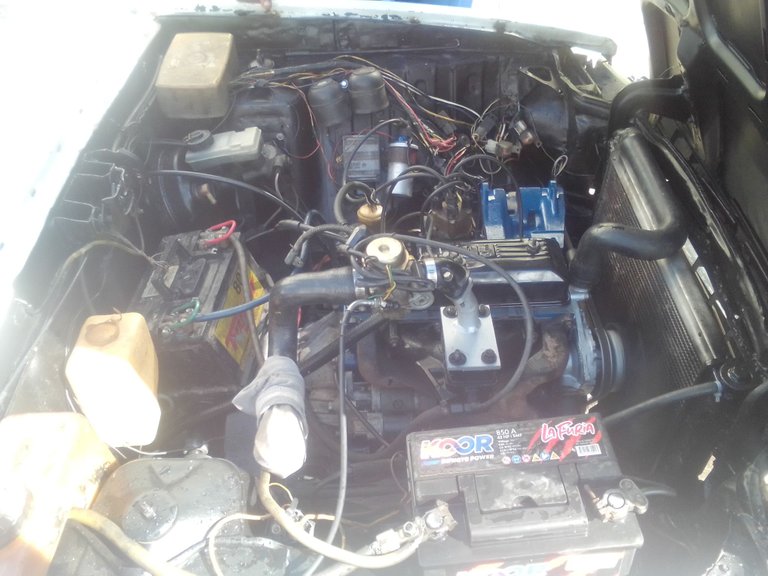
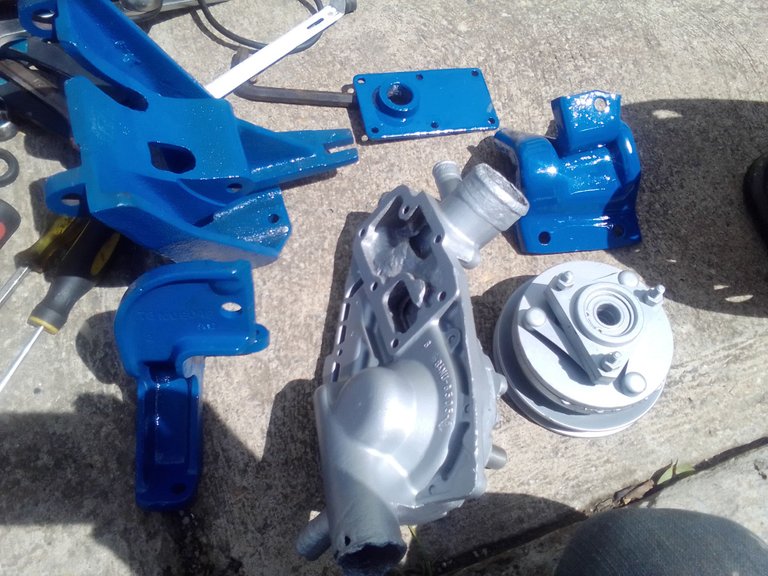
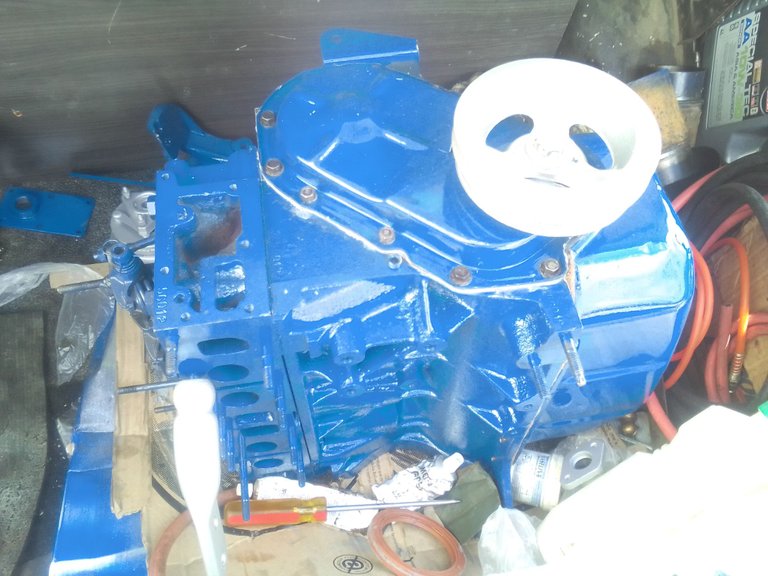
Once the engine was assembled, the gearbox was replaced by a five-speed gearbox, the original one being a four-speed gearbox, thus giving better performance to the engine, acquiring more relief at high speed. Before assembling the engine and gearbox, the internal part where it is placed was cleaned and painted for a better presentation. The original carburetor was removed from the intake system, adapting a motorcycle carburetor for a better displacement and thus saving a significant fuel consumption.

With its new spark plugs and with great faith we proceeded to give the ignition until the bolido engine started again with its characteristic roar, feeling a great satisfaction for another goal accomplished if you want to say fully, "as it should be".
Well, I can only wish you many blessings, hoping that this topic of automotive mechanics has been of your interest, accepting any comments or opinions that will always be well accepted.
SPANISH
Reparación de motor y caja a un Ford Corcel.
Bendecido y exitoso día para toda esta dinámica comunidad que día a día se esmera para dar lo mejor. En esta oportunidad les voy a explicar paso por paso lo relacionado a un trabajo de mecánica automotriz, para ser más específico se trata de desmontar y reparar un motor y caja de velocidades a un vehículo marca Ford, modelo Corcel, año 1989 . Por presentar un extraño ruido en la parte interna del motor .

Motivado a que el dueño del vehículo es un vecino que siempre cuando necesito un favor está ahí para ayudar, por agradecimiento me tocó esta vez colaborar con él en dicha reparación.

Para empezar con el desmontaje del motor primero se procedió a vaciar el aceite, Luego se separó del bajante del múltiple el sistema del tubo de escape, también se desmontó el radiador y sus mangueras, el carburador, el sistema eléctrico ( cables de bujías) entre otros. En esta oportunidad se desmontó el motor y la caja de velocidades guntos, utilizando una grúa haciendo mucho más cómodo el trabajo.

Se procedió a separar el motor de la caja, para así desarmar pieza a pieza , al sacar los pistones se observaron que las conchas de las bielas presentaba dejastes , un pistón con anillos partidos , también dejaste en las camisas del bloque(cilindros). El cigüeñal se le veía notoriamente su superficie con mucha irregularidades t en las bancadas y en las bielas . Debido a las malas condiciones en evidencia se llevó tanto el bloque y cigüeñal a la rectificadora , se sustituyeron las camisas, quedando estándar de nuevo el motor y el cigüeñal rectificado a 0,10.

La cámara de compresión en aspecto general no presentaba ninguna anomalía sin embargo como es de costumbre se llevo a la rectificadora para revisar si había sufrido algún dobles por recalentamiento , se le hizo la prueba del plano encontrándose bien, luego se acentó las válvulas de admisión y de escape dejando ya listo de montar las gomas de válvulas y armando por completo la camara de admisión.

Para empezar en esta ocasión a armar de nuevo el motor con su respectivo baño químico, se montaron los pistones con mucho cuidado, en la misma secuencia que estaba enumeradas las bielas, también se instalo bomba de aceite nueva, se colocó la camara de compresión con su empacadura de amianto ajustando de forma correcta, osea , siempre teniendo en cuenta que se comienza a ajustar desde el centro de la camara en" X " hacía los extremos. utilizando para su ajuste una herramienta importante llamada"Torquimetro."

Ya con el motor ensamblado , se sustituyó la caja de velocidades por una de cinco cambios siendo la original de cuatro , dando asi mejor rendimiento al motor adquiriendo mas desahogo en alta velocidad. Antes de montar el motor y caja de velocidades, se limpio y se pintó la parte interna donde va colocado para una mejor presentación. En el sistema de admisión se le eliminó el carburador original adaptandole uno de moto para un mejor desplazamiento y asi ahorrando un consumo bastante significativo de combustible.

Con sus bujías nuevas y con mucha fé procedimos a darle al encendido hasta que volvió a prender el motor del bolido con su rugir característico, sintiendo una gran satisfacción por otro objetivo cumplido si se quiere decir a cabalidad, "como tiene que ser".

Bueno, no me queda más que desearle muchas bendiciones, esperando que haya sido de su interés este tema de mecánica automotriz, aceptando cualquier comentarios u opiniones que siempre serán bien aceptadas.
The rewards earned on this comment will go directly to the person sharing the post on Twitter as long as they are registered with @poshtoken. Sign up at https://hiveposh.com.
Waoooo hermano que trabajo tan largo este. Yo lo ye hecho para loto y duro como 2 o 3 horas desarmandola. Y es lentom pero el trabajo de un vehiculo es mucho mas largo. Que bueno que te quedo fino en la primera encendida. Sino ubiera sido asi tocaria ir a llorar. Jejejej hermano solo unas cotaciones has una introduccion y una conclusion. Y listo gracias por tu aporte. Jeje
Completamente de acuerdo, fue un trabajo de mucha dedicación.Gracias por su sugerencia lo tendré presente.un abrazo
Congratulations @medicenchuchi! You have completed the following achievement on the Hive blockchain and have been rewarded with new badge(s):
Your next target is to reach 1000 upvotes.
You can view your badges on your board and compare yourself to others in the Ranking
If you no longer want to receive notifications, reply to this comment with the word
STOPCheck out the last post from @hivebuzz:
Support the HiveBuzz project. Vote for our proposal!
Un trabajo bastante elaborado, amigo, pero me encanta la atención a los detalles que guardo tanto en el mismo como en la publicación, lo importante es que ambas cosas han sido culminadas y que ha quedado todo bien al final :)