Happy Monday everyone
I am so happy to share with you guys today a diy post on how i reupholst a sienna car seat. This process is a very simple process to follow. Today is Monday and also the first day of the month of July 2024, i want to use this medium to wish everyone a happy new month/new week. I pray may this month be good to everyone of us amen.
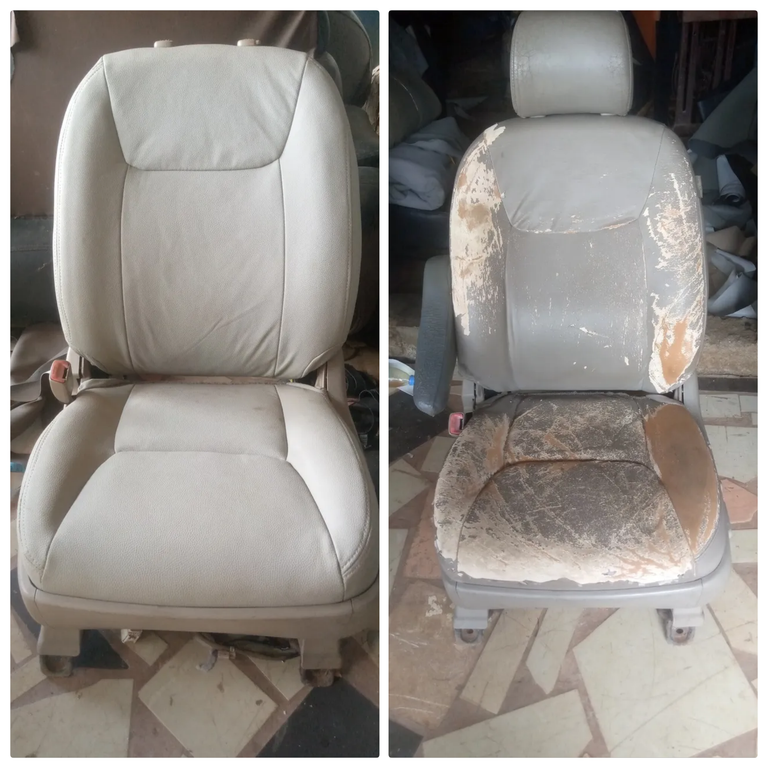
This photo above shows the old seat and the finish work and if you look at it well you will see a very big change in it.
Actually the old leather expired and it new to be changed, there i wilk show you guys some simple steps i follow to change it.
Before thinking of changing a car seat leather you must first get a new leather that will match with the original color and also some other materials you will used.
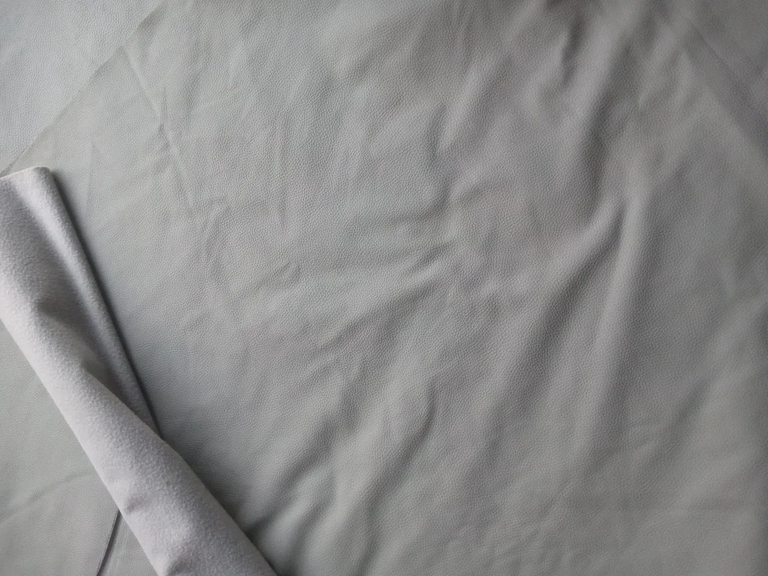
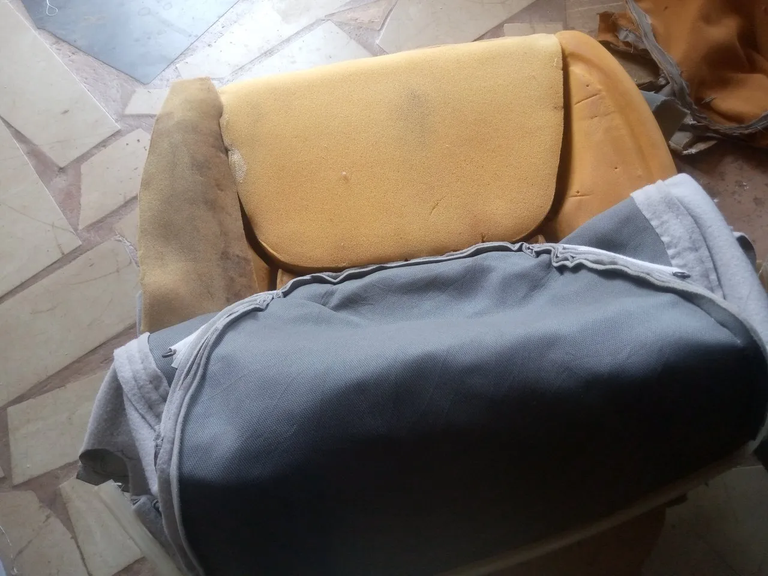
Firstly, i loose the main seat from the back seat with the help of my working tools, i did this for easy access when i want to replace the new seat cover.
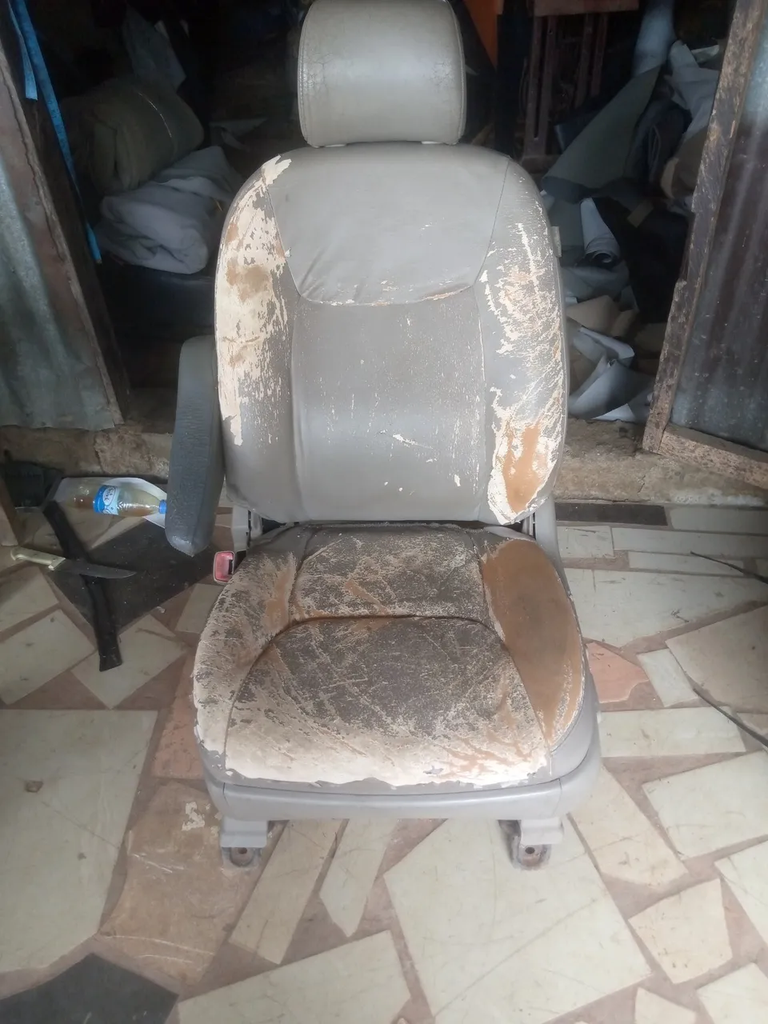
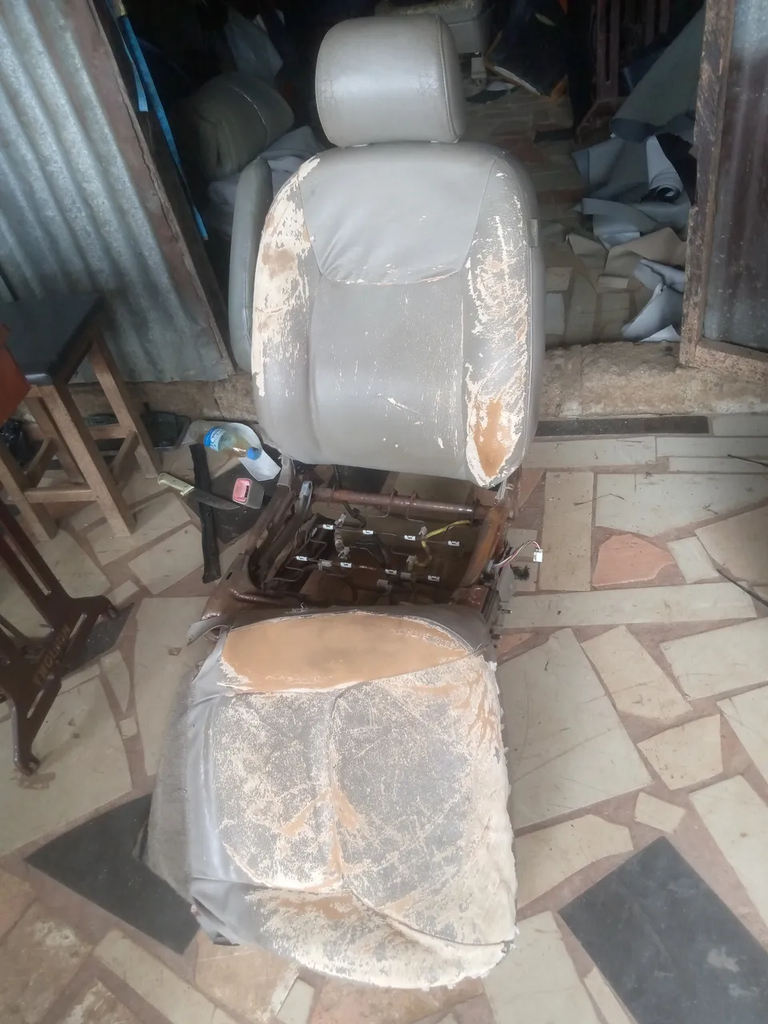
After loosing the seat separate. I then use sewing tape to measure out each pattern of the seat, considering the longest part. I then write the measurements down on the seat for easy access.
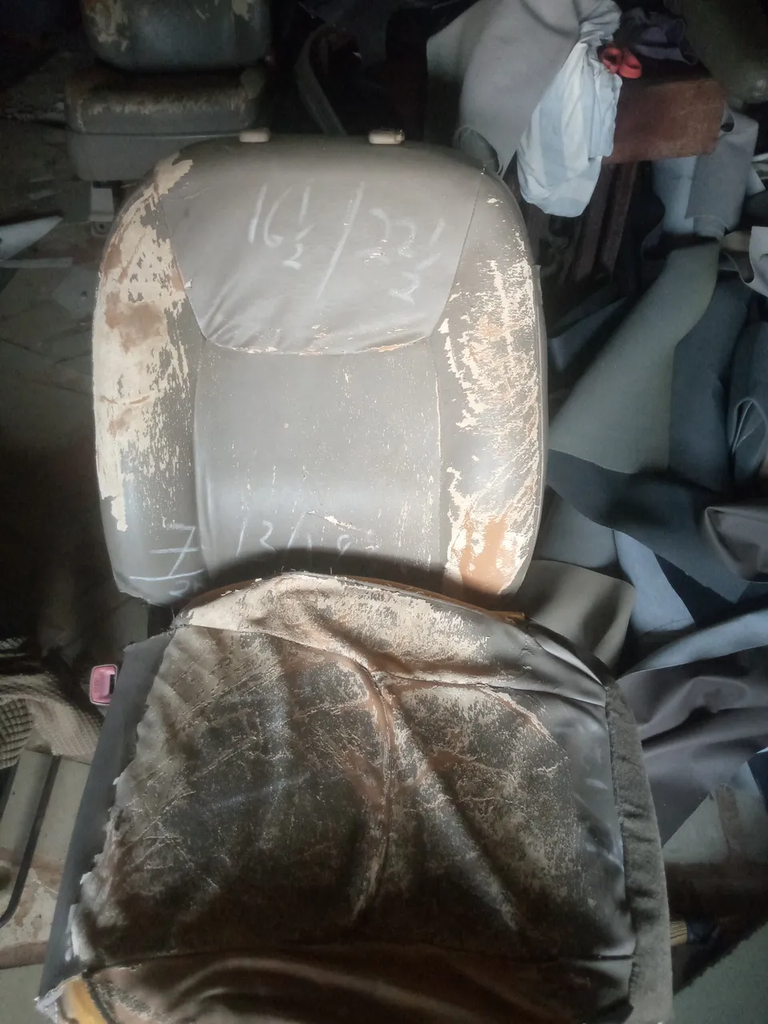
I then proceed by transferring the measurements to the new leather by marking/drawing the measurements and then cut it out.
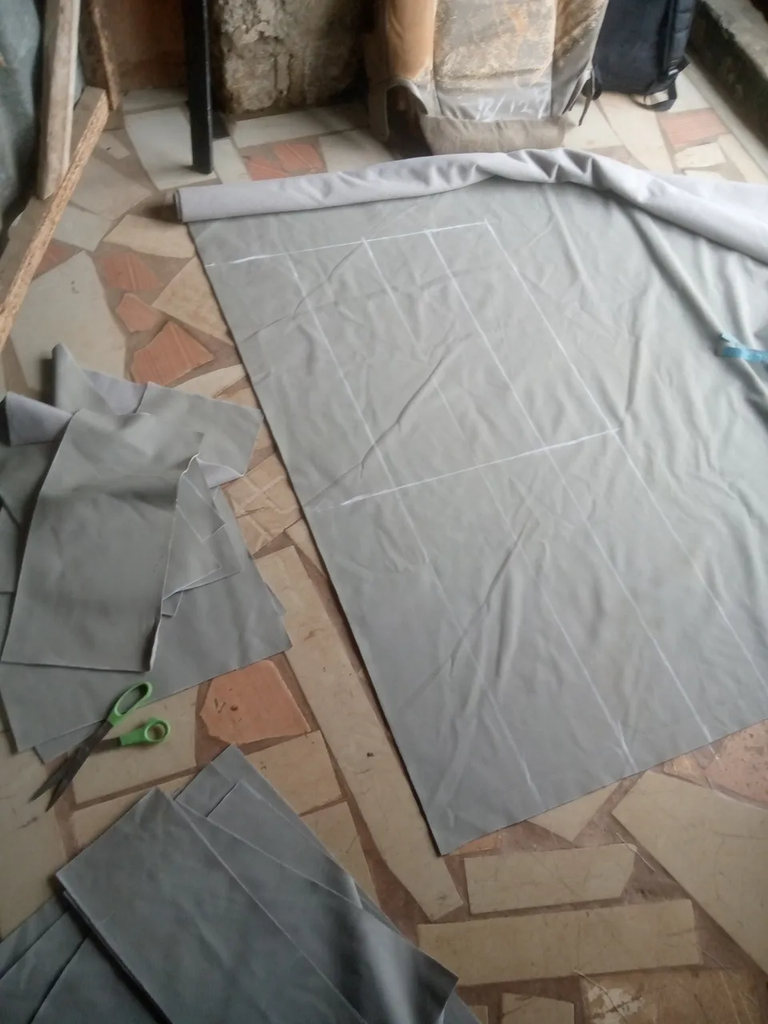

The next steps i follow was to derive a new pattern i will be working on and this very steps is very important. This is simple.
Loosing the old pattern an place on the new leather, then draw the shape out.
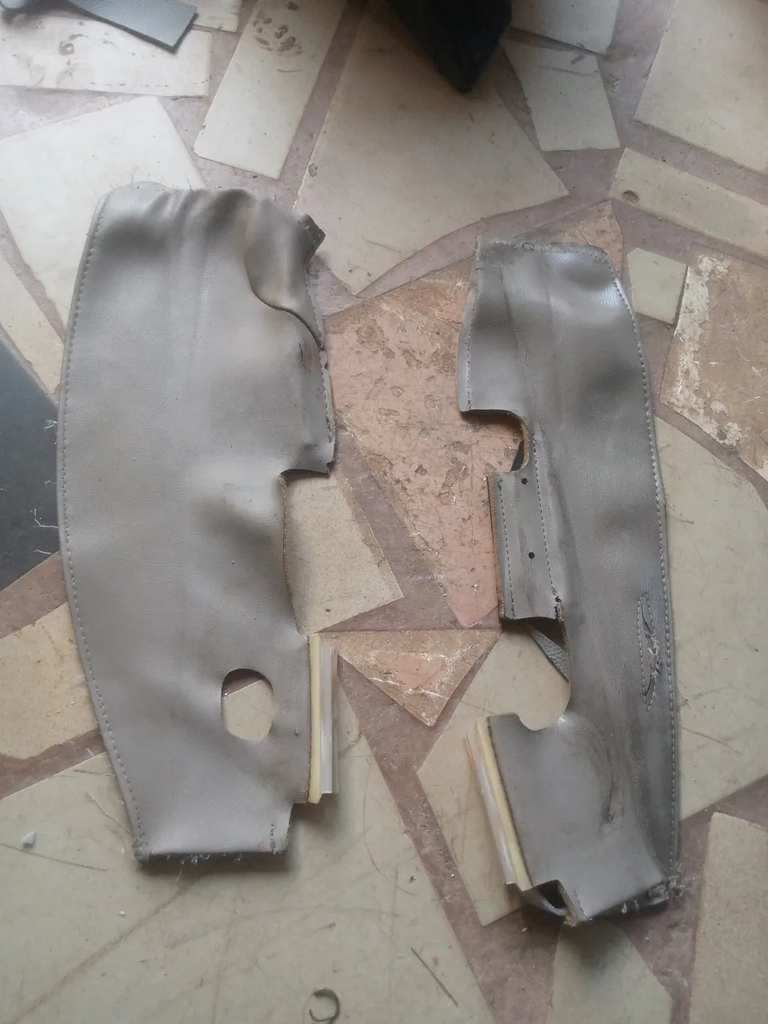

After getting the patterns, i the place it on a roof material , and then gum it together.
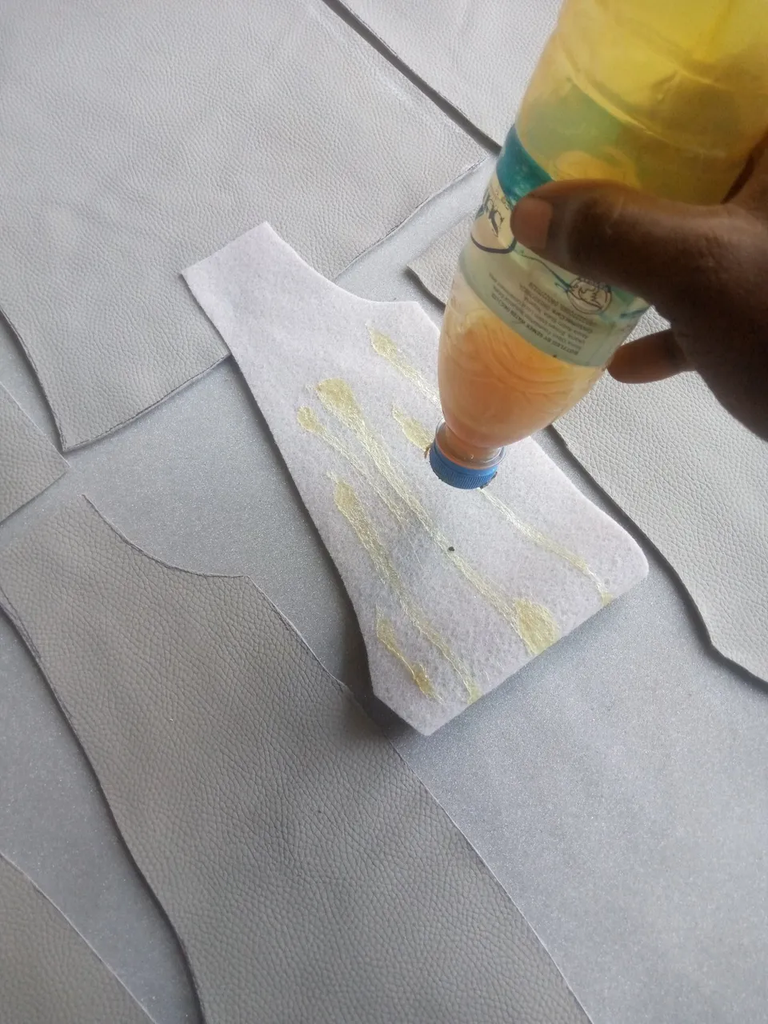
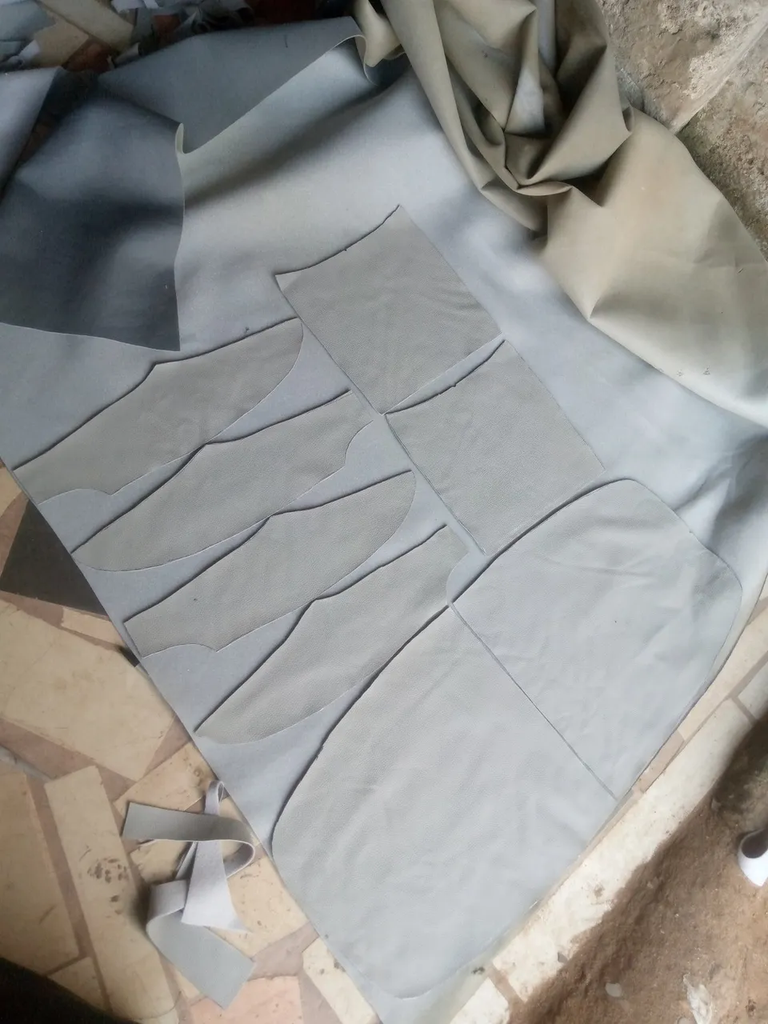
I then cut out the pattern. Use sewing machine to sew those pattern together.
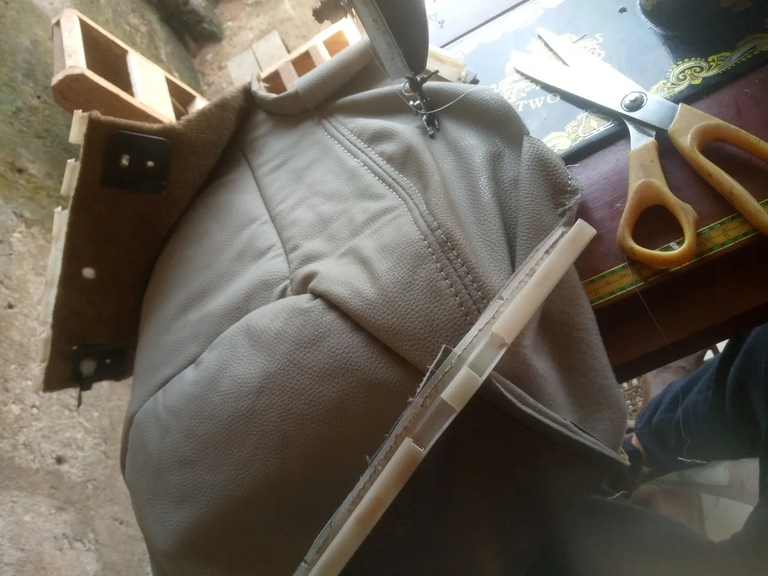
After sewing the seat cover complete, i then clip it to replace the old seat cover.
The back
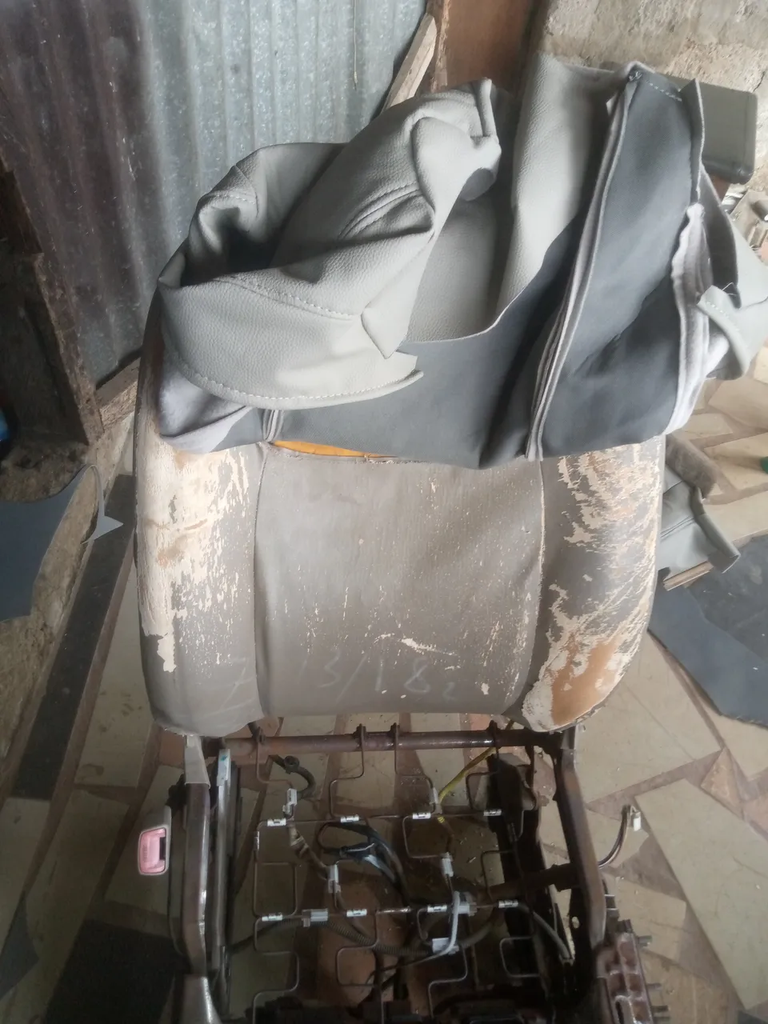
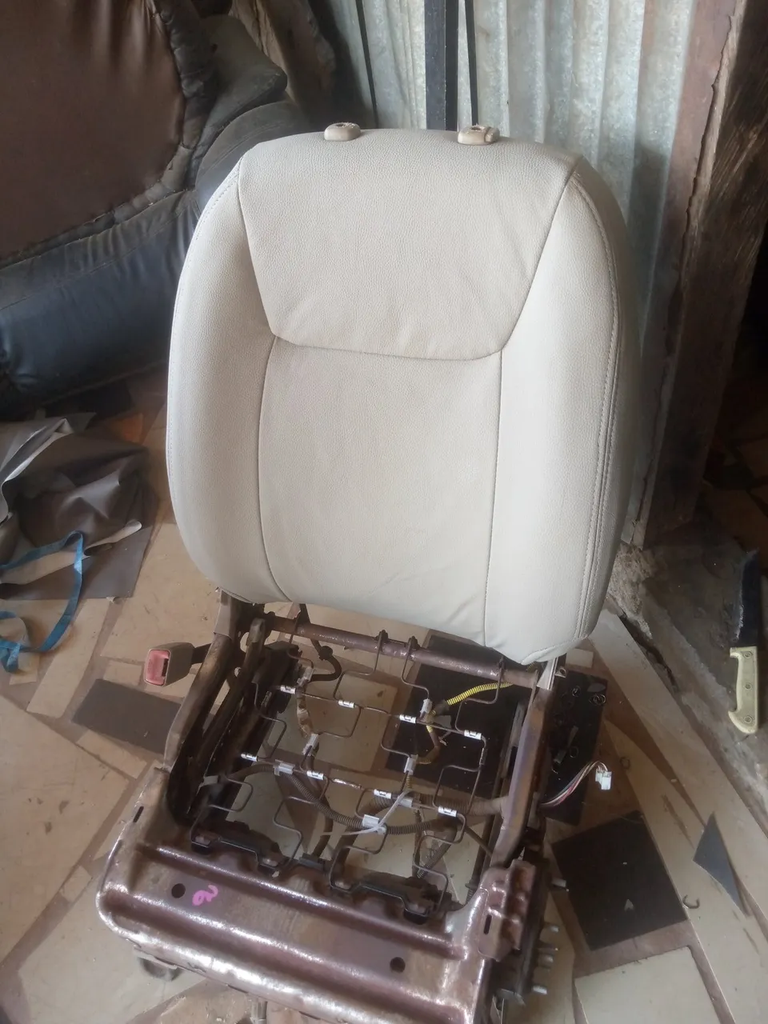
The main seat
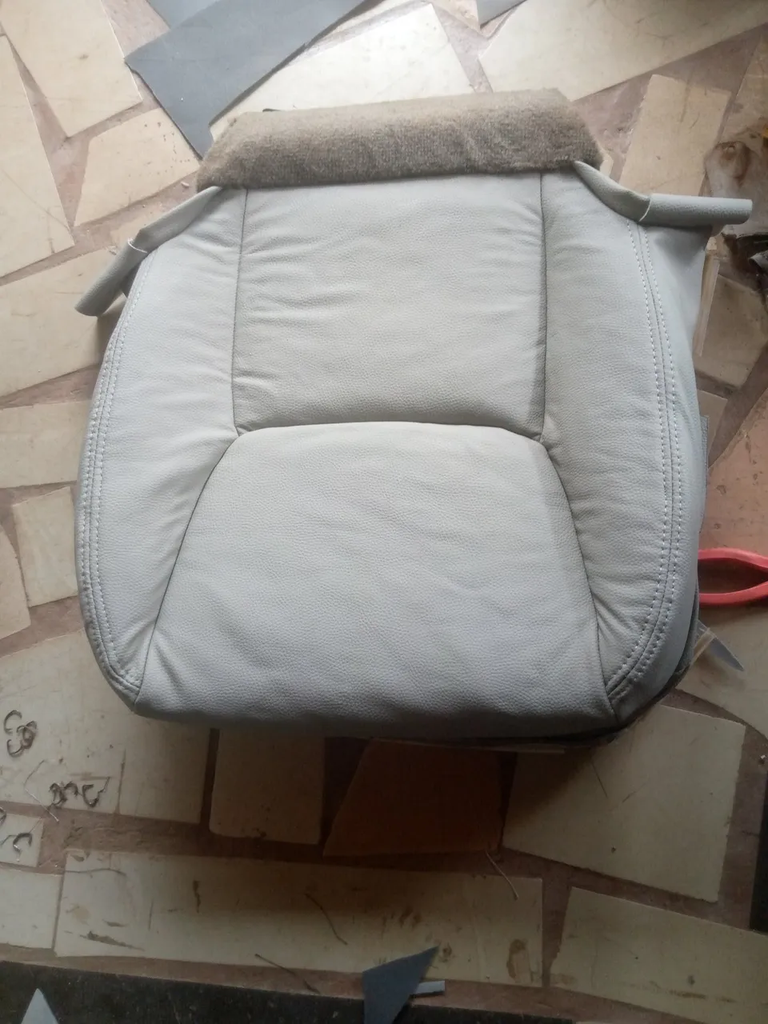
Final i tight the sear back and here is the finish work.
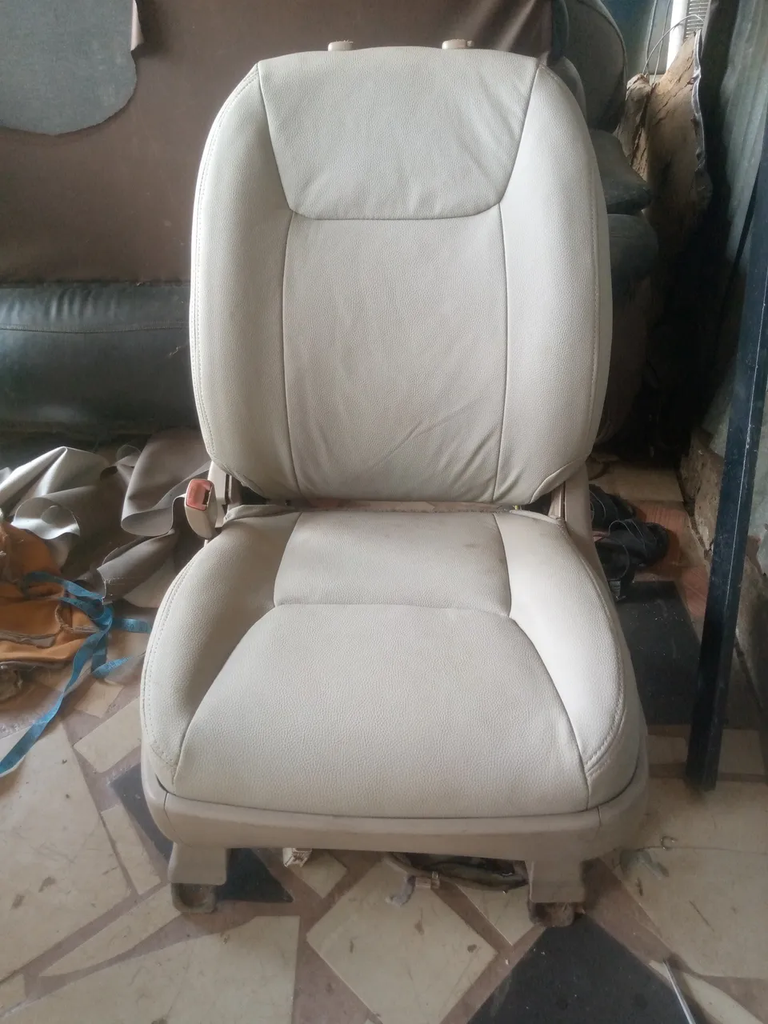
What can you say about the seat.
I hope it look new and beautiful.
Thanks guys for your time, i will really appreciate your support and your comments
You made a real transformation. Excellent work
Wouuuu what a great job they do