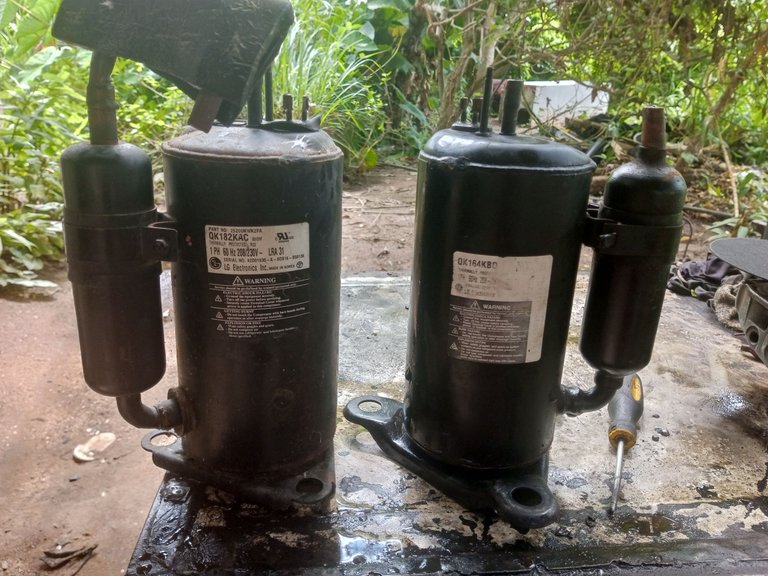
hola amigos de hive motors en ésta oportunidad quiero compartir con ustedes la reparación de un compresor o motor de aire acondicionado de 12 btu marca LG.
hay personas que piensan que éstos motores no pueden ser reparados, pero hoy les quiero mostrar este proceso donde de dos compresores dañados armaremos uno y así sacarle mayor provecho. de uno de éstos usaremos la parte eléctrica y del otro la parte mecánica.
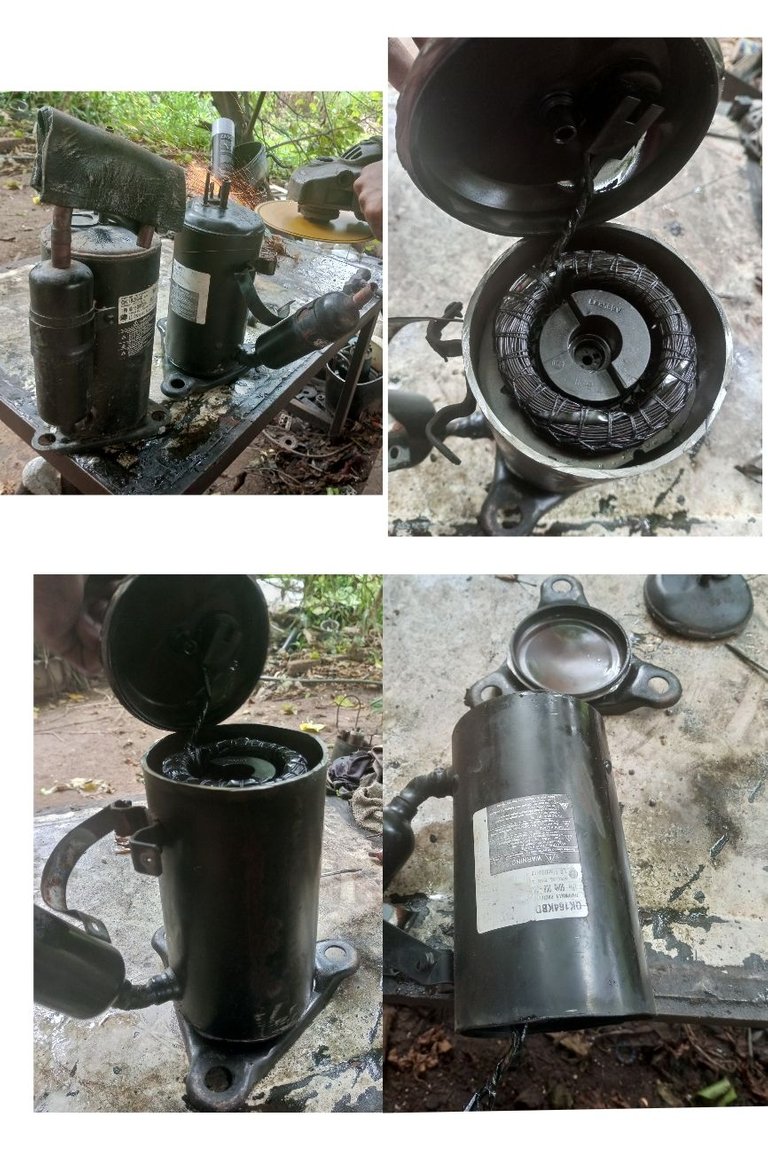
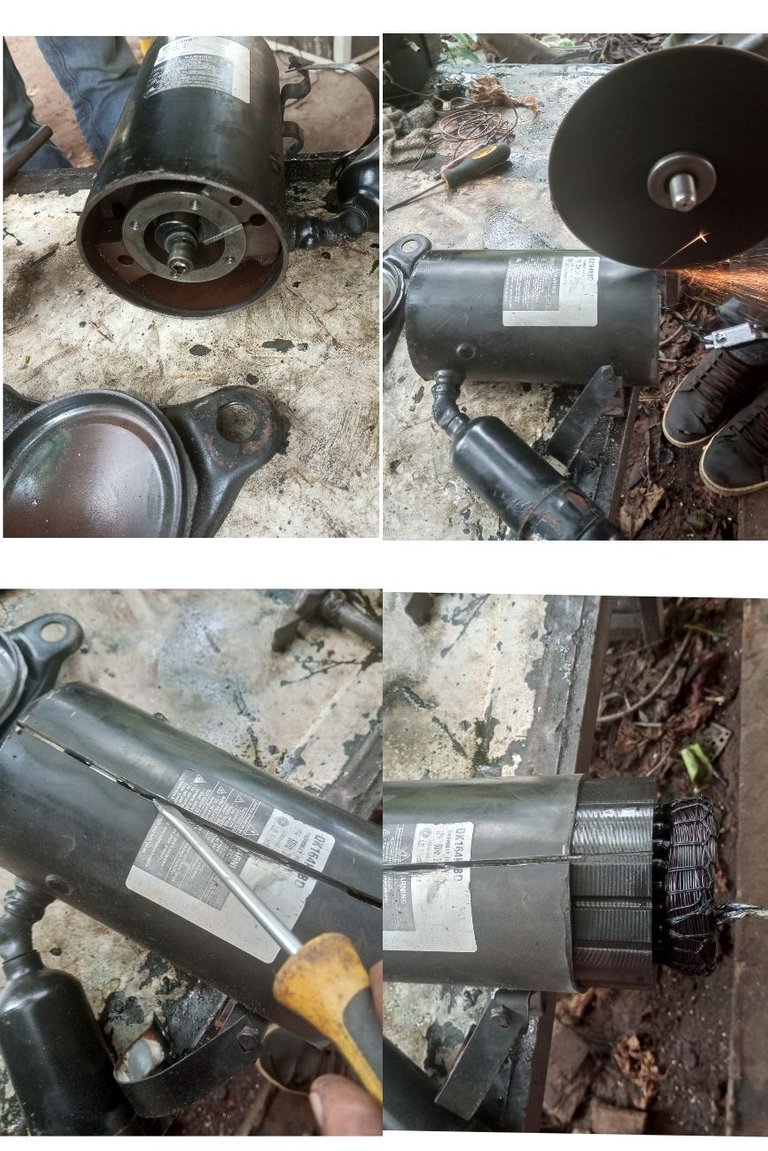
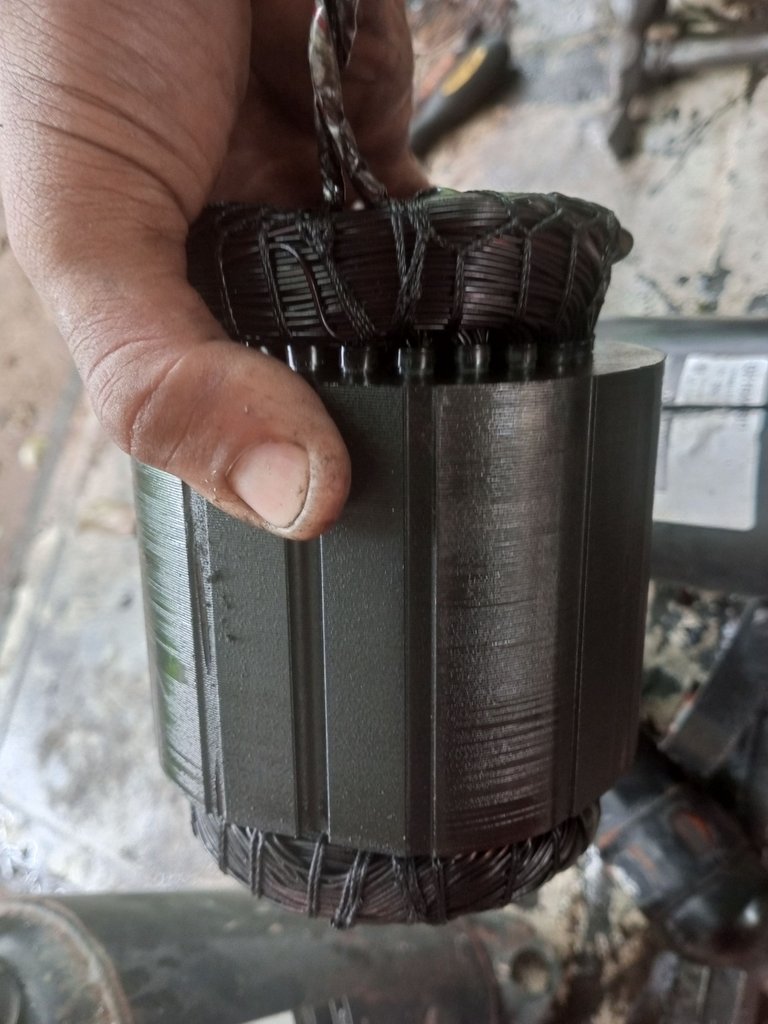
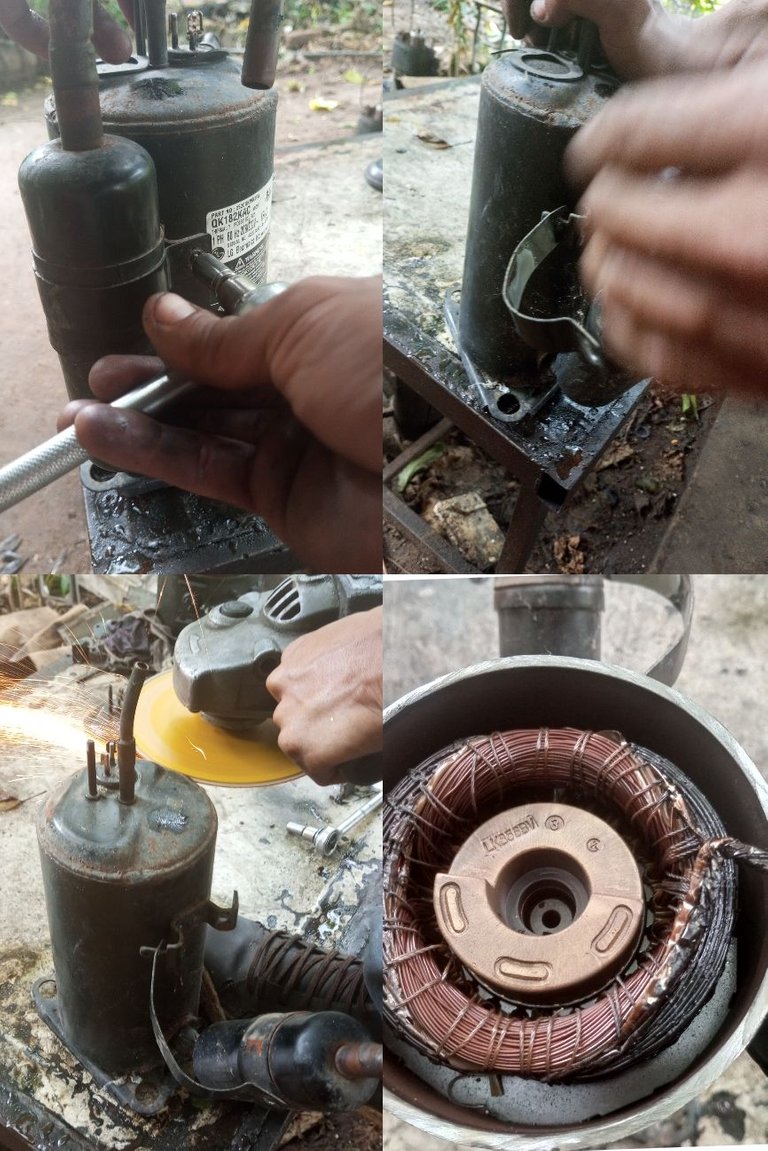
Empezaremos con el compresor que tiene la parte eléctrica buena, empezamos cortando la parte de arriba y la de abajo del motor haciendo dos cortes en sentido horizontal para retirar las dos tapas, luego pasaremos a hacer un corte vertical y con ayuda de un destornillador abriremos un poco el caparazón para poder sacar la bobina sin maltratarla.
luego haremos lo mismo con el otro, pero solo quitando las dos tapas, porque ésta es la máquina que vamos a usar para meter la parte eléctrica buena.
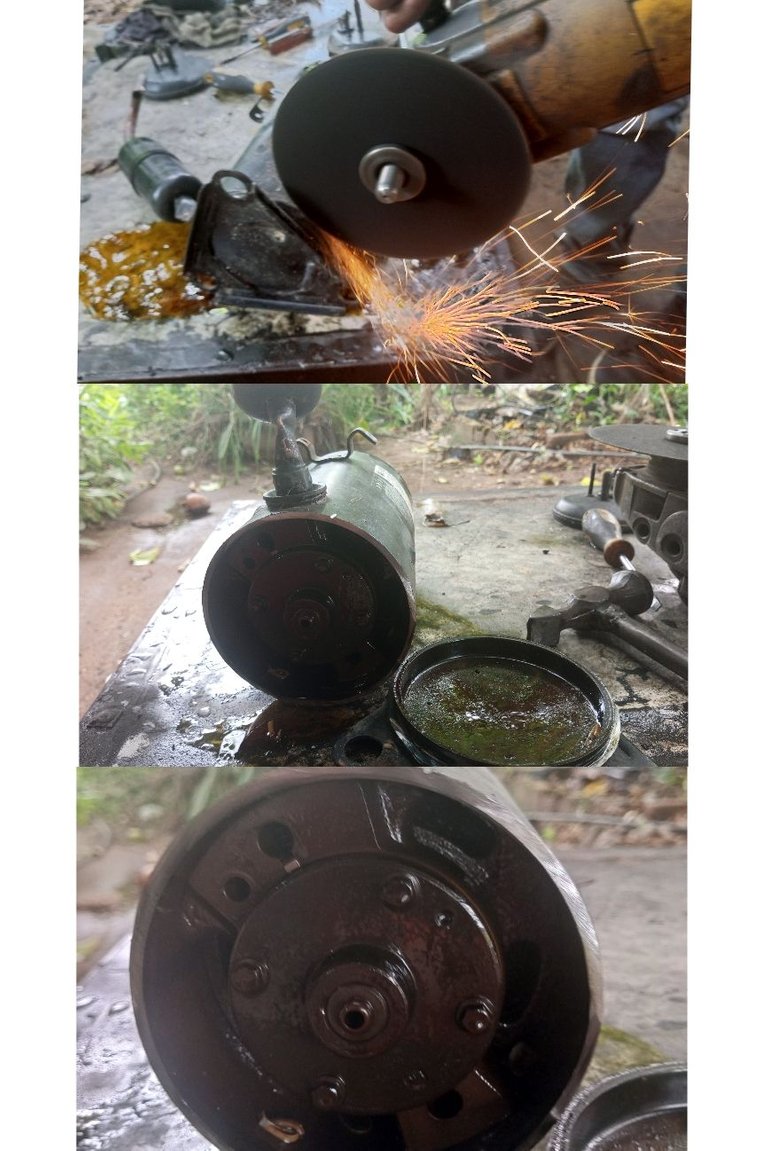
ahora sacamos la bobina dañada, para ésto, por la parte de atrás le damos unos pequeños golpes con ayuda de una barra y un martillo.
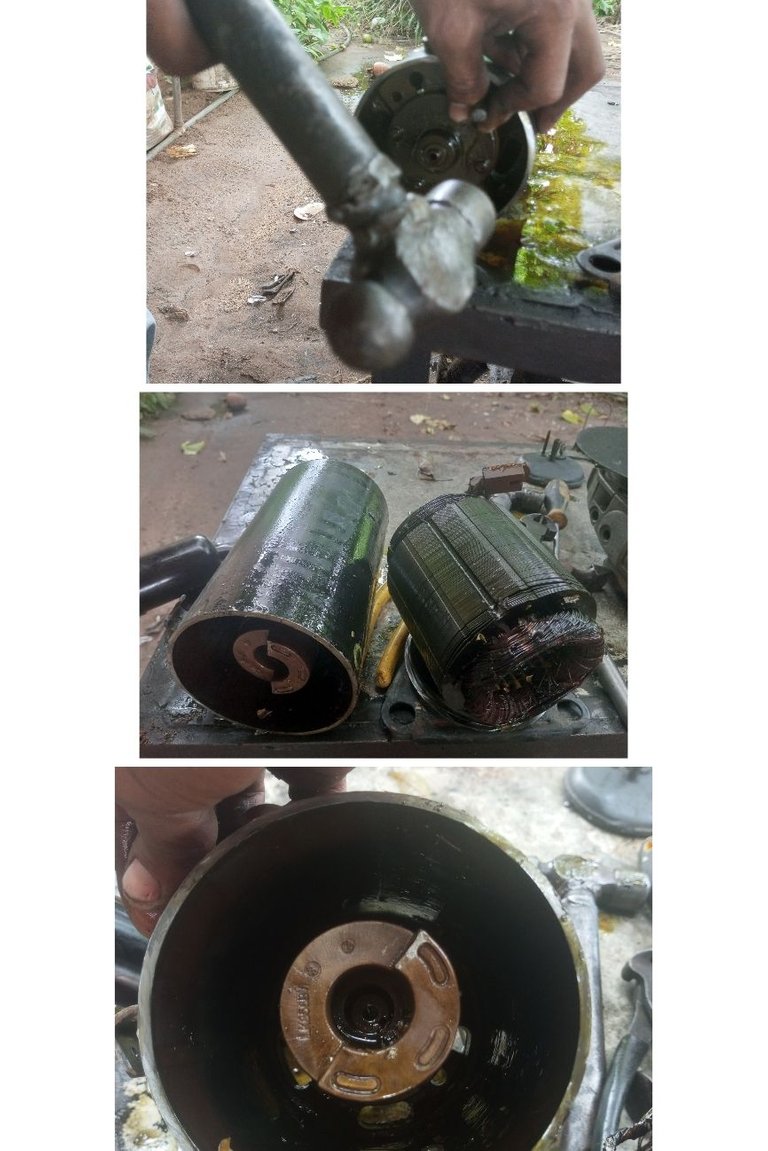
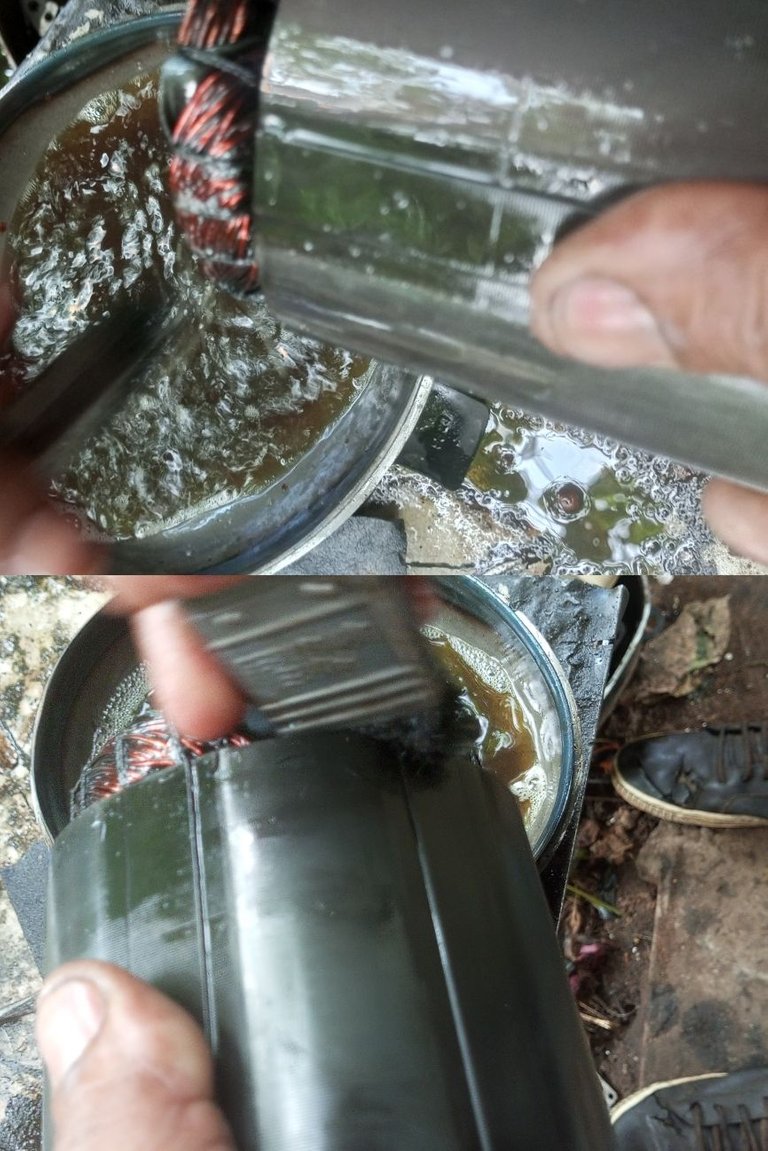
luego pasaremos a lavar por dentro y por fuera las partes que usaremos.
luego lavamos la bobina que vamos a usar.
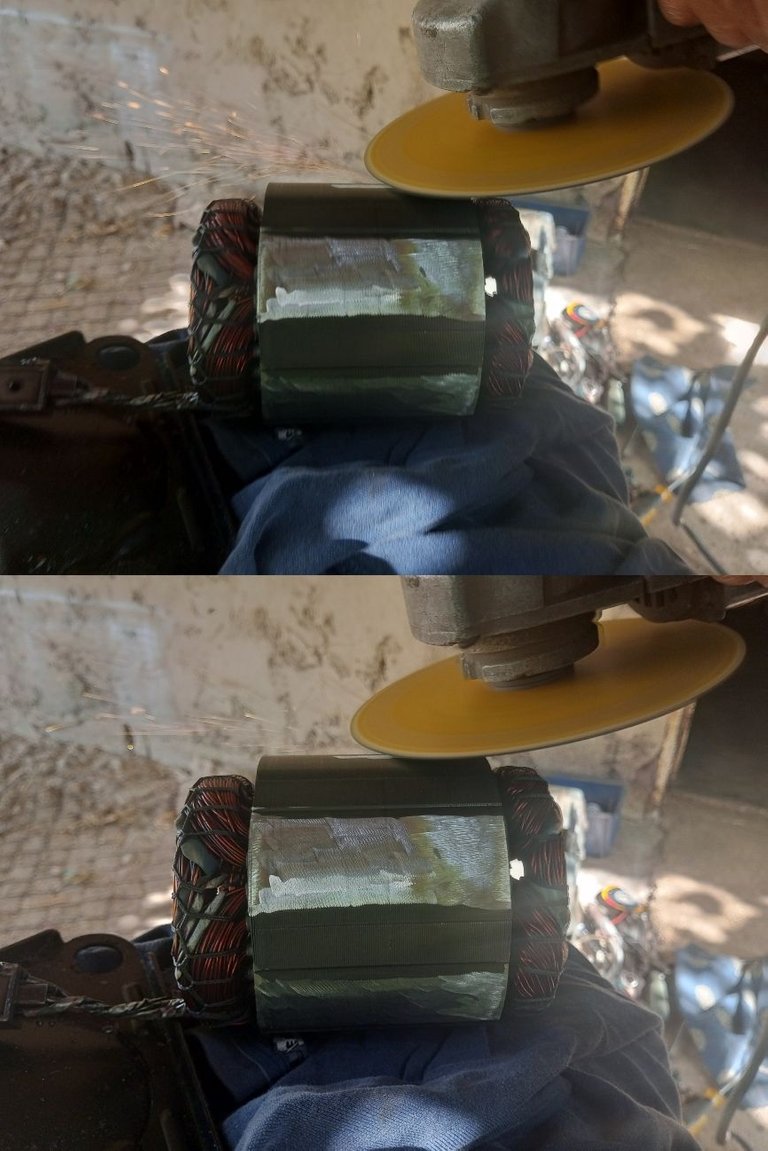
pasaremos a devastar un poco la bobina que usaremos con ayuda de un esmeril para que no entre forzada y no se dañe.
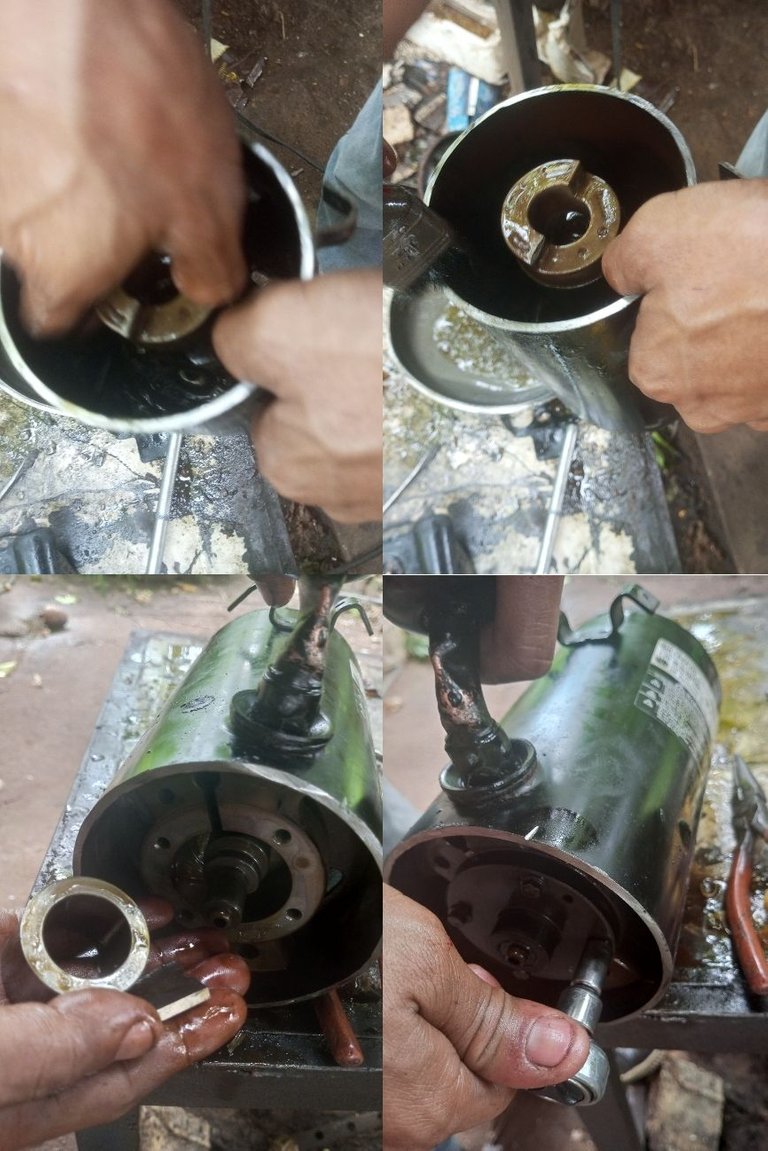
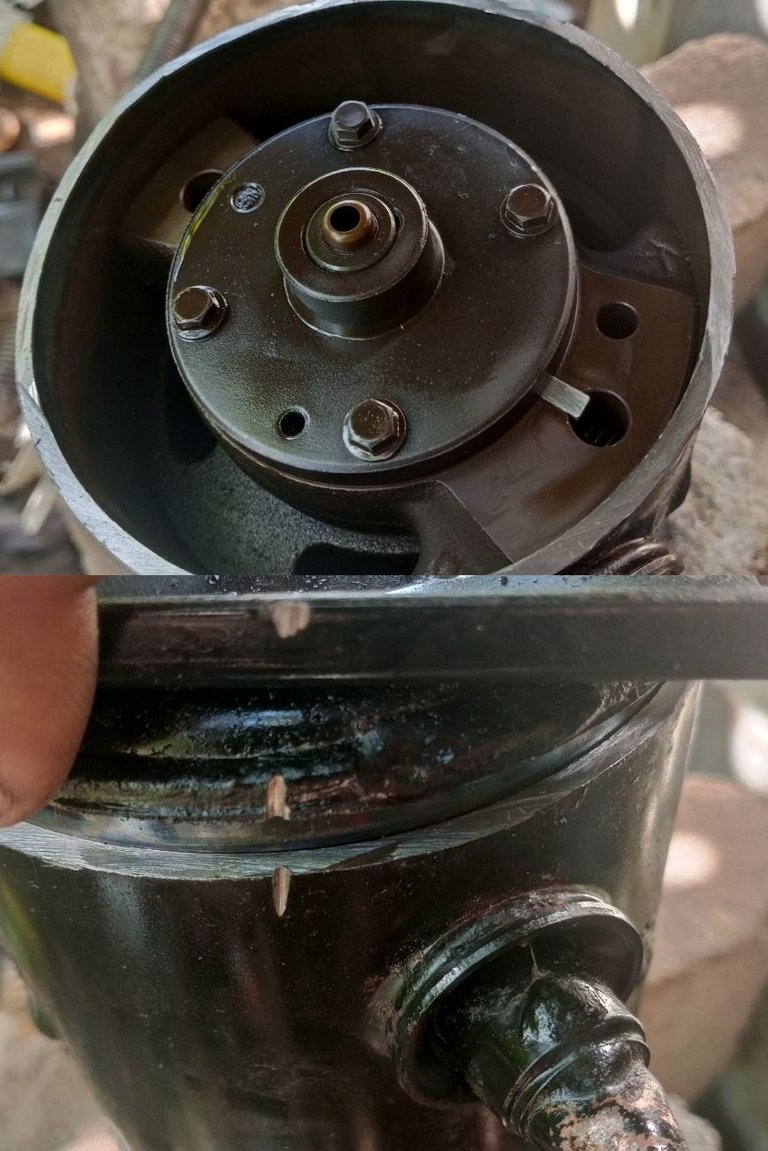
luego pasaremos a colocar la tapa de abajo para meter la bobina.
centramos la bobina y con ayuda de la barra y el martillo, daremos pequeños golpes para que baje poco a poco
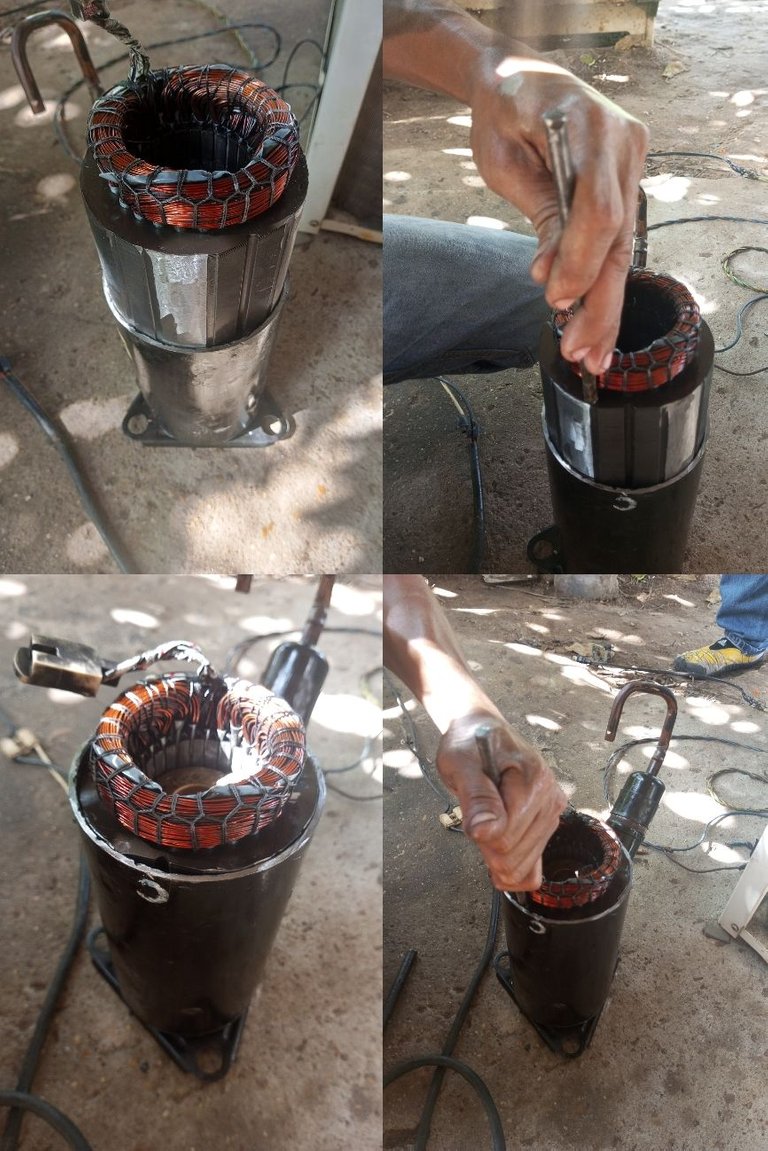
cuando esté en su lugar, encendemos el motor para ver si tiene alguna anomalía.
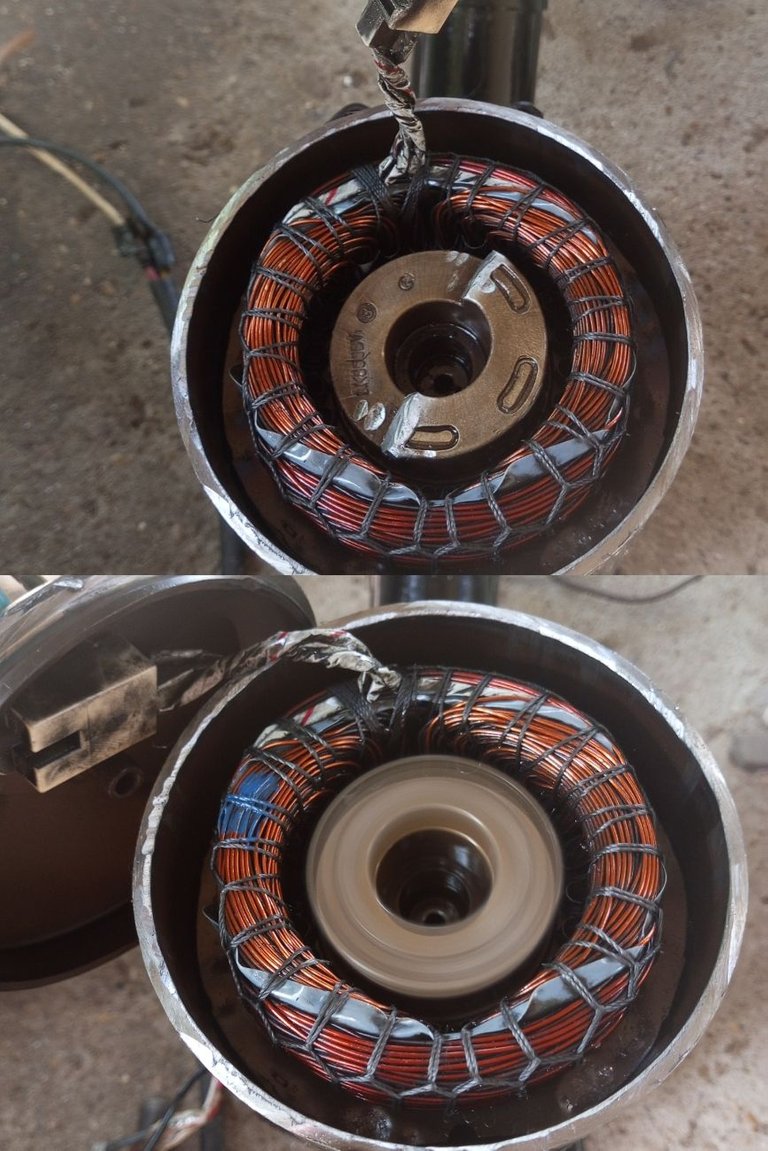
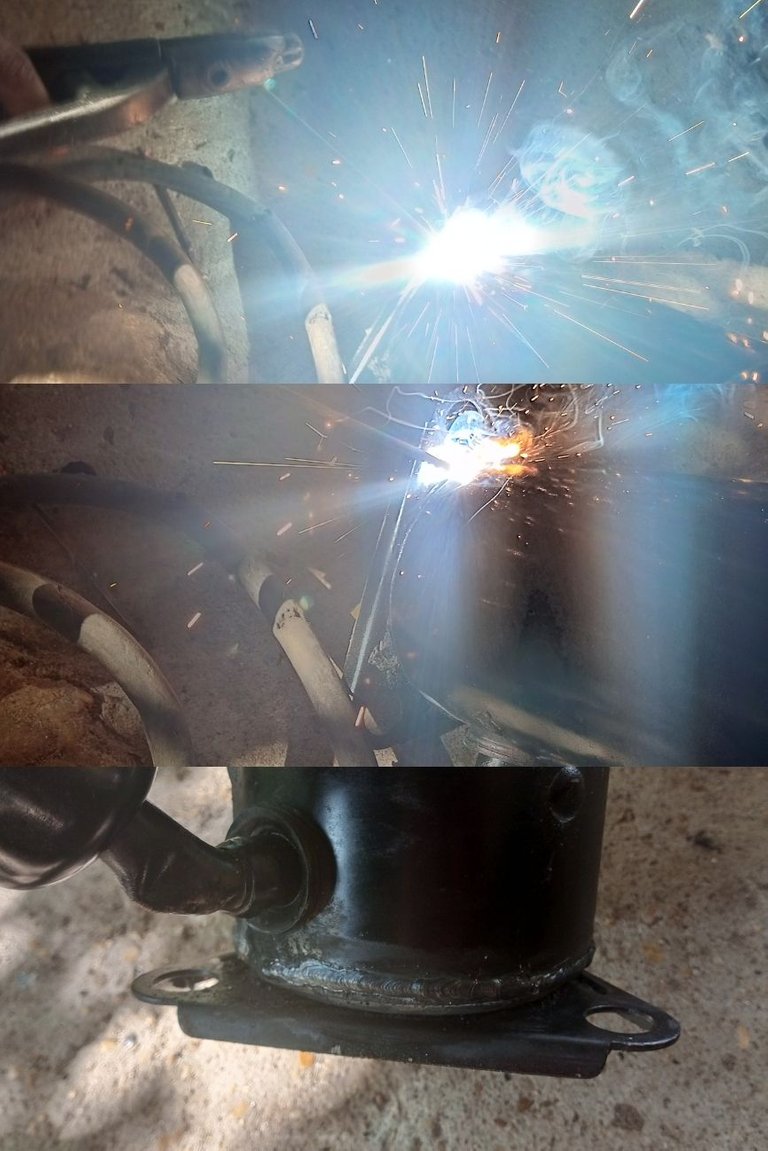
cuando nos aseguremos de que funciona bien, pasamos a soldar la tapa de abajo.
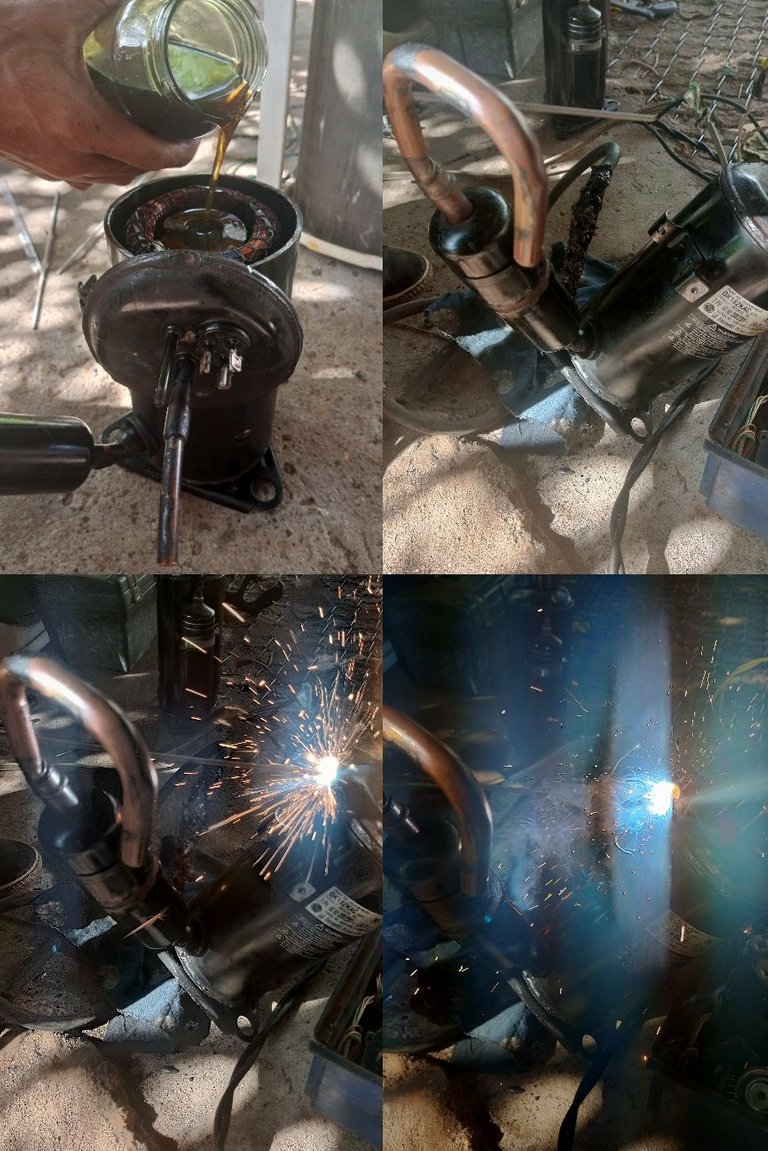
luego echamos el aceite para colocar la tapa de arriba y soldarla.
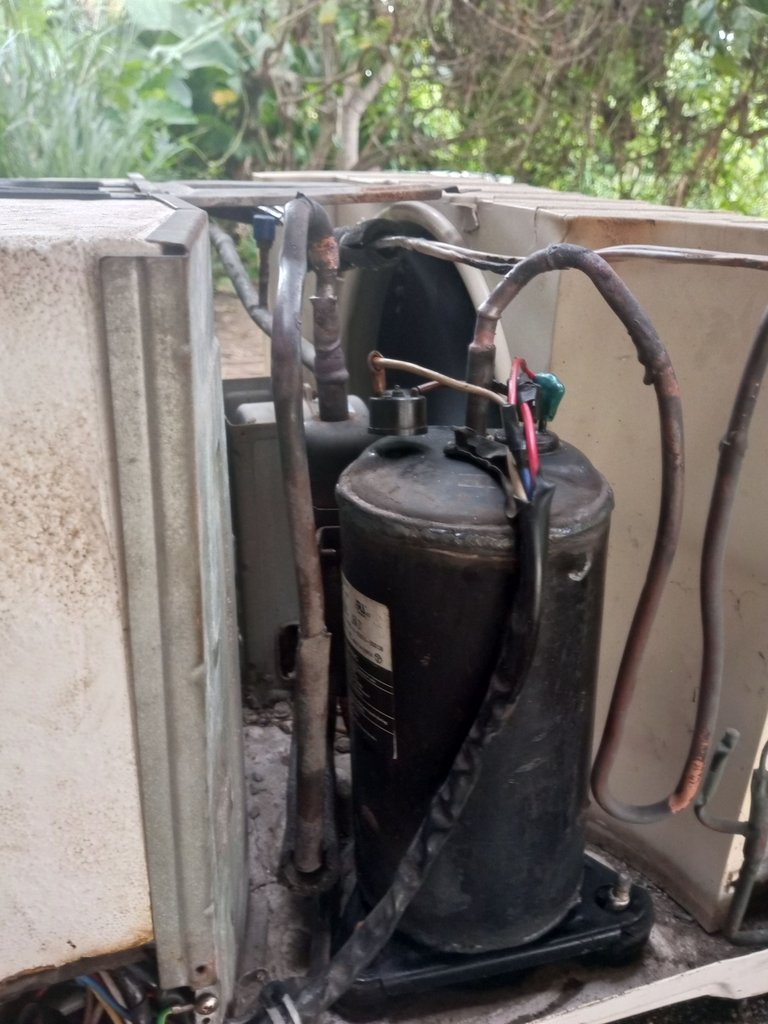
cuando esté listo pasaremos a instalarlo en un aire acondicionado de ventana de 12 btu
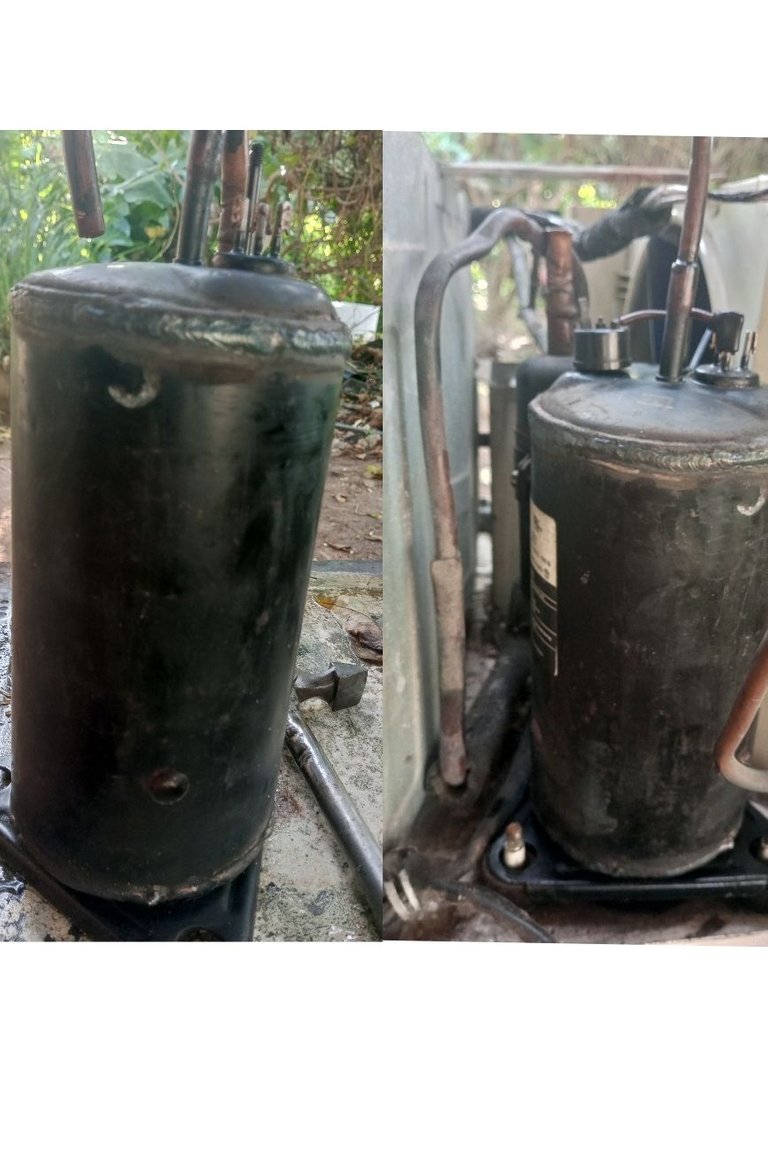
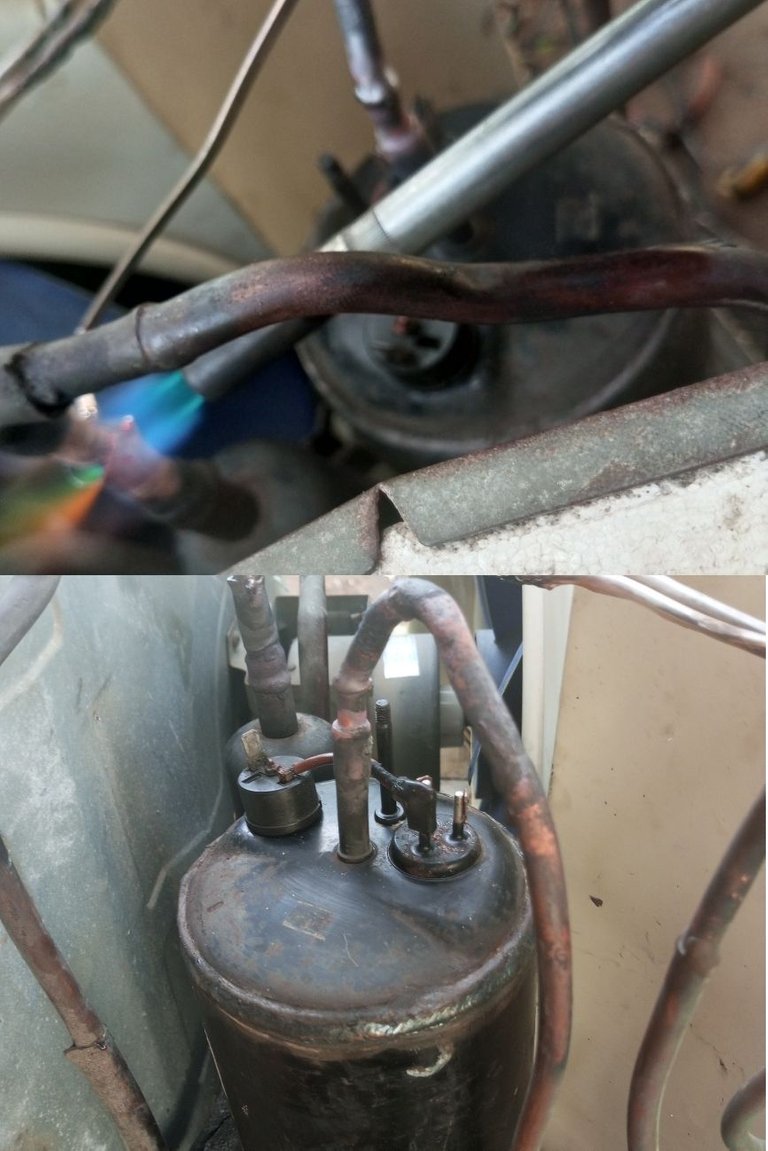
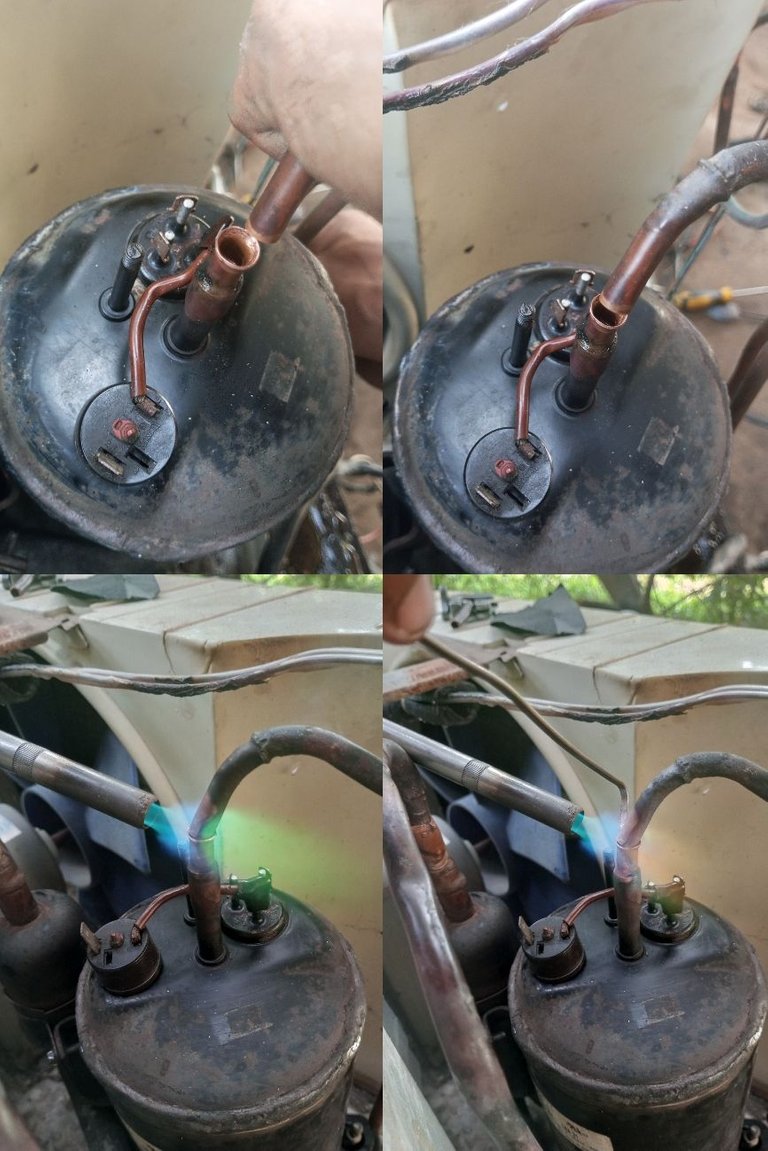
luego pasaremos a soldar las tuberías de alta y baja.
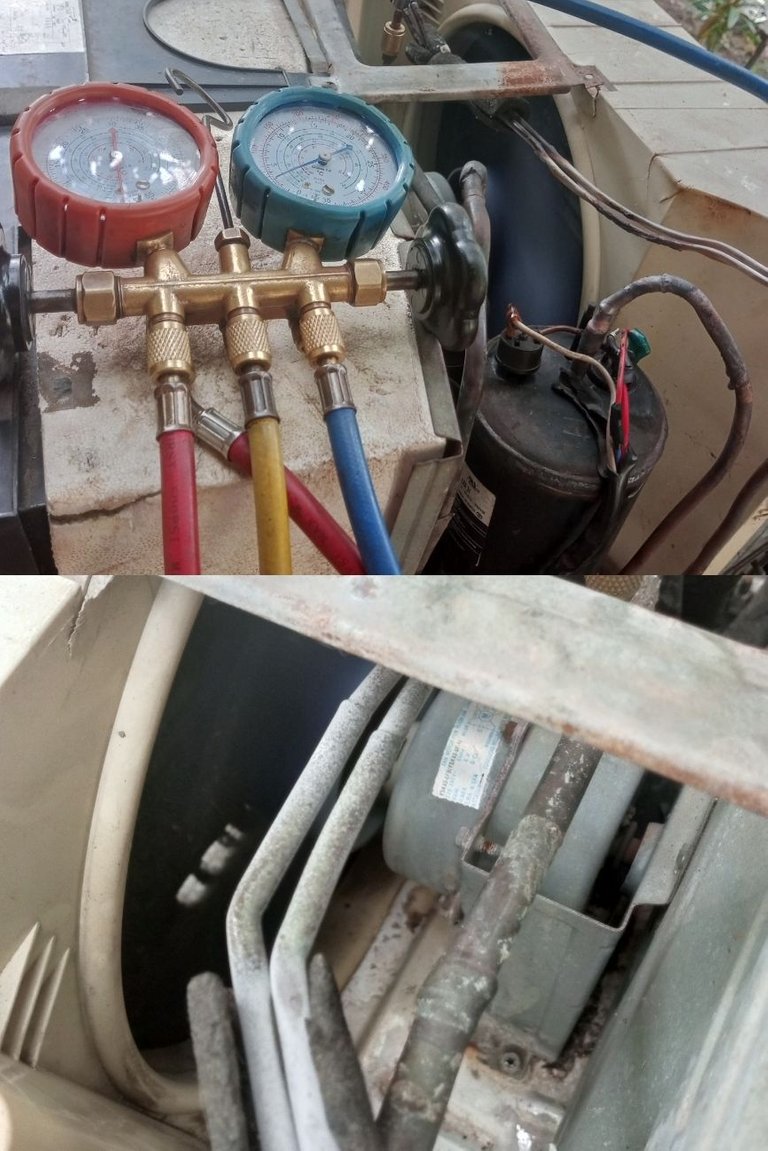
realizamos un vacío para asegurarnos de que no hay fuga y aplicarle el gas
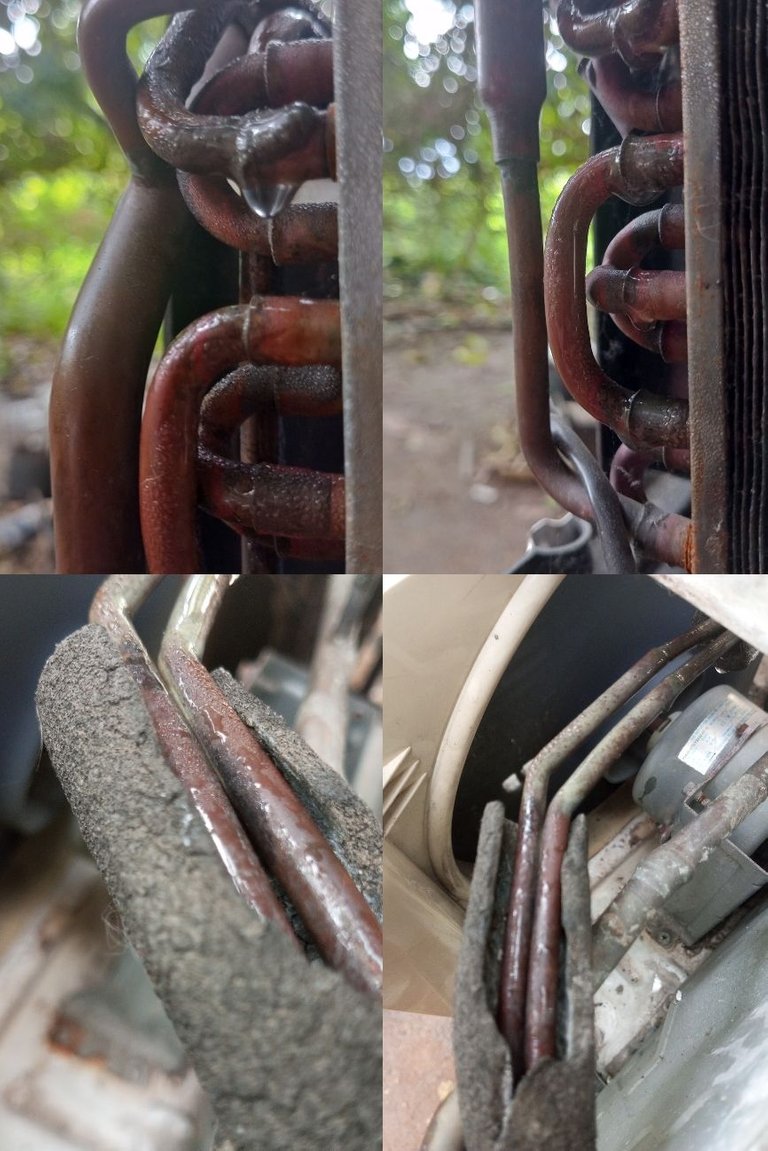
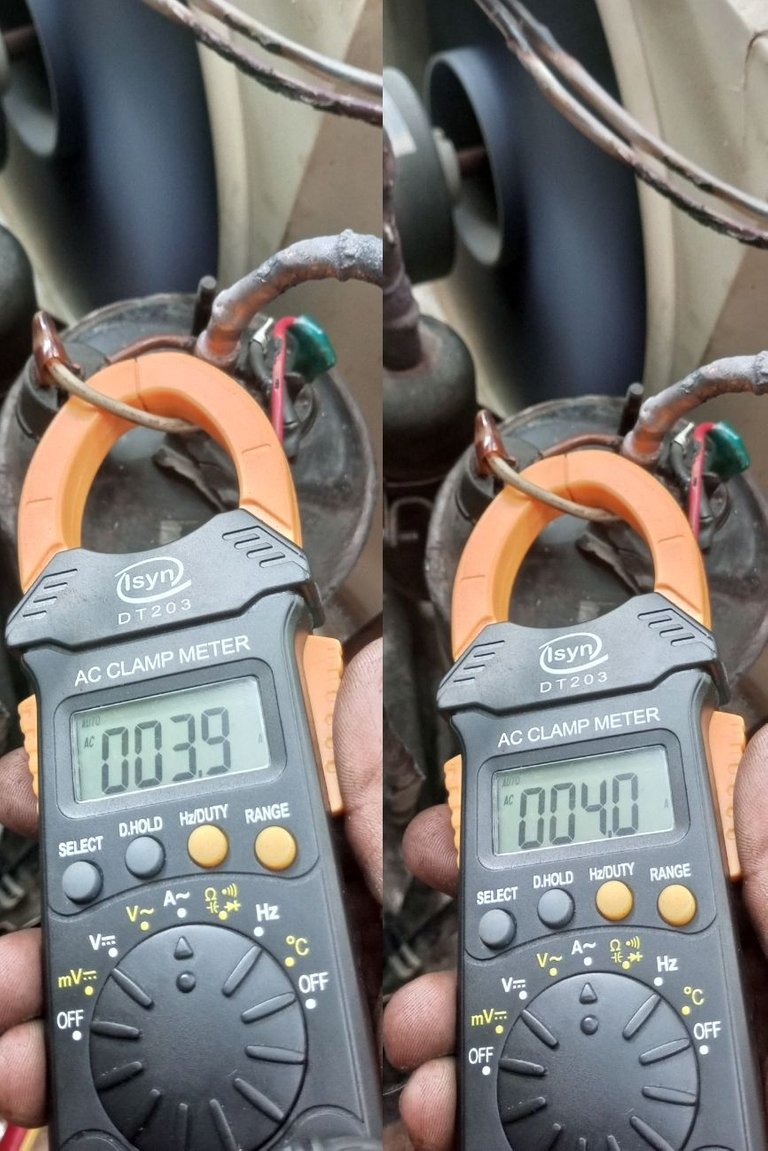
cuando tenga el gas completo, pasamos a medir el consumo del motor, este tiene que estar entre 4 a 5 amperios
ahora el aire acondicionado está listo para ser usado.
Espero que ésta publicación les resulte útil
Gracias por leer.
hello friends of hive motors this time I want to share with you the repair of a compressor or air conditioning engine 12 btu LG brand.
there are people who think that these engines can not be repaired, but today I want to show you this process where two damaged compressors will assemble one and thus get more out of it. of one of these we will use the electrical part and the other the mechanical part.

We will start with the compressor that has the good electrical part, we begin by cutting the top and bottom of the engine making two cuts horizontally to remove the two covers, then we will make a vertical cut and with the help of a screwdriver we will open the shell a little to remove the coil without mistreating it.


then we will do the same with the other one, but only removing the two covers, because this is the machine that we are going to use to put the good electrical part.


now we take out the damaged coil, for this, by the back part we give him some small blows with the help of a bar and a hammer.

then we will wash inside and outside the parts that we will use.

then we will wash the coil we are going to use.

we will devastate a little the coil that we will use with the help of an emery so that it does not enter forced and is not damaged.

then we will place the bottom cover to put the coil.

we center the coil and with the help of the bar and the hammer, we will give small blows so that it lowers little by little.

when it is in its place, we turn on the motor to see if it has some anomaly.

when we make sure that it works well, we go on to weld the bottom cover.

then we pour the oil to place the top cover and weld it.

when it is ready we will install it in a 12 btu window air conditioner.

then we will weld the high and low piping.


we make a vacuum to make sure that there is no leakage and apply the gas.


when you have the full gas, we measure the consumption of the motor, this has to be between 4 to 5 amps.

now the air conditioner is ready to be used.

I hope you find this publication useful
Thank you for reading.
Muy elaborada la reparación, recuerda contestar e interactuar con los comentarios en tus publicaciones :) Se puede considerar grosero no responder al tiempo que otros te han dedicado, un abrazo y saludos.
Hola, es bueno sacar la vida útil de las piezas. Para muchos es más fácil sustituir, pero quienes pueden reparar este tipo de compresores es un éxito, y el procedimiento que explicas en tu publicación está muy bueno. Gracias por compartirla.
Realmente es muy práctico dicho trabajo, lo hiciste muy bien. Te felicito
Bienvenidas delegaciones / Delegations welcome
Encuentra nuestra comunidad aquí / Find our community here
Trail de Curación / Curation Trail
Has sido curado por @visualblock / You've been curated by @visualblock
Wow excelente post, esta muy bien detallado, pero no me atreveria hacerlo, ya que no es parte de mi area de conocimiento, quizas acompañado de alguien que domine la materia. Pero esta bien interesante, ese compresor quedo nuevo literalmente. Saludos
Congratulations @pao25! You have completed the following achievement on the Hive blockchain and have been rewarded with new badge(s):
Your next payout target is 50 HP.
The unit is Hive Power equivalent because post and comment rewards can be split into HP and HBD
You can view your badges on your board and compare yourself to others in the Ranking
If you no longer want to receive notifications, reply to this comment with the word
STOPSupport the HiveBuzz project. Vote for our proposal!