ENGLISH
Greetings to the entire Hive Motors community, my name is Pedro Pérez and this is my first post in this amazing community. I have decided to subscribe to the community because I usually carry out many automotive and electrical repairs in my house, more than a hobby it is a duty since I am the only one responsible for all that type of duties, in my house we have 4 cars and a motorcycle, and at Over time I have dealt with many failures in each of them, I appreciate that I can have the opportunity to share my educational content and I hope that it will continue to be so.
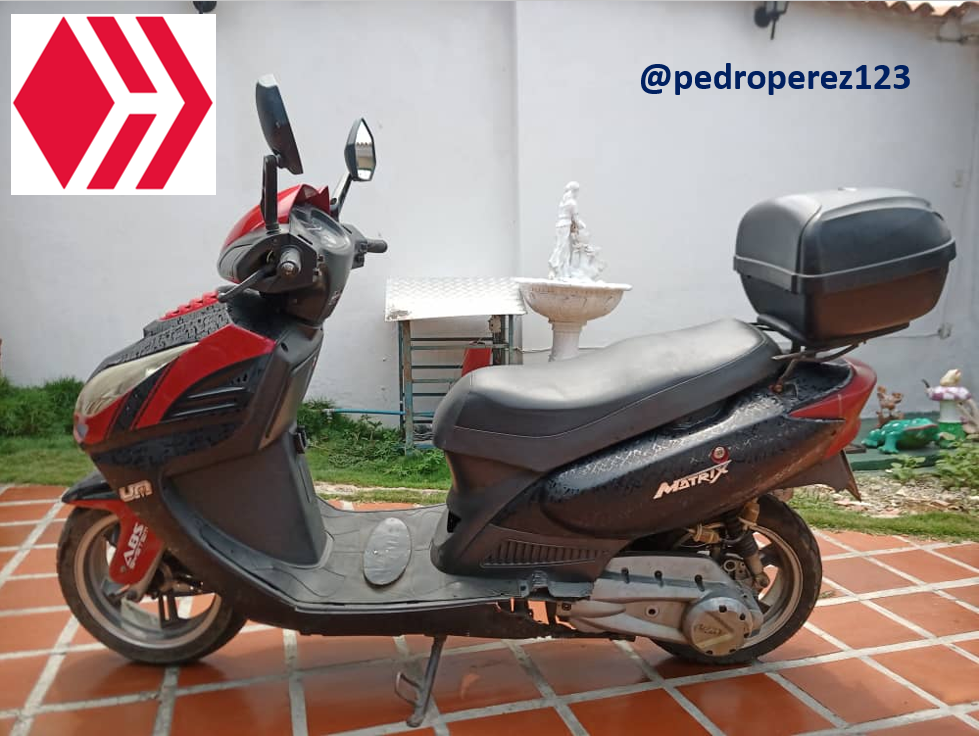
To start, for the moment, I only have a very simple topic that many may know how to do, "clean the spark plug of a traditional motorcycle scooter". I have a 2014 matrix UM scooter and very often I clean the spark plug electrode because today's gasoline is a bit dirty, in addition, the motorcycle's tank is not very clean either.
Motorcycle failure
The failure presented by the motorcycle is a problem in the ignition process, since the ignition of the spark in the spark plug cannot be generated because the dirty gasoline carbonized the electrode so much that the ignition cannot be generated. voltage required to produce the spark. For this reason the fuel does not burn and that causes the motorcycle not to start.
tools to use for the job
The number of tools required is not very complex, only 4 tools and 2 materials are necessary for cleaning,
Slotted screwdriver.
Blade screwdriver.
Rachet with 1/2' quadrant
Pull spark plug.
A little gasoline to clean the electrode.
150 grit sandpaper to clean the electrode.
The screwdrivers are part of the necessary equipment to access the spark plug by removing the covers of the motorcycle, the rachet and the spark plug is to remove the spark plug from the engine and the gasoline and the sandpaper is to clean the spark plug.
Process of how to remove, clean and place the spark plug of a UM 2014 matrix motorcycle
- The first step is to use the screwdrivers to remove the screws from the cover of the part of the motorcycle where part of the engine and the spark plug with its electrical cable are displayed.
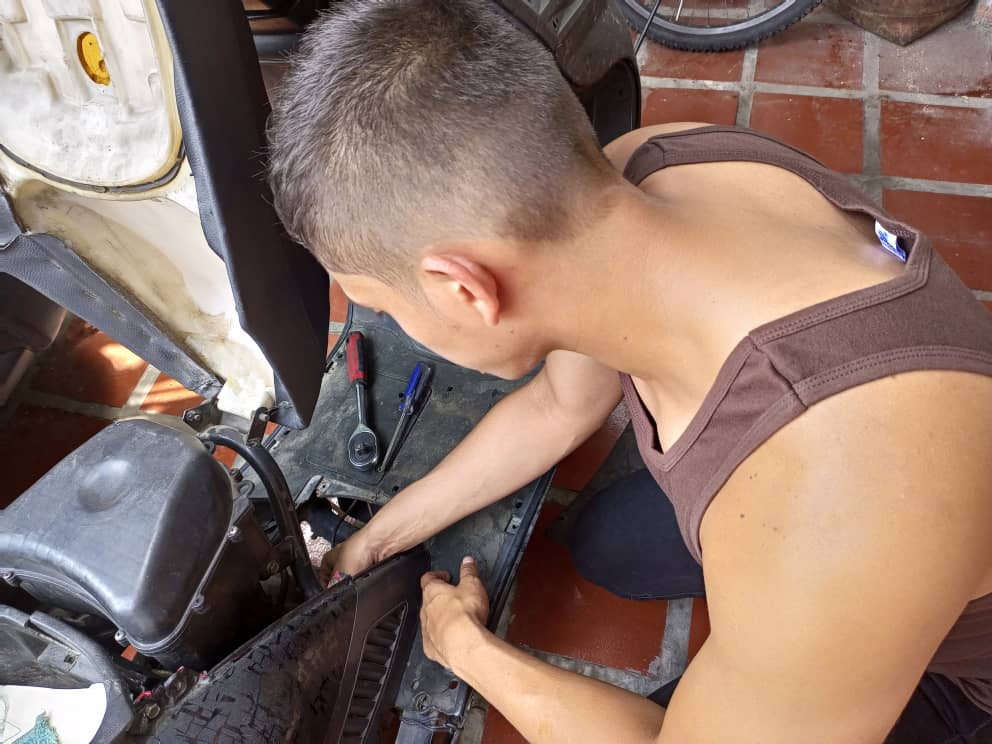
- After that, we can observe the cable (supply) and with our hand we remove it to see the spark plug inside the engine chamber, we use the 1/2' ratchet and the spark plug as given to remove the spark plug in an anticlockwise direction.

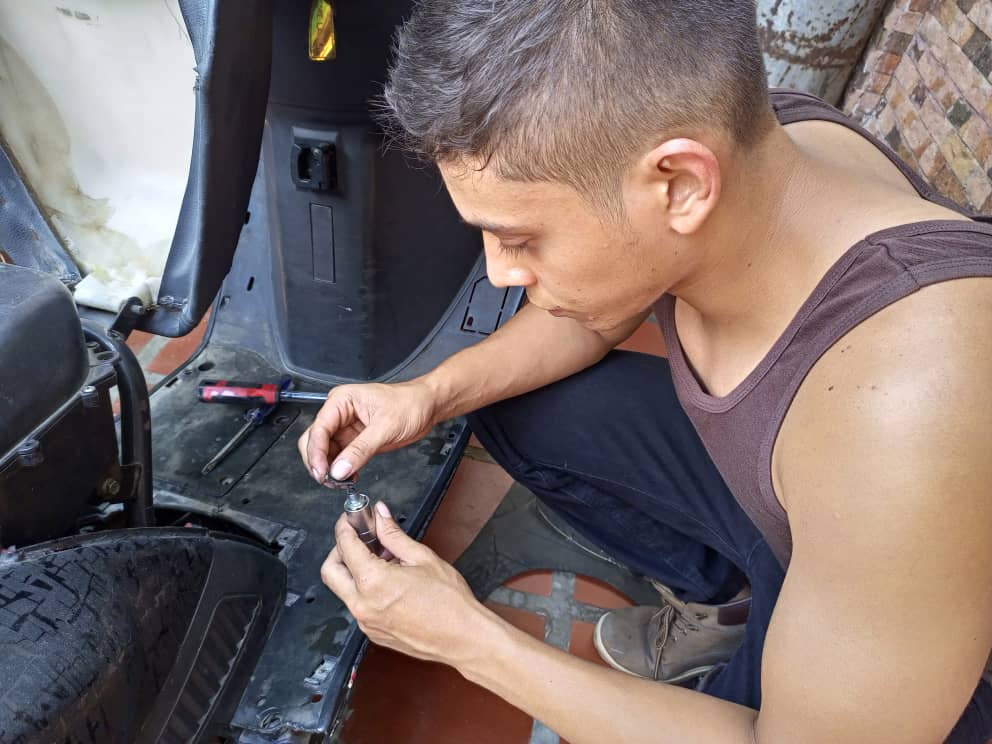
- When removing the spark plug we wet it a little with gasoline and take the 150 sandpaper to sand the part of the electrode, all that area must be completely clean, then it is cleaned with gasoline again.
Lastly, we must place the bija back in the spark plug and, holding it with our hand, screw it into the motorcycle's engine chamber.
When it can no longer be screwed in, we use the ratchet to tighten the spark plug, remove the spark plug and put the cable (pacifier) in its place.
Then we put the cover of the bike using the screwdrivers and finally we can start the bike.
ESPAÑOL
Un saludo a toda la comunidad de hive motors, mi nombre es Pedro Pérez y esta es mi primera publicación es en esta increíble comunidad. He decidido suscribirme a la comunidad porque suelo efectuar muchas reparaciones automotrices y eléctricas en mi casa, más que un hobby es un deber puesto que soy el único responsable de todo ese tipo de deberes, en mi casa tenemos 4 autos y una moto, y a lo largo del tiempo he lidiado con muchas fallas en cada uno de ellos, agradezco que puedo tener la oportunidad de compartir mi contenido educativo y espero que así sigua siendo.
Para iniciar, por los momentos, solo tengo un tema muy sencillo que tal vez muchos sepan hacer, "limpiar la bujía de una moto scooter tradicional". Tengo una scooter matrix UM 2014 y muy seguido tengo hacer limpieza al electrodo de la bujía porque la gasolina de hoy en día es un poco sucia, además, el tanque de la moto tampoco está muy limpio que digamos.
Falla de la moto
La falla que presenta la moto es un problema en el proceso de encendido, ya que no se puede generar la ignición de la chispa en la bujía debido a que el sucio de la gasolina carbonizo tanto el electrodo de la misma que no se puede generar el voltaje necesario para producir la chispa. Por tal motivo el combustible no se quema y eso produce que la moto no encienda.
herramientas a utilizar para el trabajo
No es muy compleja la cantidad de herramientas que se requieren, solo es necesario 4 herramientas y 2 materiales para la limpieza,
Destornillador de estrías.
Destornillador de pala.
Rachet con cuadrante de 1/2'
Saca bujía.
Un poquito de gasolina para limpiar ele electrodo.
Lija de 150 para limpiar el electrodo.
Los destornilladores forman parte del equipo necesario para acceder a la bujía retiran do las tapas de la moto, el rachet y el sacabujía es para retirar la bujía del motor y la gasolina y la lija es para limpiar la bujía.
Proceso de como retirar, limpiar y colocar la bujía de una moto matriz UM 2014
El primer paso es usar los destornilladores para retirar los tornillos de la tapa de la parte de la moto en que se visualiza parte del motor y la bujía con el cable eléctrico de la misma.
Luego de eso, podemos observar el cable (chupón) y con la mano lo retiramos para ver la bujía dentro de la cámara del motor, usamos el rachet de 1/2' y el sacabujias como dado para retirar la bujía en sentido antihorario.
Al retirar la bujía la mojamos un poco con gasolina y tomamos la lija 150 para lijar la parte del electrodo, toda esa área debe estar completamente limpia, luego se limpia con gasolina nuevamente.
Por último, debemos colocar la bija nuevamente en el sacabujias y sosteniéndolo con la mano vamos enroscándolo en la cámara del motor de la moto.
Cuando ya no pueda enroscar más usamos el rachet para apretar la bujía, retiramos el sacabujias y colocamos el cable (chupón) en su lugar.
Luego colocamos la tapa de la moto usando los destornilladores y finalmente podemos encender la moto.

Muy detallada guía paso por paso, curiosa publicación, ojalá hubieras incluido más fotografías de la moto :)