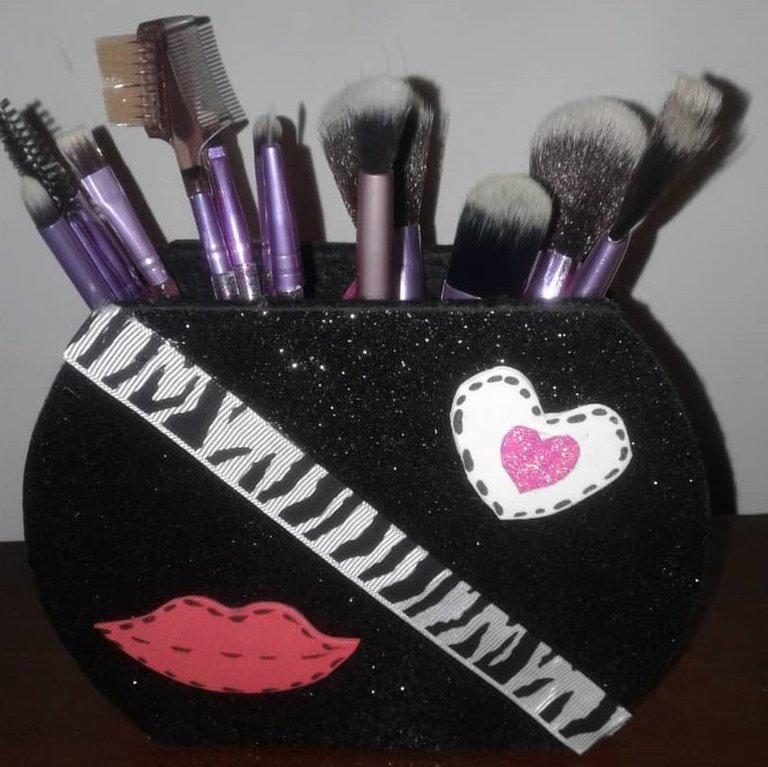
Hi friends of hive, today I want to share with you a brush holder I made, days ago I was looking at Instagram makeup and different brush sets, but I didn't know if they were good or not, until my friend @lucianav recommended me a page in Instagram since she has bought there before and there was the brush set so I made the purchase and I don't regret it since they are very good, It is advisable to have a brush holder for greater comfort when applying makeup and also to have the brushes separated and equally stopped so that the bristles are not sticking and are kept in excellent condition. Hola amigos de hive, hoy quiero compartir con ustedes un porta brochas que hice, hace días estaba viendo en Instagram maquillaje y diferentes sets de brochas, pero no sabía si eran buenas o no, hasta que mi amiga @lucianav me recomendó una página en Instagram ya que ha comprado ahí antes y estaba el set de brochas así que hice la compra y no me arrepiento ya que son muy buenas, es recomendable tener un porta brochas para mayor comodidad a la hora de maquillarse y también tener la brochas separadas e igualmente paradas para que la cerdas no se estén pegando y se mantengan en excelente condiciones.
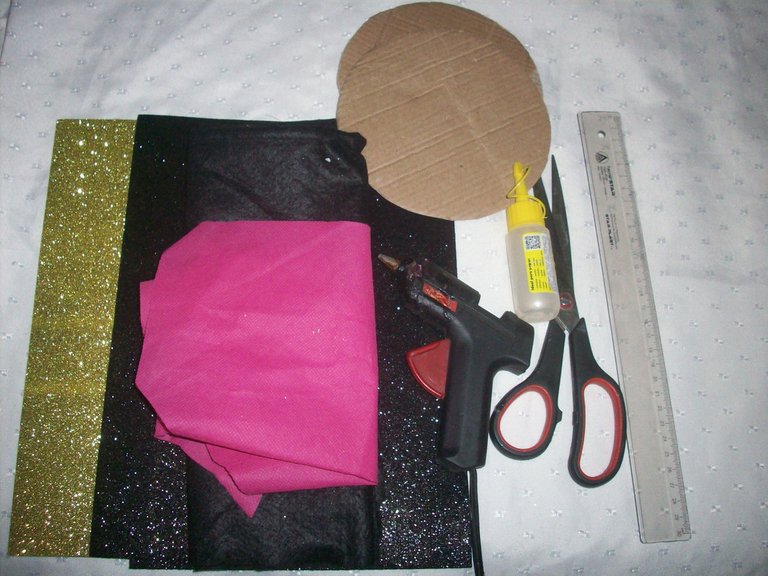
Materiales - Materials
- Foami normal y escarchado
- Cartón
- Cartulina
- Silicón
- Tijera
- Regla
- Fieltro
- Tela
- Cinta
- Normal and frosted foami
- Cardboard
- Silicone
- Scissors
- Rule
- Felt
- Fabric
- Tape
- Cardboard
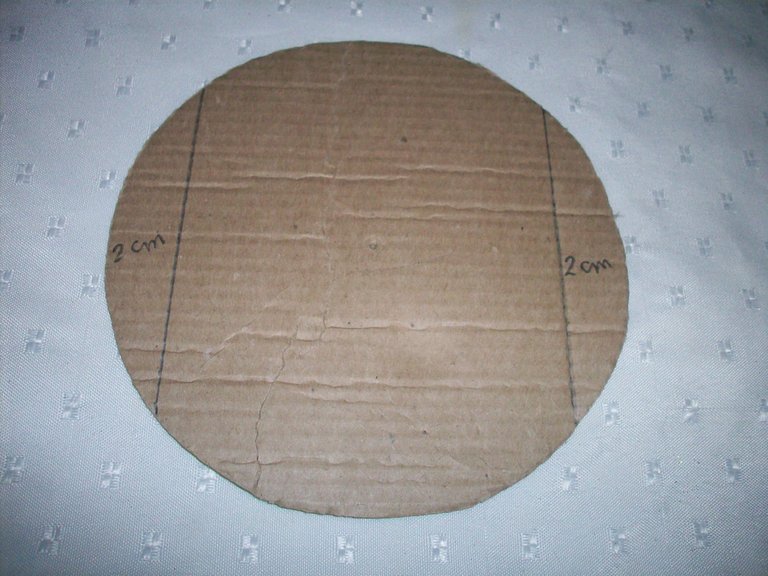
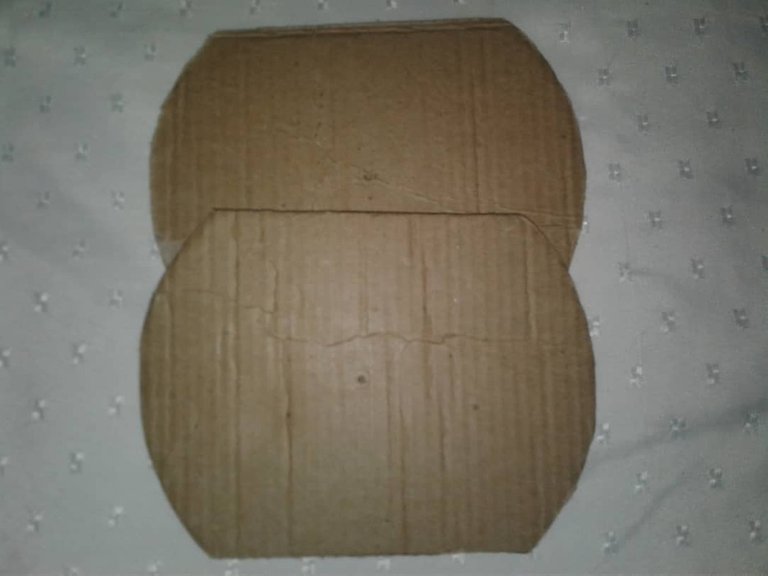
Primero cortamos 2 circunferencias de 15 cm del cartón, luego medimos 2 cm de afuera hacia adentro y lo cortamos con la tijera.
First we cut 2 circles of 15 cm from the cardboard, then we measure 2 cm from the outside to the inside and cut it with the scissors.
First we cut 2 circles of 15 cm from the cardboard, then we measure 2 cm from the outside to the inside and cut it with the scissors.
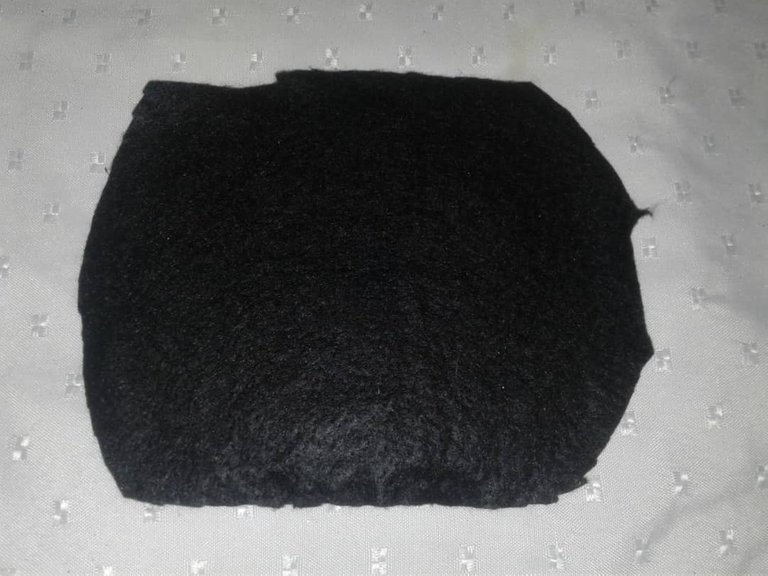
Después recortamos el fieltro de tal forma que sobre salga un poco de las tapas ya que así cuando las peguemos no se verá la orilla del cartón.
Then we cut the felt in such a way that a little bit of the lids come out, so that when we glue them together, the edge of the cardboard will not be seen.
Then we cut the felt in such a way that a little bit of the lids come out, so that when we glue them together, the edge of the cardboard will not be seen.
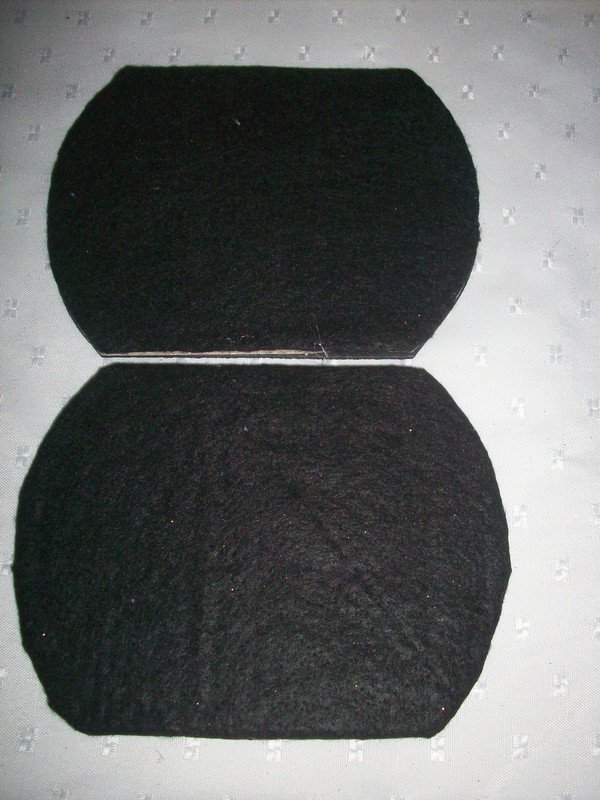
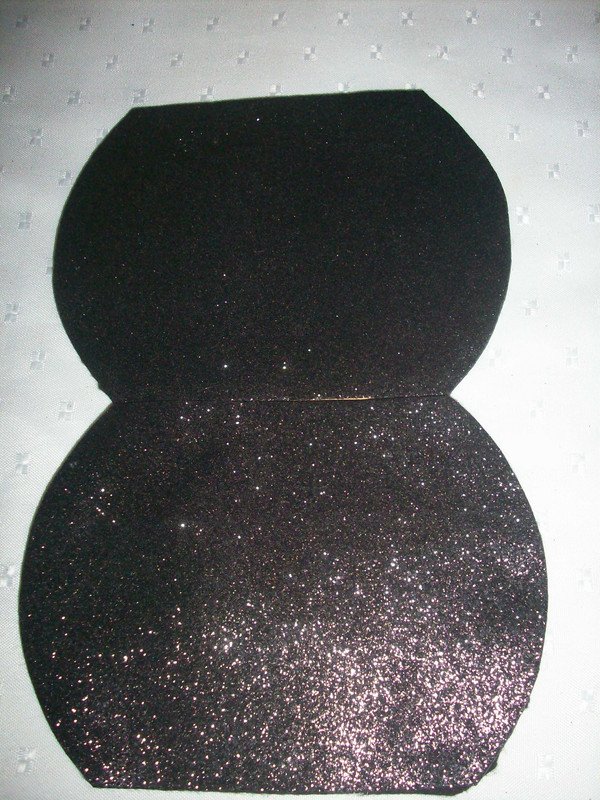
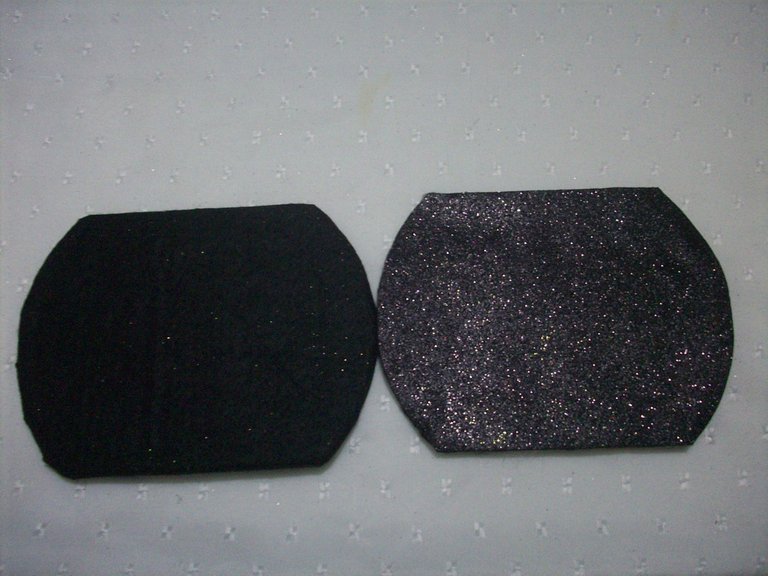
Ahora agarramos las dos tapas para marcarlo en el foami y poder recortar los dos lados, luego empezamos pegando el fieltro en una cara que será la parte interna para después pegar el foami escarchado en la otra que será la externa.
Now we take the two lids to mark it on the foami and be able to cut the two sides, then we start gluing the felt on one side that will be the internal part and then paste the frosted foami on the other that will be the external.
Now we take the two lids to mark it on the foami and be able to cut the two sides, then we start gluing the felt on one side that will be the internal part and then paste the frosted foami on the other that will be the external.
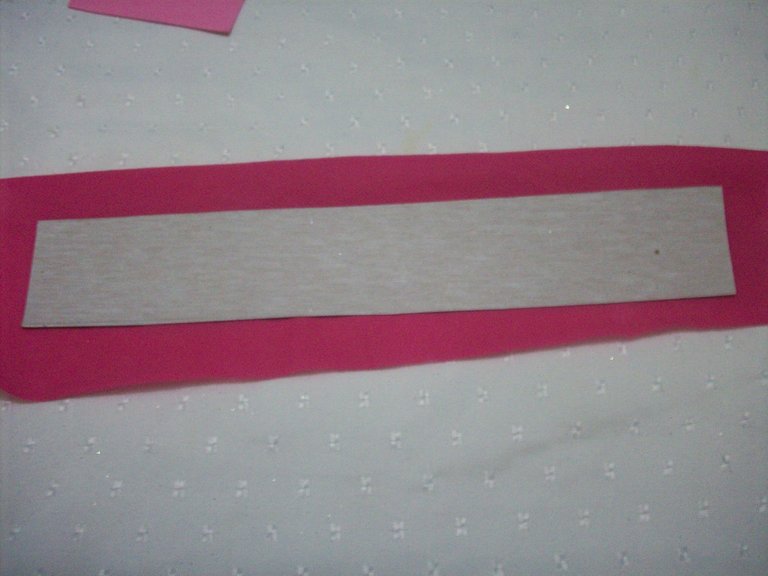
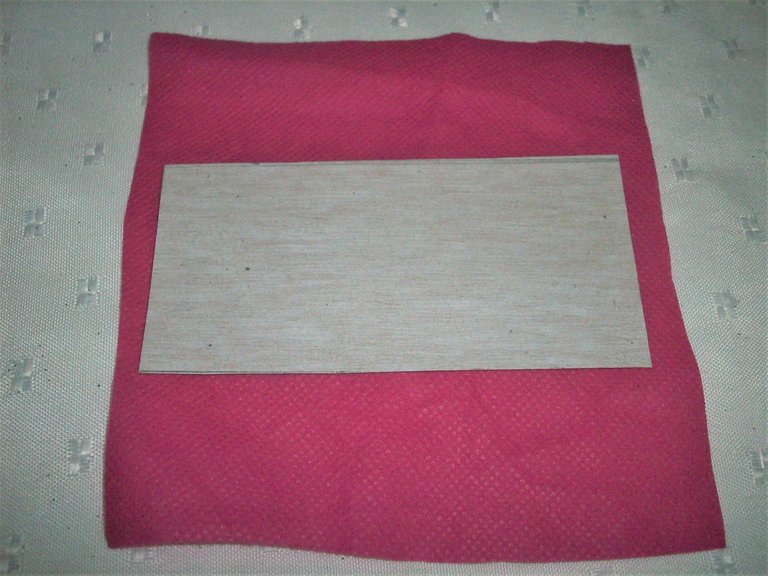
Cortamos una tira de cartulina de 30x5 cm que será para la base y otra tira de 10x5 cm que servirá para hacer una separación y las forramos con la tela.
We cut a strip of cardboard of 30x5 cm that will be for the base and another strip of 10x5 cm that will serve to make a separation and we cover them with the fabric.
We cut a strip of cardboard of 30x5 cm that will be for the base and another strip of 10x5 cm that will serve to make a separation and we cover them with the fabric.
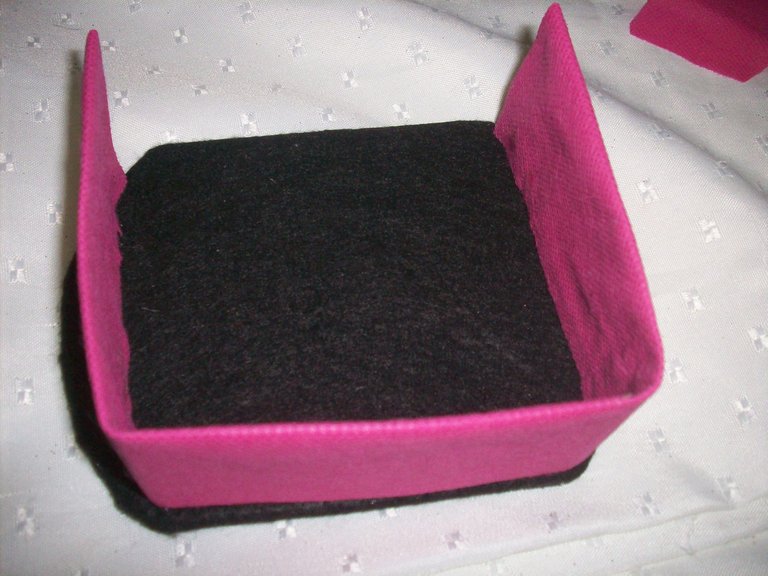
Con las dos tiras listas, primero utilizamos la más larga le colocamos silicón por todo lo ancho así pegarla en forma de U en unas de las caras para así repetir el mismo proceso con la otra.
With the two strips ready, first we use the longer one and put silicone all over it so we can stick it in a U shape on one of the sides to repeat the same process with the other one.
With the two strips ready, first we use the longer one and put silicone all over it so we can stick it in a U shape on one of the sides to repeat the same process with the other one.
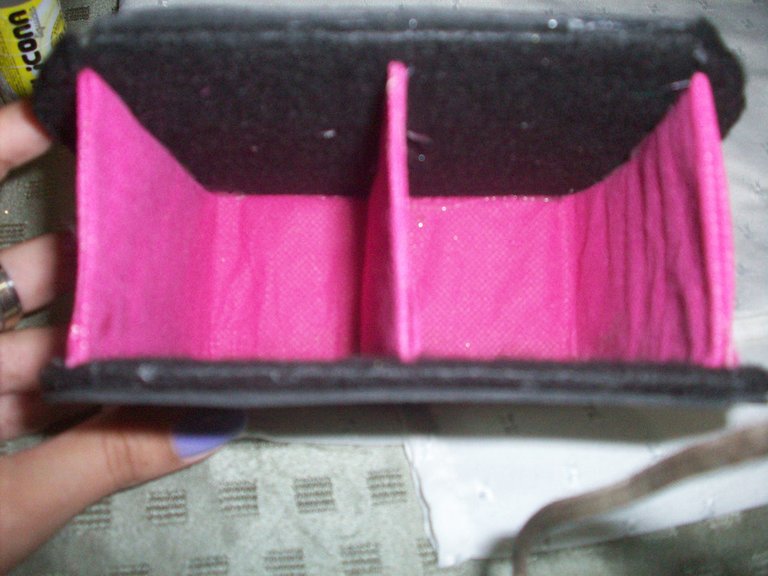
Con la tira de 10x5 cm nada más le colocamos silicón en la parte de abajo y con mucho cuidado la pegamos en la mitad para hacer la división.
With the 10x5 cm strip we just put silicone on the bottom and carefully stick it in the middle to make the division.
With the 10x5 cm strip we just put silicone on the bottom and carefully stick it in the middle to make the division.
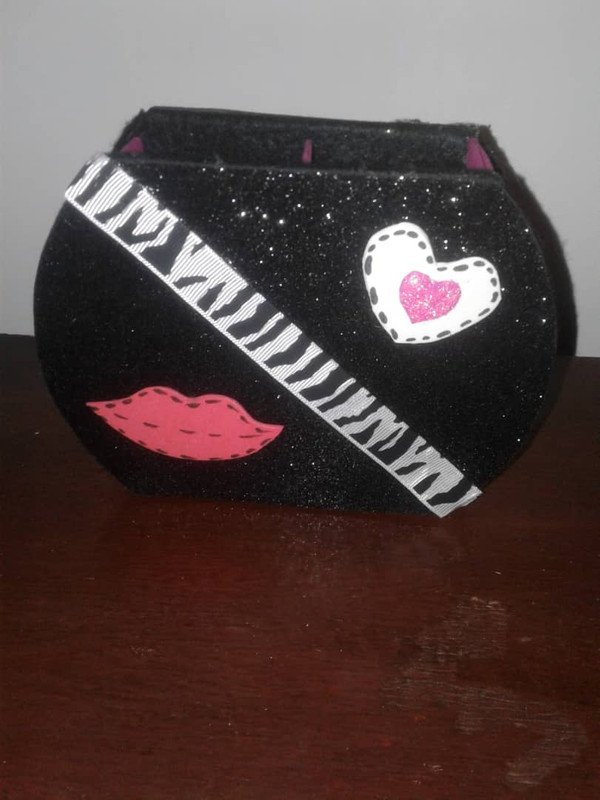
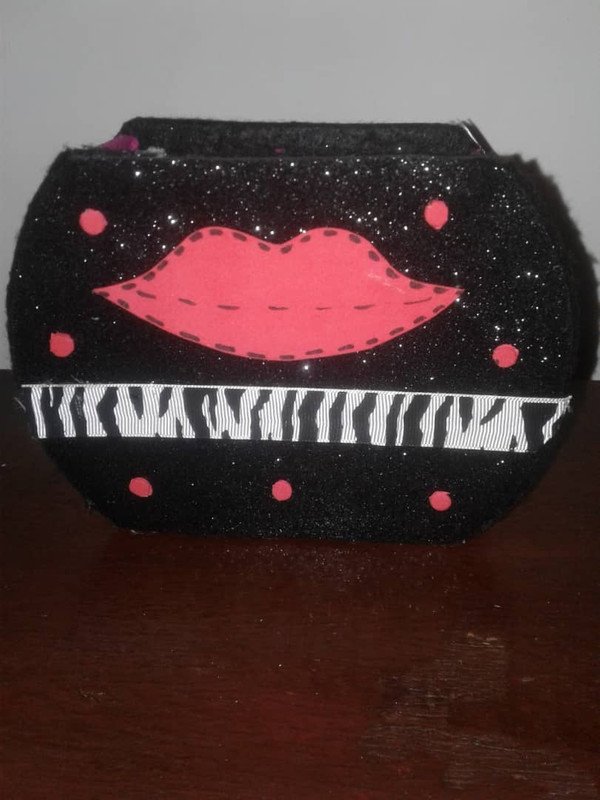
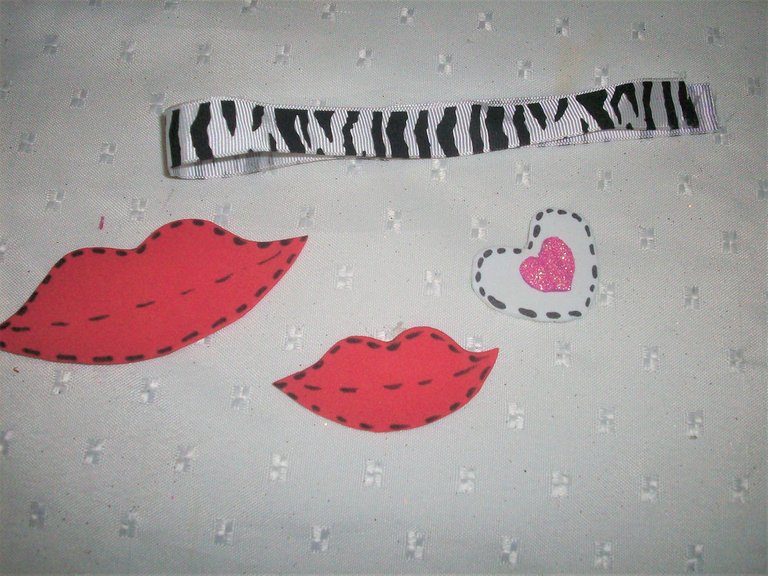
Después cortamos formas en el foami, en este caso los labios y el corazón para adornar el porta brocha.
Then we cut shapes in the foami, in this case the lips and heart to decorate the brush holder.
Then we cut shapes in the foami, in this case the lips and heart to decorate the brush holder.
Al final pegamos la cinta y los adornos en el porta brocha y estará listo.
At the end we stick the tape and the decorations on the brush holder and it's ready.
At the end we stick the tape and the decorations on the brush holder and it's ready.
Espero les guste.
I hope you like it
Gracias por Leer.
Thanks for reading
Fotos de mi propiedad.
Cámara Kodak M753

Bello amiga, definitivamente tengo que hacer uno. Super fácil y cómodo.
sii tienes que hacer uno amiga. Demasiado y aparte lo puedes decorar como quieras