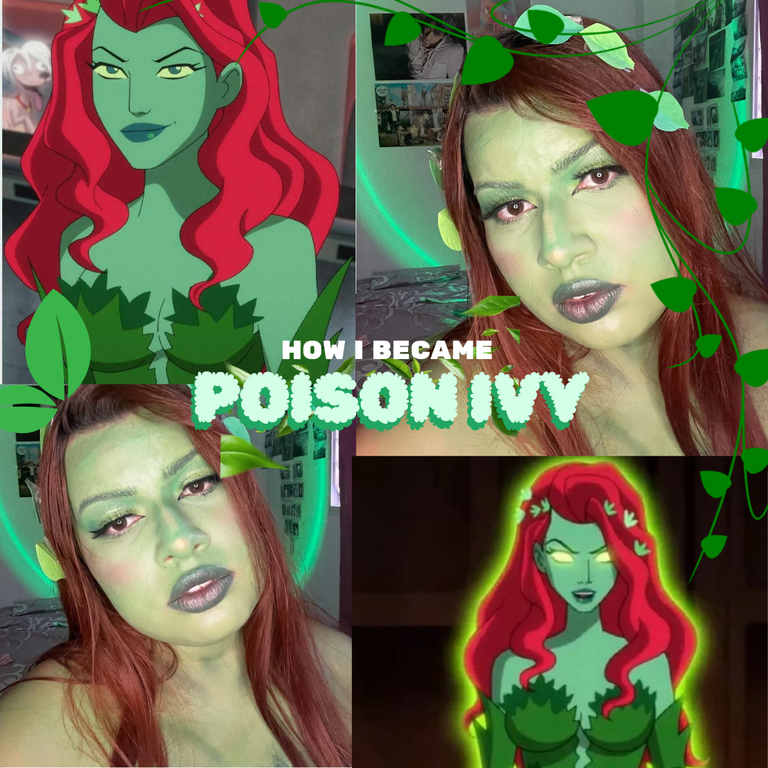
Poison Ivy is one of those characters who has always captured my attention with her strength, mystery, and natural beauty. I decided to transform into her, drawing inspiration from her iconic green tones and botanical details. Although the process was quite a challenge, the result was incredible, and I want to share with you the step-by-step process of this makeup look.
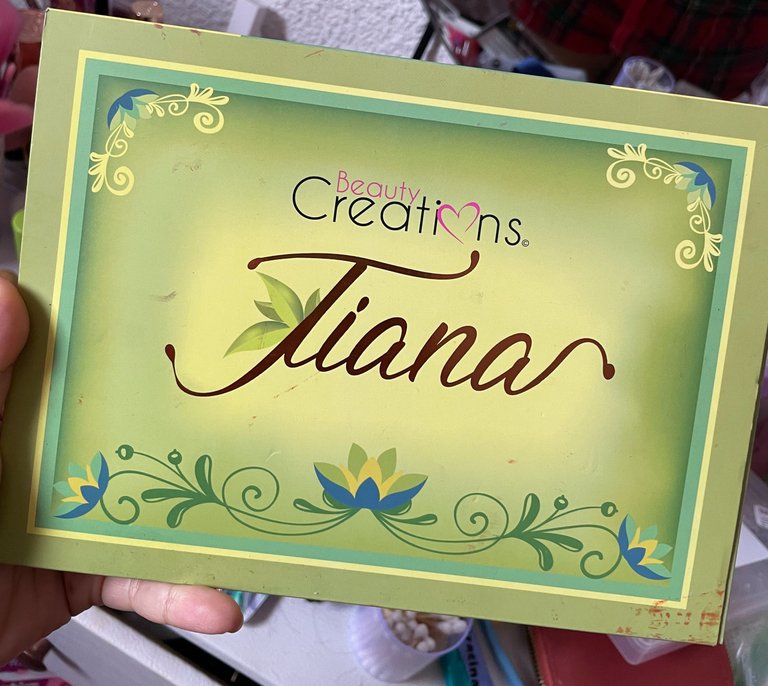
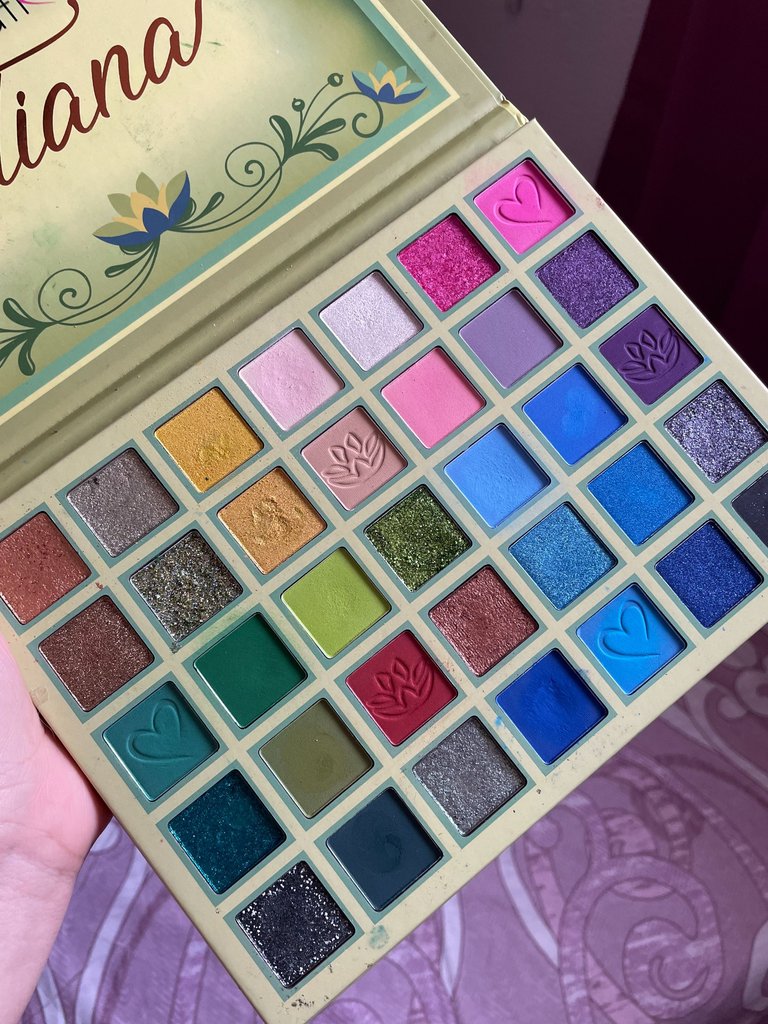
But first, let me show off the star of this makeup look—this gorgeous Beauty Creations palette from their princess series, representing Tiana from The Princess and the Frog. Beauty Creations palettes are among my favorites, and this one is no exception, with its stunning shades and shimmers.
 |  |
|---|
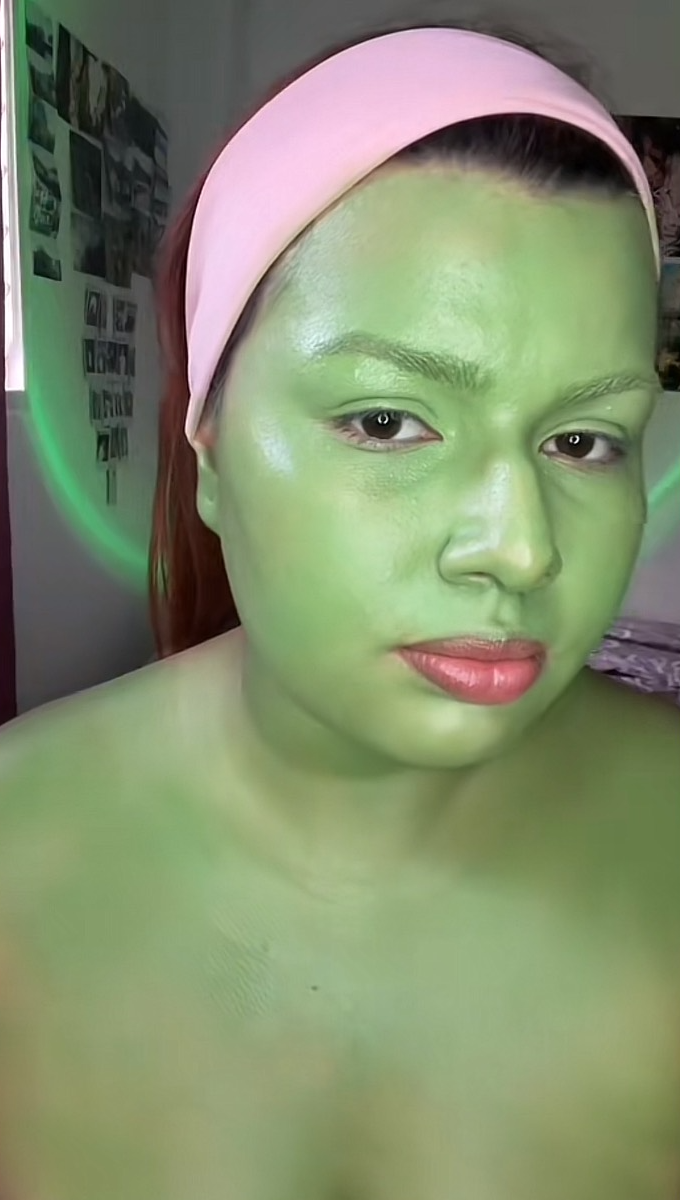
Step 1: The Perfect Green Base
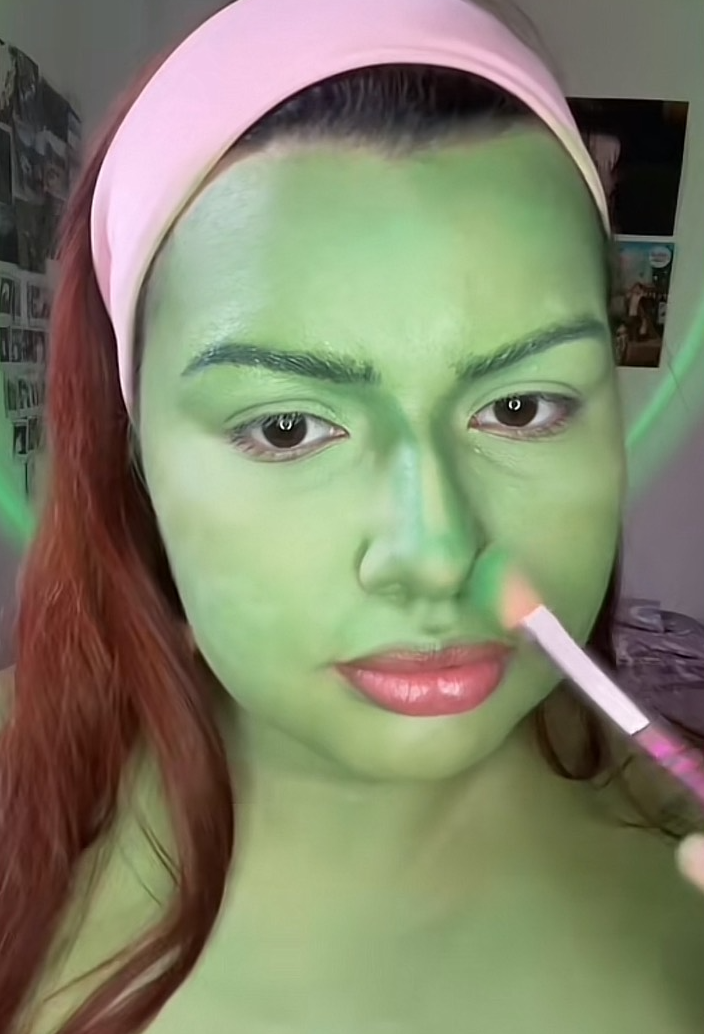
To achieve Poison Ivy’s signature green tone, I mixed the blue and yellow shades from my body paint palette, as the original green was too light. I adjusted the proportions until I got the perfect shade and applied the mixture from my face to my chest, creating a vibrant and even base.
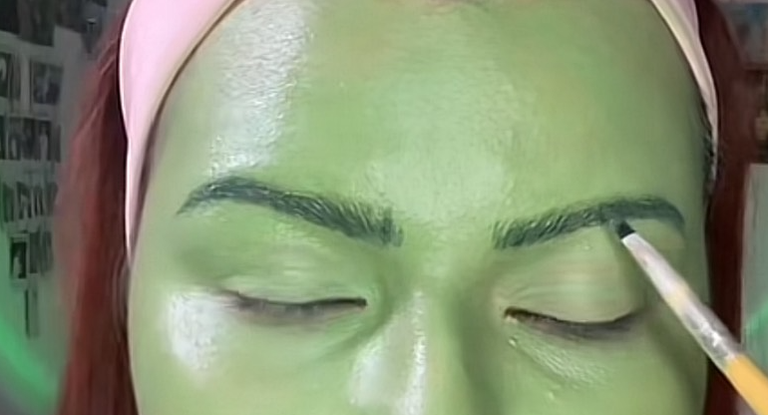
Step 2: Brows and Contour
Using a darker green, I drew thin eyebrows to better mimic the character’s style. Then, I used the same dark green eyeshadow to contour my face and nose, adding definition and a touch of drama.
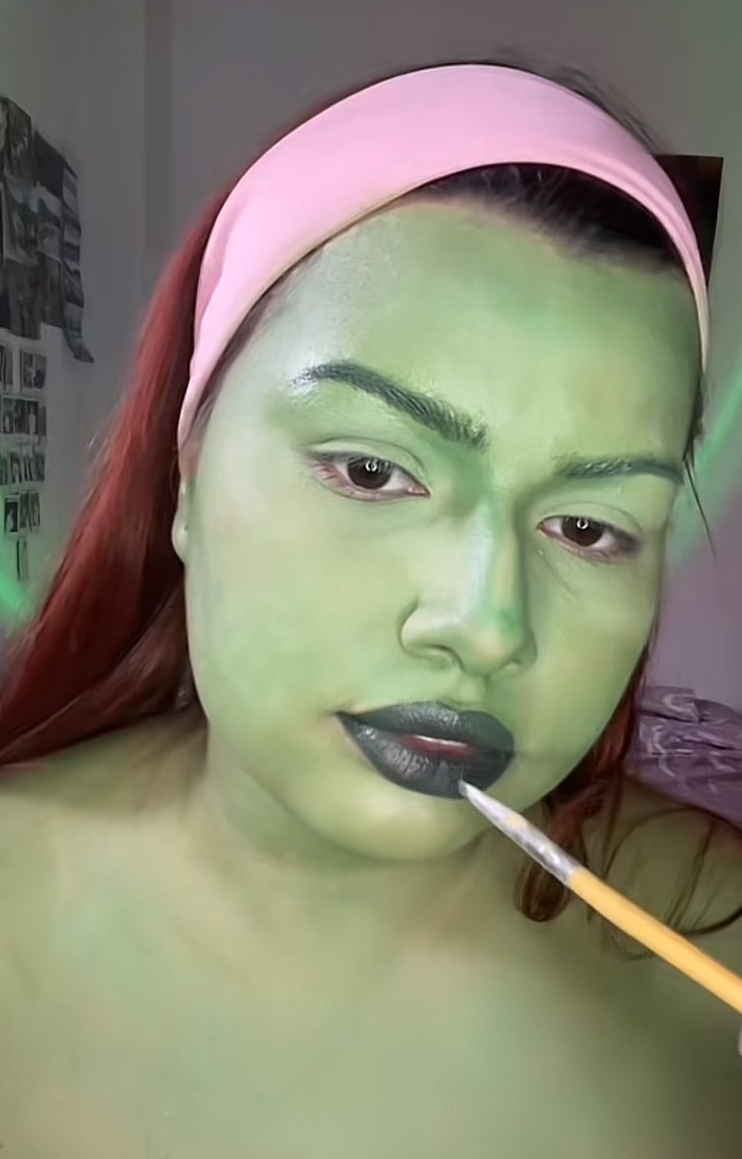
Step 3: Iconic Lips
For the lips, I used the same green as the eyebrows and added a touch of red to the center, creating a gradient effect and capturing Ivy’s seductive look.
 |  |  |
|---|

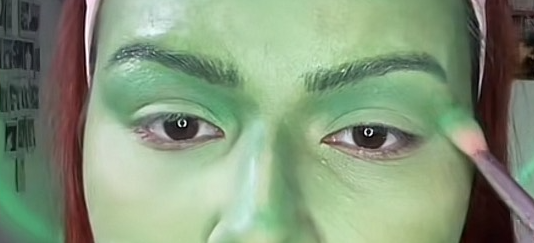
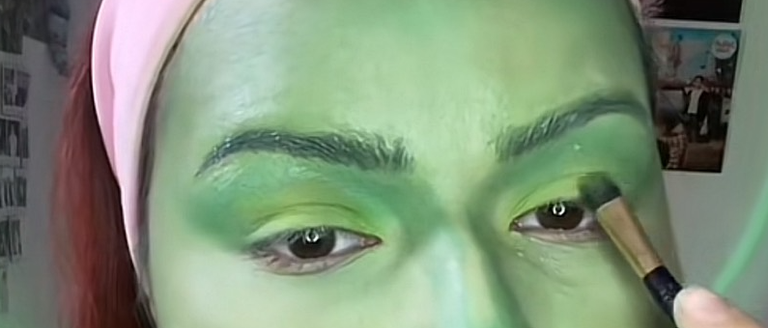
Step 4: The Eyes
The eye makeup was essential to capture the essence of the character:
On the fixed lid, I extended the dark green shadow used for contouring, blending it out to the edge of the brows for intensity.
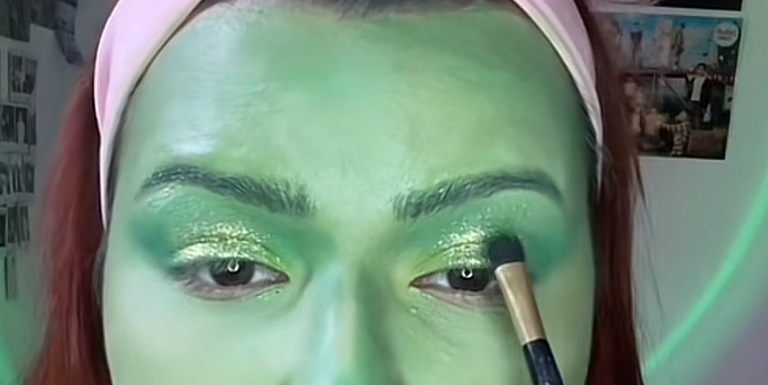
On the mobile lid, I applied a lime green shadow to brighten the eyes and topped it with a shimmering green shadow for a dazzling effect.
For depth, I used the dark green shadow on the outer “V” of the eyes.
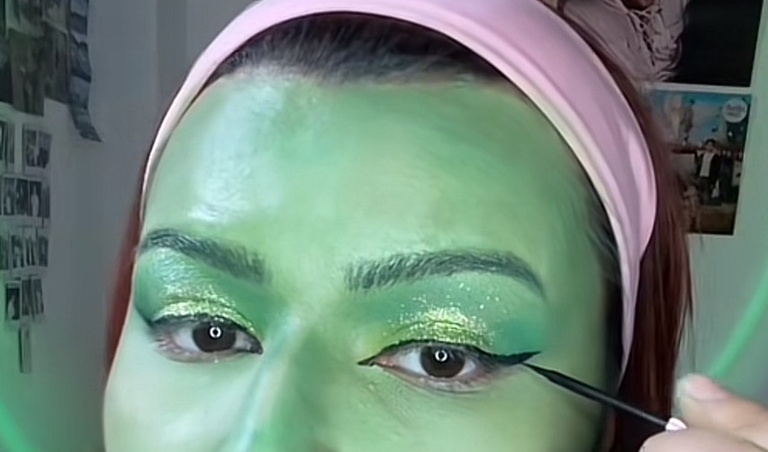
I lined my eyes with a dramatic cat-eye liner.
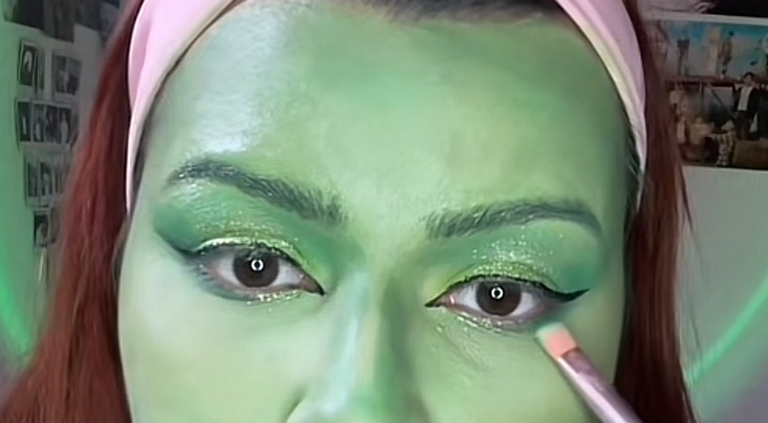
On the lower lash line, I applied the same dark green shadow with a hint of shimmer to make the eyes pop.
I finished the look with full false lashes on the upper lashes and mascara on the lower lashes.
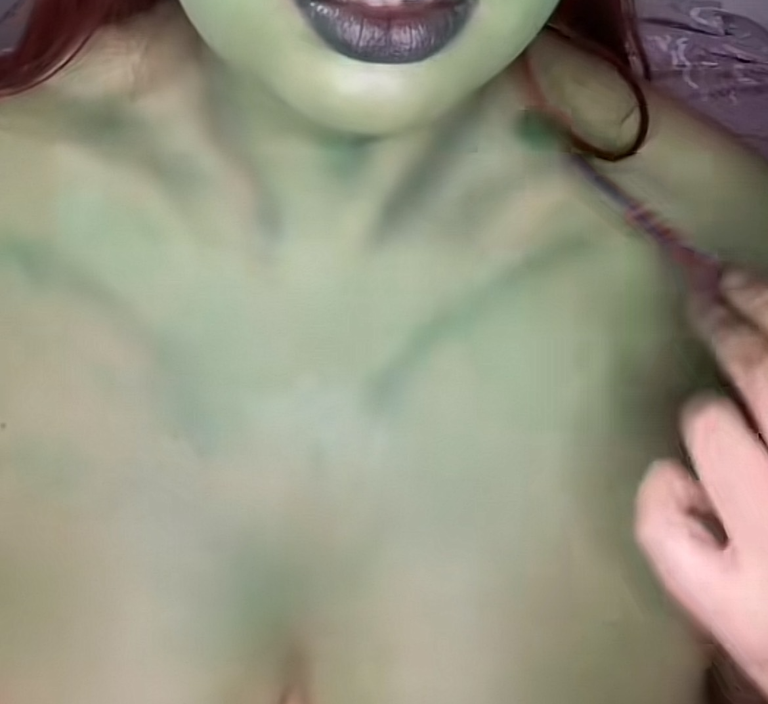
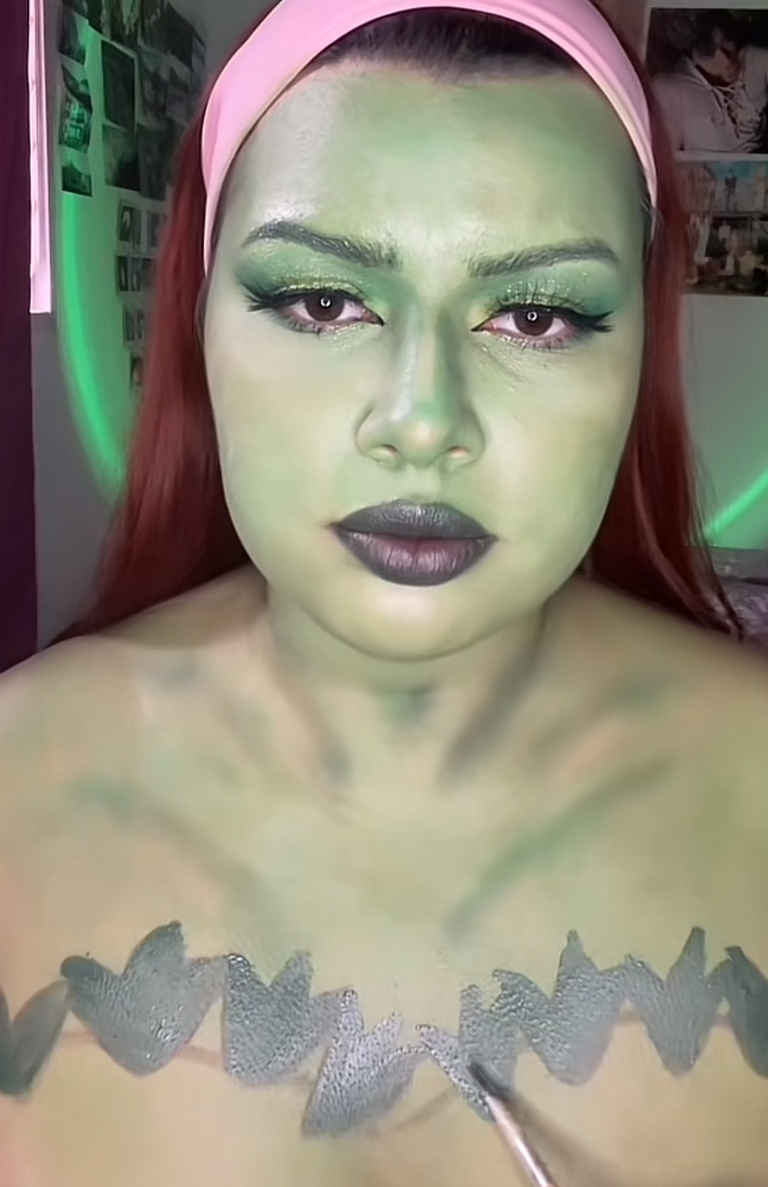
Step 5: Chest Details and Costume
Using the same dark green shadow, I added depth to the chest area for a more realistic effect. Then, I painted Ivy’s costume directly onto my skin with body paint, making it look like part of my body.
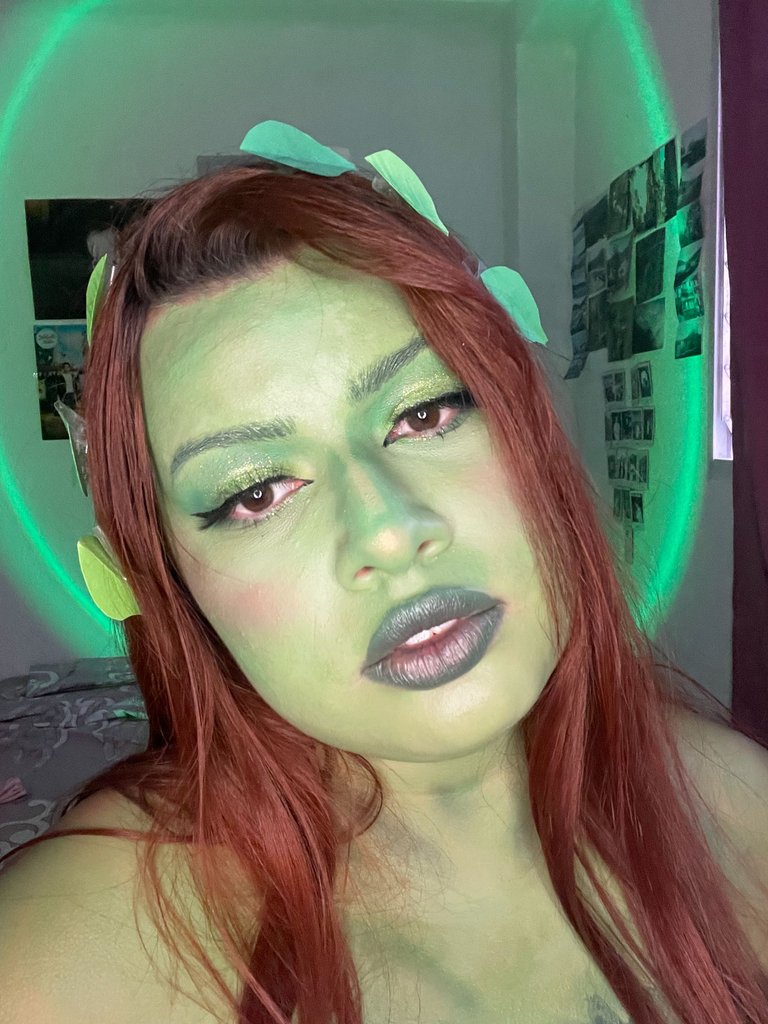
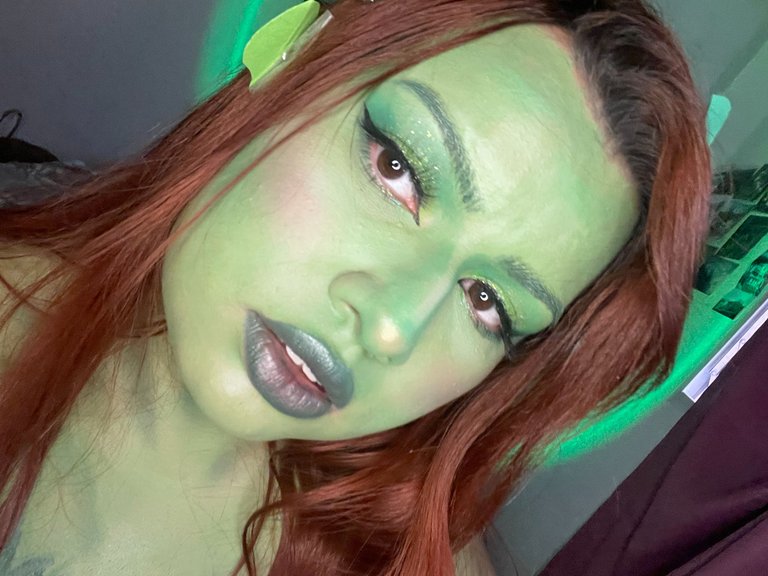
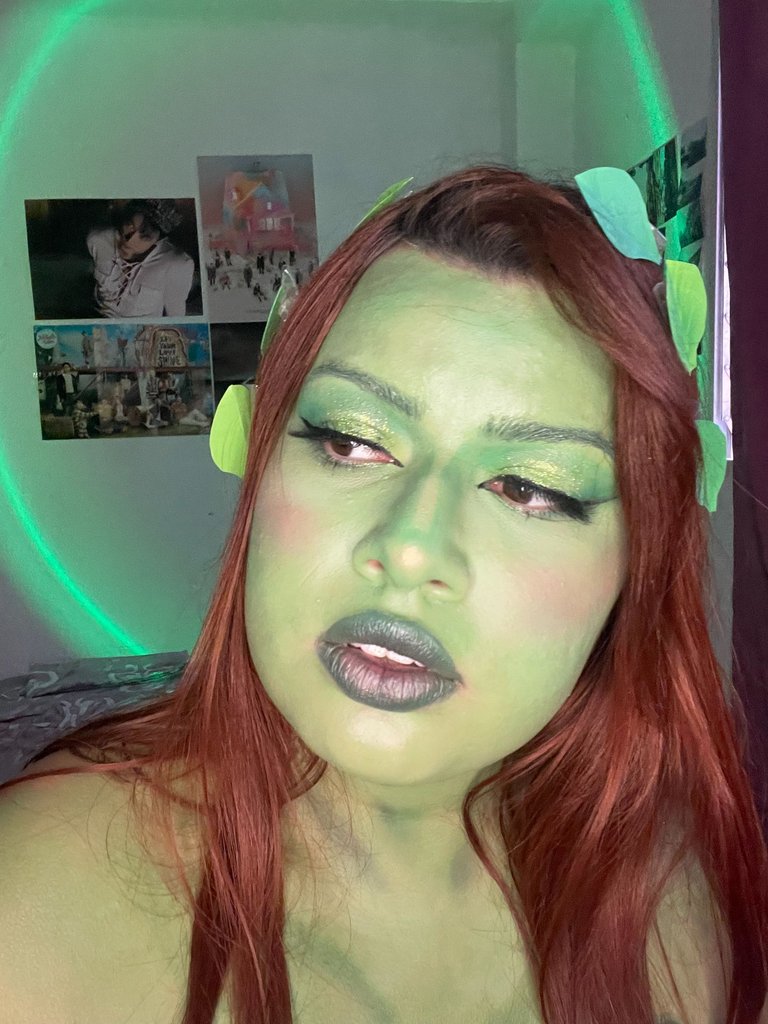
Step 6: Final Touches
To give the makeup a fresher, more natural finish, I added a soft pink blush to the cheeks and a golden highlighter to the cheekbones and tip of the nose. As an extra touch, I crafted leaves from green cardstock and strategically placed them to complete the cosplay and highlight the character’s botanical essence.
 |  |  |
|---|---|---|
 |  |  |
 |  |
|---|
 |  |  |
|---|
This transformation was a truly creative journey. I loved experimenting with color blends and techniques to recreate Poison Ivy, one of the most iconic comic book characters. If you’re thinking about giving it a try, don’t be afraid to step out of your comfort zone—with patience and creativity, you can achieve impressive results!.

Maquillaje artístico: Cómo me convertí en Poison Ivy
Poison Ivy es uno de esos personajes que siempre ha llamado mi atención por su fuerza, misterio y belleza natural. Decidí transformarme en ella, inspirándome en su característico tono verde y sus detalles botánicos. Aunque el proceso fue todo un reto, el resultado fue increíble, y quiero compartir contigo el paso a paso de este maquillaje.
Pero antes quiero presumir a la protagonista de este maquillaje, está hermosa paleta de Beauty Creations de su serie de paletas de princesas, que representa a Tiana de la Princesa y el sapo. Las paletas de Beauty Creations son de mis favoritas y sin duda está entre ellas con esos hermosos tonos y brillos.
| |
|---|
Paso 1: La base verde perfecta
Para lograr el tono verde característico de Poison Ivy, mezclé los colores azul y amarillo de mi paleta de maquillaje corporal, ya que el verde original era demasiado claro. Ajusté la proporción hasta obtener el tono adecuado y apliqué la mezcla desde el rostro hasta el pecho, creando una base uniforme y vibrante.
Paso 2: Cejas y contorno
Con un verde más oscuro, dibujé unas cejas delgadas para imitar mejor el estilo del personaje. Luego, utilicé una sombra verde oscura para contornear el rostro y la nariz, dando definición y un toque de dramatismo.
Paso 3: Labios icónicos
Para los labios, utilicé el mismo verde que apliqué en las cejas y añadí un toque de rojo en el centro para dar un efecto degradado, logrando ese look seductor característico de Ivy.
| | |
|---|
Paso 4: Los ojos
El maquillaje de ojos fue clave para capturar la esencia del personaje:
En el párpado fijo, extendí la sombra verde oscura utilizada para el contorno, llevándola hasta el final de las cejas para darle intensidad.
En el párpado móvil, apliqué un verde limón para abrir la mirada y sobre él añadí una sombra shimmer verde, logrando un efecto brillante y llamativo.
Para dar profundidad, utilicé la sombra verde oscura en la "V" externa del ojo.
Delineé los ojos con un delineado tipo "ojo de gato" para un acabado más dramático.
En el párpado inferior, apliqué la misma sombra verde oscuro con un toque de brillo para destacar la mirada.
Coloqué pestañas postizas corridas en la parte superior y máscara de pestañas en las inferiores, completando el look.
Paso 5: Detalles en el pecho y vestuario
Con la misma sombra verde oscura, añadí profundidad en el pecho, creando un efecto más realista. Luego, dibujé el vestuario de Ivy directamente sobre mi piel, pintándolo con maquillaje corporal para darle más realismo y que pareciera parte del cuerpo.
Paso 6: Toques finales
Para darle un acabado más natural y fresco al maquillaje, añadí un rubor rosa suave en las mejillas y un iluminador dorado en los pómulos y la punta de la nariz. Como extra, hice unas hojas con cartulina verde que coloqué estratégicamente para completar el cosplay y resaltar la esencia botánica del personaje.
| | |
|---|---|---|
| | |
| |
|---|
| | |
|---|
Esta transformación fue todo un viaje creativo. Me encantó experimentar con mezclas de colores y técnicas para recrear a Poison Ivy, uno de los personajes más icónicos de los cómics. Si estás pensando en intentarlo, no temas salir de tu zona de confort: con paciencia y creatividad, puedes lograr resultados impresionantes.

Banner - separadores
CANVA
Photos Taken with My Iphone 12
Te quedó hermoso 💚
Gracias 💚
Saludos @ariwang que buen maquillaje te has hecho, es una transformación muy bonita, me gusta tu arte 🤗
Gracias☺️ me alegro que te guste.
!LOL
Posted using Hive Images
lolztoken.com
To get his quarterback.
Credit: reddit
$LOLZ on behalf of hivephoto
(8/10)
Farm LOLZ tokens when you Delegate Hive or Hive Tokens.
Click to delegate: 10 - 20 - 50 - 100 HP@ariwang, I sent you an
Congratulations @ariwang! You have completed the following achievement on the Hive blockchain And have been rewarded with New badge(s)
Your next target is to reach 700 upvotes.
You can view your badges on your board and compare yourself to others in the Ranking
If you no longer want to receive notifications, reply to this comment with the word
STOPCheck out our last posts:
Wow te quedó precioso🙂↕️💖