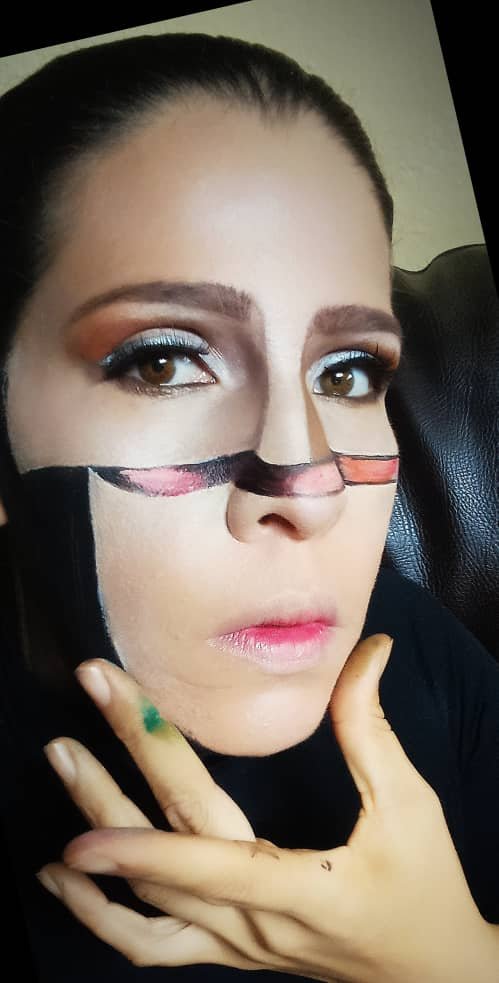

| 3D MAKEUP @artsugar | MAQUILLAJE EN 3D @artsugar |
|---|---|
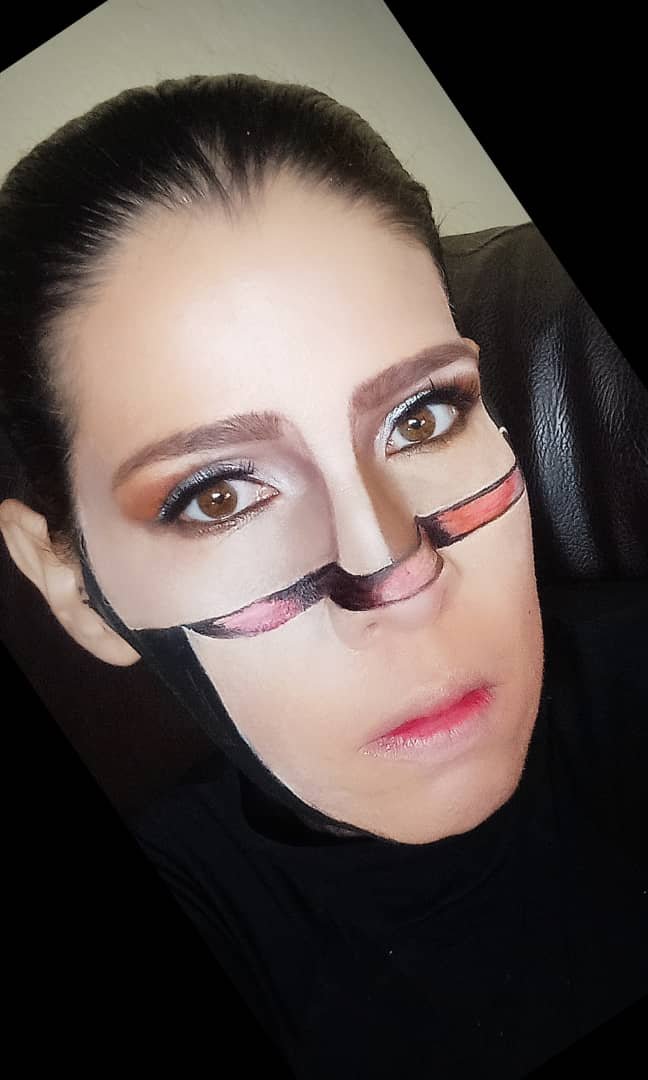
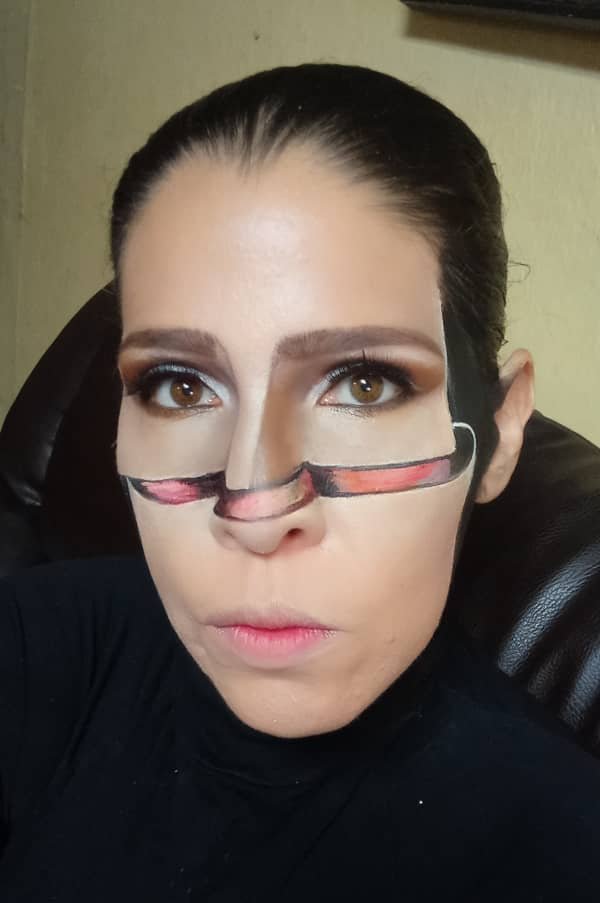
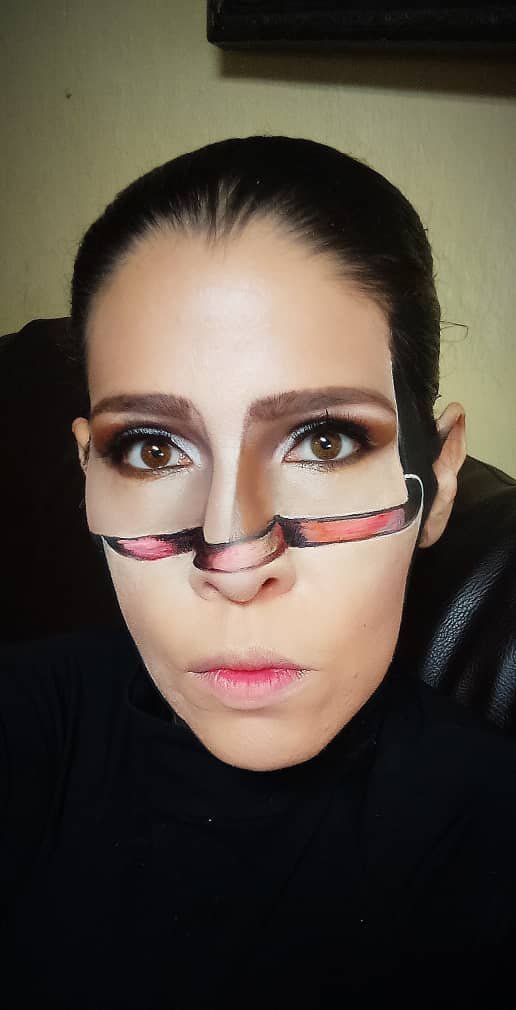
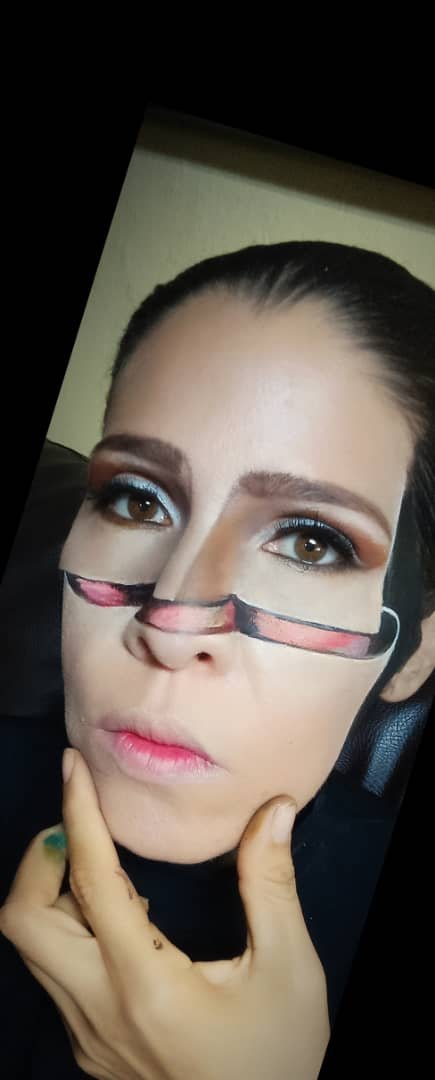
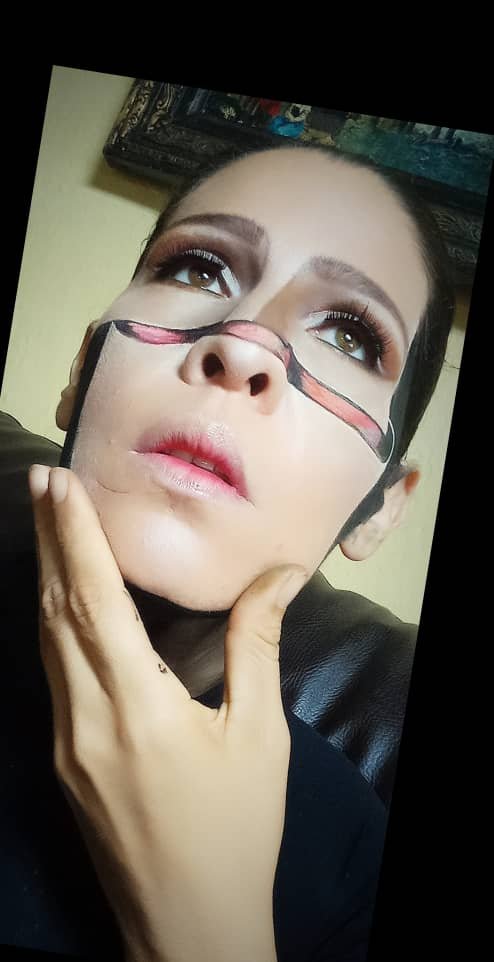
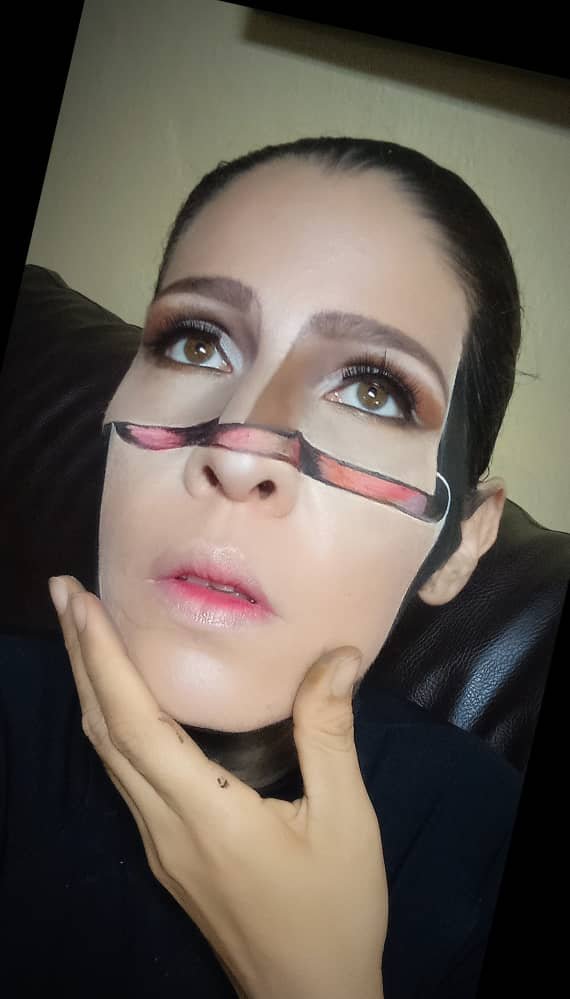
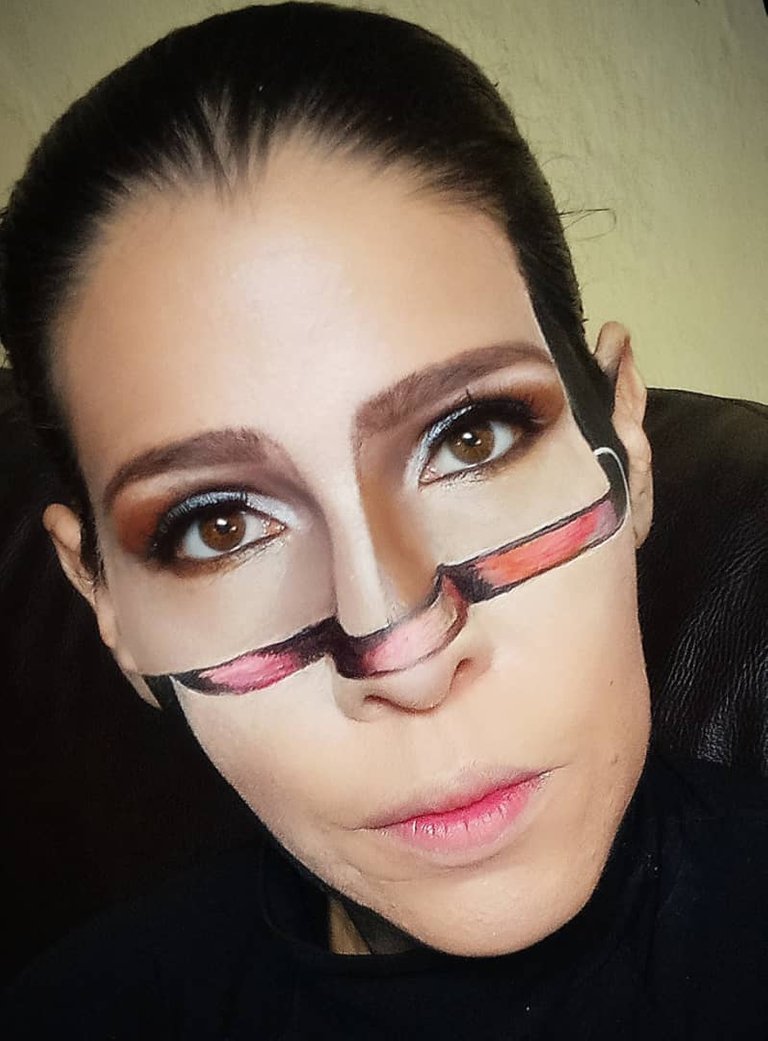
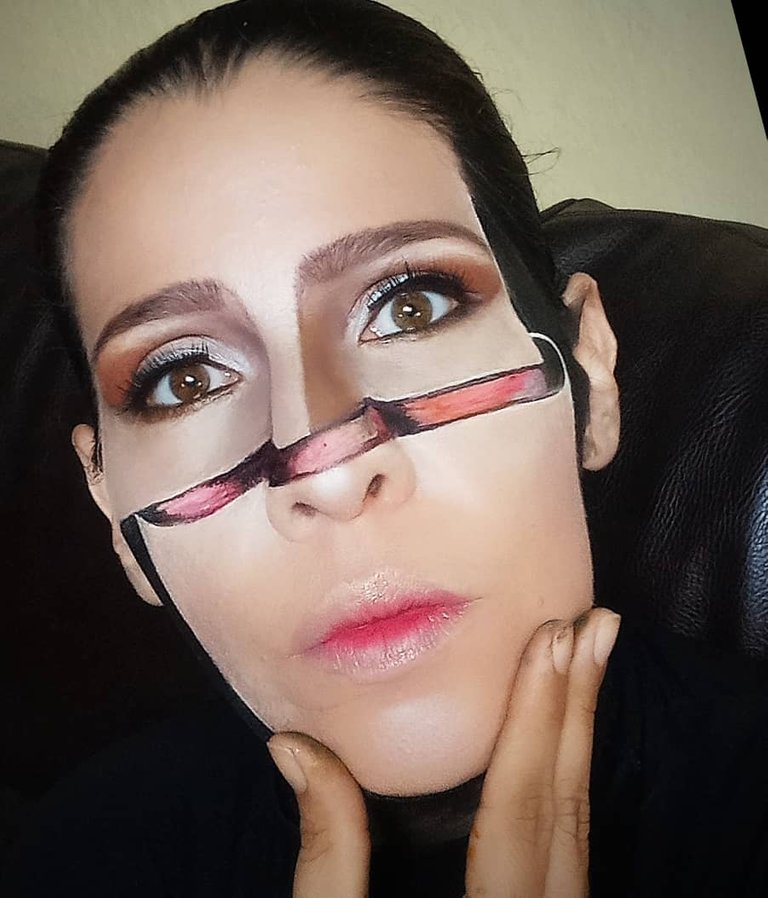
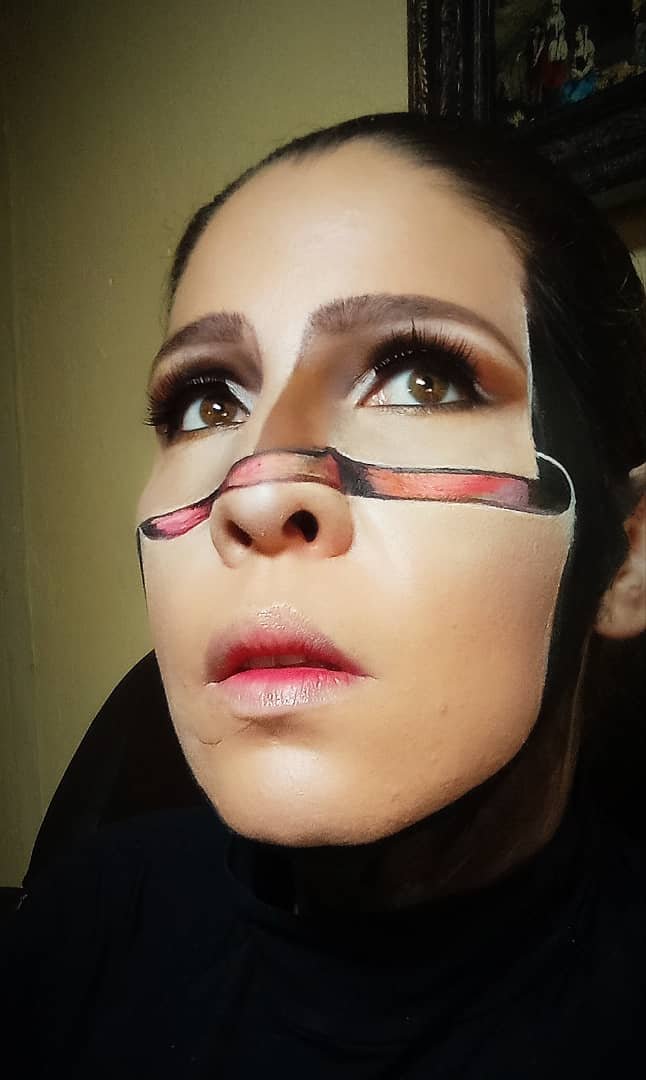
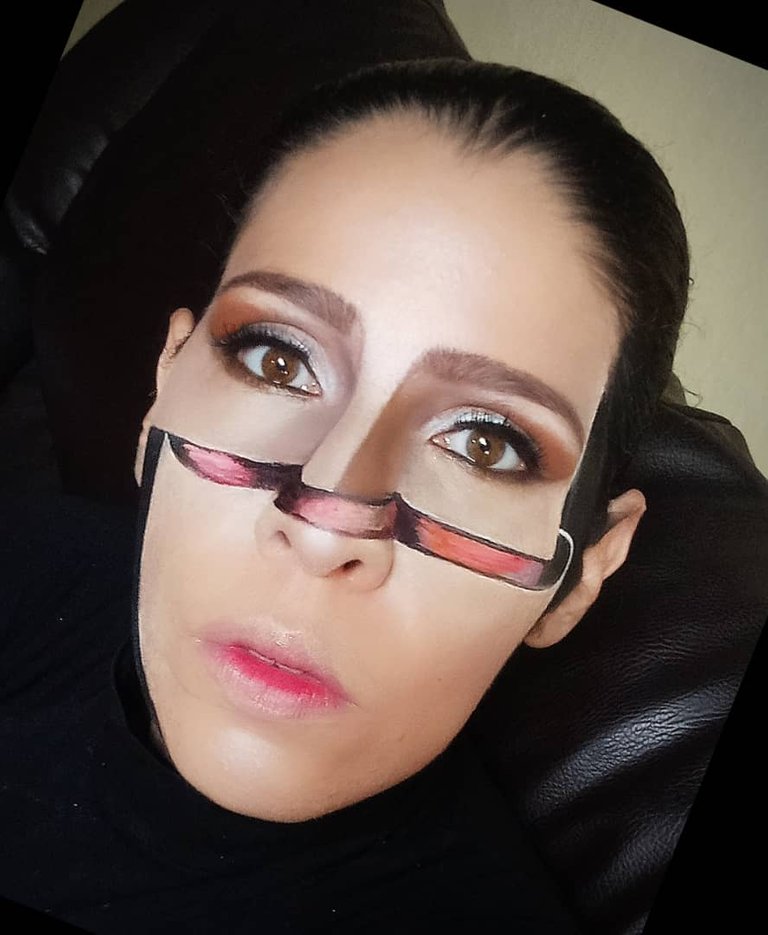
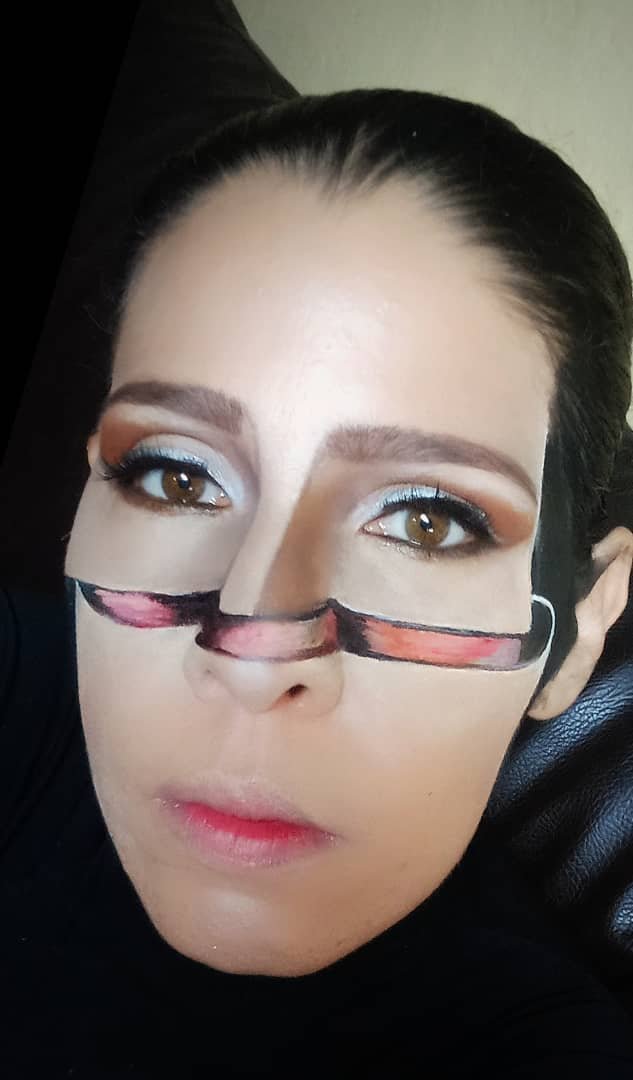
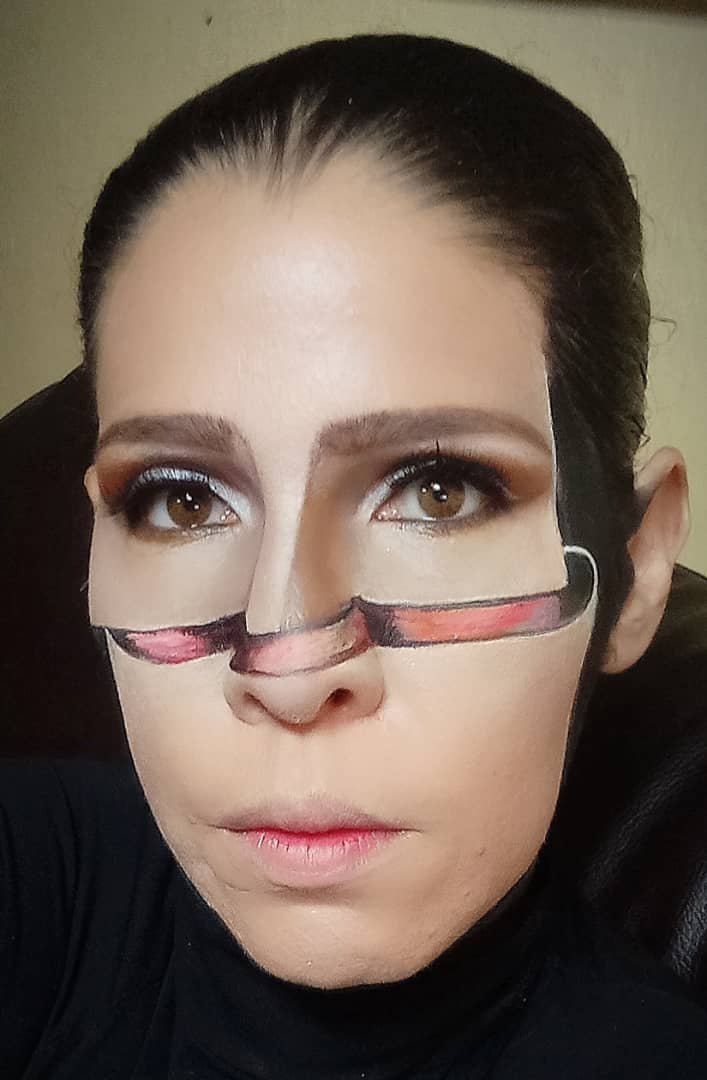
| Hello Friends of Hive Blog. Have a beautiful day. The makeup that I bring you today is my first practice of makeup in 3 dimensions. The effect was fairly successful, although I still have a lot to learn, I really liked how it turned out, I sincerely hope you do too. Here is the step by step. | Hola.amigos de Hive Blog. Tengan todo un hermoso día. El maquillaje que hoy les traigo es mi primera práctica de maquillaje en 3 dimensiones. El efecto quedó medianamente logrado, aunque todavía tengo mucho que aprender, me gustó mucho como quedó, sinceramente espero que a ustedes también. A continuación el paso a paso. |

| Step 1 Eyes | Paso 1 Ojos |
|---|---|
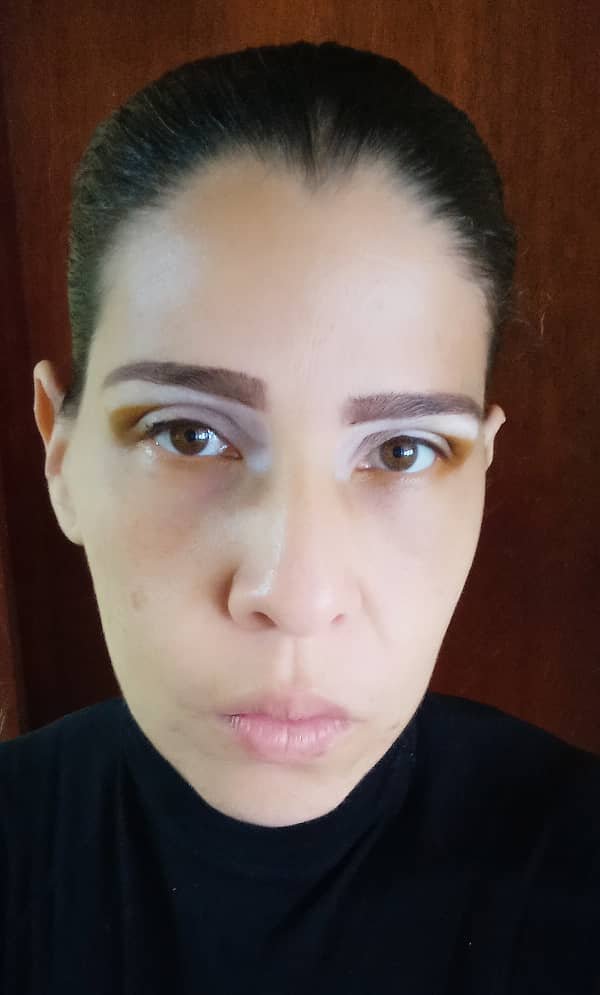
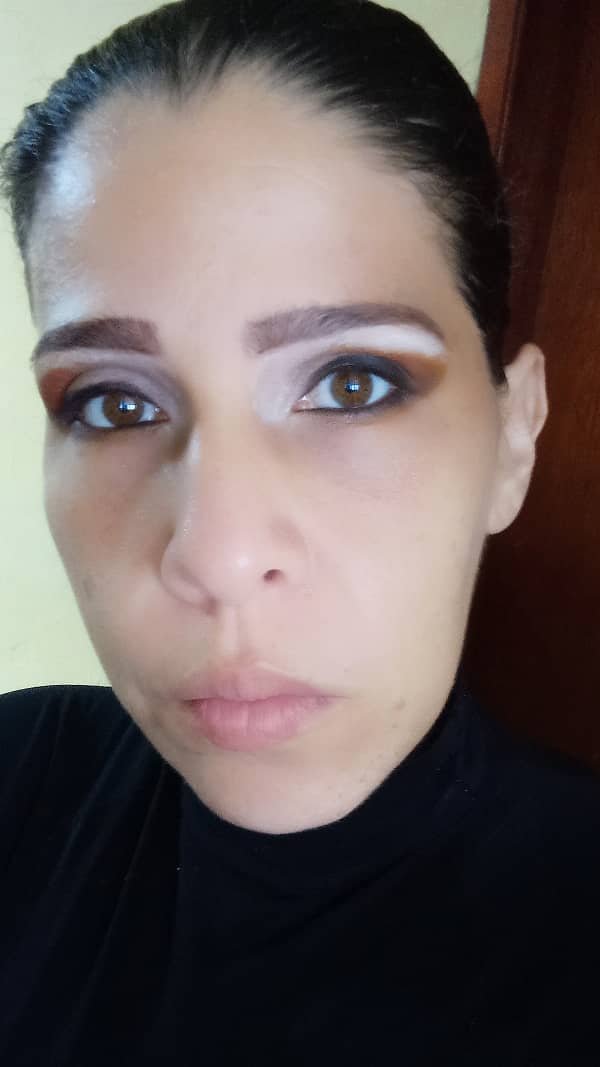
| The eyes are made up in a simple way since the objective is to emphasize the 3D effect. Only the fixed eyelid was illuminated with white and then with brown shadow and over the middle of the fixed eyelid and towards the eye socket. Lastly, pearlescent eye shadow was applied from the tear trough to the mobile eyelid and eyeliner all around the eye contour. | Los ojos están maquillados de una forma sencilla ya que el objetivo es dar énfasis al efecto 3D. Solamente se iluminó el párpado fijo con color blanco y luego con sombra de color marrón y sobre la mitad del párpado fijo y hacia la cuenca del ojo. Por último se colocó sombra de color perlada desde el lagrimal hacia el párpado móvil y delineado en todo el contorno del ojo. |
 |  |
|---|

| Step 2 3D effect | Paso 2 Efecto 3D |
|---|---|
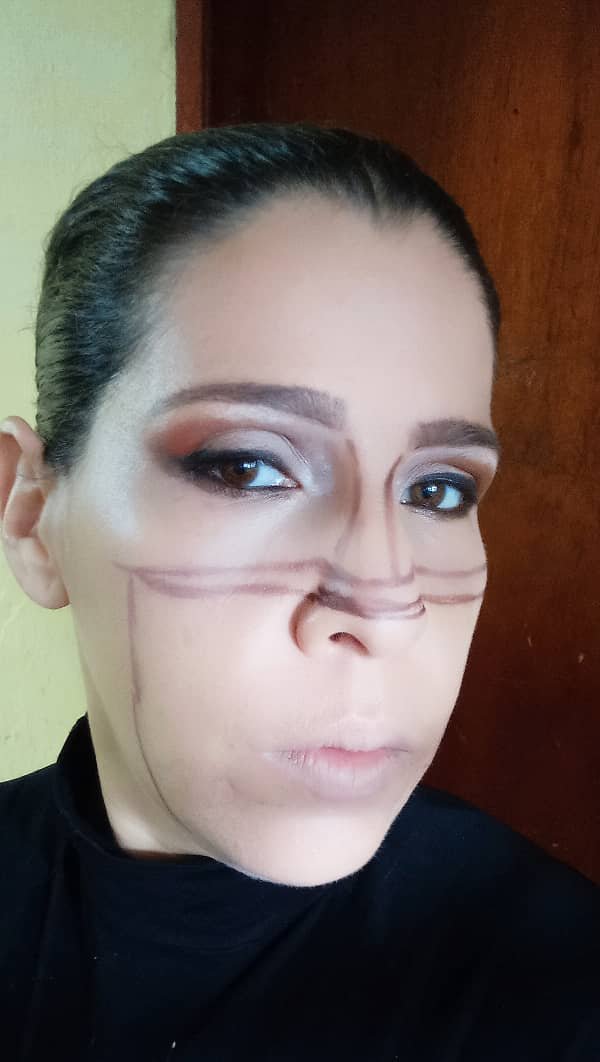
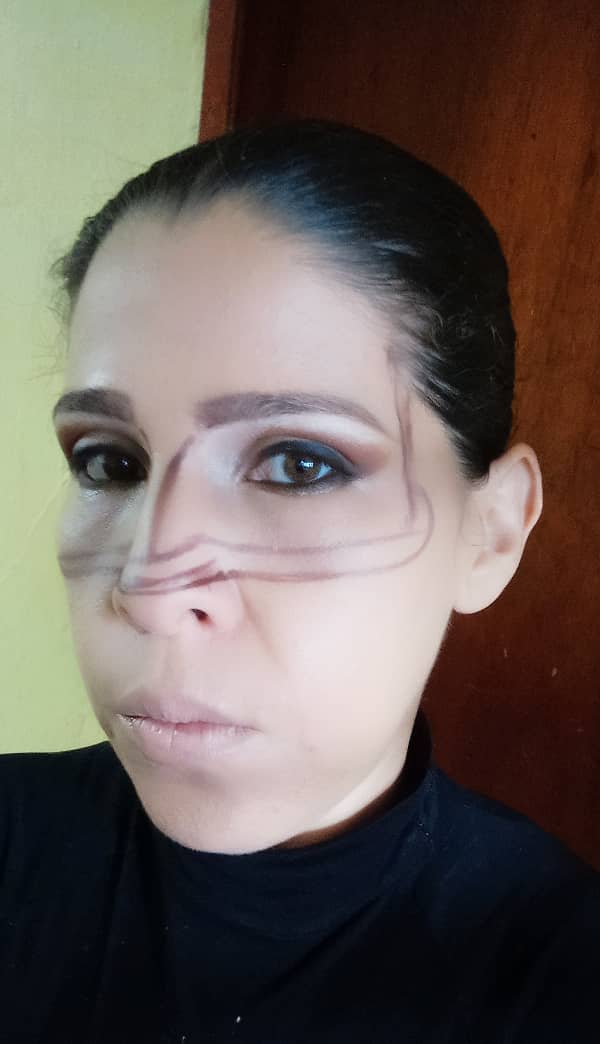
| The first thing in this design was to make all the strokes on the face with a brown pencil. The intention is to make a dividing line of the face to give the effect of having moved one of the parts. | Lo primero en este diseño fue hacer todos los trazos en el rostro con un lápiz de color marrón. La intención es hacer una línea divisoria del rostro para dar el efecto de haber movido una de las partes. |
 |  |
|---|

| Step 2.1 | Paso 2.1 |
|---|---|
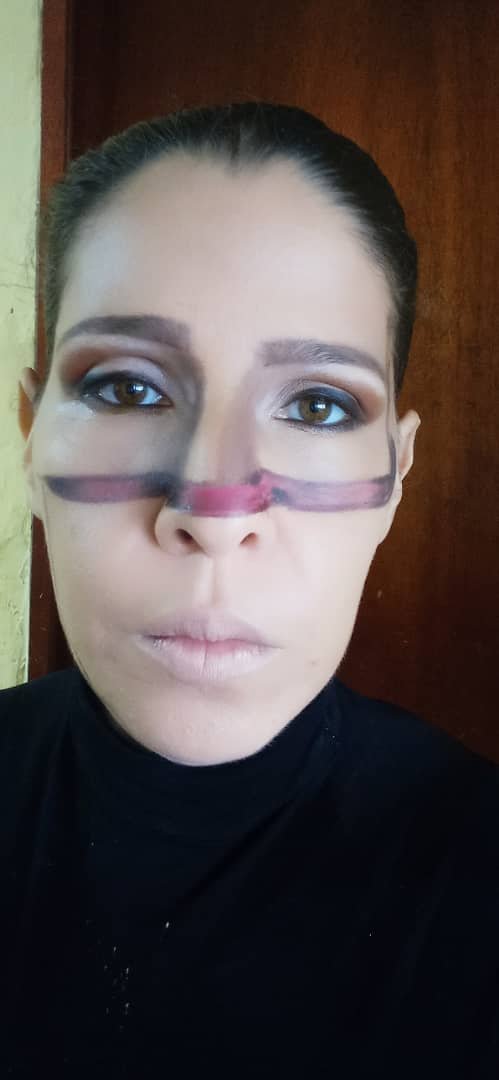
| Then fill in the space separating the parts with red colored pencil. | Luego rellenar con lápiz de color rojo el espacio que separa las partes. |

| Step 2.2 | Paso 2.2 |
|---|---|
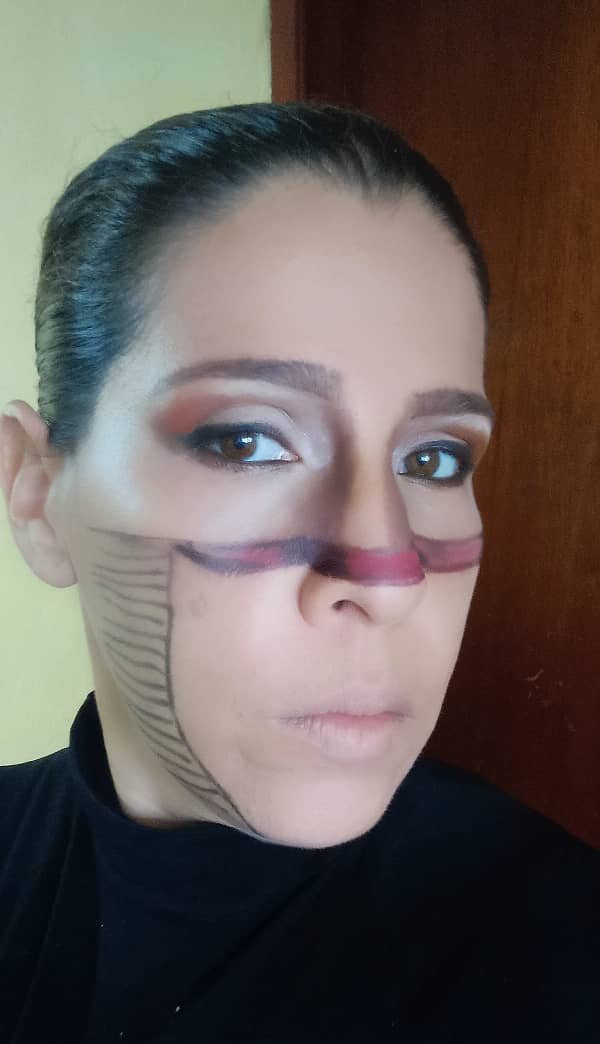
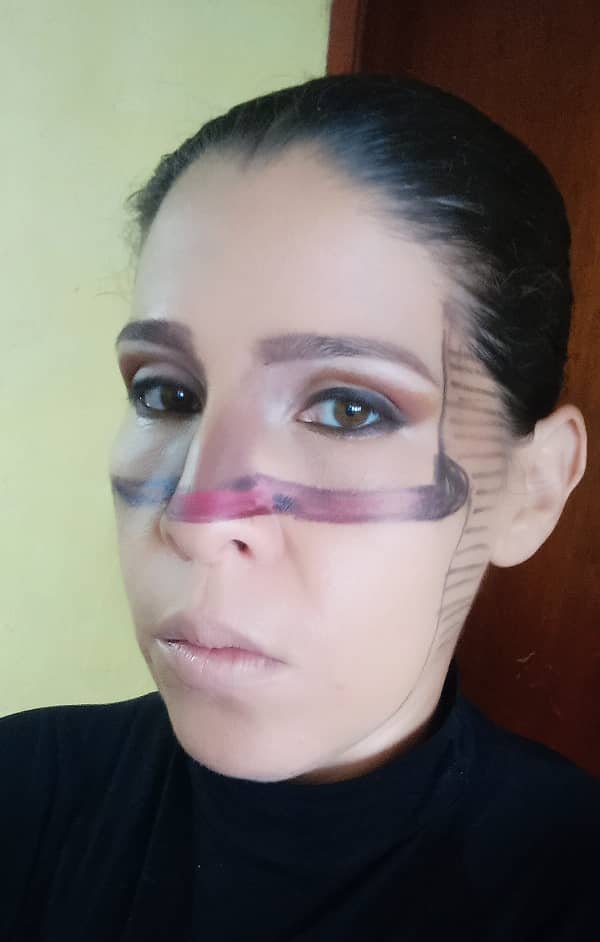
| With a black crayon outline the area that we are going to paint black to give movement. | Con un lápiz de color negro delimitar el área que vamos a pintar de color negro para dar movimiento. |
 |  |
|---|

| Step 2.3 | Paso 2.3 |
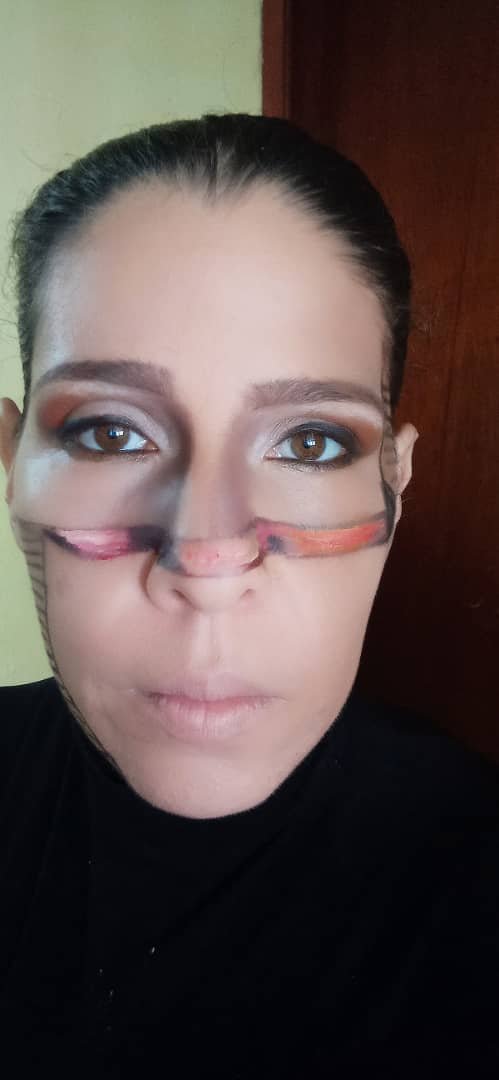
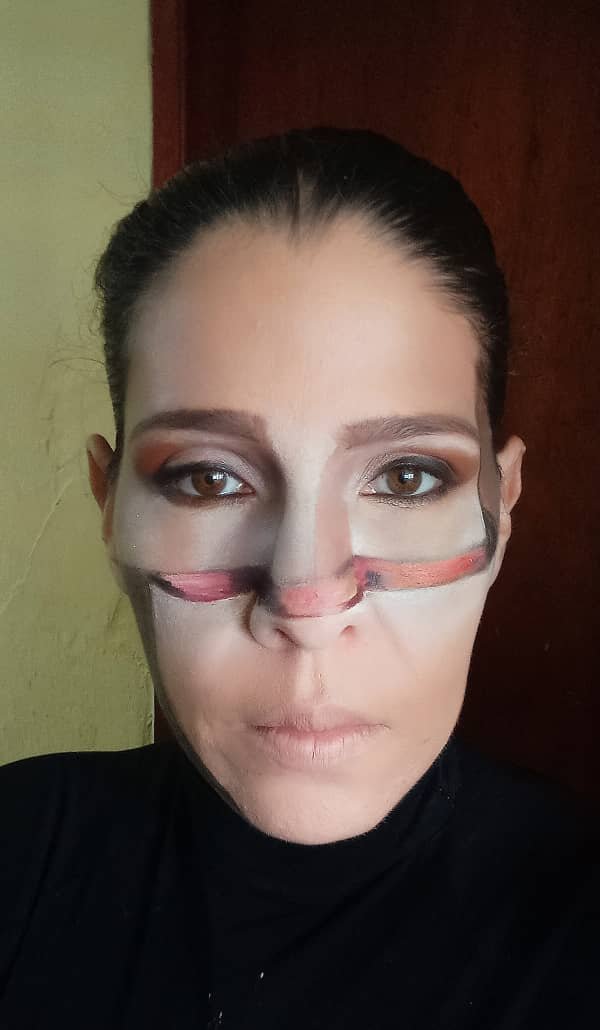
|---|---|
| With white colored paint illuminate areas such as the cheekbones, cheeks and the septum of the nose to give more volume. | Con pintura de color blanco iluminar las áreas como los pómulos, las mejillas y el tabique de la nariz para dar más volumen. |
 |  |
|---|

| Step 2.4 | Paso 2.4 |
|---|---|
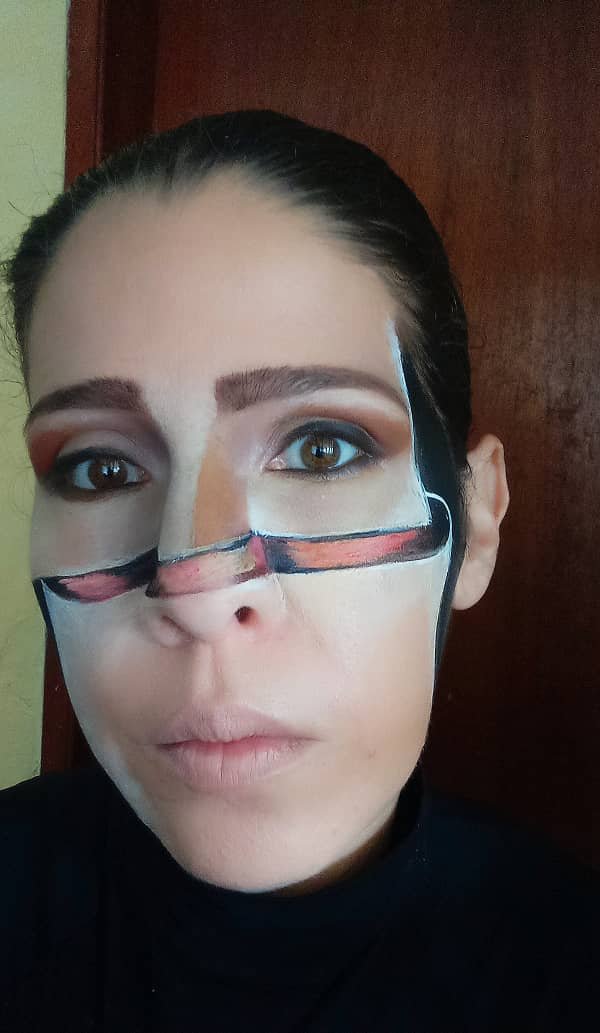
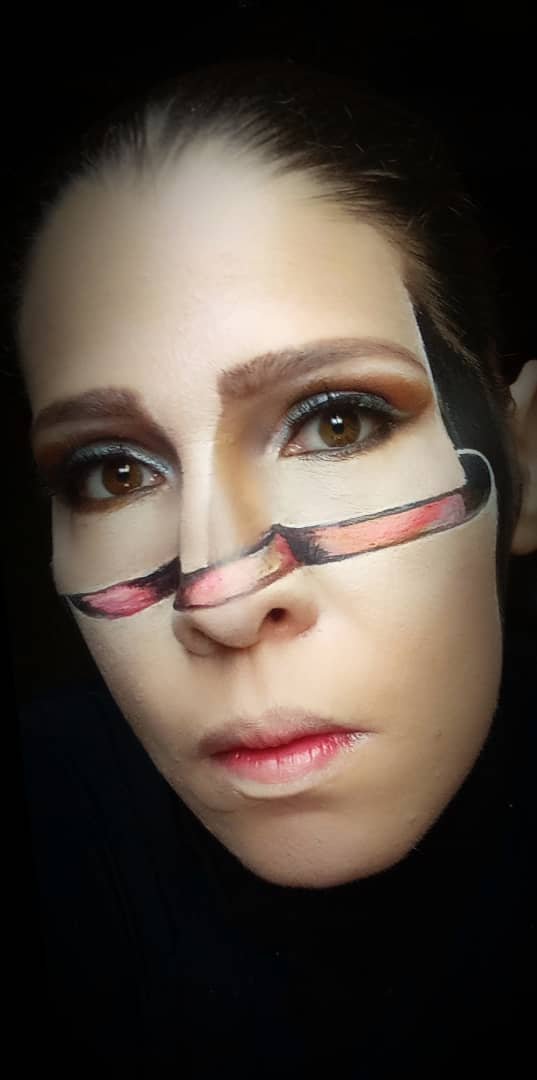
| With white paint and a thin brush outline all the outer line of the design that divides the face in two parts and with black paint and the thin brush outline all the inner lines of the design. Finally fill the sides of the face with black paint. | Con pintura de color blanco y un pincel delgado delinear toda la línea externa del diseño que divide el rostro en dos partes y con pintura de color negro y el pincel delgado delinear todas las líneas internas del diseño. Por último rellenar los costados del rostro con pintura de color negra. |
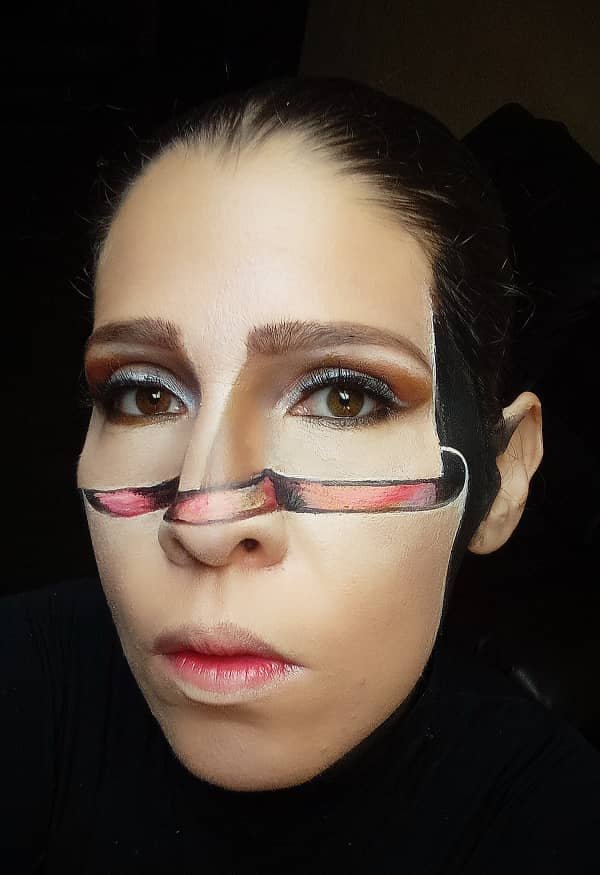
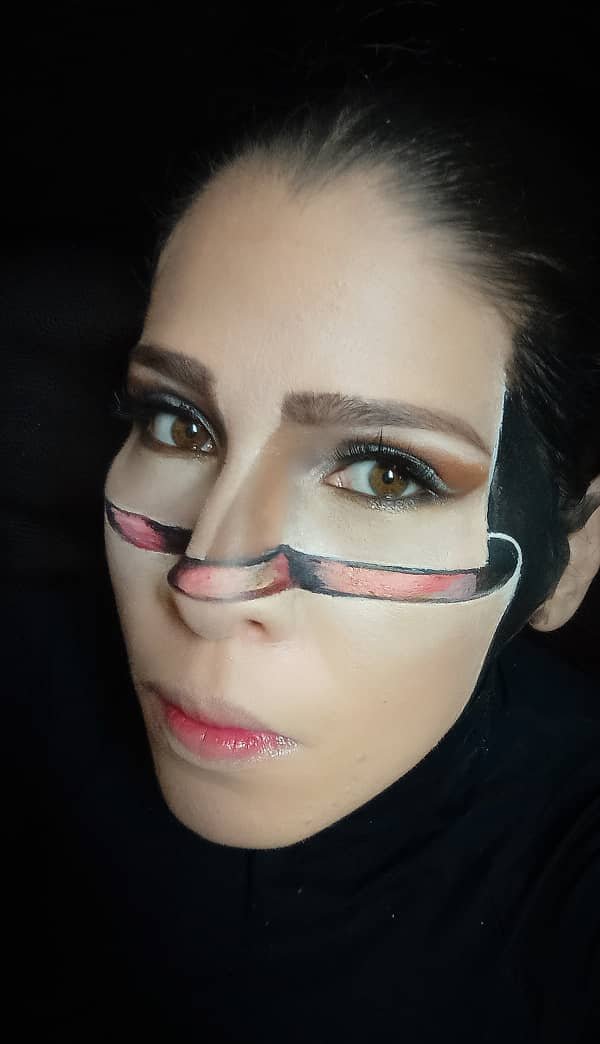
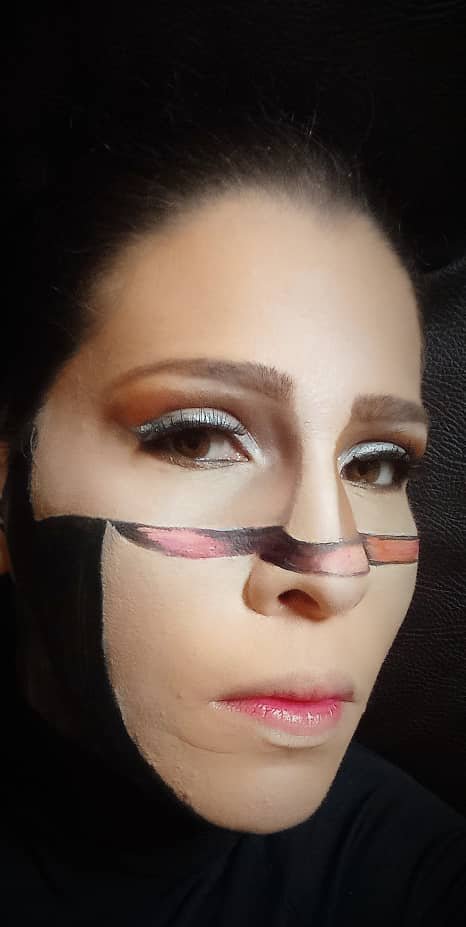
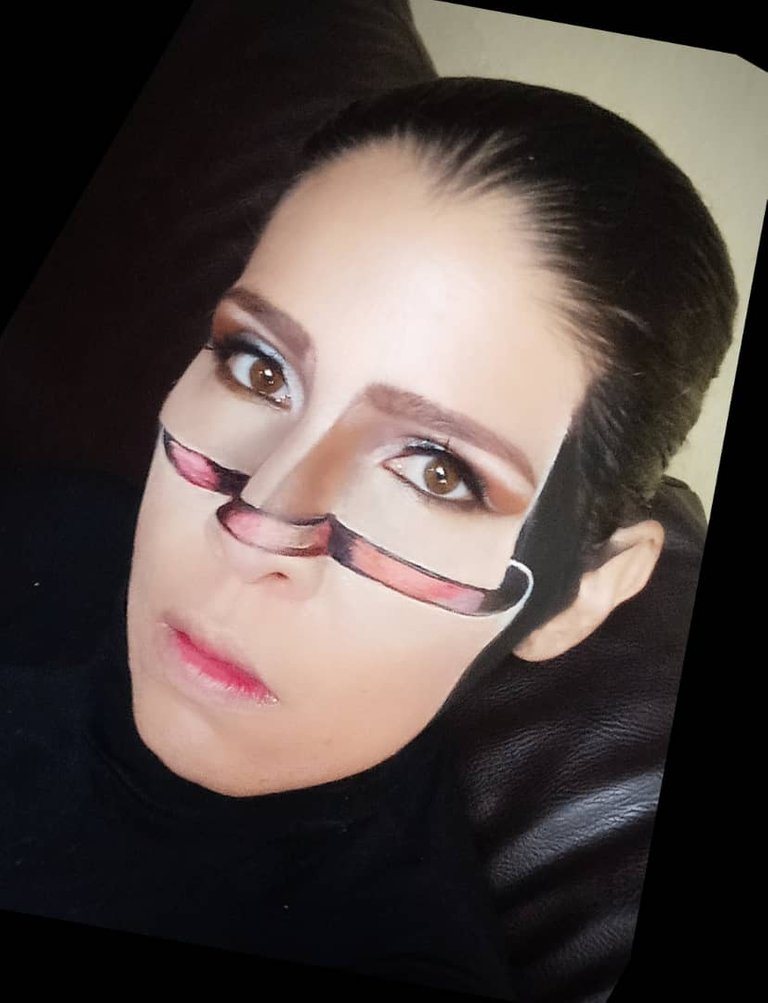

| I hope you liked it folks. I thank everyone who has supported me so far with your vote and for visiting my blog and reading this post. Any comment, vote and reblog is a little treasure for me. Likewise if you want to ask questions about this technique or any of my work, although I am not an expert I am willing to share the little I know. My wish is that we can all continue to grow and learn until tomorrow. | Espero que les haya gustado amigos. Agradezco a todos los que hasta ahora me han apoyado con su voto y por visitar mi blog y leer este post. Cualquier comentario, voto y reblogueo es un pequeño tesoro para mí. De igual forma si desean preguntar sobre esta técnica o sobre cualquiera de mis trabajos, aunque no soy experta estoy dispuesta a compartir lo poco que sé. Mi deseo es que todos podamos seguir creciendo y aprendiendo Hasta mañana. |
|---|

Para traducir utilice: Traductor DeepL
Imágenes editadas en: Canva
Fotos tomadas con mi teléfono redmi 9A

Text translated in: DeepL Translate
Images edited in: Canva
Photos taken with my redmi 9A phone.


Me gusto mucho el paso a paso, como explicas cada cosa! excelente maquillaje!
@rebeporto Muchas gracias tu comentario. Me motiva a seguir trabajando. Espero puedas visitar mi blog y ver mis otros trabajos.