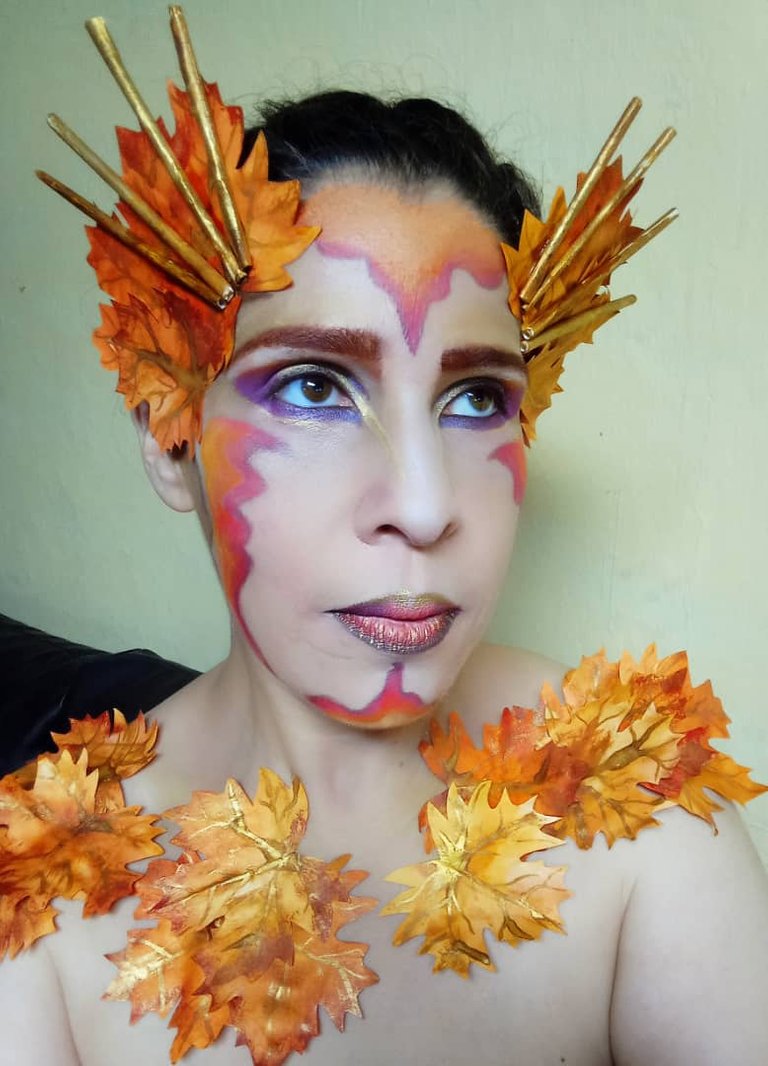

| MAKE-UP INSPIRED BY THE SEASONS OF THE YEAR ( 1ST PART AUTUMN ) | MAQUILLAJE INSPIRADO EN LAS ESTACIONES DEL AÑO ( 1ERA PARTE OTOÑO ) |
|---|---|
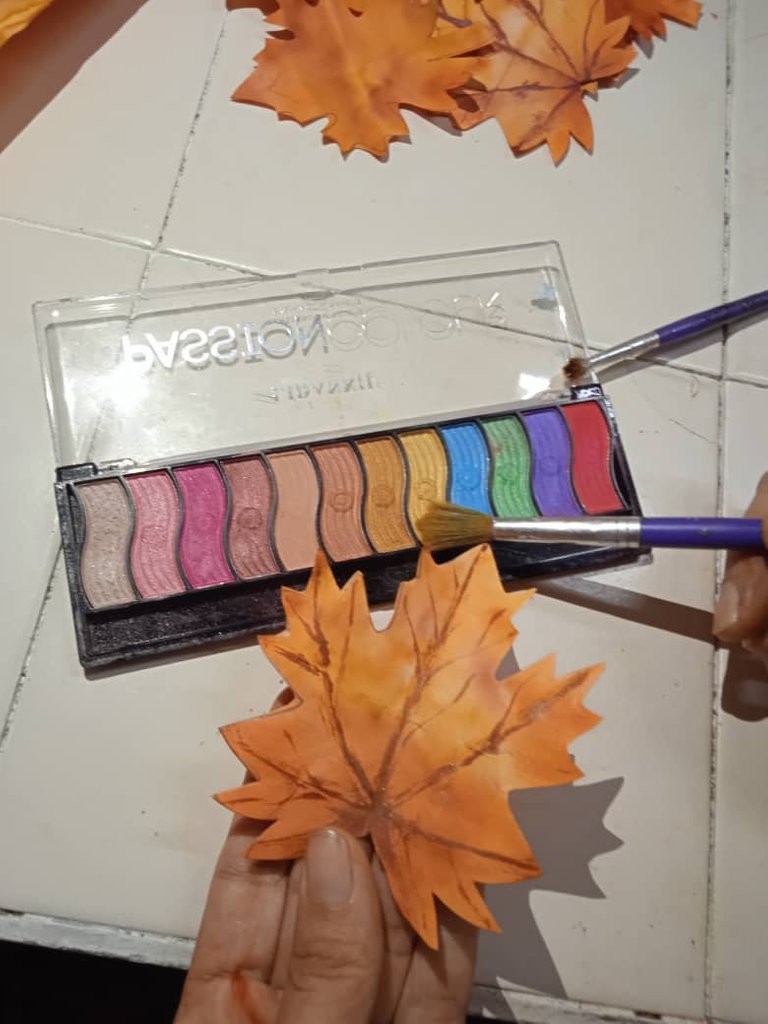
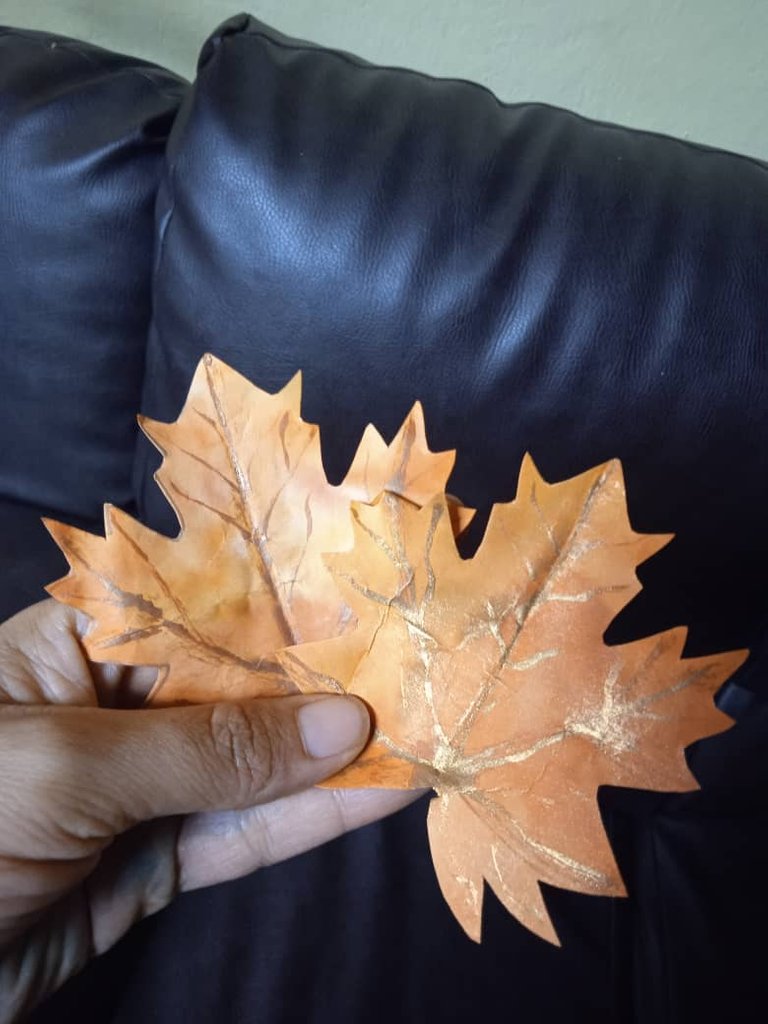
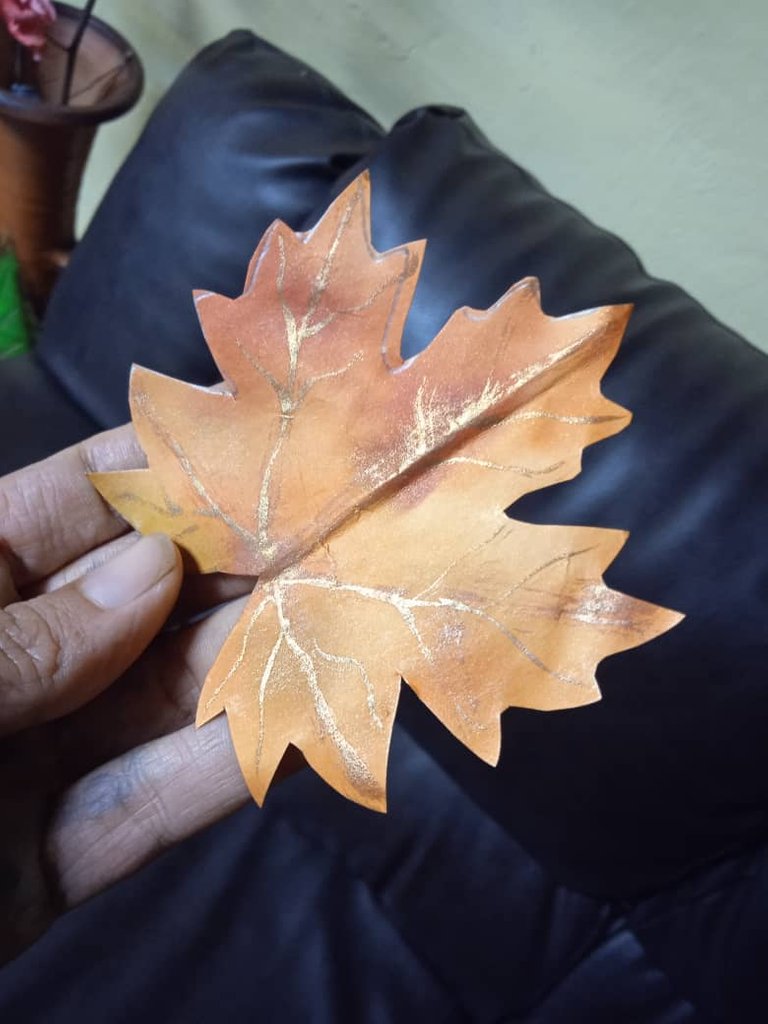
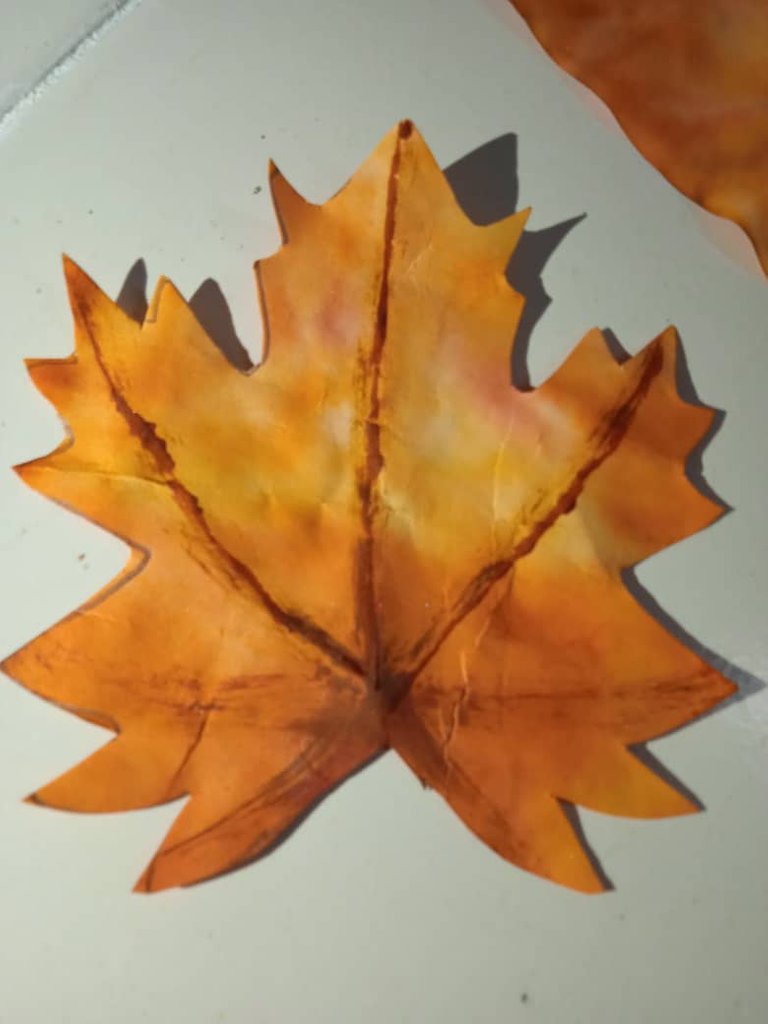
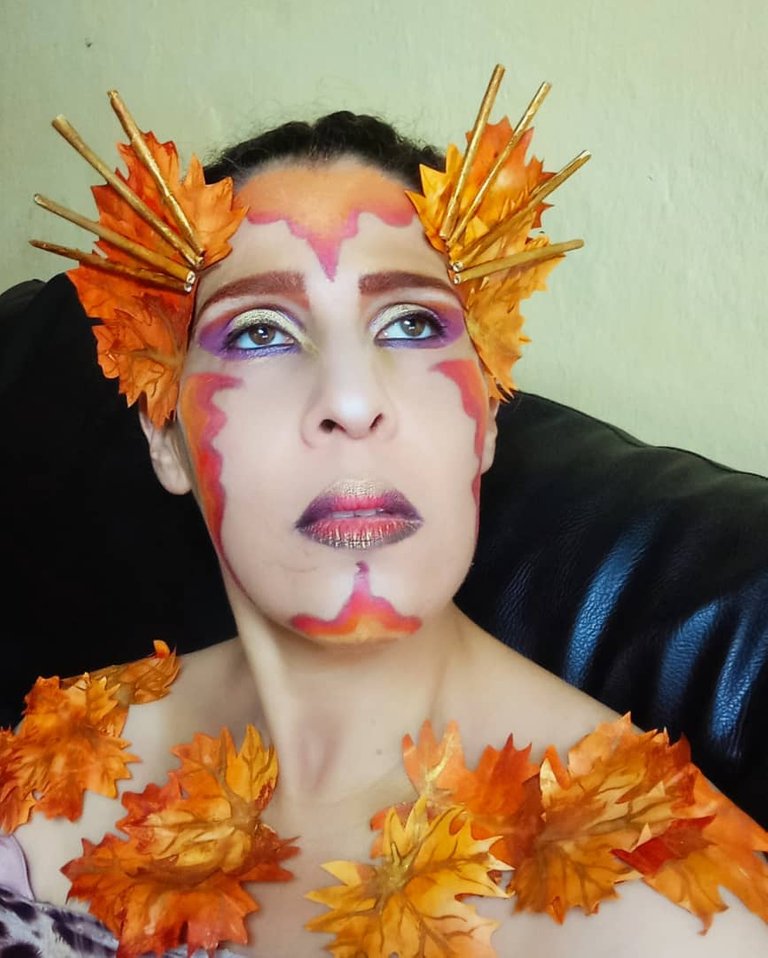
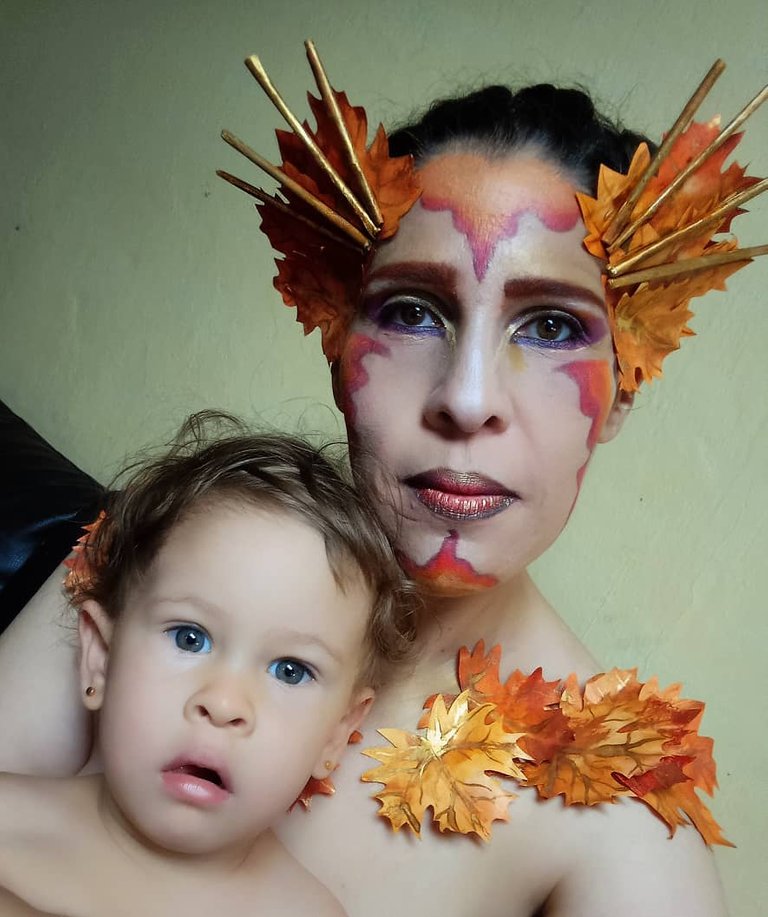
| Hello my dear friends at Hive. Starting today I want to start this series of makeup inspired by the seasons. The first of the series is Autumn Queen. The idea comes from the fact that in my previous post I showed you how to dye and design your own paper at home and the result was some autumn leaves made with recycled paper. To make use of these leaves, which by the way turned out beautiful, I wanted to make this makeup. It's super easy to do at home. Are you ready?...let's get to work. | Hola mis queridos amigos de Hive. A partir de hoy quiero empezar esta serie de maquillaje inspirados en las estaciones. El primero de la serio es Reina de Otoño. La idea nace de que en mi post anterior les enseñé como hacer la técnica de teñir y diseñar tu propio papel en casa y el resultado fueron unas hojas otoñales. Para darle uso a estás hojas que por cierto quedaron preciosas quise hacer este maquillaje. Está súper sencillo. Están listos?...manos a la obra. |

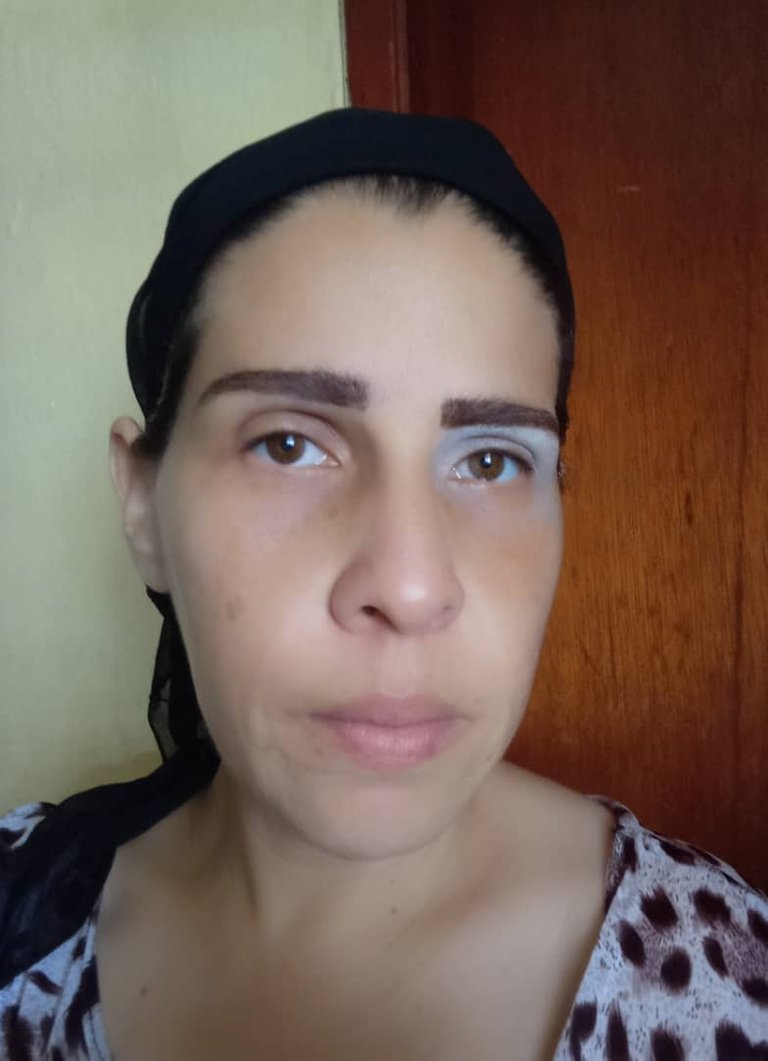
| Step 1: Eyebrows | Paso 1: Las Cejas |
|---|---|
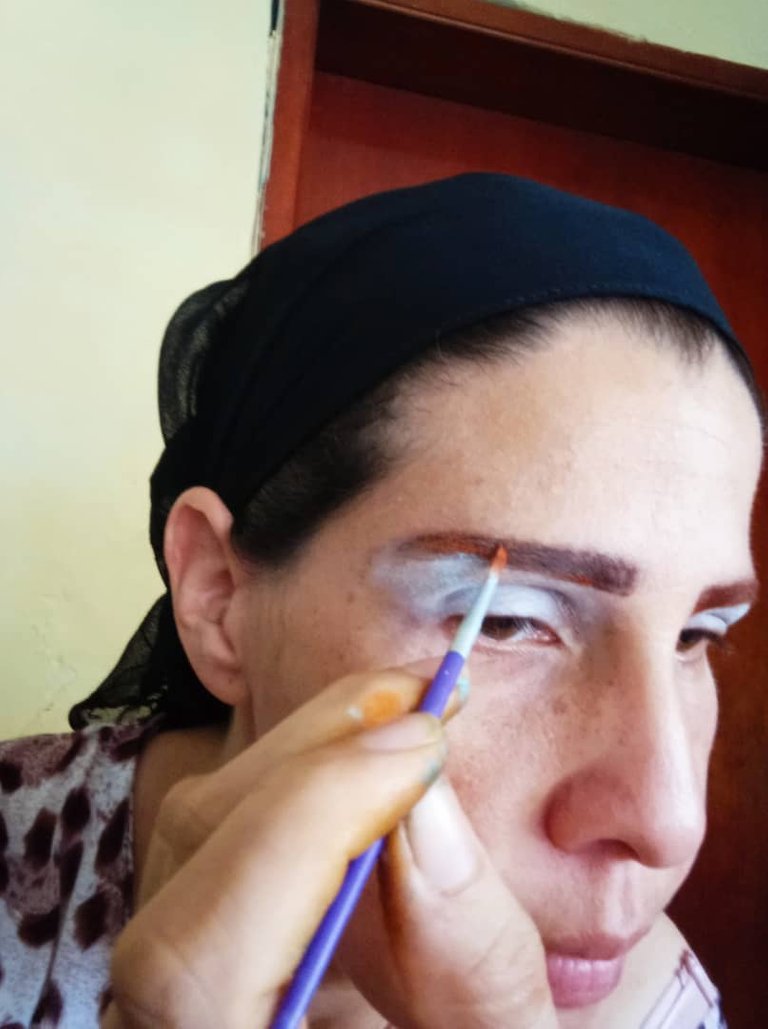
| Make up the eyebrows with brown pencil and seal with orange shadow. | Maquillar las cejas con lápiz marrón y sellar con sombra de color naranja. |
 |  |
|---|

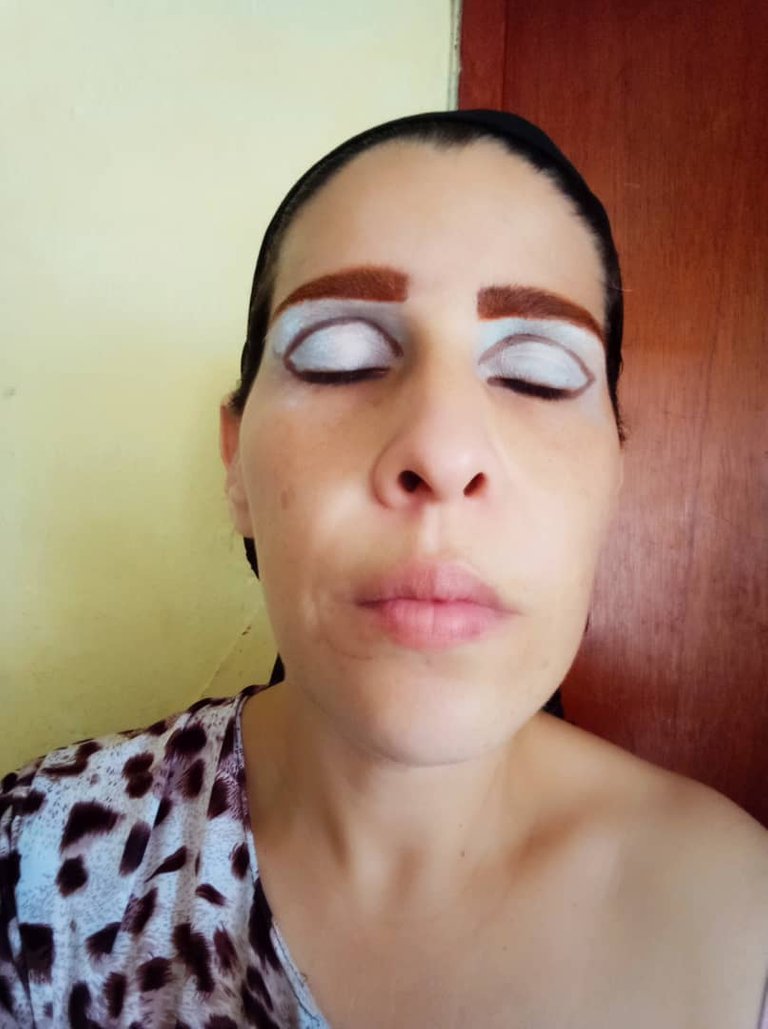
| Step 2: The Eyes | Paso 2: Los Ojos |
|---|---|
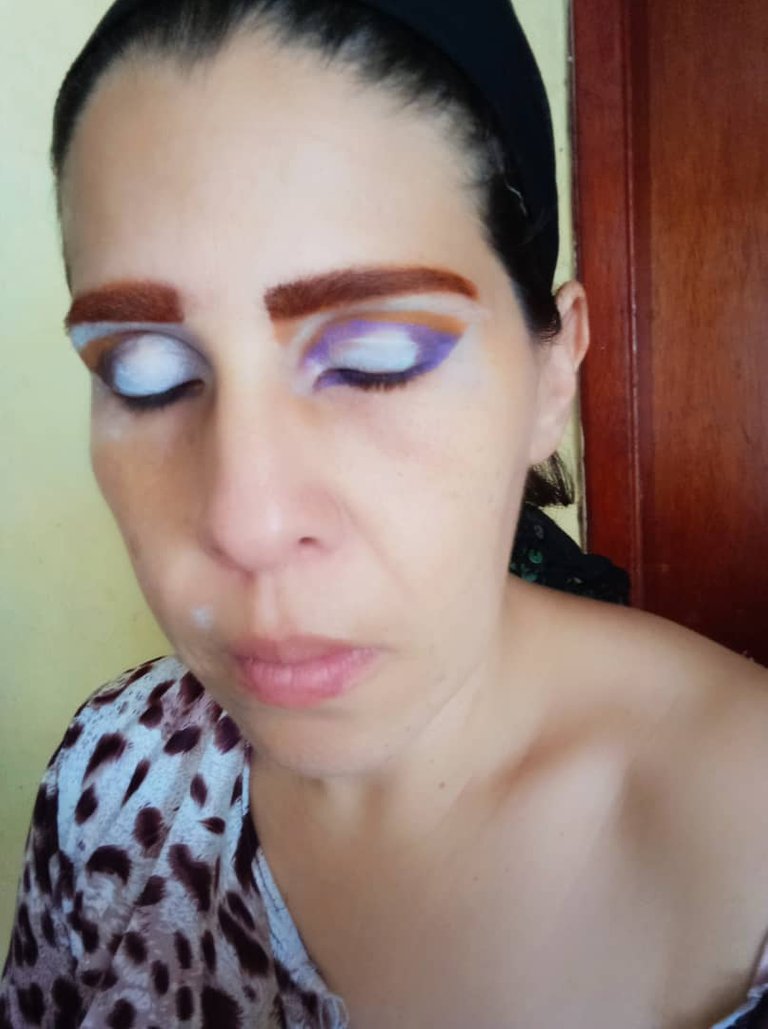
| Place matte white shadow over the entire eyelid and use a brown pencil to draw a line over the eye socket. | Colocar sombra de color blanca mate sobre todo el párpado y con él lápiz de color marrón marcar una línea sobre la cuenca del ojo. |
 |  |
|---|

| Step 2.1 The Eyes | Paso 2.1 Los Ojos |
|---|---|
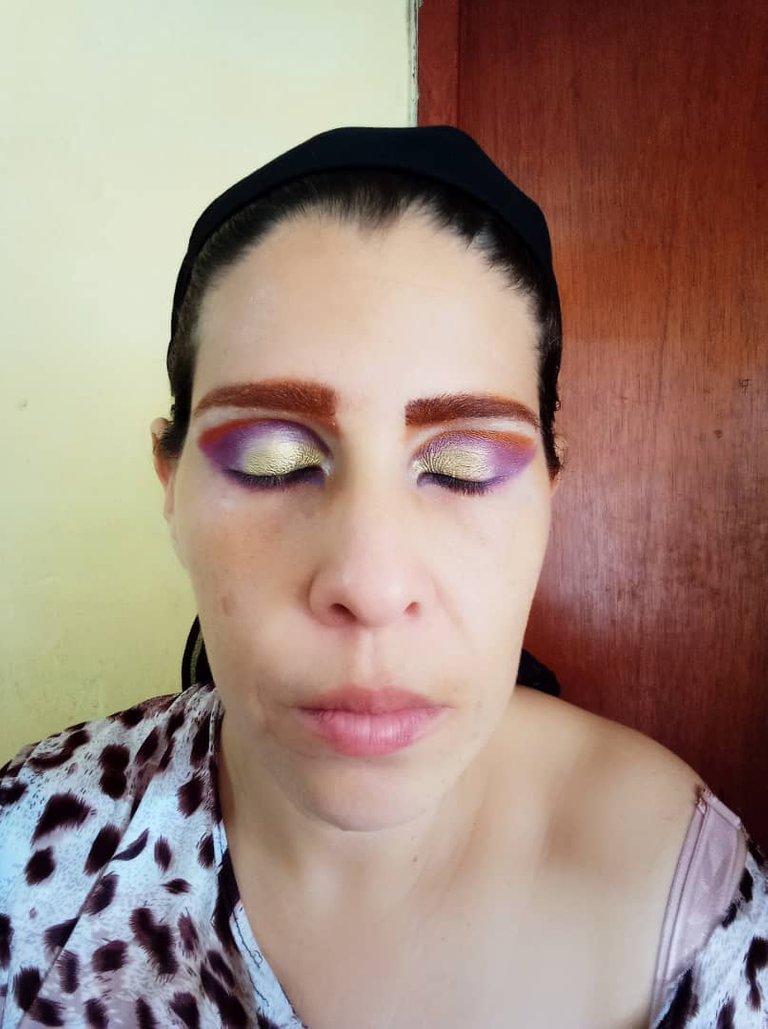
| Place orange shadow on the fixed eyelid and purple shadow on the mobile eyelid and leave it on the eye. Blend well with a round brush. | Colocar sombra de color naranja sobre el párpado fijo y sombra de color morado sobre el párpado móvil y déjalo del ojo. Difuminar bien con un pincel redondo. |
 |  |
|---|

| Step 2.2 The Eyes | Paso 2.2 Los Ojos |
|---|---|
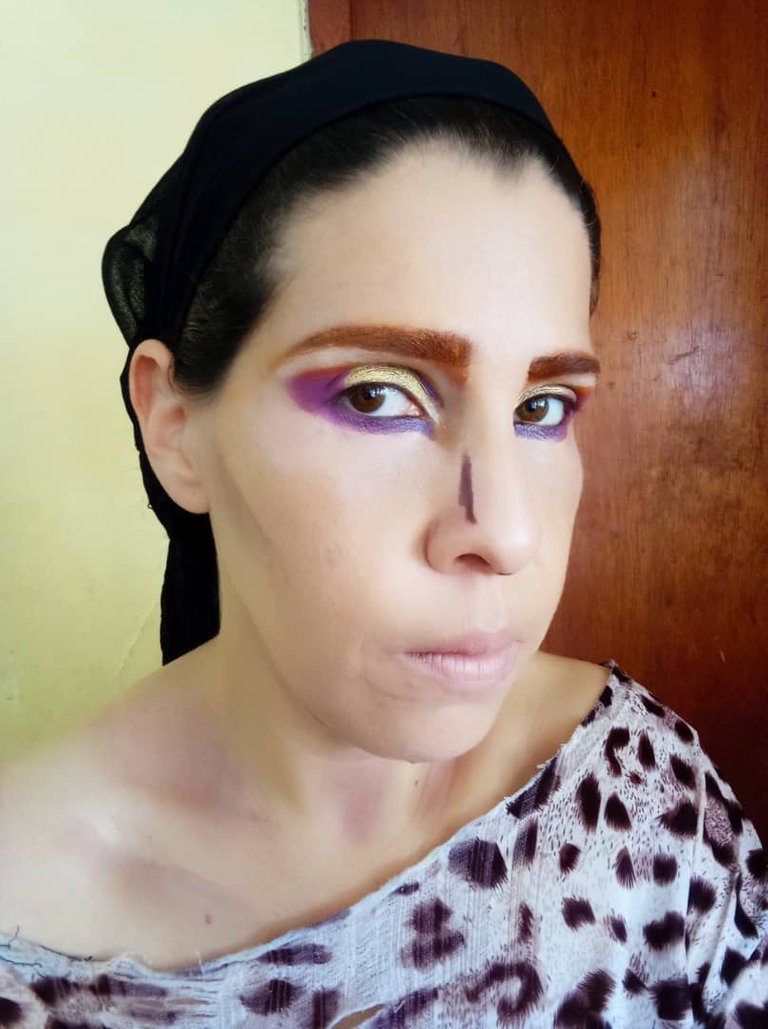
| Place gold-colored shadow in the center of the eyelid and towards the tear trough. | Colocar sombra de color dorado en el centro del párpado y hacia el lagrimal. |

| Step 3: The Face | Paso 3: El Rostro |
|---|---|
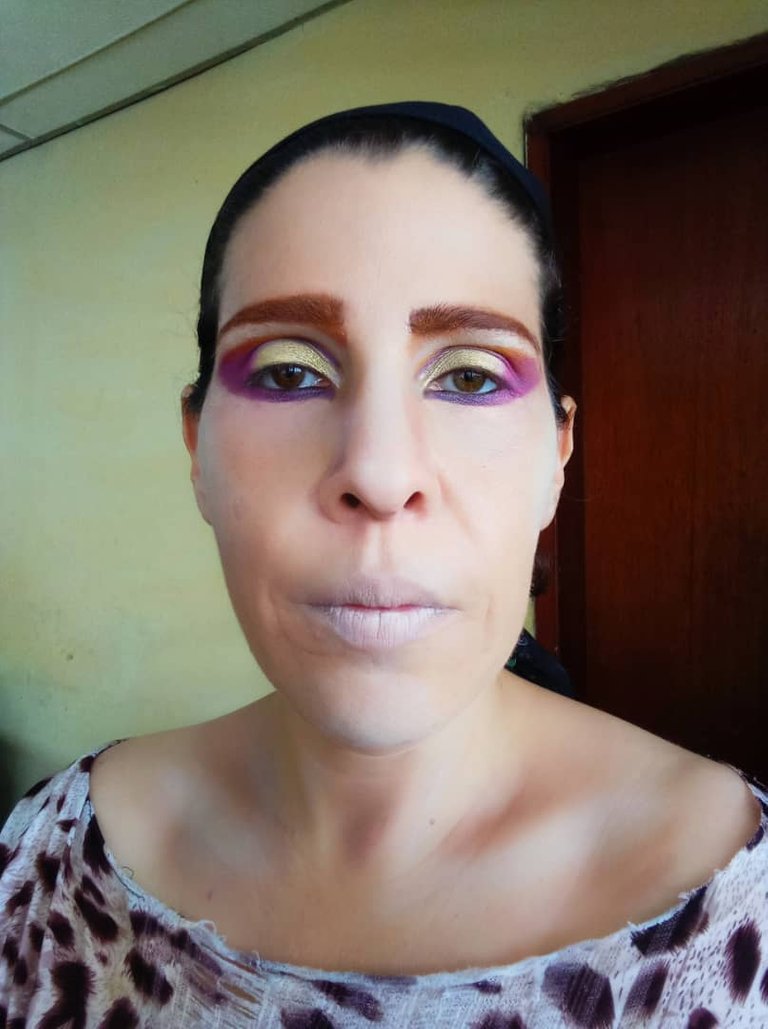
| Make up the rest of the face in the usual way with foundation and then sealing with loose powder. | Maquillar el resto del rostro de la forma acostumbrada con base y luego sellando con polvos sueltos. |

| Step 3.1 The Face | Paso 3.1 El Rostro |
|---|---|
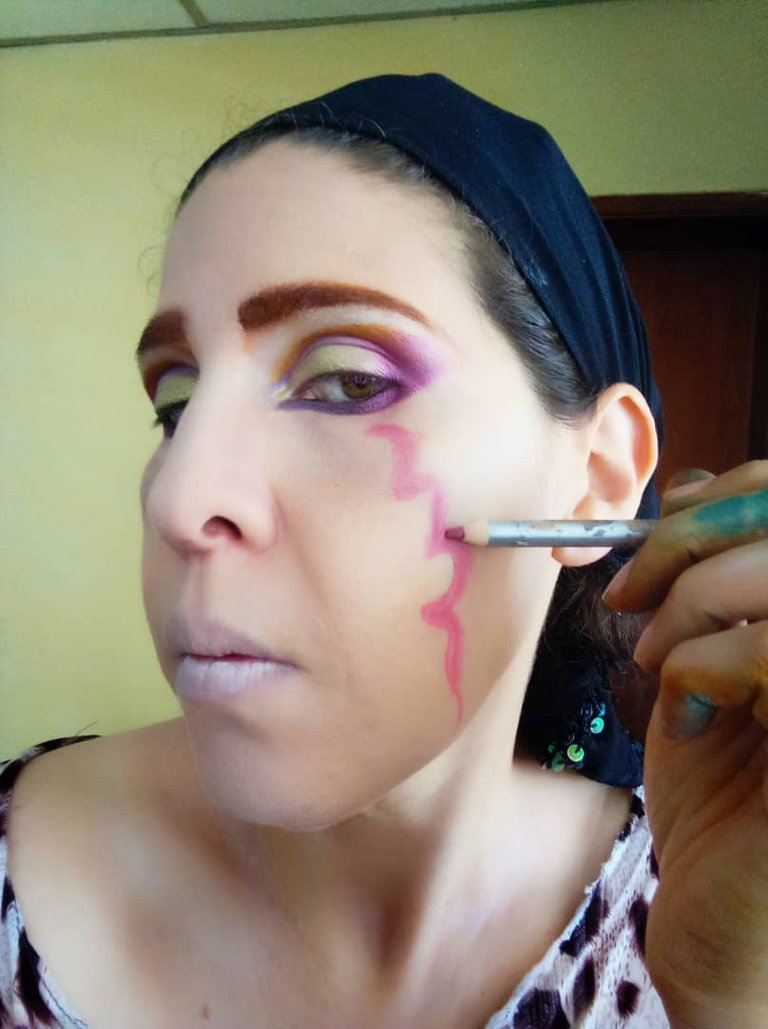
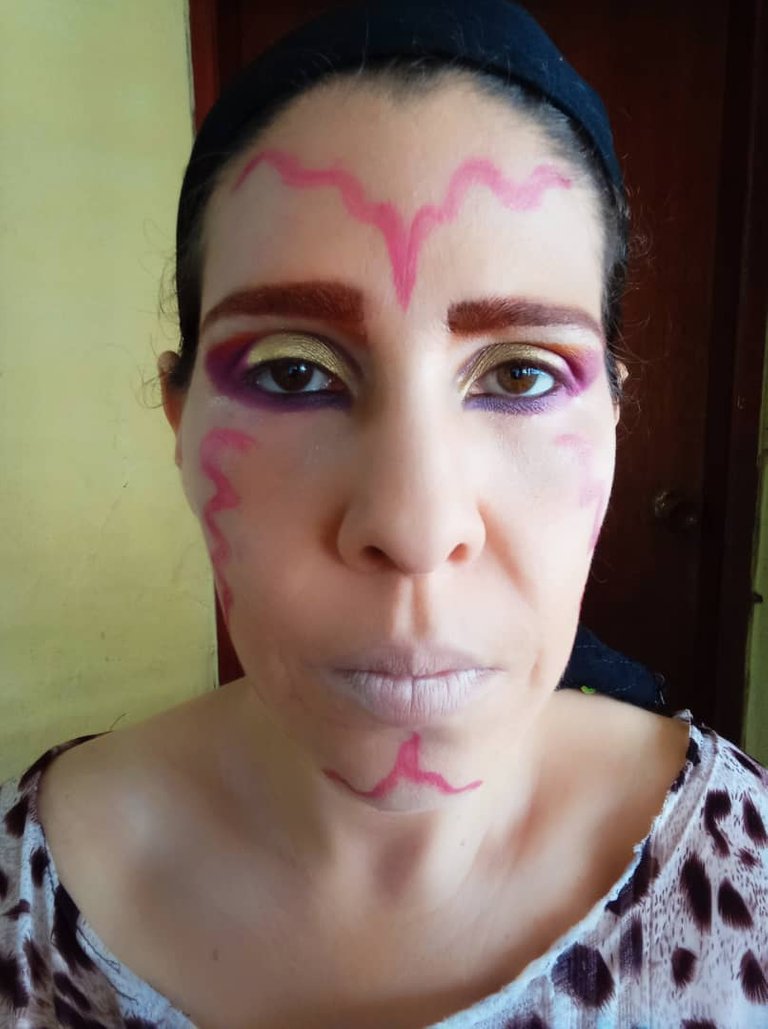
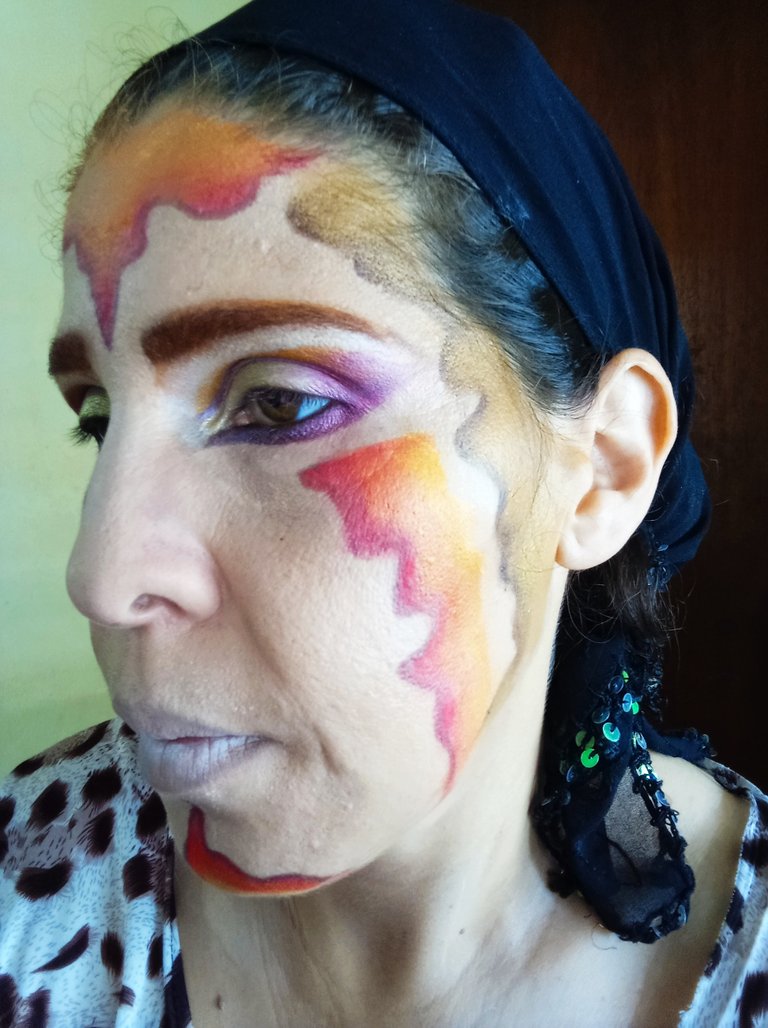
| With an eyeliner pencil mark wavy lines on the cheekbones, cheeks, chin and forehead. | Con un lápiz delineador marcar líneas onduladas sobre los pómulos, las mejillas, el mentón y la frente. |
 |  |
|---|

| Step 3.2 The Face | Paso 3.2 El Rostro |
|---|---|
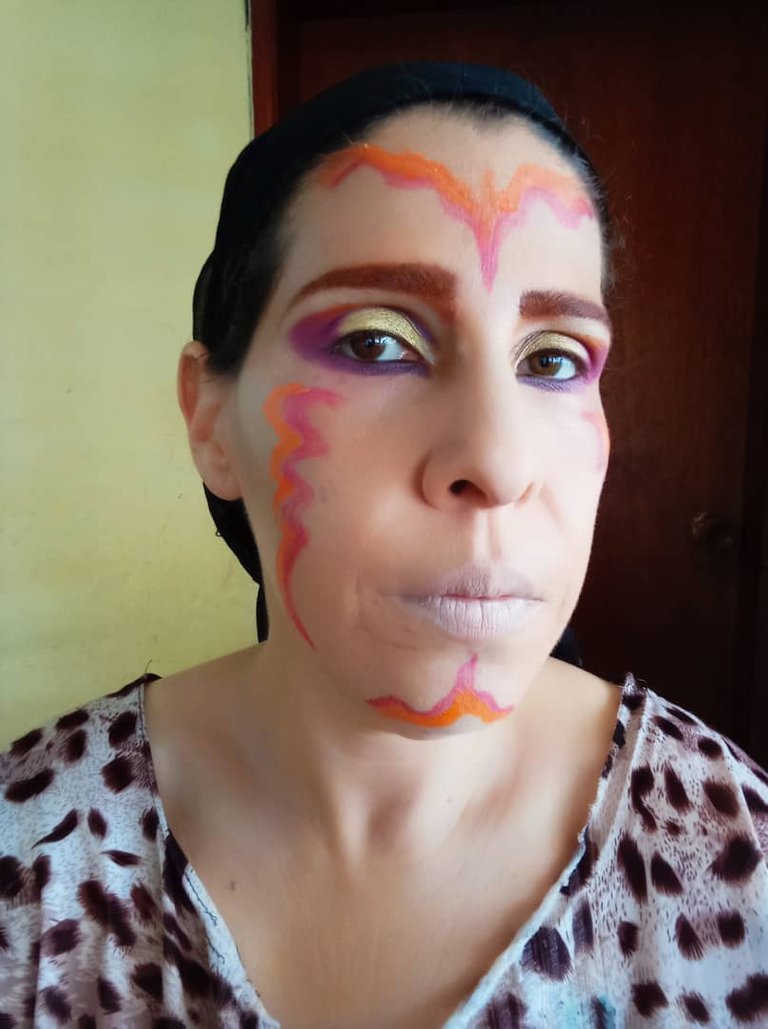
| Continue in the same way placing wavy lines on the cheekbones, cheeks, and chin with orange paint. | Continuar de la misma forma colocando líneas onduladas sobre los pómulos, las mejillas, el mentón con pintura de color naranja. |

| Step 3.3 The Face | Paso 3.3 El Rostro |
|---|---|
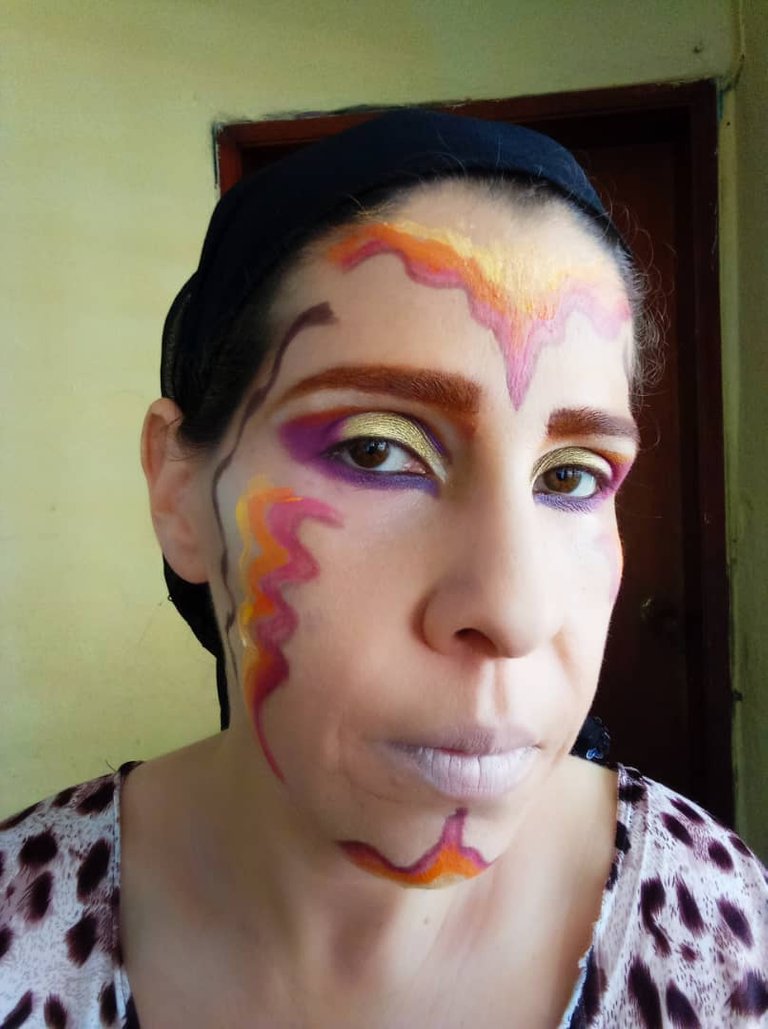
| Continue in the same way placing wavy lines on the cheekbones, cheeks, and chin with yellow paint. | Continuar de la misma forma anterior colocando líneas onduladas sobre los pómulos, las mejillas, el mentón con pintura de color amarillo. |

| Step 3.4 The Face 1 | Paso 3.4 El Rostro |
|---|---|
| And finish this part by painting undulations towards the temples with brown and golden tones. | Y finalizar esta parte pintando ondulaciones hacia las sienes con tonos marrones y dorados. |

| Step 4: The Mouth | Paso 4: La Boca |
|---|---|
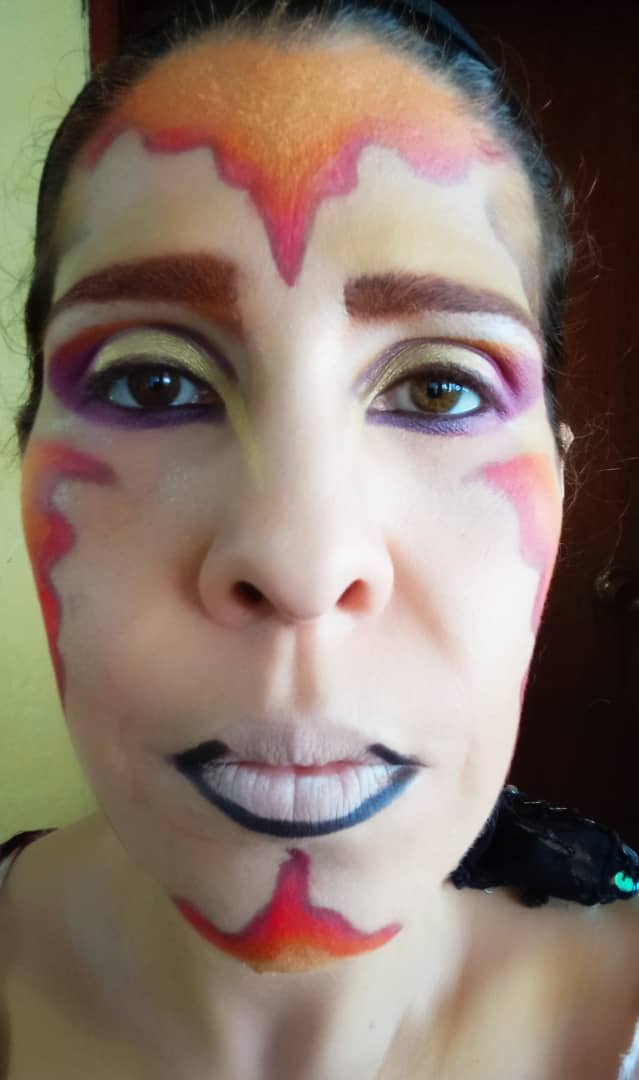
| Place a background with white matte paint over the mouth. Then outline with the black pencil the lower lip and the corner of the lips. | Colocar un fondo con pintura de color blanco mate sobre la boca. Luego delinear con el lápiz de color negro el labio inferior y la comisura de los labios. |

| Step 4.1 The Mouth | Paso 4.1 La Boca |
|---|---|
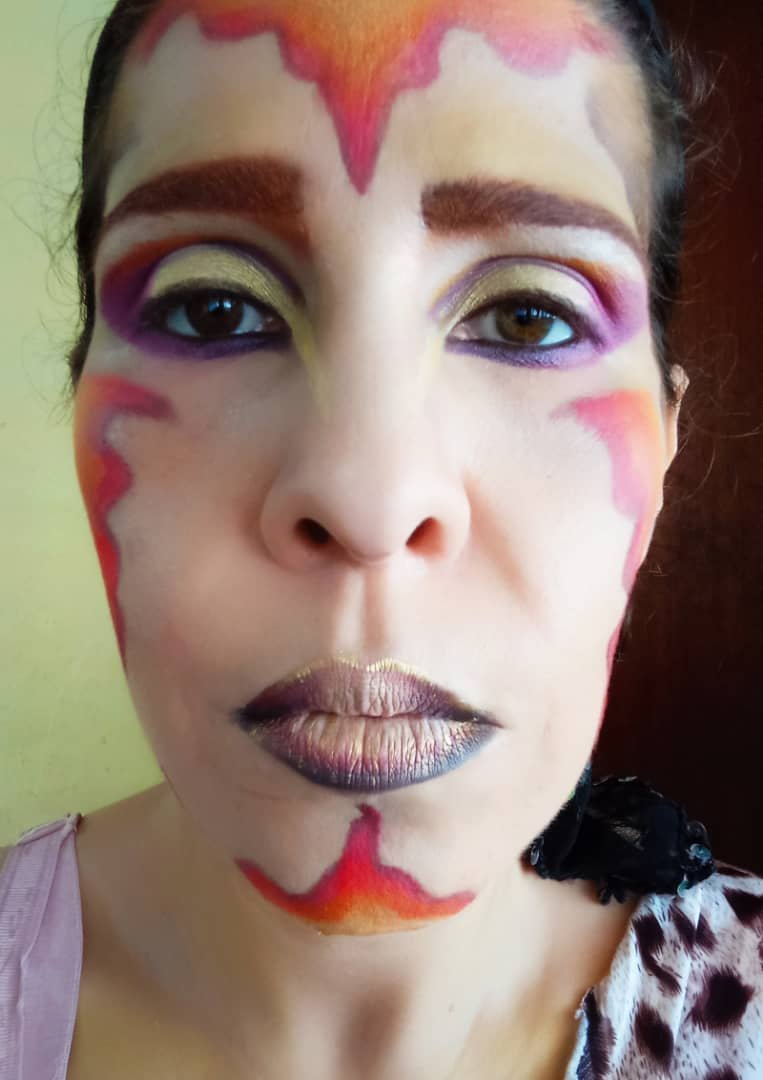
| Fill in the rest of the mouth with orange shadow and unify the black color with the rest of the lip makeup. | Rellenar con sombra de color naranja el resto de la boca y unificar el color negro con el resto del maquillaje de labios. |

| Step 4.2 The Mouth | Paso 4.2 La Boca |
|---|---|
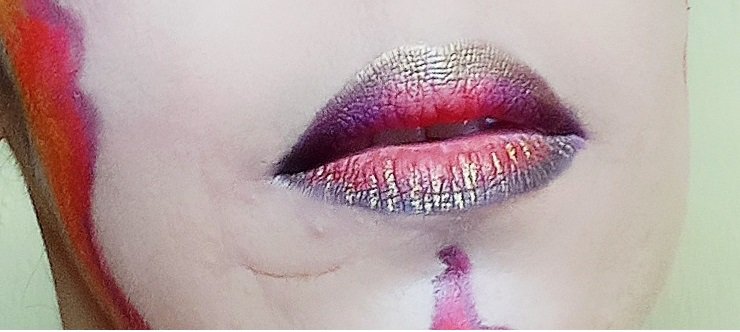
| Finally with a thin brush outline the upper lip with gold vegetable paint and make very thin strokes on the lower lip. | Por último con un pincel delgado delinear el labio superior con pintura vegetal dorada y hacer trazos muy delgados sobre el labio inferior. |

| Step 5: Accessories | Paso 5: Los Accesorios |
|---|---|
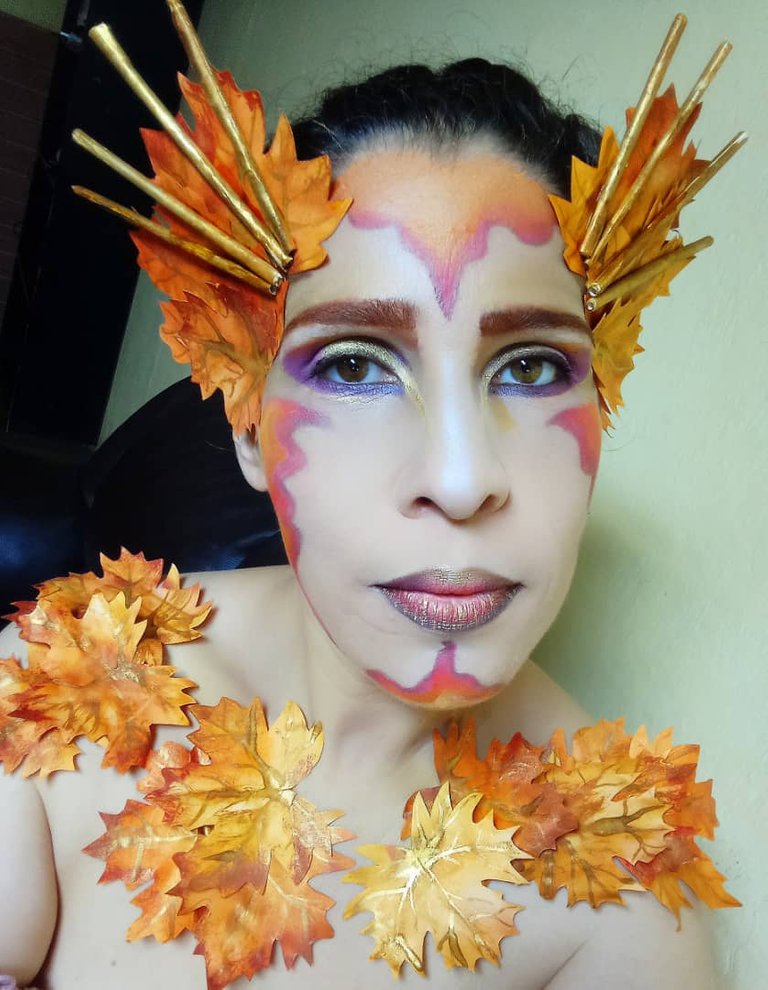
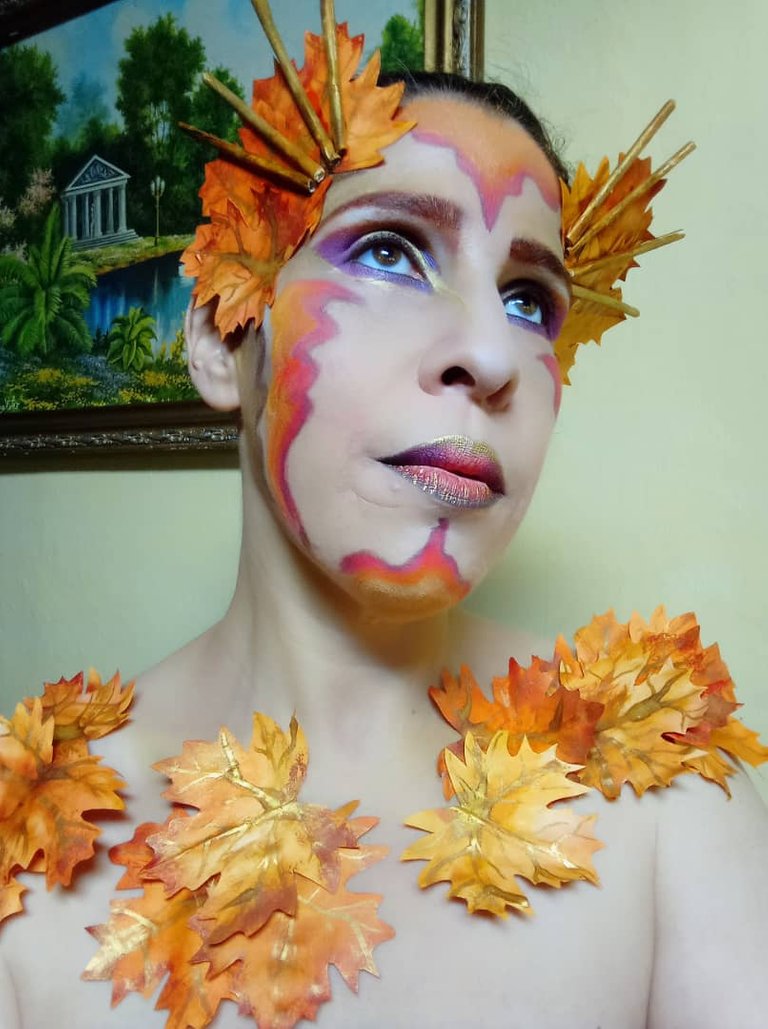
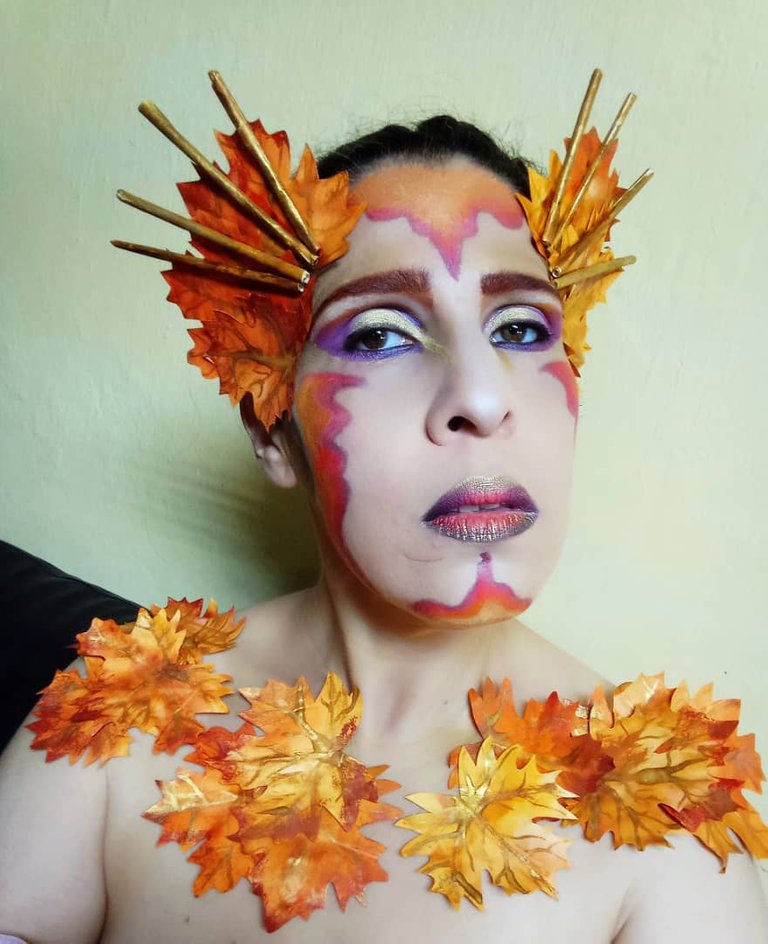
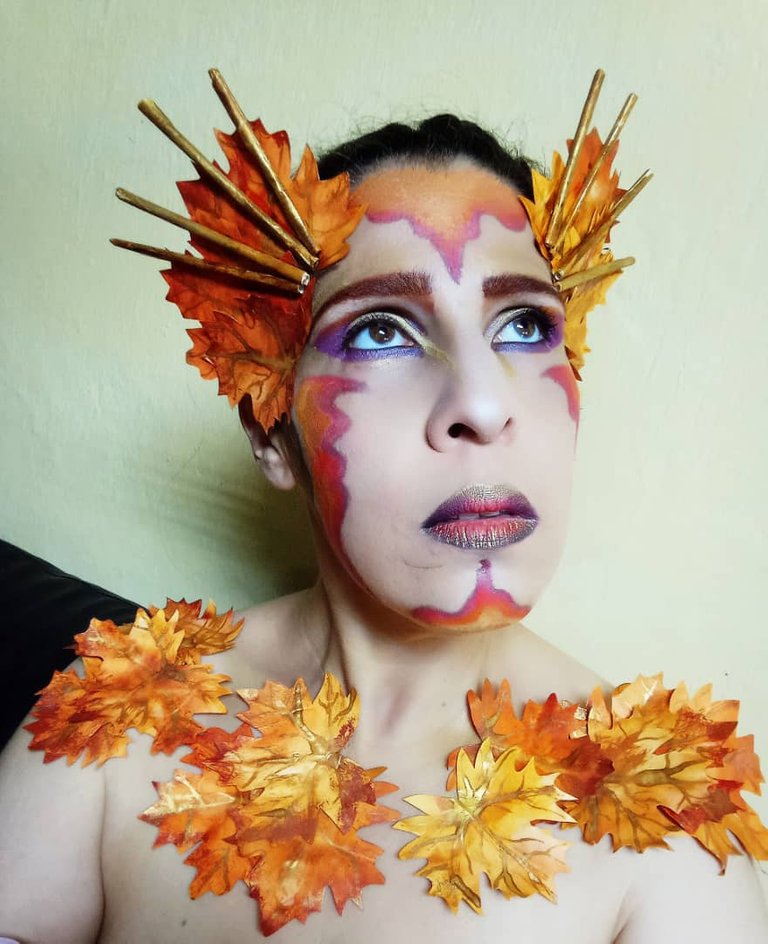
| As I mentioned at the beginning, in a previous post I explained the whole procedure on how to make the autumn leaves with recycled paper. Almost all the accessories for my makeovers I have made with paper and it is very versatile. You only need vegetable paints and school glue and a little imagination. Now ready to see the final result, I really liked it. I hope you do too. | Cómo les comenté al inicio ya en un post anterior expliqué todo el procedimiento sobre como hacer la hojas otoñales con papel reciclado. Casi todos los accesorios de mis maquillajes los he hecho con papel y es muy versátil. Solo necesitas pinturas vegetales y pegamento escolar y un poco de imaginación. Ya listos para ver el resultado final, a mí me gustó mucho. Espero a ustedes también. |
 |  |
|---|---|
 |  |

| ENDING | FINALIZACION |
|---|---|
| Thank you very much for once again reading my blog where you can find other fabulous makeups. I take this opportunity to tell you that I am already preparing the next make-up for you, which is the Winter Queen. At the end of the series you will tell me which one you liked the most, so I remind you that you can follow me so you don't miss it. Until the next makeovers friends. Text | Muchas gracias por una vez más leer mi blog dónde podrán encontrar otros fabulosos maquillajes. Aprovecho para decirles que ya les estoy preparando el próximo maquillaje que es la Reina de Invierno. Al final de la serie ustedes me dirán cual les gustó más, por eso les recuerdo que pueden seguirme para que no se lo pierdan. Hasta los próximos maquillajes amigos. |


Para traducir utilice: Traductor DeepL
Imágenes editadas en: Canva
Fotos tomadas con mi teléfono redmi 9A

Text translated in: DeepL Translate
Images edited in: Canva
Photos taken with my redmi 9A phone.
image.png

Hermoso amiga @artsugar, felicidades
GRACIAS AMIGA @LORENNYS, PRONTO ESTARÉ SUBIENDO LOS MAQUILLAJES CORRESPONDIENTES A LAS DEMÁS ESTACIONES DEL AÑO
Me encanta tu trabajo, la forma en que lo ejecutas pensando en cada detalle y la creatividad con la haces todo. Muchas gracias por compartir!
Oh..gracias @desrw por tu comentario. Es muy valioso para mí.
Increíble!! Qué precioso quedó, qué buena técnica, y qué dedicación al detalle.
Admirable tu trabajo de maquillaje, y muy bien explicado el paso a paso!
Tienes mi Follow 😍❤️
Gracias @nioberojas. Comentarios como el tuyo me animas a seguir. Mi mayor recompensa que alguien le guste mi trabajo. Son mi motivación. Gracias por comentar.
Impressive
@pricewagar. Thank You ..👍😘
Que buena representación del otoño amiga @artsugar 😘