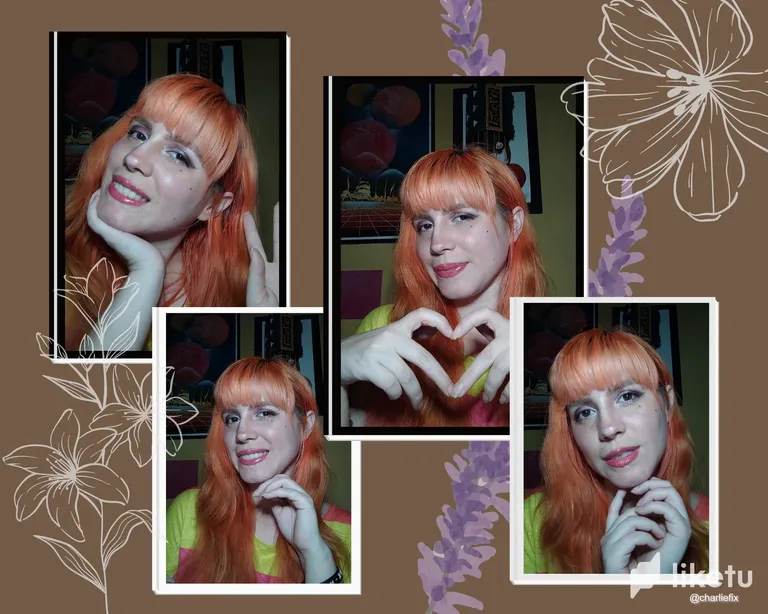
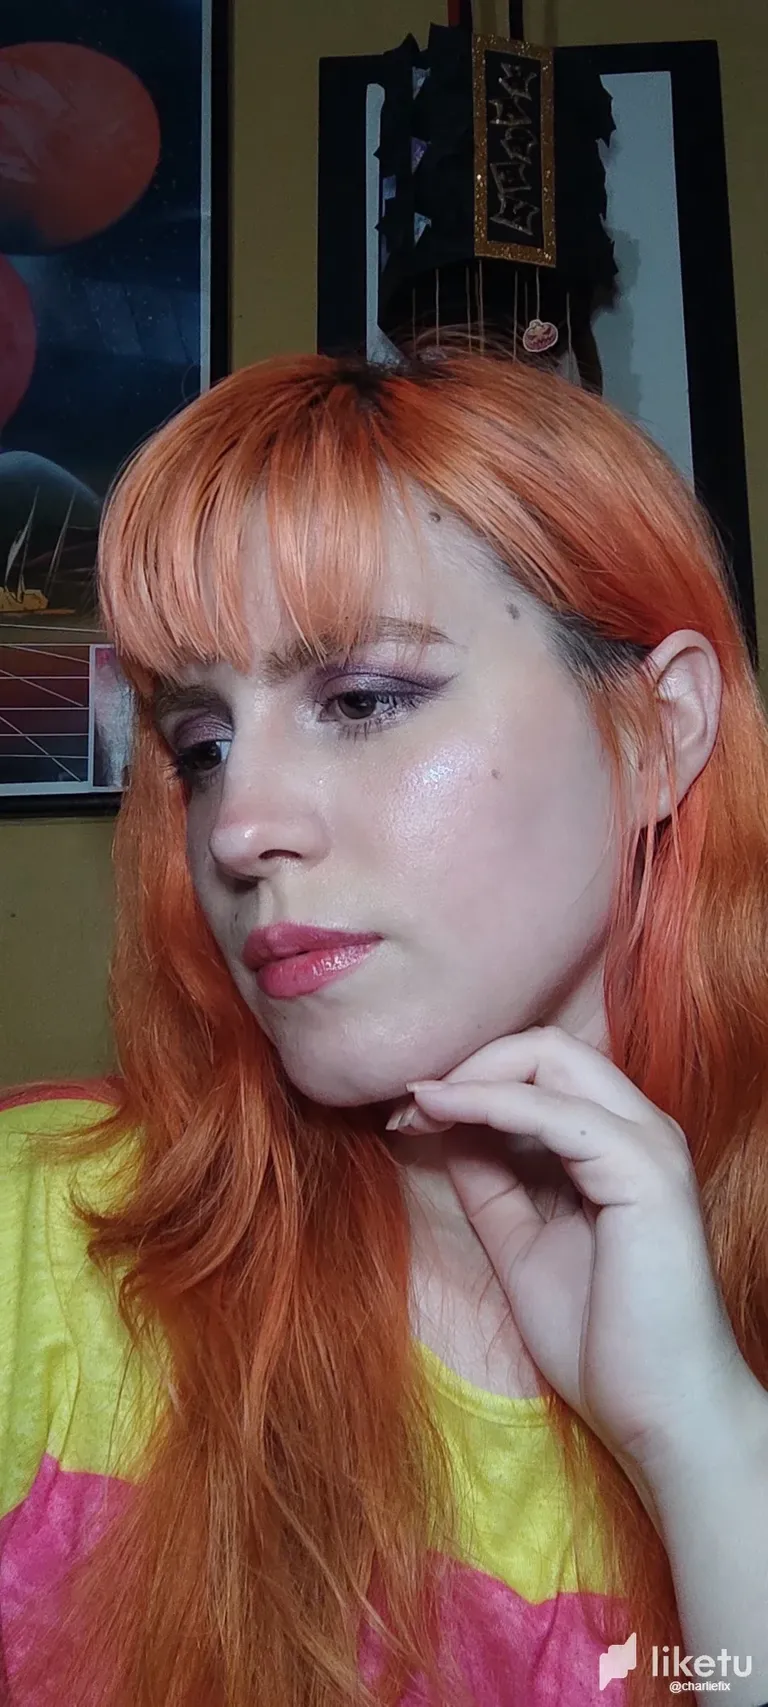
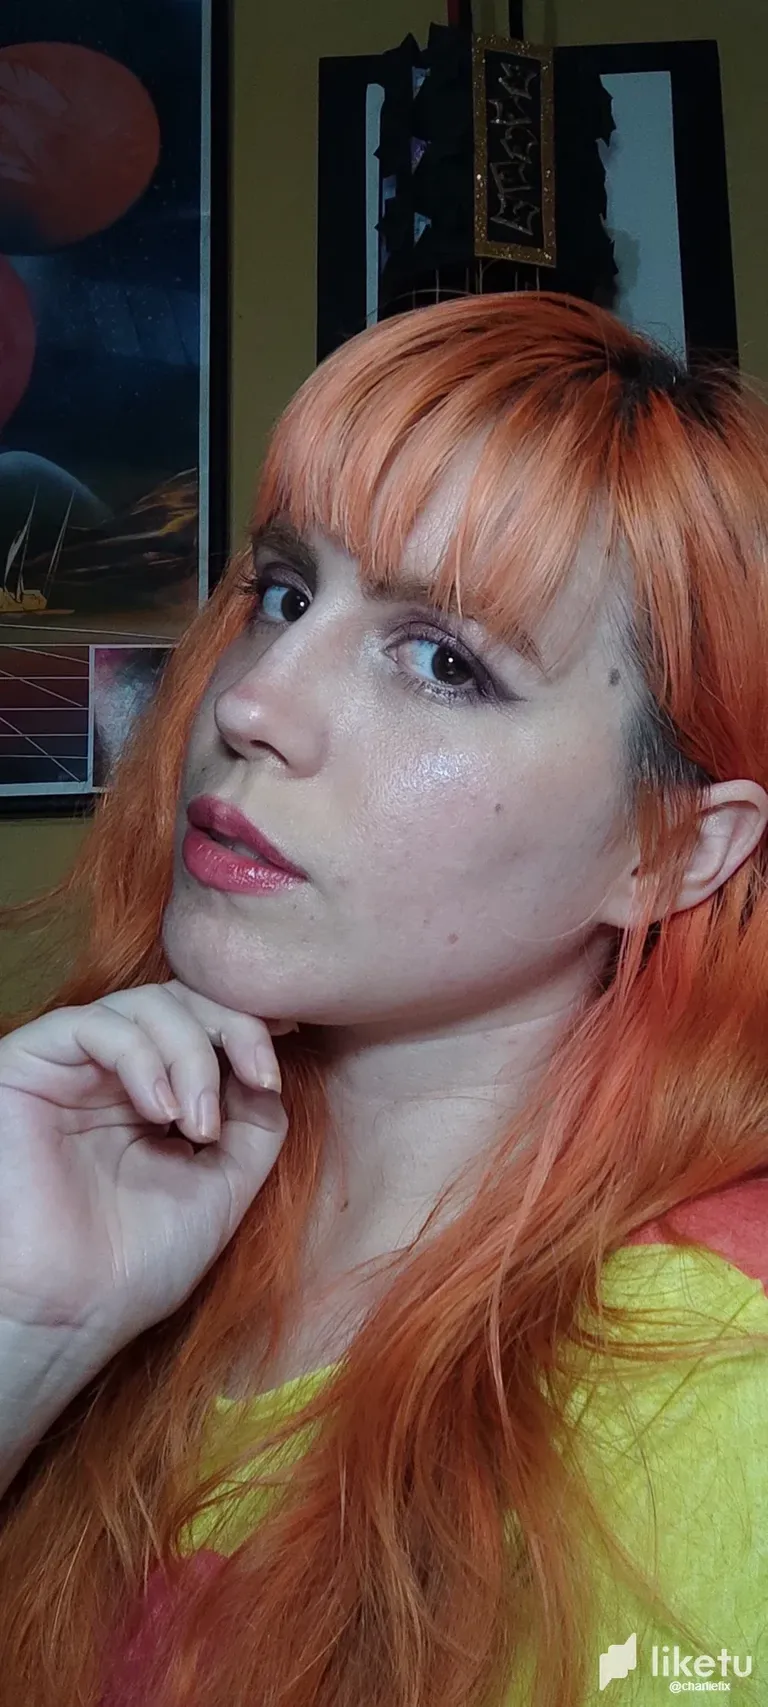
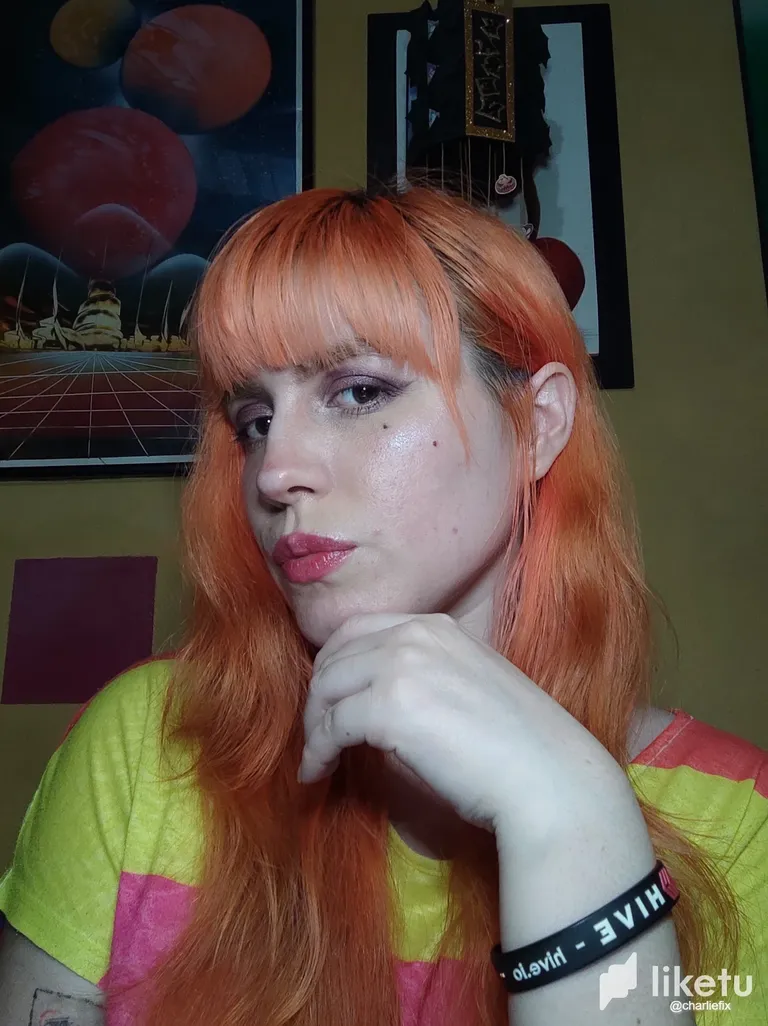
Hola a todos de nuevo por aquí uniéndome al reto de @lucianav de esta semana 💕. Siempre amé este estilo de maquillaje, pero también consideraba que no me quedaría bien por la forma de mis ojos, sin embargo el resultado de este maquillaje me encantó y sin dudas lo usaría de nuevo en algún evento o salida casual, estoy contenta de haber logrado el tono que quería con la unión de estos colores que utilicé. Espero que a ustedes también les haya gustado y que mi explicación les sirva por si quieren intentar hacer los mismos tonos que yo he aplicado en este maquillaje ❤️
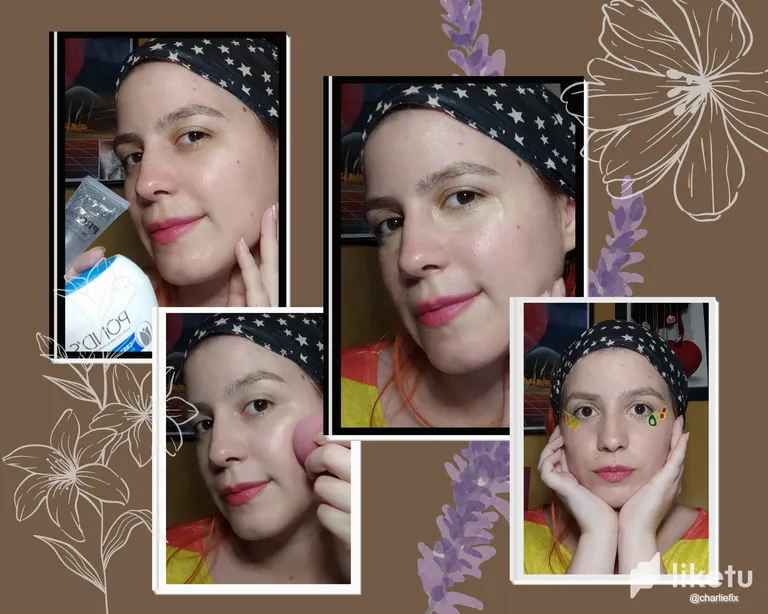
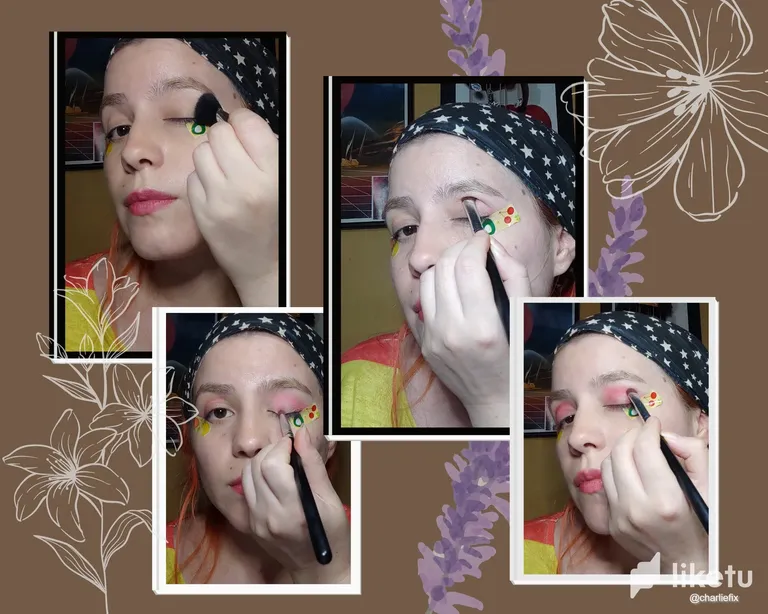
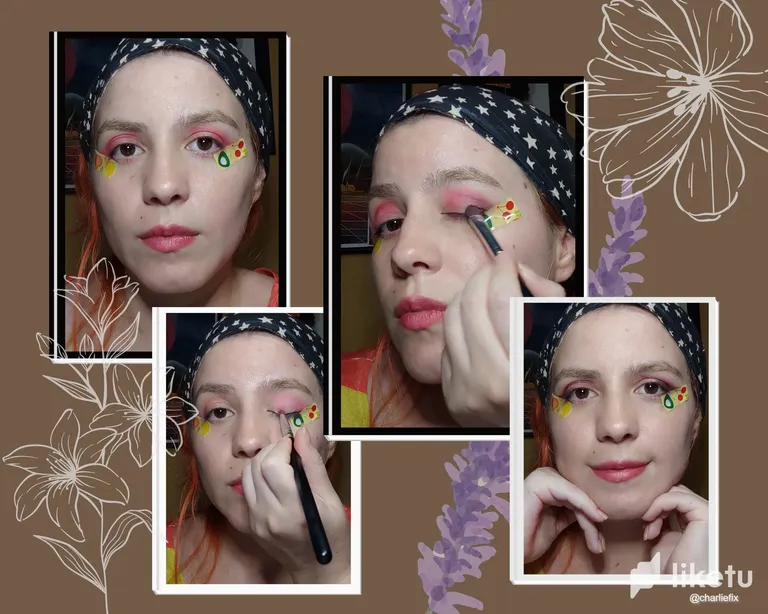
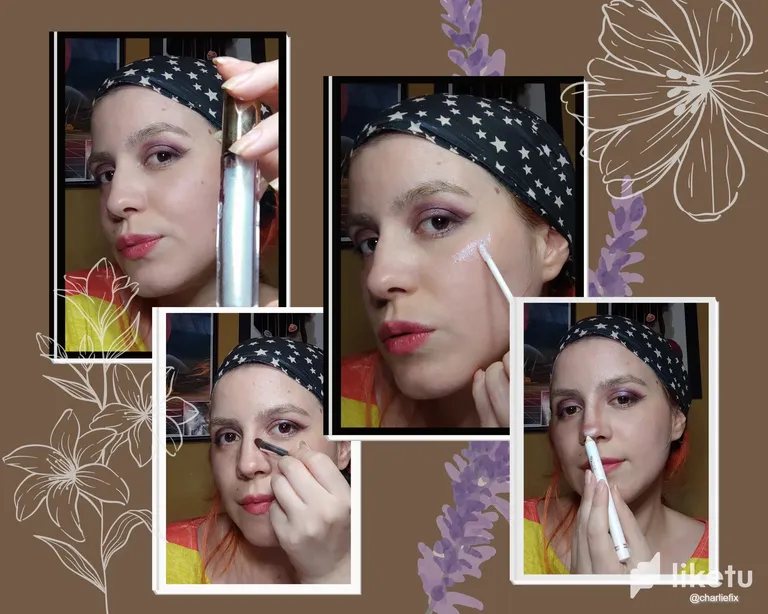
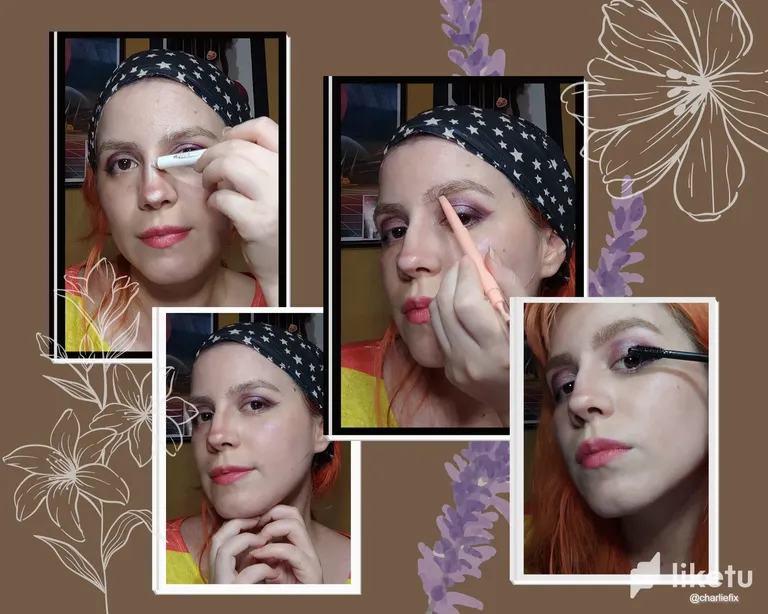
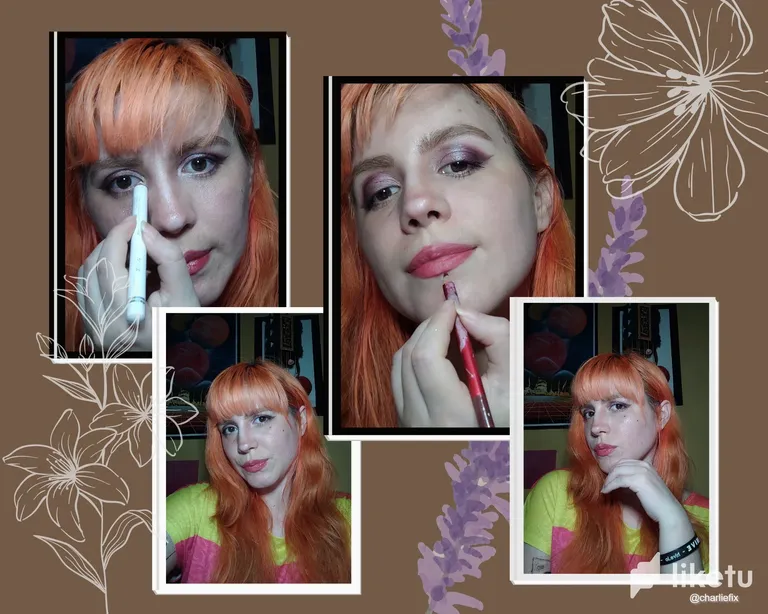
Les enseño mi paso a paso: Primero aplico a mi rostro una crema hidratante y mi primer, luego aplico mi base con la beauty blender húmeda en pequeños toques por todo el rostro; a continuación voy directo a los ojos y uso corrector en el páparpado para obtener una mejor pigmentación, me coloco una cinta en los extremos para que no se disperse el polvo de las sombras por todo el ojo y además para darle una forma alargada y perfecta. Sello con polvo traslúcido para luego aplicar las sombras. Voy a mi paleta por un tono rosa pálido y aplico la sombra desde la cuenca por donde llega la cinta hasta un poco más allá del centro del párpado y hacía abajo, a un dedo de distancia del lagrimal, hago lo mismo con un tono fucsia de mi paleta. Vamos a tomar un tono rojo oscuro o café (los pueden mezclar también) para crear profundidad en los tonos que hemos aplicado. A partir de aquí nos concentraremos en el negro difuminando bien para hacer el tono ahumado. Con una brocha pequeña coloco un poco de negro en la esquina del ojo y la extendiendo en la zona de la cuenca, queremos concentrarnos en la parte donde esta la cinta para que le dé el tono ahumado en esa área. Luego con la brocha coloco un tono rosa pálido y con escarcha en todo el pápado para darle brillo y realzar el ojo, hacerlo lucir más grande. Para finalizar le damos un toque a nuestro rostro, algo de rubor, un glitter para vernos más radiantes y por supuesto alargamos y acentuamos nuestras pestañas con rimel negro. Para los labios usé un tono rojizo y delineé con lápiz rojo para luego usar un gloss. También perfilé mi nariz un poco más con una sombra café claro y luego apliqué blanco en la punta de la nariz y en el tabique con un lápiz blanco. Para las cejas solo usé mi lápiz marrón y las difuminé y peiné. En algunas fotos pueden notar que tengo unos lunares que no parecían estar allí, pero realmente lo que hice fue realzar las pecas que ya tenía que me gustan bastante y por alguna razón no se ven en las fotos.
Hello everyone here again joining this week's @lucianav challenge 💕. I always loved this style of makeup, but I also thought that it wouldn't look good on me because of the shape of my eyes, however, I loved the result of this makeup and without a doubt I would use it again in some event or casual outing, I'm happy to have achieved it. the tone that I wanted with the union of these colors that I used. I hope you also liked it and that my explanation will help you in case you want to try to make the same tones that I have applied in this makeup ❤️
I show you my step by step: First I apply a moisturizing cream and my primer to my face, then I apply my foundation with the wet beauty blender in small touches all over the face; Next, I go straight to the eyes and use concealer on the eyelid to obtain better pigmentation, I place a tape at the ends so that the powder of the shadows does not spread all over the eye and also to give it an elongated and perfect shape. Seal with translucent powder to then apply the shadows. I go to my palette for a pale pink tone and I apply the shadow from the socket where the tape arrives to a little beyond the center of the eyelid and downwards, a finger's length from the tear duct, I do the same with a fuchsia shade of my palette. We are going to take a dark red or brown tone (you can mix them too) to create depth in the tones that we have applied. From here we will concentrate on the black blending well to make the smoky tone. With a small brush I place a little bit of black in the corner of the eye and extending it in the area of the basin, we want to concentrate on the part where the tape is so that it gives it the smoky tone in that area. Then with the brush I place a pale pink and glitter shade all over the lid to give it shine and enhance the eye, make it look bigger. To finish we give our face a touch, some blush, a glitter to look more radiant and of course we lengthen and accentuate our eyelashes with black mascara. For the lips I used a reddish tone and outlined with a red pencil and then used a gloss. I also outlined my nose a bit more with a light brown eyeshadow and then applied white to the tip of the nose and the septum with a white pencil. For the eyebrows I just used my brown pencil and blended and combed them. In some photos you may notice that I have some moles that didn't seem to be there, but what I really did was enhance the freckles that I already had that I really like and for some reason they don't show up in the photos.
Todas las fotos y videos compartidos por acá son de mi autoría y son tomadas por mi POCO X3.
All the photos and videos shared here are my own and are taken by my POCO X3.
For the best experience view this post on Liketu