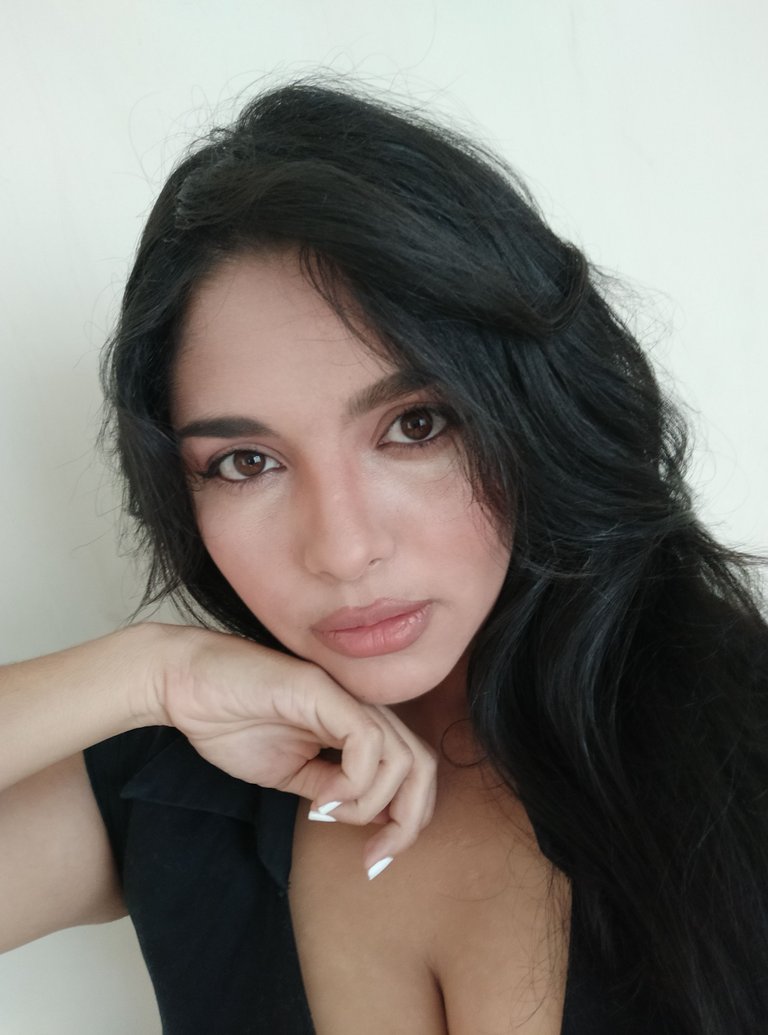
Hola mis amores, el día de hoy regreso con un maquillaje precioso que estoy segura te va a gustar, “MAQUILLAJE DE MODELO” y ¿Cómo es un maquillaje de modelo? Pues es ese tipo de maquillaje que está listo para ser fotografiado y resalta aquello que quieres resaltar y le brinda invisibilidad eso que quieres ocultar.
Prebases, correctores fluidos, primers, brochas naturales, sintéticas... Existe tanta variedad de productos y utensilios de maquillaje que cuesta saber para qué es cada cosa o si deben usarse todos los productos para conseguir un maquillaje perfecto. Comencemos….
Hello my loves, today I'm back with a beautiful makeup that I'm sure you will like, "MODEL MAKEUP" and how is a model makeup? Well, it is that kind of makeup that is ready to be photographed and highlights what you want to highlight and gives invisibility to what you want to hide.
Pre-foundations, fluid concealers, primers, natural and synthetic brushes? There is such a variety of makeup products and tools that it is hard to know what each thing is for or if all the products should be used to achieve a perfect makeup. Let's get started....
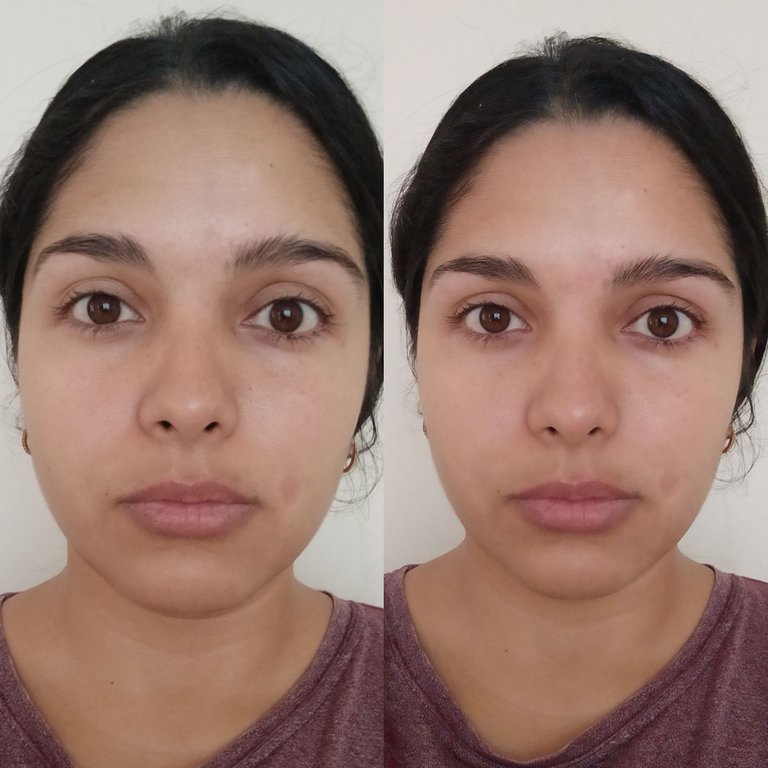
Paso 1: Limpiarse bien la cara
Es importante limpiarse bien la cara antes de empezar a maquillarse. Lava con agua fría los restos de impurezas o de maquillaje. NUNCA SALTES ESTE PASO.
Paso 2: Crema hidratante
Después de haberte limpiado bien la cara es aconsejable que utilices una crema hidratante adecuada según tu tipo de piel. Tu piel pude ser grasa, mixta o seca. Esto ayudara a mantener tu piel hidratada a pesar de las capas de maquillaje.
Utiliza una buena crema hidratante antes de maquillarte, permitirá que desmaquillarse sea aún más fácil.
Step 1: Cleanse your face thoroughly
It is important to cleanse your face thoroughly before applying makeup. Wash off any impurities or makeup with cold water. NEVER SKIP THIS STEP.
Step 2: Moisturizer
After cleansing your face well, it is advisable to use a moisturizer suitable for your skin type. Your skin can be oily, combination or dry. This will help keep your skin moisturized despite layers of makeup.
Use a good moisturizer before applying makeup, it will make removing makeup even easier.
Paso 3: Corregir imperfecciones
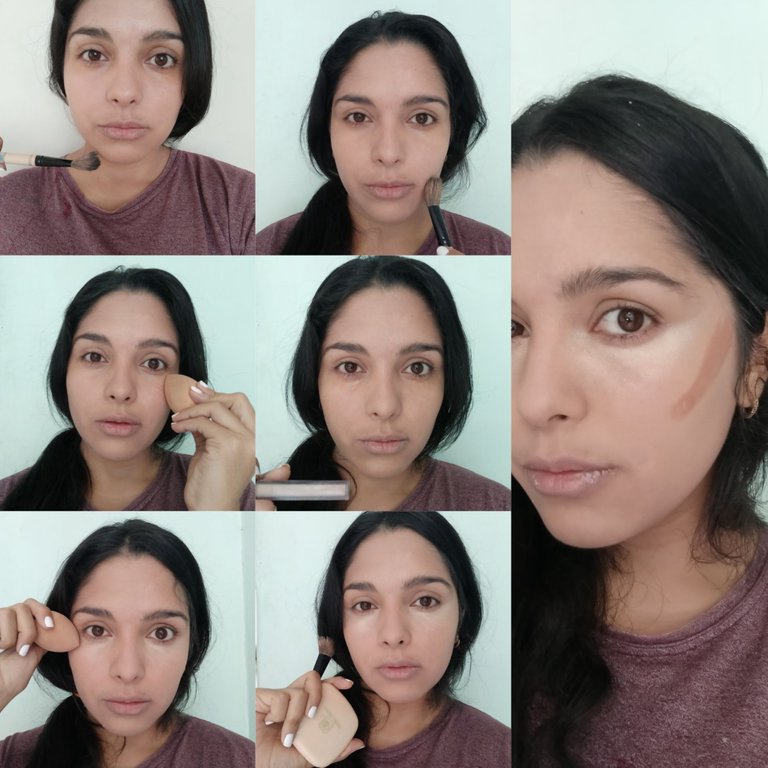
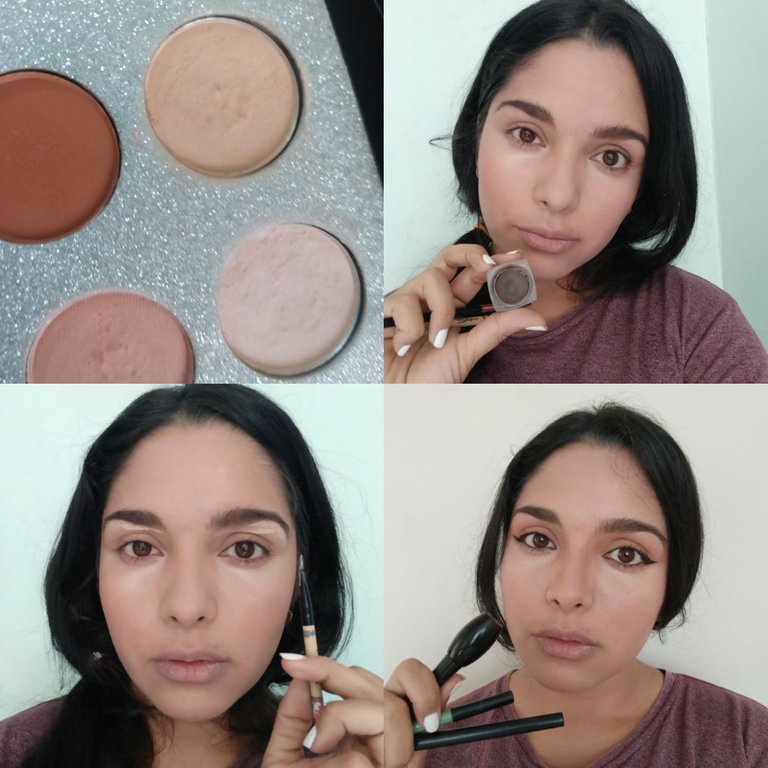
Corregir ojeras, manchas, imperfecciones o granitos con un anti ojeras o corrector. Estos productos suelen ser siempre un poquito más claros que nuestra piel. Échate una gotita allí donde creas necesario y espárcelo con pequeños toquecitos por la piel.
Te recomendamos este anti-ojeras, que podrás aplicar a con los dedos. Es de fácil uso.
Paso 4: Aplicar base de maquillaje
Aplicar la base de maquillaje. Esta base tiene que ir acorde con tu tono de piel. Ni muy clara ni muy oscura. Te aconsejamos que utilices varios tonos antes de comprarte la definitiva.
Aconsejamos utilizar una brocha lengua de gato, especial para bases de maquillaje. Tienen la punta redondeada y los pelos más duro que otras bronchas. Son perfectos para aplicar una base de maquillaje. Con movimientos circulares, desde la parte superior de la cara hasta la parte inferior. Los puntos clave donde deberás utilizar la base son: la frente, las mejillas y la nariz.
Step 3: Correct imperfections
Correct dark circles, blemishes, imperfections or spots with an anti-dark circles or concealer. These products are always a little lighter than your skin. Apply a drop where you think it is necessary and spread it with small touches on the skin.
We recommend this anti-dark circles concealer, which you can apply with your fingers. It is easy to use.
Step 4: Apply foundation
Apply the foundation. This foundation has to match your skin tone. Neither too light nor too dark. We advise you to use several shades before buying the definitive one.
We recommend using a cat's tongue brush, especially for foundation. They have a rounded tip and harder hairs than other brushes. They are perfect for applying foundation. With circular movements, from the upper part of the face to the lower part. The key points where you should use the foundation are: the forehead, the cheeks and the nose.
Paso 5: Aplicar polvos.
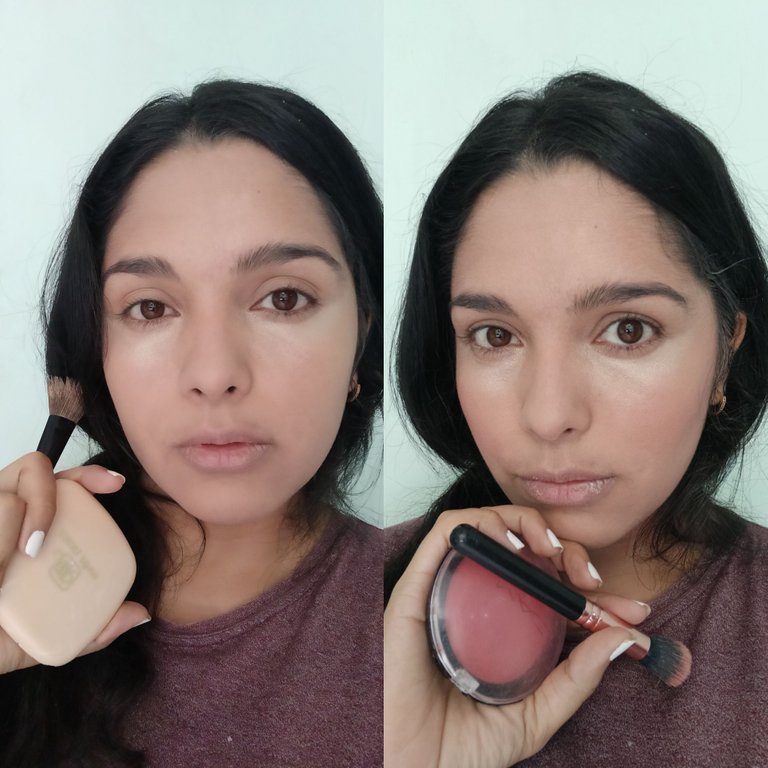
Después de la base de maquillaje, utilizamos los polvos, que compactarán el maquillaje y eliminarán los brillos de la cara. Aconsejamos que sean translucidos. De lo contrario, unos polvos de color añaden otro tono a tu piel y en ocasiones, puede quedar una pintura exagerada.
Paso 6: aplicar coloretes
Aplica un poco de colorete en tus pómulos, no te pases con la cantidad. El color de colorete puede ser rosa, naranja clarito o rojo.
Step 5: Apply powder.
After the foundation, we use the powder, which will compact the makeup and eliminate shine from the face. We recommend translucent powders. Otherwise, colored powders add another tone to your skin and can sometimes look over-painted.
Step 6: Apply blushers
Apply a little blusher on your cheekbones, but don't overdo it with the amount. The blush color can be pink, light orange or red.
Paso 7: Maquillar ojos y delinear
Para los párpados deberemos usar sombras que no llamen mucho la atención como colores beiges o palos. A poder ser claros en vez de oscuros. Difuminar la sombra de ojo desde el interior del párpado a los exteriores
Debajo de las cejas aplicaremos una sombra un poquito más clarita, lo que dará apertura al ojo y parecerá más grande. Todo esto lo acompañe con un delineado de ojo de gato, que hace resaltar de gran forma el maquillaje.
Paso 8: Maquillar pestañas
Es aconsejable utilizar el rizador de pestañas, el cual las hace más largas. Las separa, y las peina para que al aplicar la máscara, ésta no quede concentrada en un mismo punto.
Paso 9: Añadir máscara
Utilizaremos la máscara o rímel para dar color y alargar las pestañas. Utilízalo con este sabio consejo. Sigue la forma de tu pestaña, redondea hacia arriba y suéltalo.
Step 7: Eye makeup and eyeliner
For the eyelids we should use shadows that do not attract too much attention such as beige or pale colors. If possible, use light colors instead of dark ones. Blend the eye shadow from the inside of the eyelid to the outer eyelids.
Under the eyebrows apply a slightly lighter shade, which will open up the eye and make it look bigger. All this is accompanied with a cat eye eyeliner, which makes the makeup stand out in a great way.
Step 8: Make up eyelashes
It is advisable to use the eyelash curler, which makes them longer. It separates them and combs them so that when applying mascara, it is not concentrated in one spot.
Step 9: Add mascara
We will use mascara to color and lengthen the lashes. Use it with this sage advice. Follow the shape of your lashes, round up and release.
Paso 10: Maquillar labios
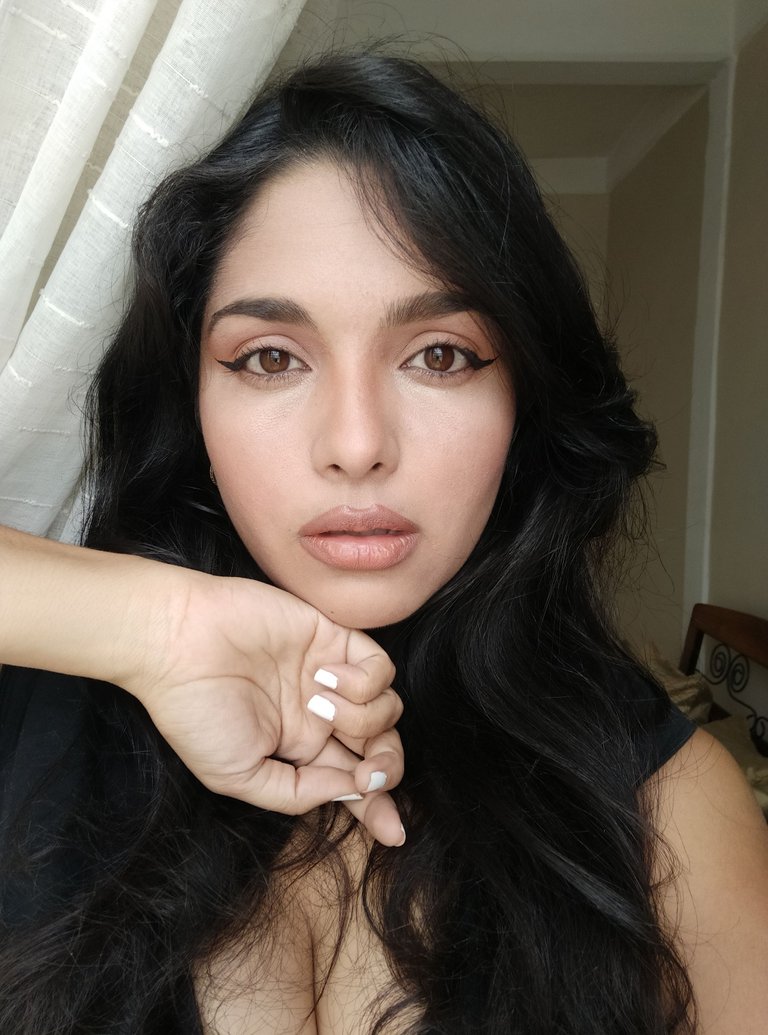
Primero utiliza un perfilador de labios, sigue el contorno de tus labios un con lápiz de un color suave como marrón, rojo o rosa. Después aplica la barra de labios que dará textura y jugosidad a tus labios.
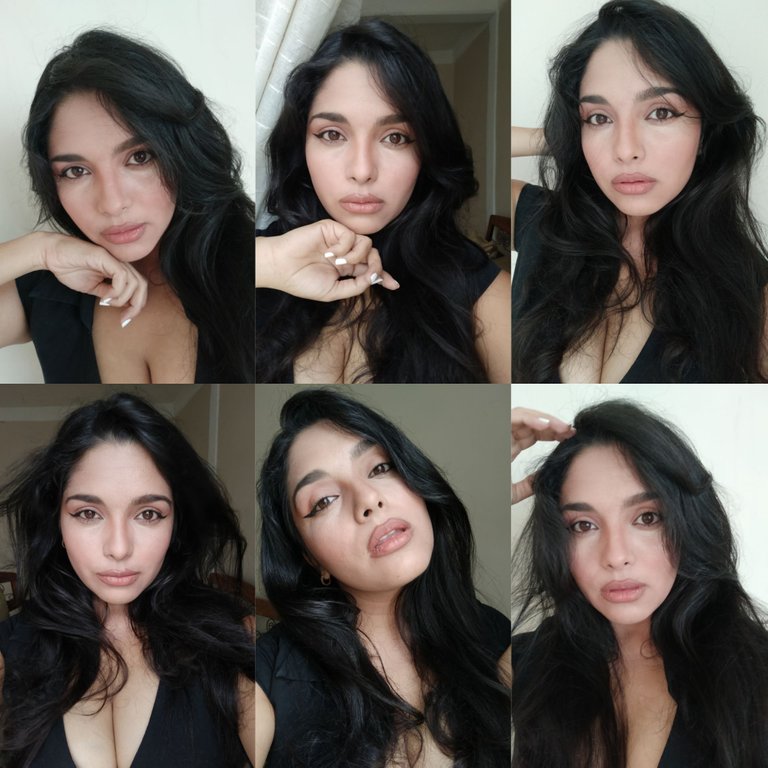
¡Ya estás lista para salir o fotografiarte como modelo recién maquillada y perfecta!
Step 10: Make up lips
First use a lip liner, follow the contour of your lips with a pencil in a soft color such as brown, red or pink. Then apply lipstick that will give texture and juiciness to your lips.
You are now ready to go out or be photographed as a model freshly made up and perfect!
- Traducido con www.DeepL.com/Translator || Translated with www.DeepL.com/Translator
Italic
-Todas las imágenes 📸 son de mi propiedad.
-All images 📸 are my property.
That looks awesome! 💄