
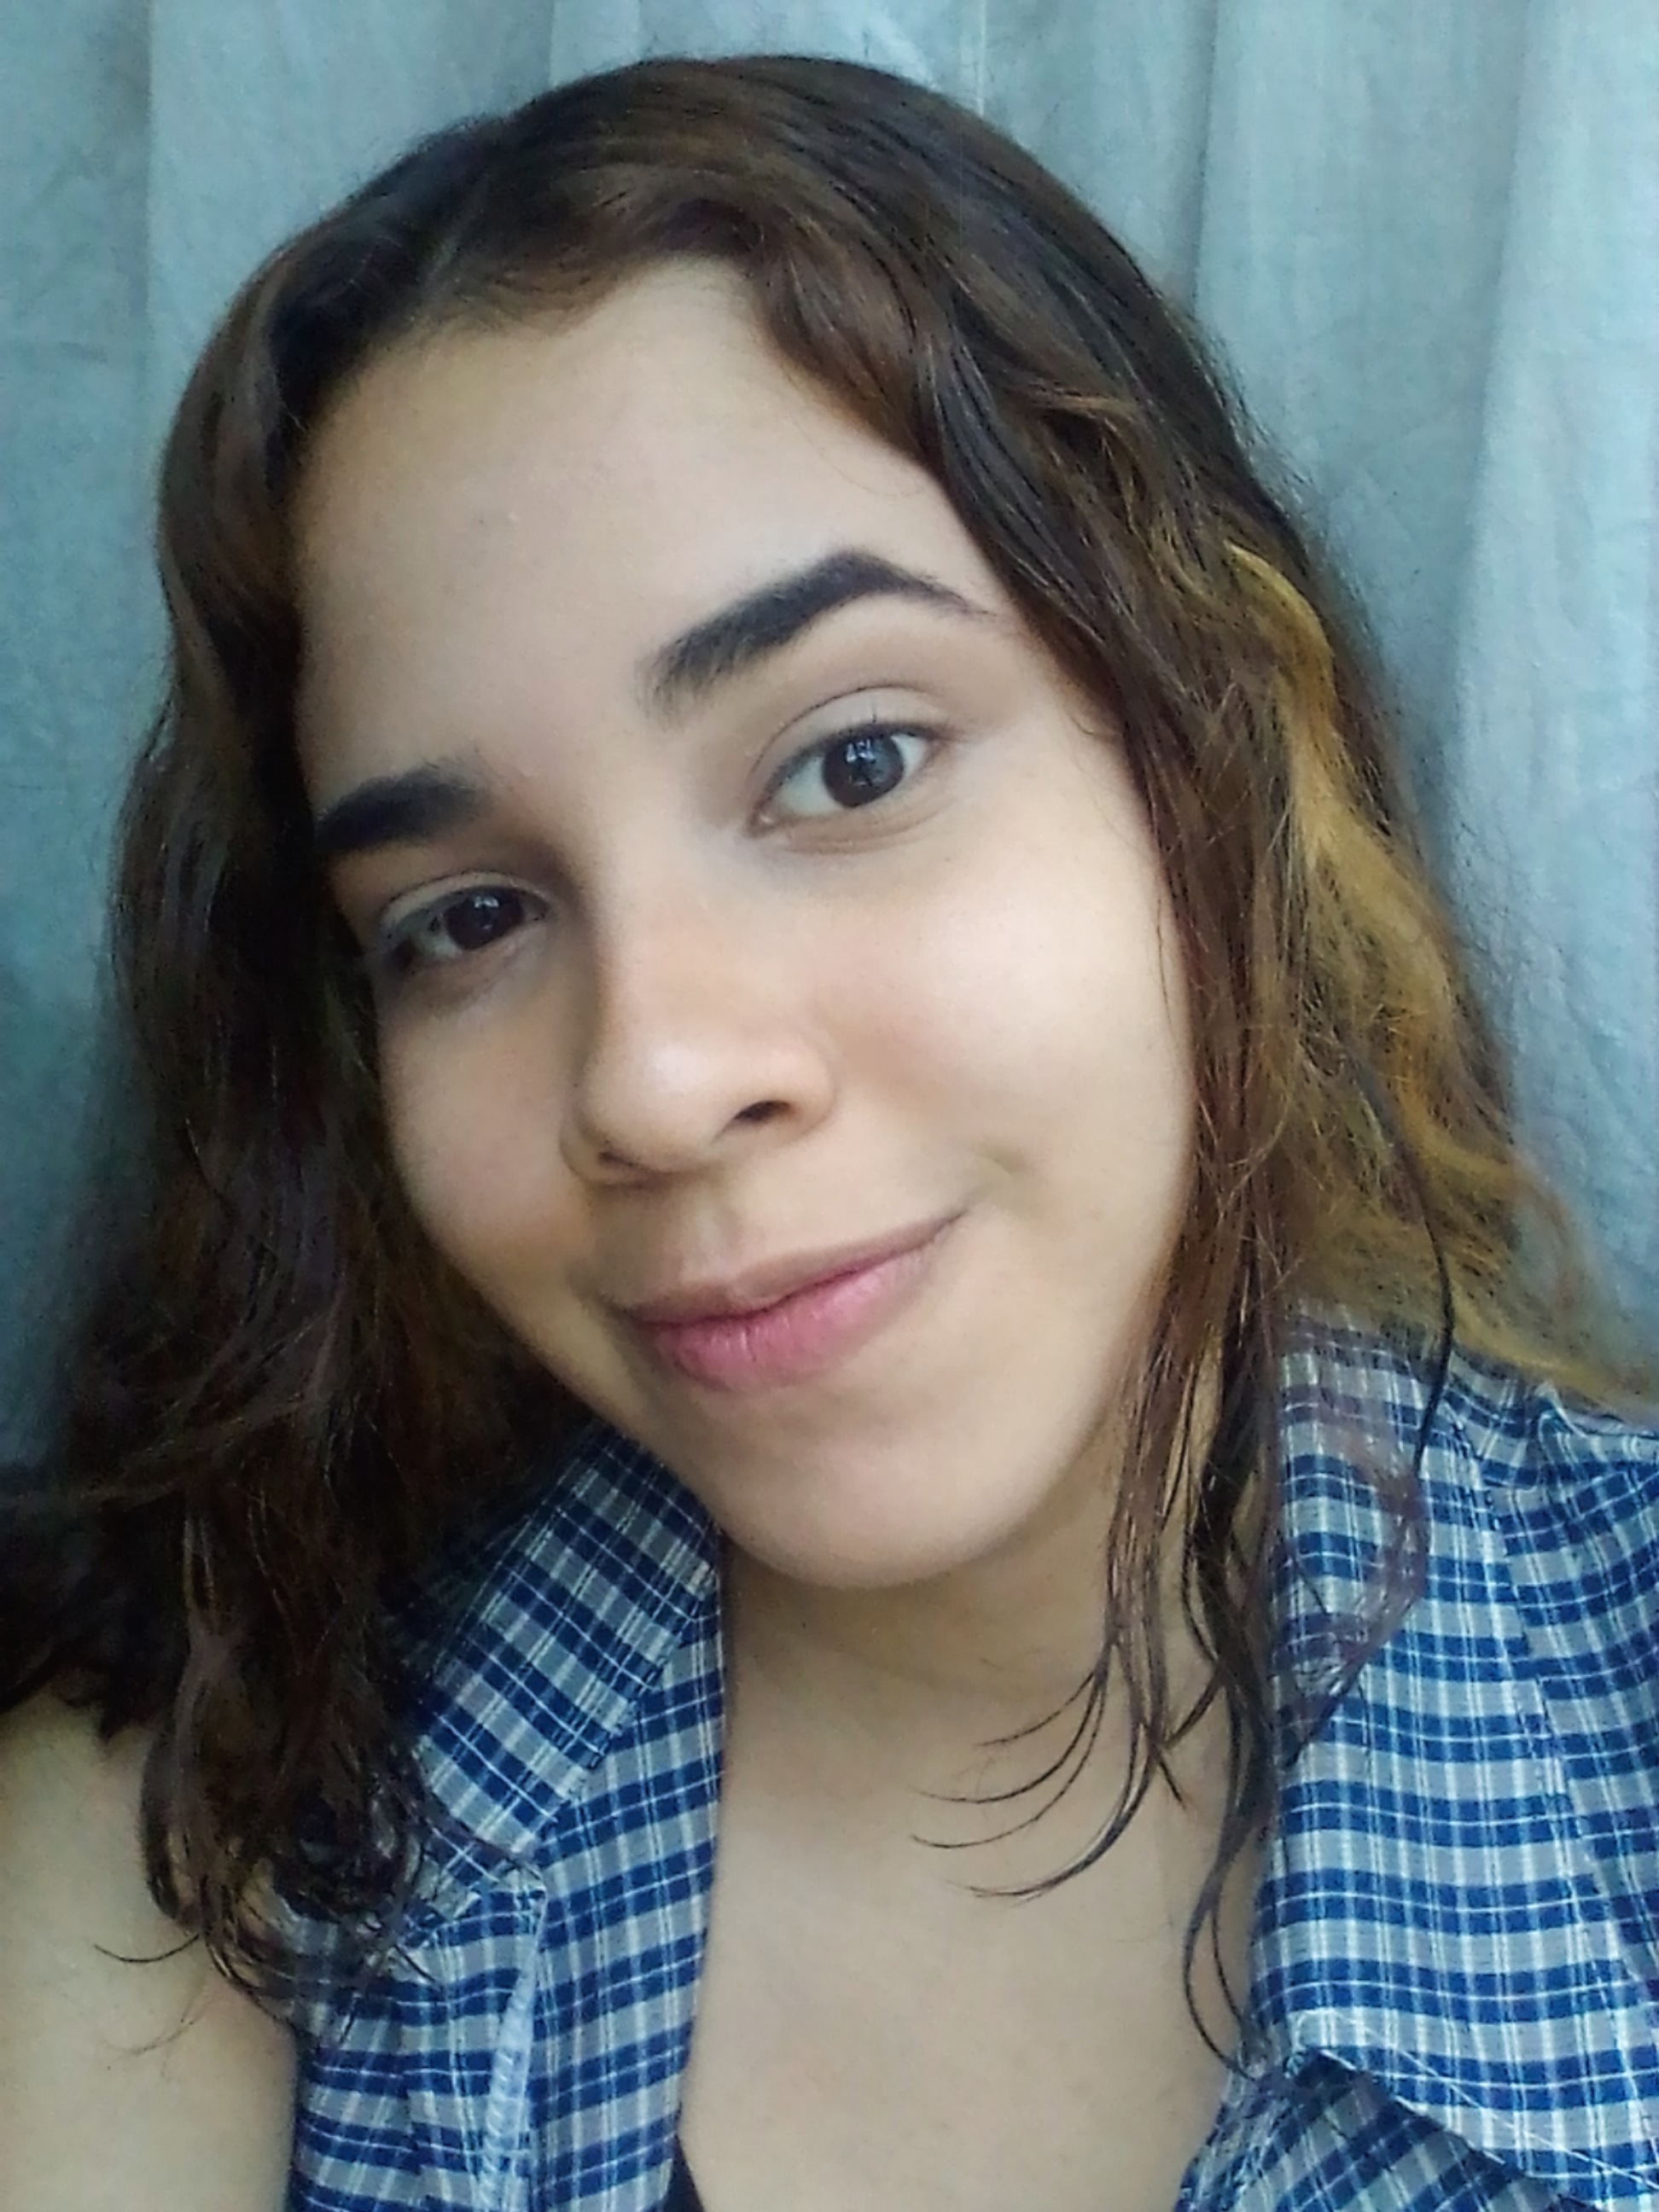
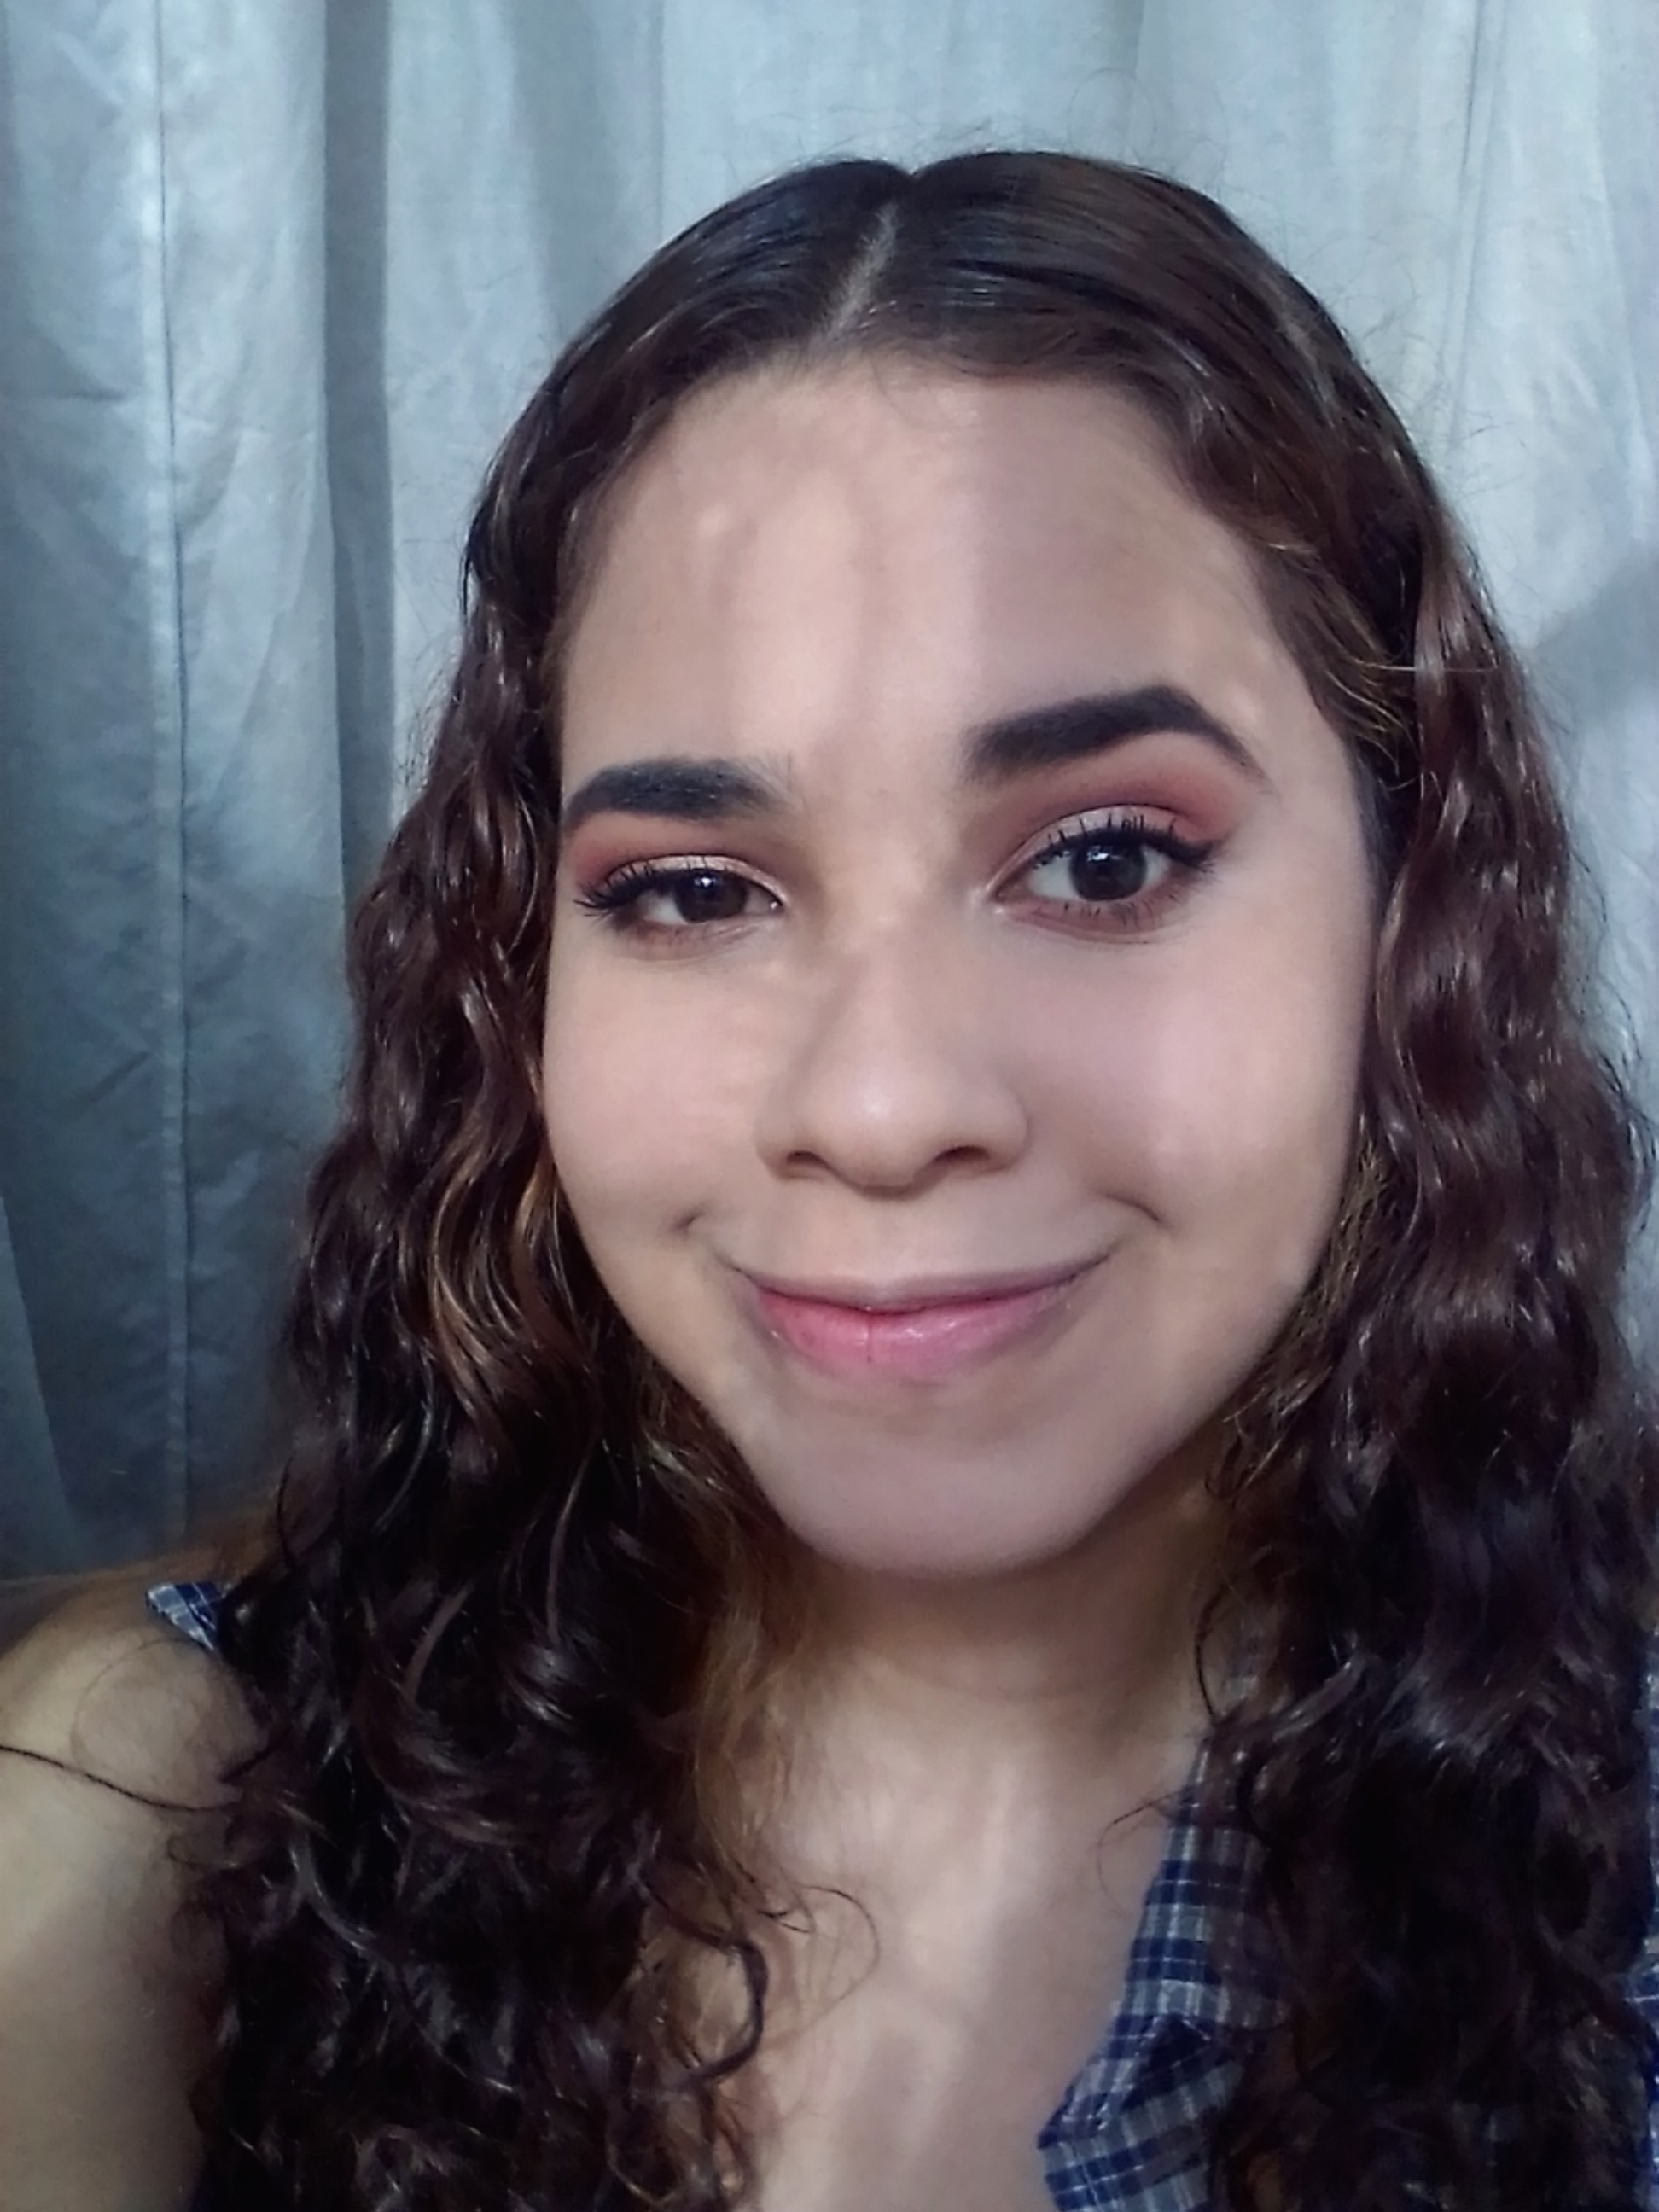
¡Hola a todos! Hoy les traigo un tutorial de este maquillaje en tonos cálidos. Personalmente me encantan estos colores, siento que causan un look elegante pero al mismo tiempo sin hacerlo ver extravagante. Así que sin más que agregar, empecemos…
Hello everyone! Today I bring you a tutorial of this makeup in warm tones. I personally love these colors, I feel that they cause an elegant look but at the same time without making it look extravagant. So without further ado, let's get started...
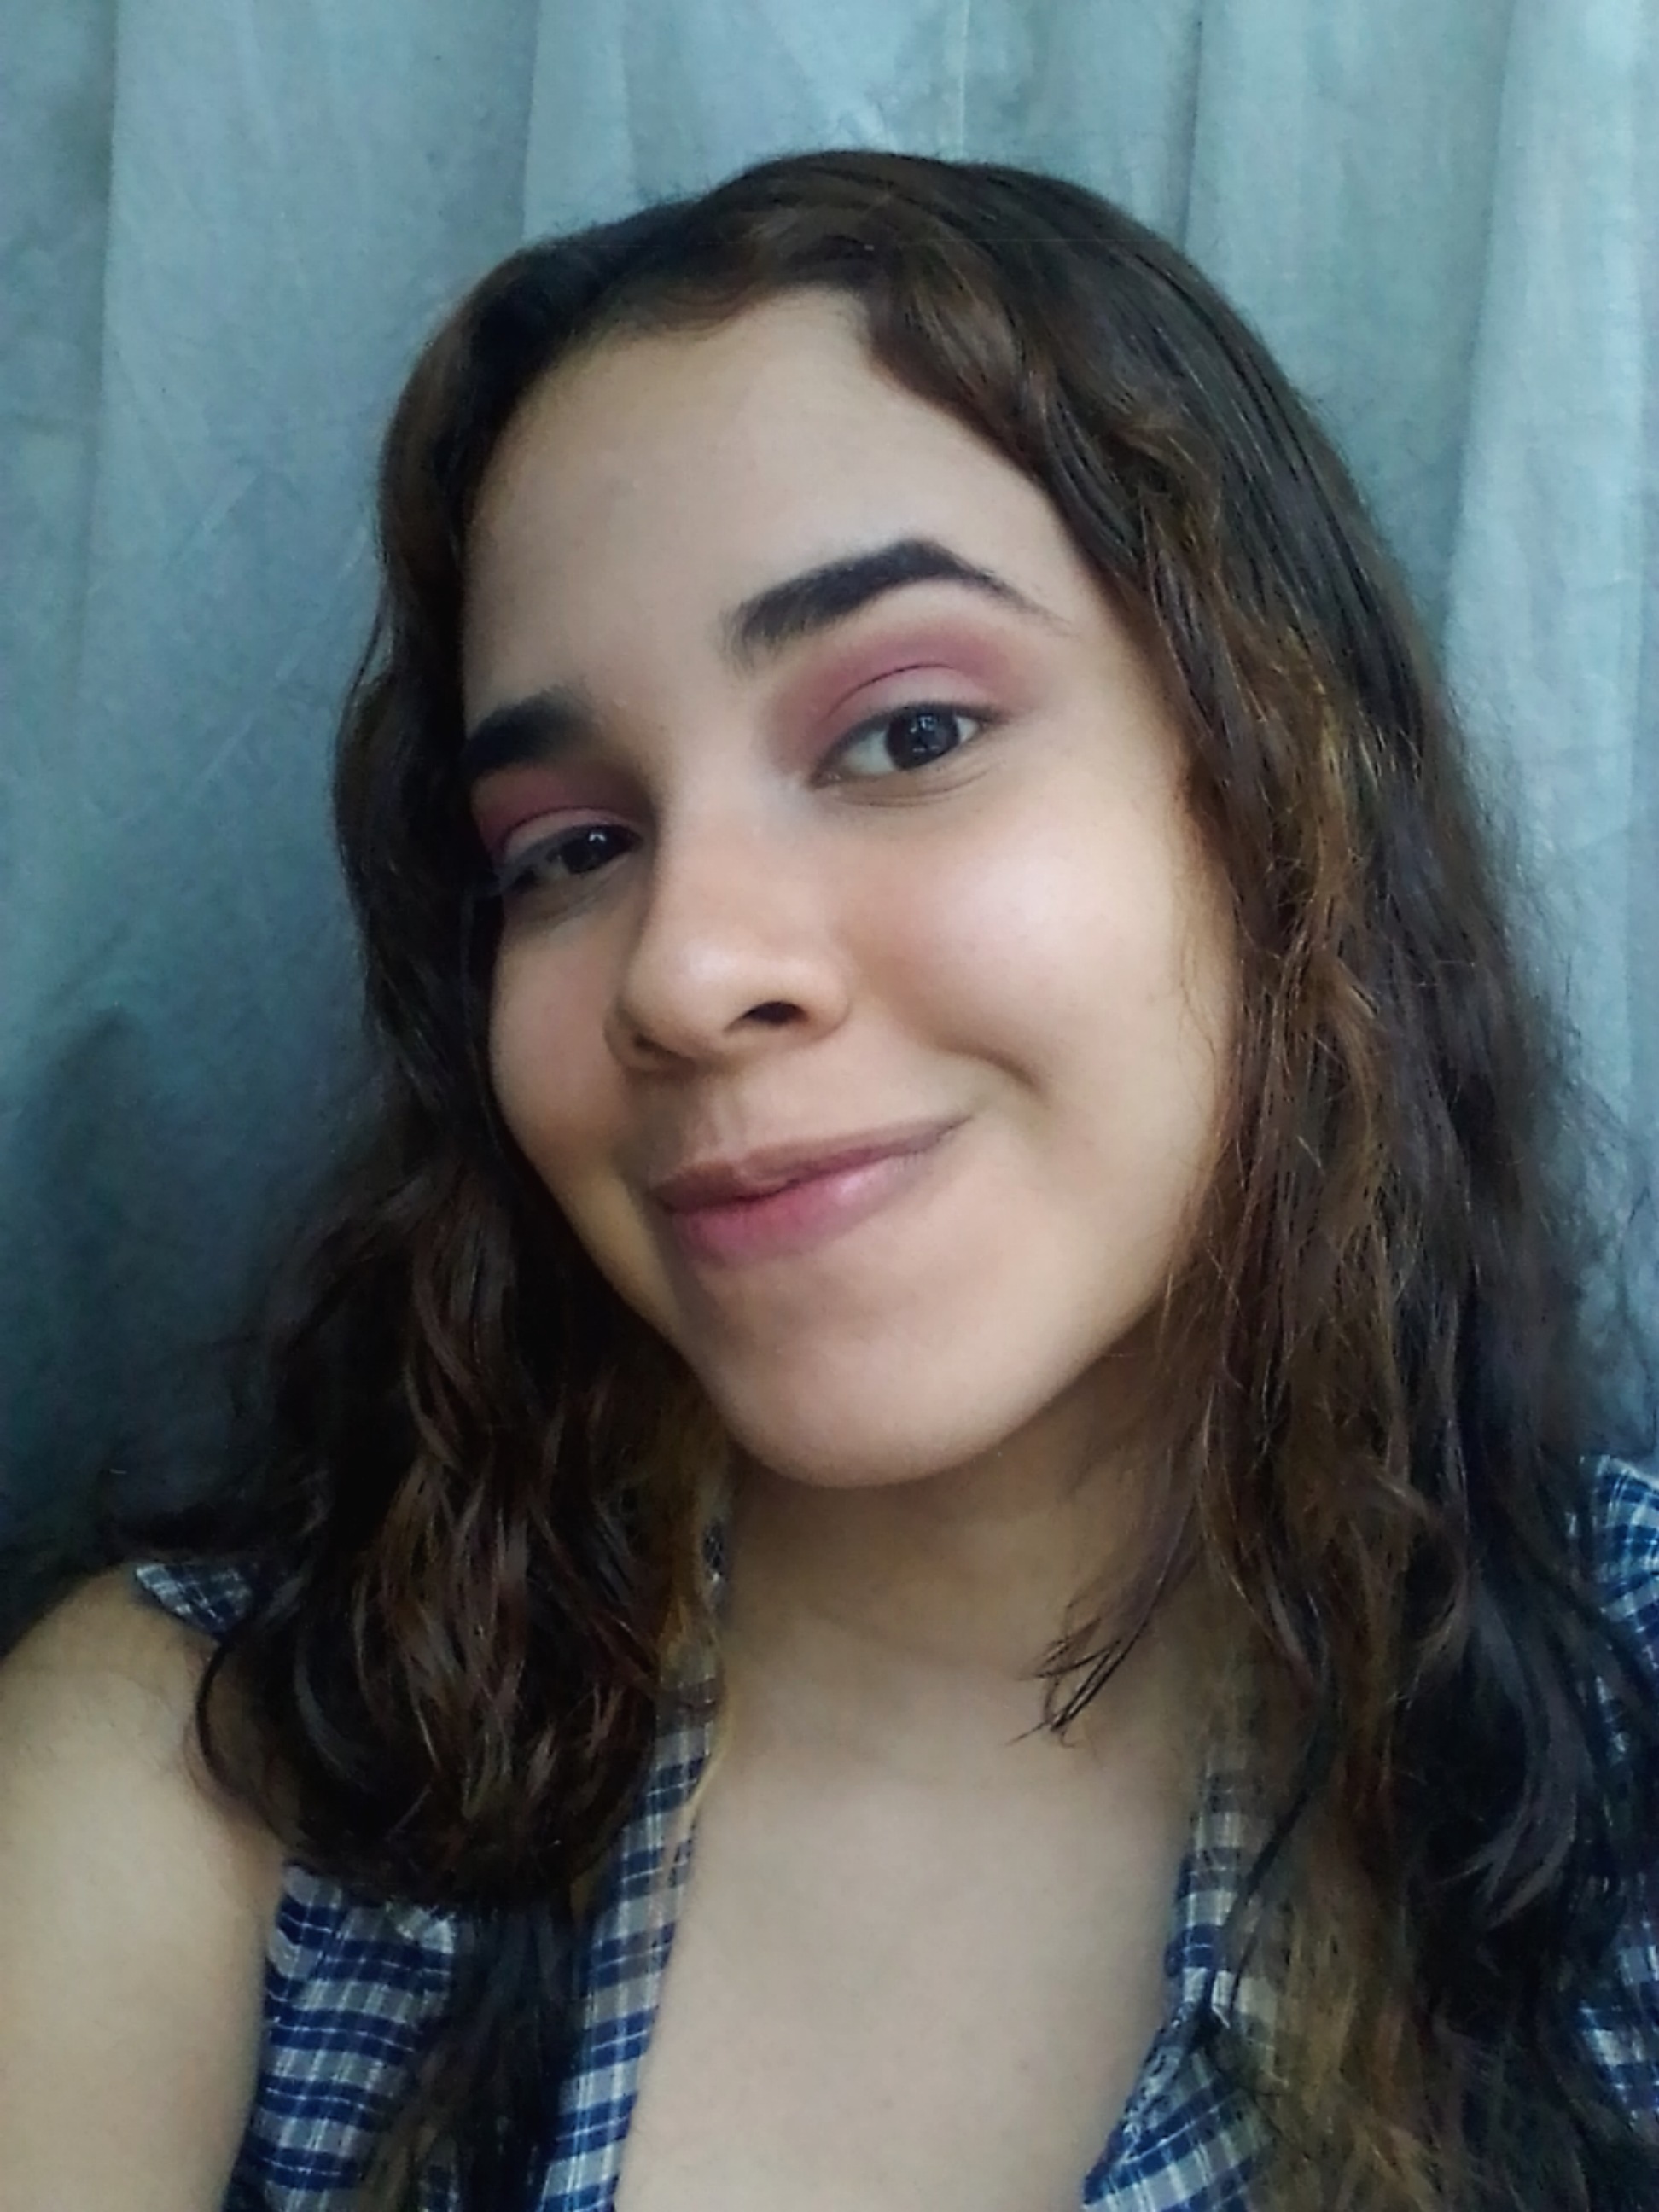
Paso 1: Hacerse las cejas. En mi caso lo hago con sombra marrón y una brocha angular (nunca hagan sus cejas con color negro).
Step 1: Get your eyebrows done. In my case I do it with brown eyebrow shadow and an angular brush (never make your eyebrows black).

Paso 2: Colocar sombra marrón en la cuenca y empezar a difuminar con movimientos circulares y lineales (como un parabrisas) con la ayuda de una brocha para difuminar.
Step 2: Put brown shadow in the socket and begin to blend with circular and linear movements (like a windshield) with the help of a blending brush.
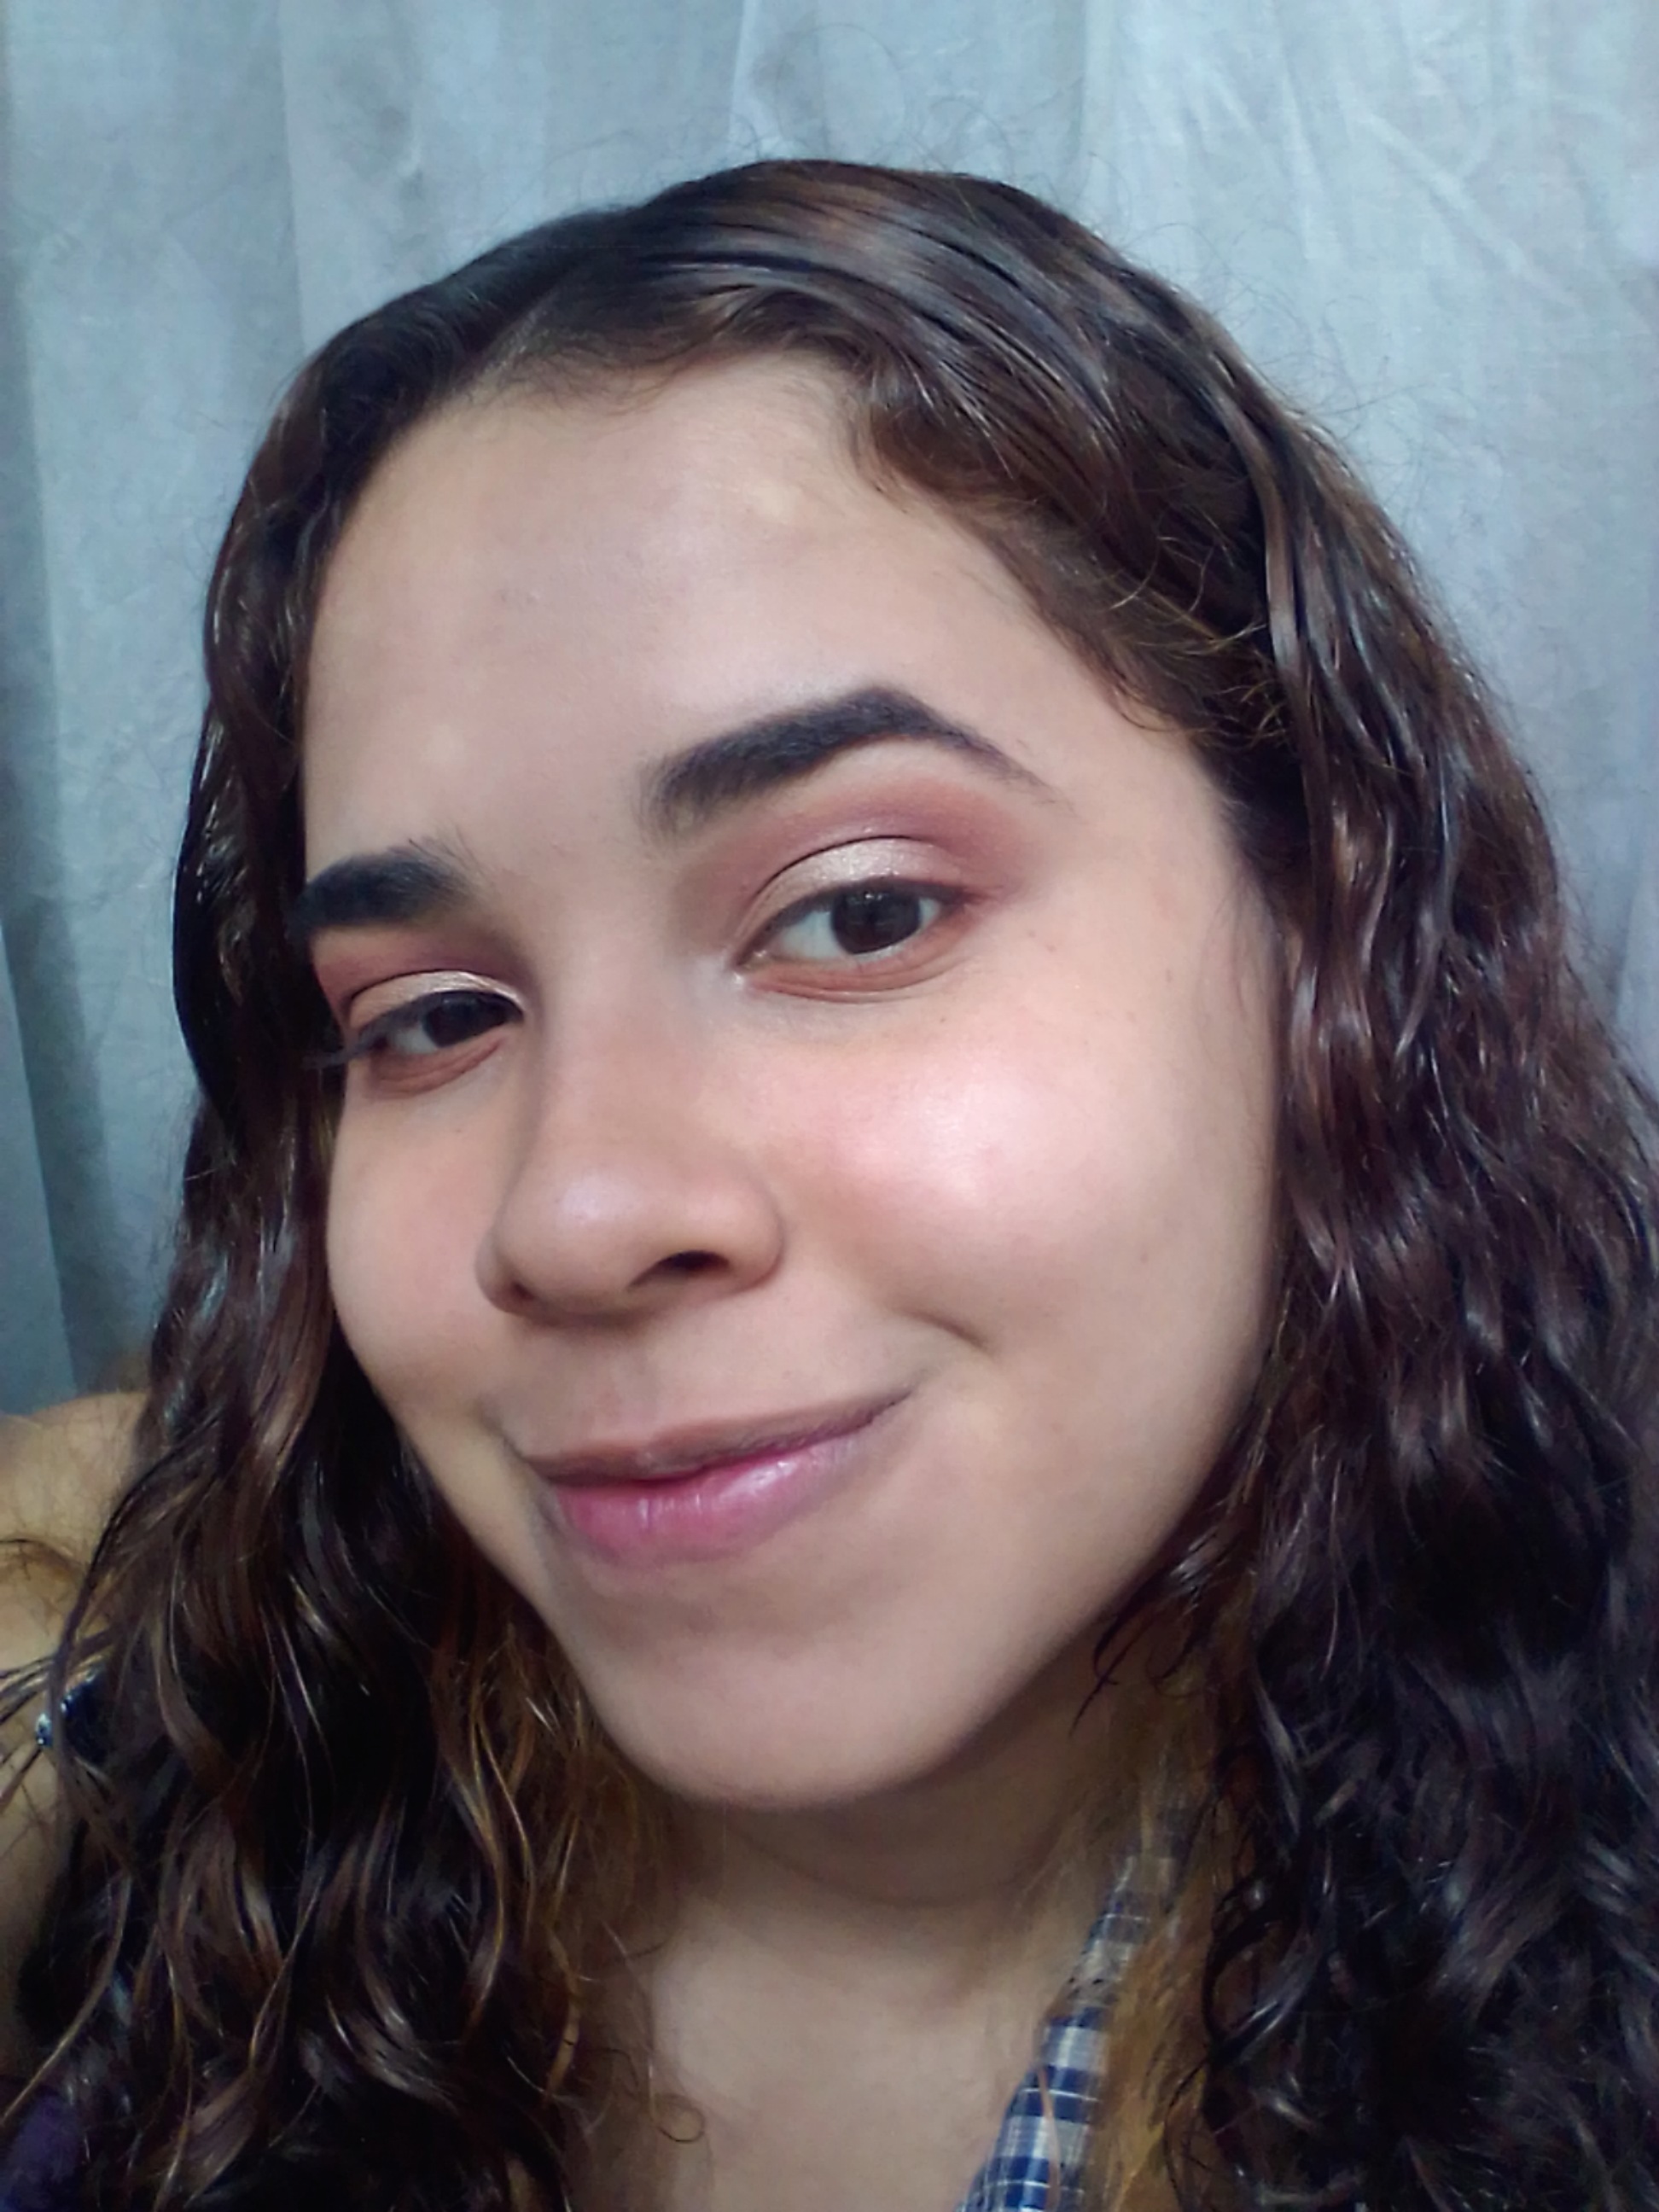
Paso 3: Coloqué otra sombra marrón (con tonalidades rojas) también en la cuenca, para difuminarla con la sombra que puse al principio.
Step 3: I placed another brown shadow (with red tones) also in the socket, to blur it with the shadow that I put at the beginning.
Paso 4: En la uve externa coloqué una sombra más oscura y difuminé con movimientos circulares. Luego apliqué corrector con una brocha plana en el párpado móvil sin llegar hasta el final, para darle más intensidad a la siguiente sombra.
Step 4: On the outer vee I placed a darker shadow and blurred with circular movements. Then I applied concealer with a flat brush on the eyelid without going all the way, to give more intensity to the next shadow.

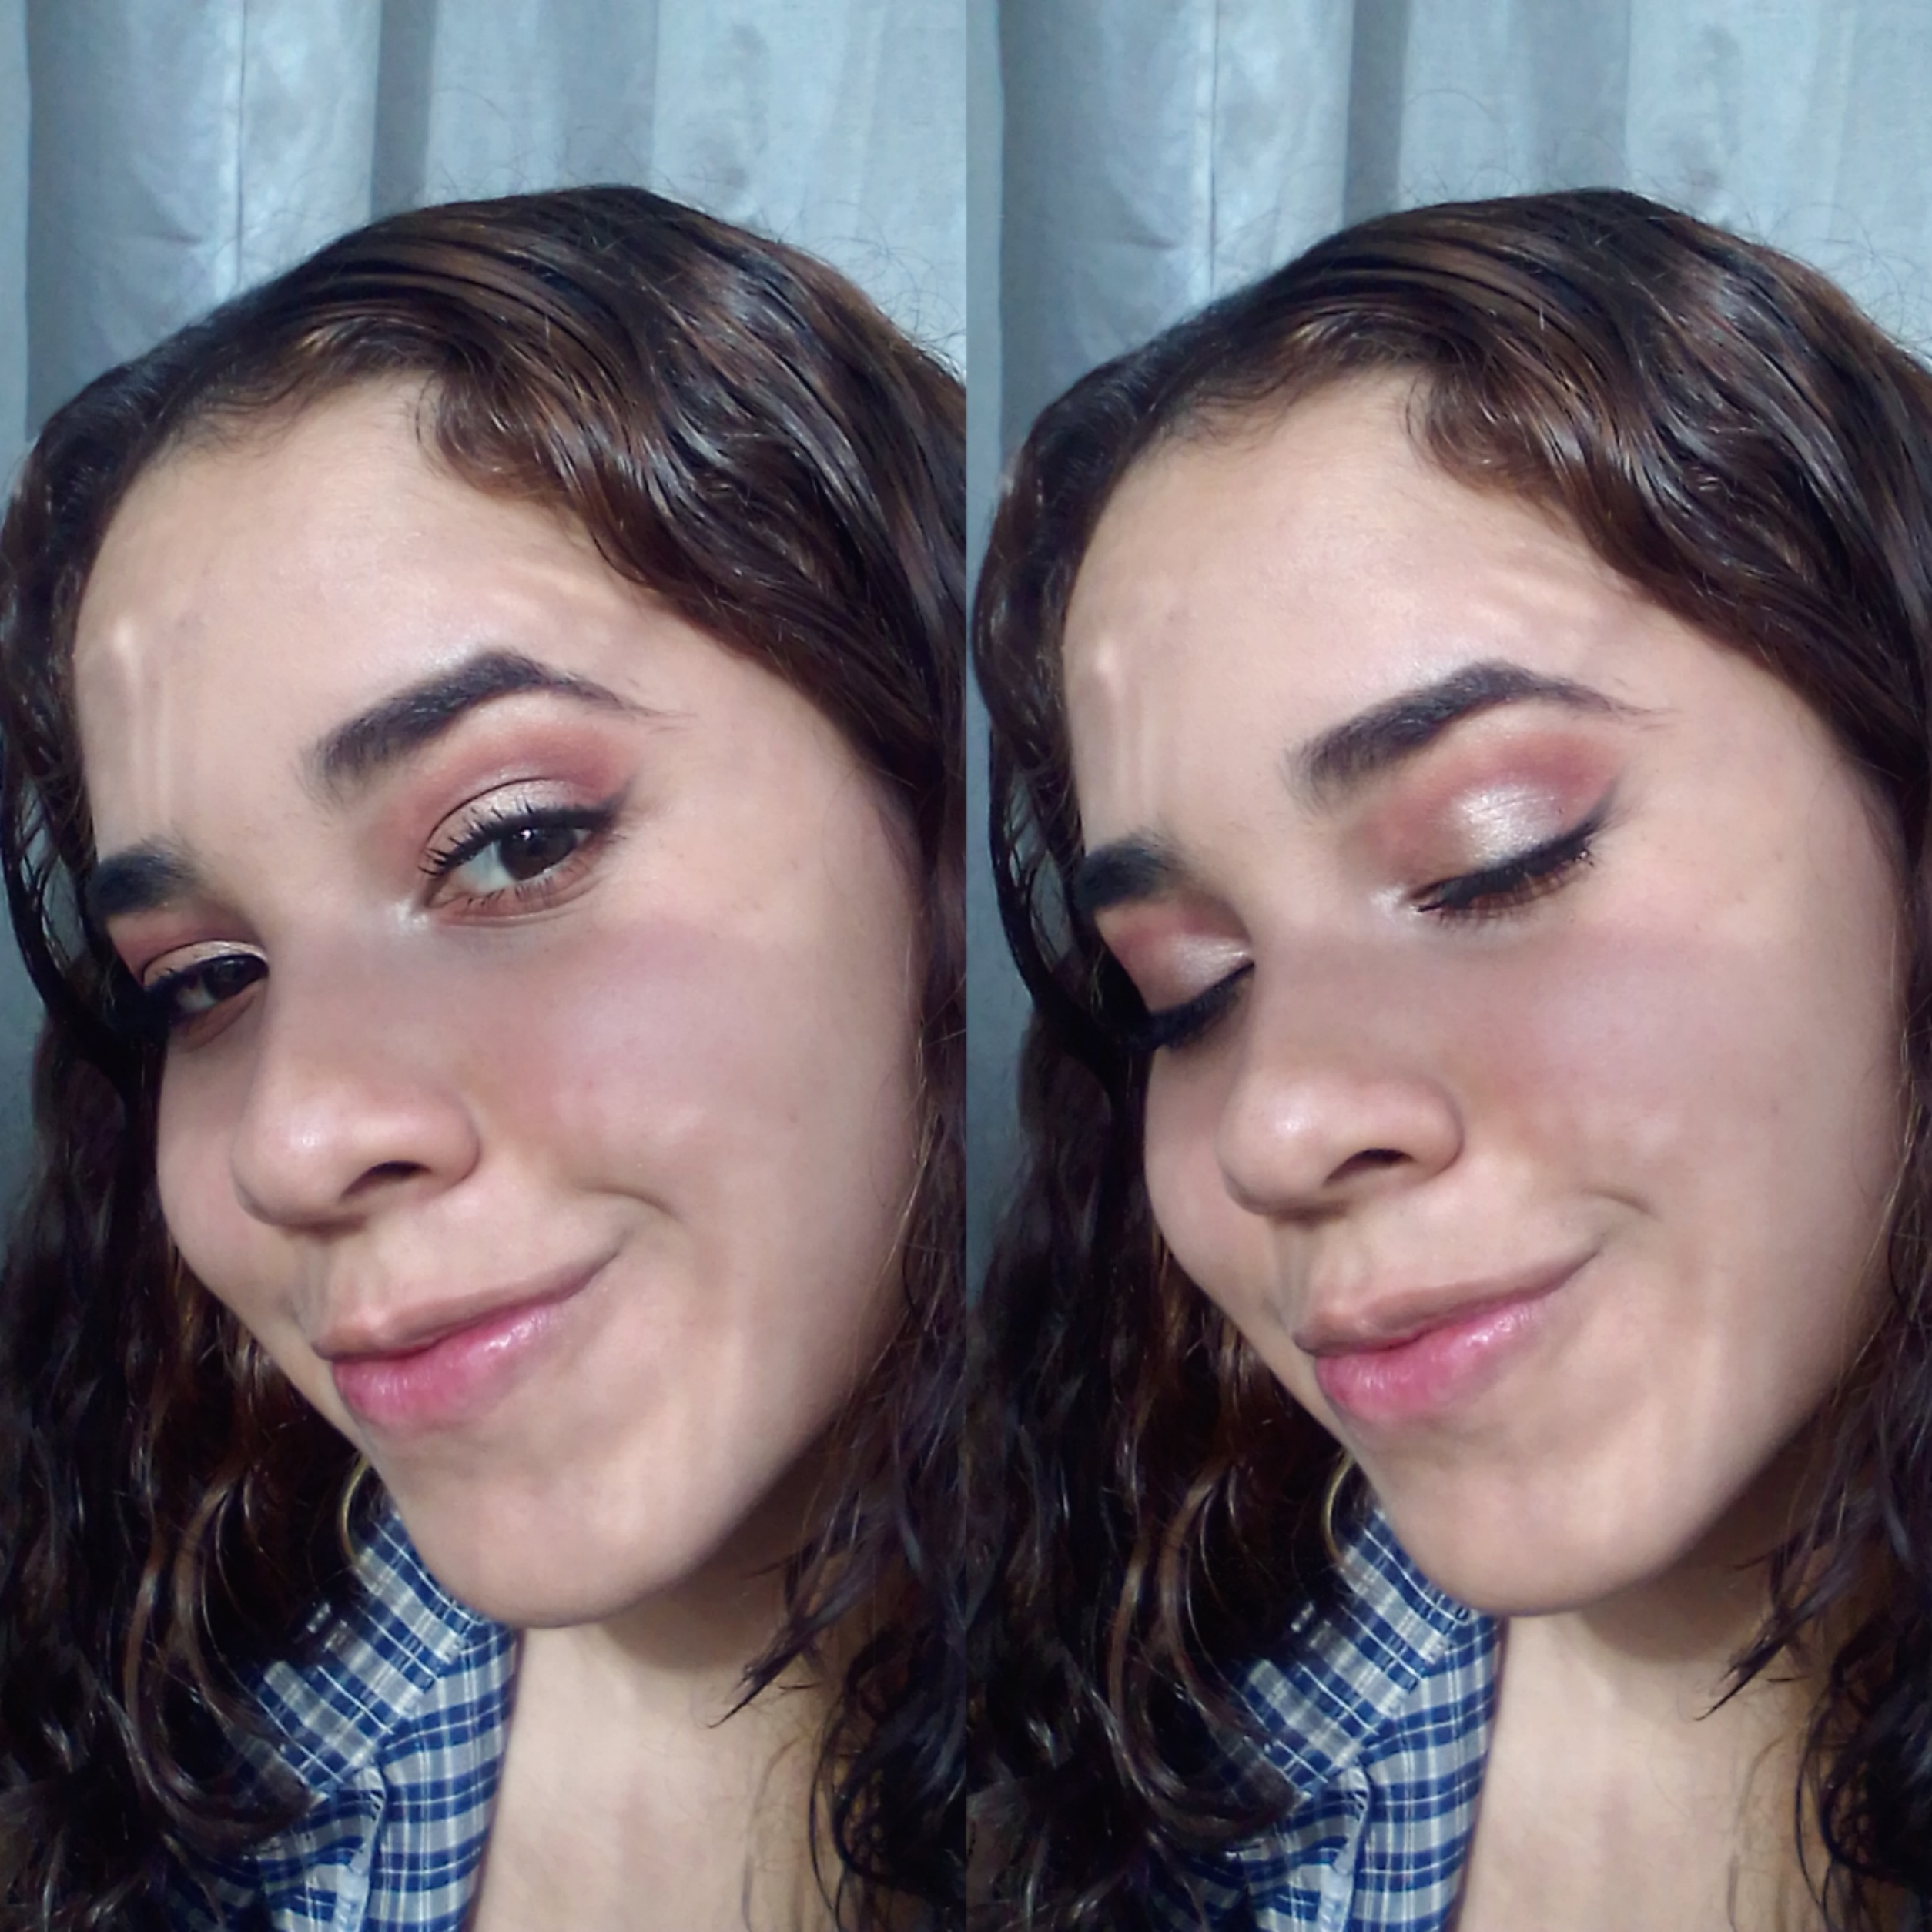
Paso 5: Apliqué iluminador dorado en donde había colocado anteriormente el corrector. En este caso utilicé la yema de mis dedos para aplicarlo y así lograr que se vea con más intensidad. No es necesario usar iluminador ya que también podemos usar una sombra que sea brillante. Luego utilicé la misma sombra del paso 3 para colocarla en la línea inferior de las pestañas.
Step 5: I applied gold highlighter where I had previously placed the concealer. In this case, I used my fingertips to apply it to make it look more intense. It is not necessary to use an illuminator since we can also use a shadow that is bright. Then I used the same shadow from step 3 to place on the lower lash line.
Paso 6: Una de mis cosas favoritas: delineador y rímel. En mi opinión, pienso que estos 2 productos le dan un gran cambio a cualquier maquillaje y casi siempre los utilizo. Así que, como pueden ver, en este paso me hice un delineado suave delgado con sombra negra y una brocha angular, ya que no quería que el delineado se viera tan intenso. También apliqué rímel en las pestañas superiores e inferiores. Para finalizar con el maquillaje de ojos, tomé el mismo iluminador del paso 5 y me lo puse en el lagrimal.
Step 6: One of my favorite things: eyeliner and mascara. In my opinion, I think that these 2 products give a great change to any makeup and I almost always use them. So, as you can see, in this step I did a thin soft liner with black shadow and an angled brush, as I didn't want the liner to look so intense. I also applied mascara on the upper and lower lashes. To finish with the eye makeup, I took the same highlighter from step 5 and put it on the tear duct.
Paso 7: Apliqué base en mi rostro y corrector en las ojeras, difuminándolos con una esponja. Sellé con polvos compactos, y casi para finalizar, contorneé los pómulos.
Step 7: I applied foundation on my face and concealer on the dark circles, blending them with a sponge. I sealed with compact powder, and almost to finish, I contoured the cheekbones.
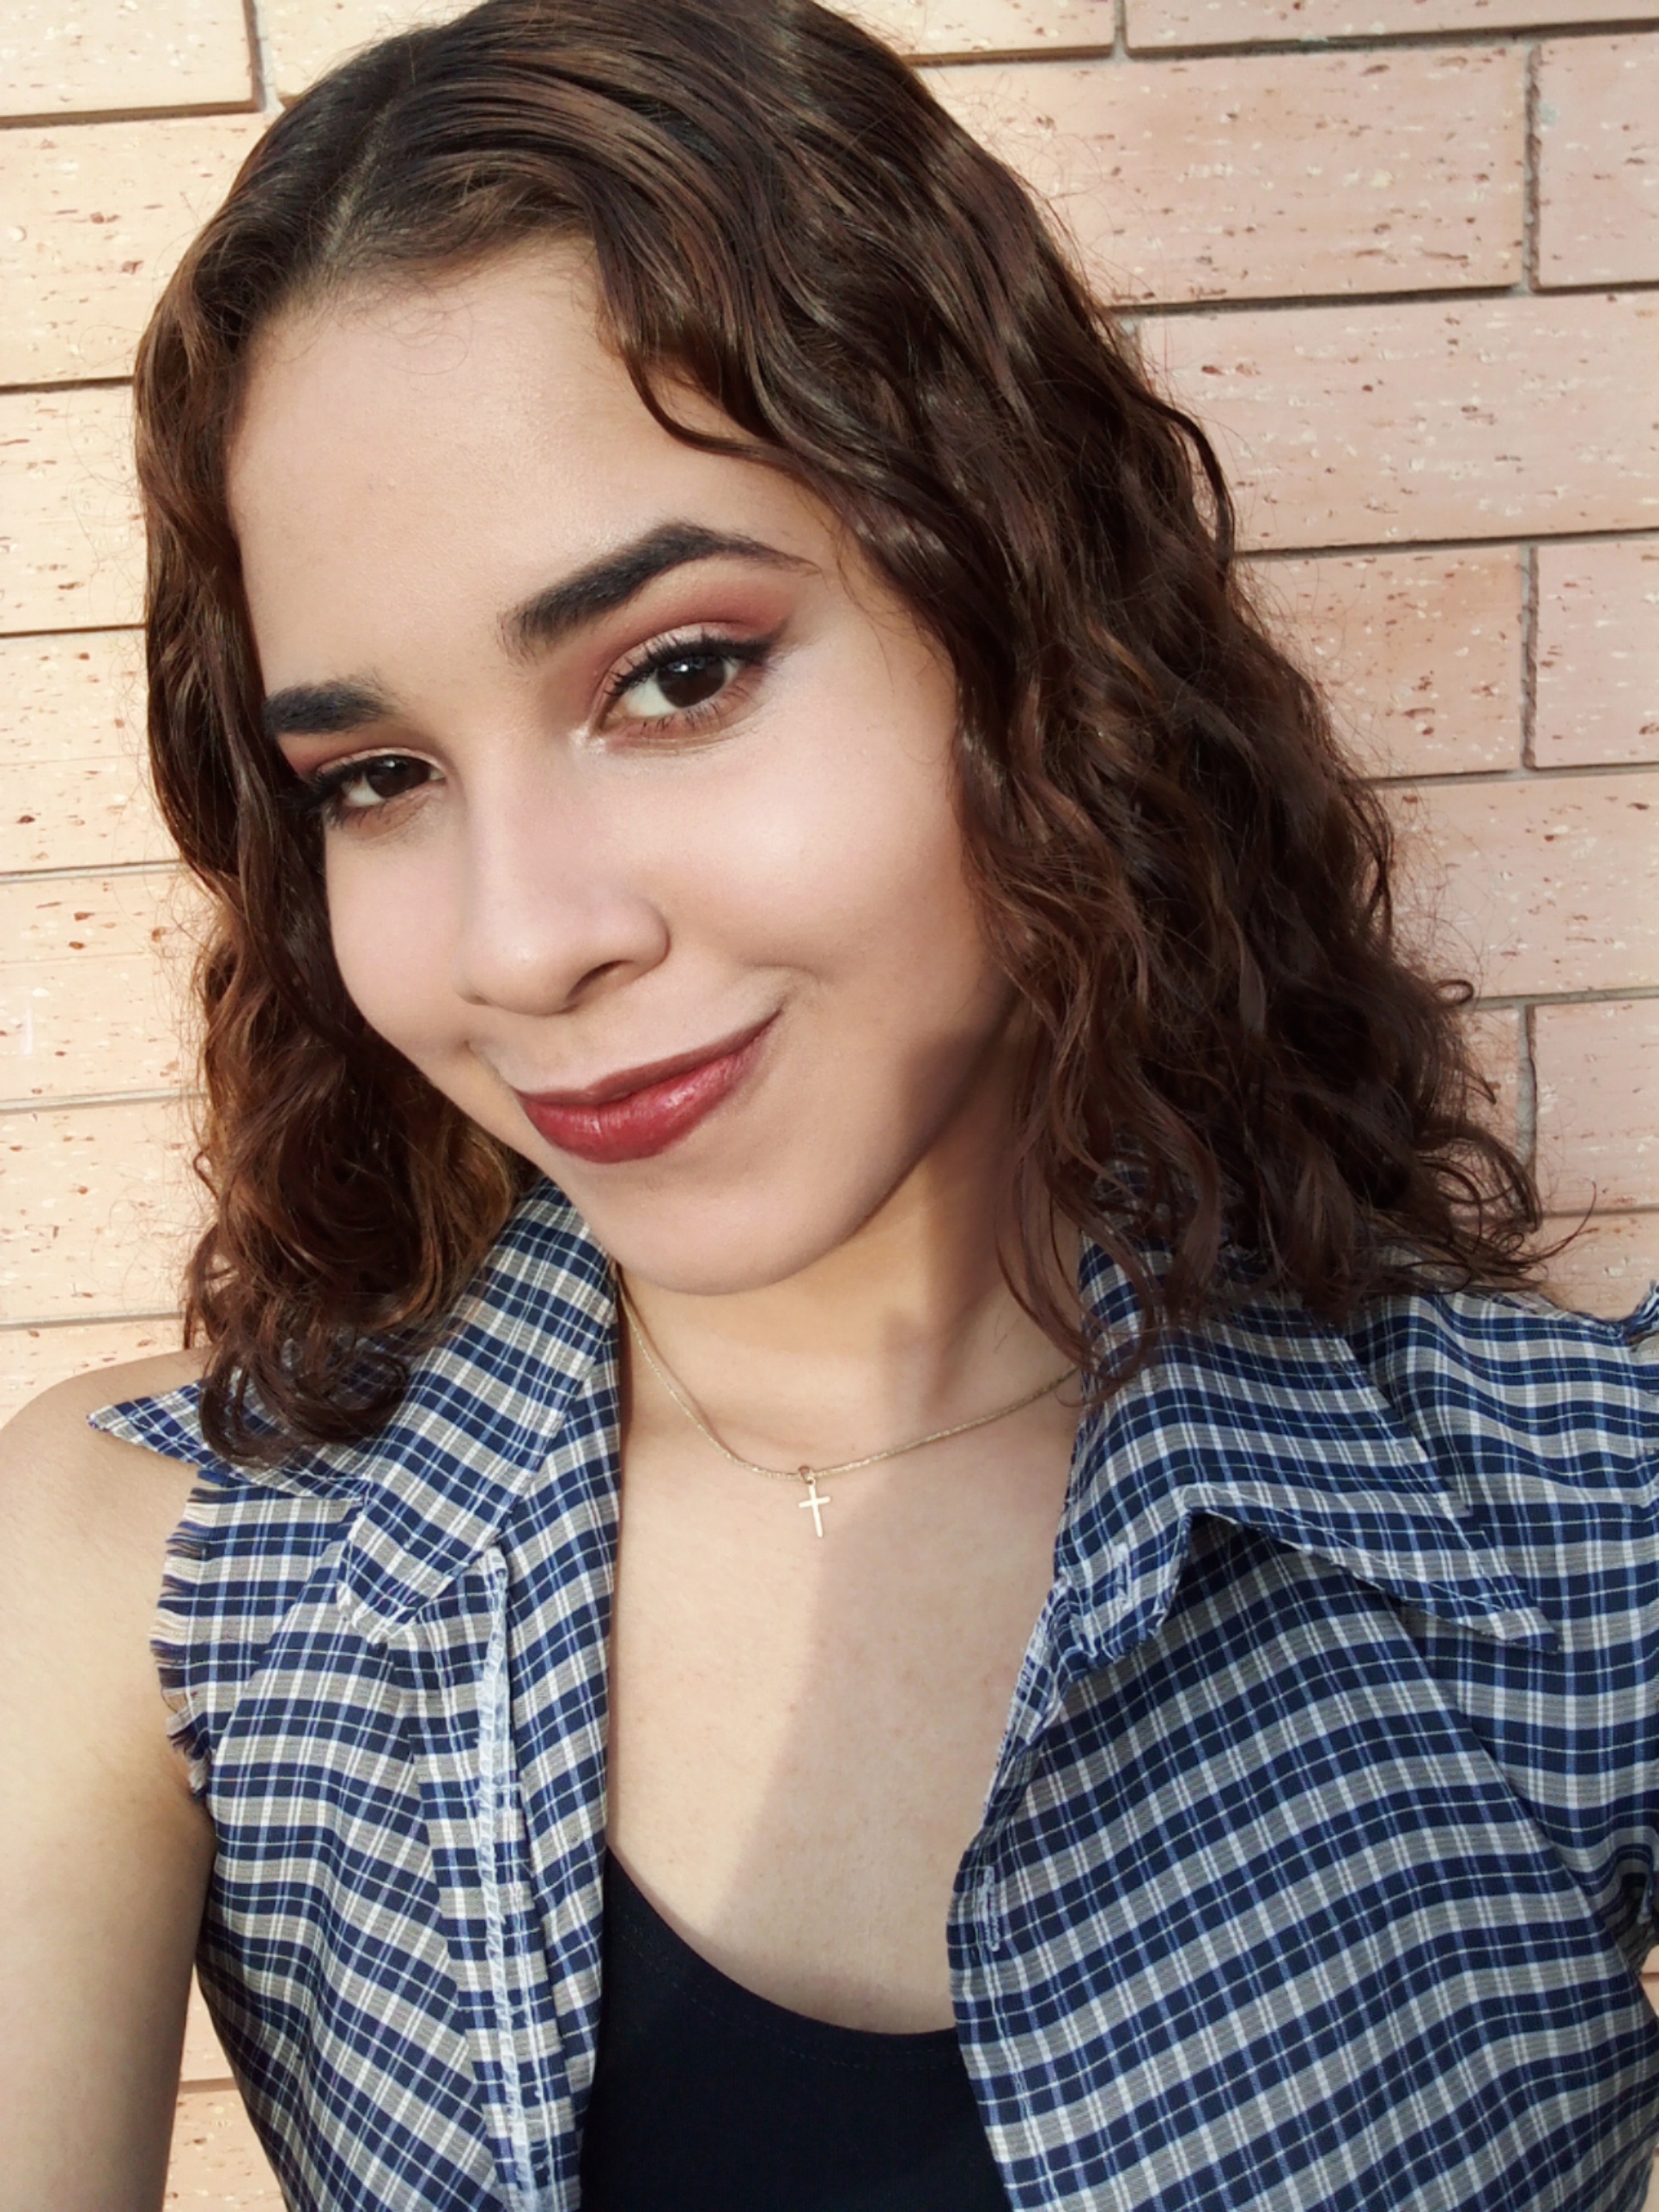
Como último paso, elegí un labial que combinase con mi maquillaje de ojos, ¡y este fue el resultado final!
As a last step, I chose a lipstick to match my eye makeup, and this was the final result!
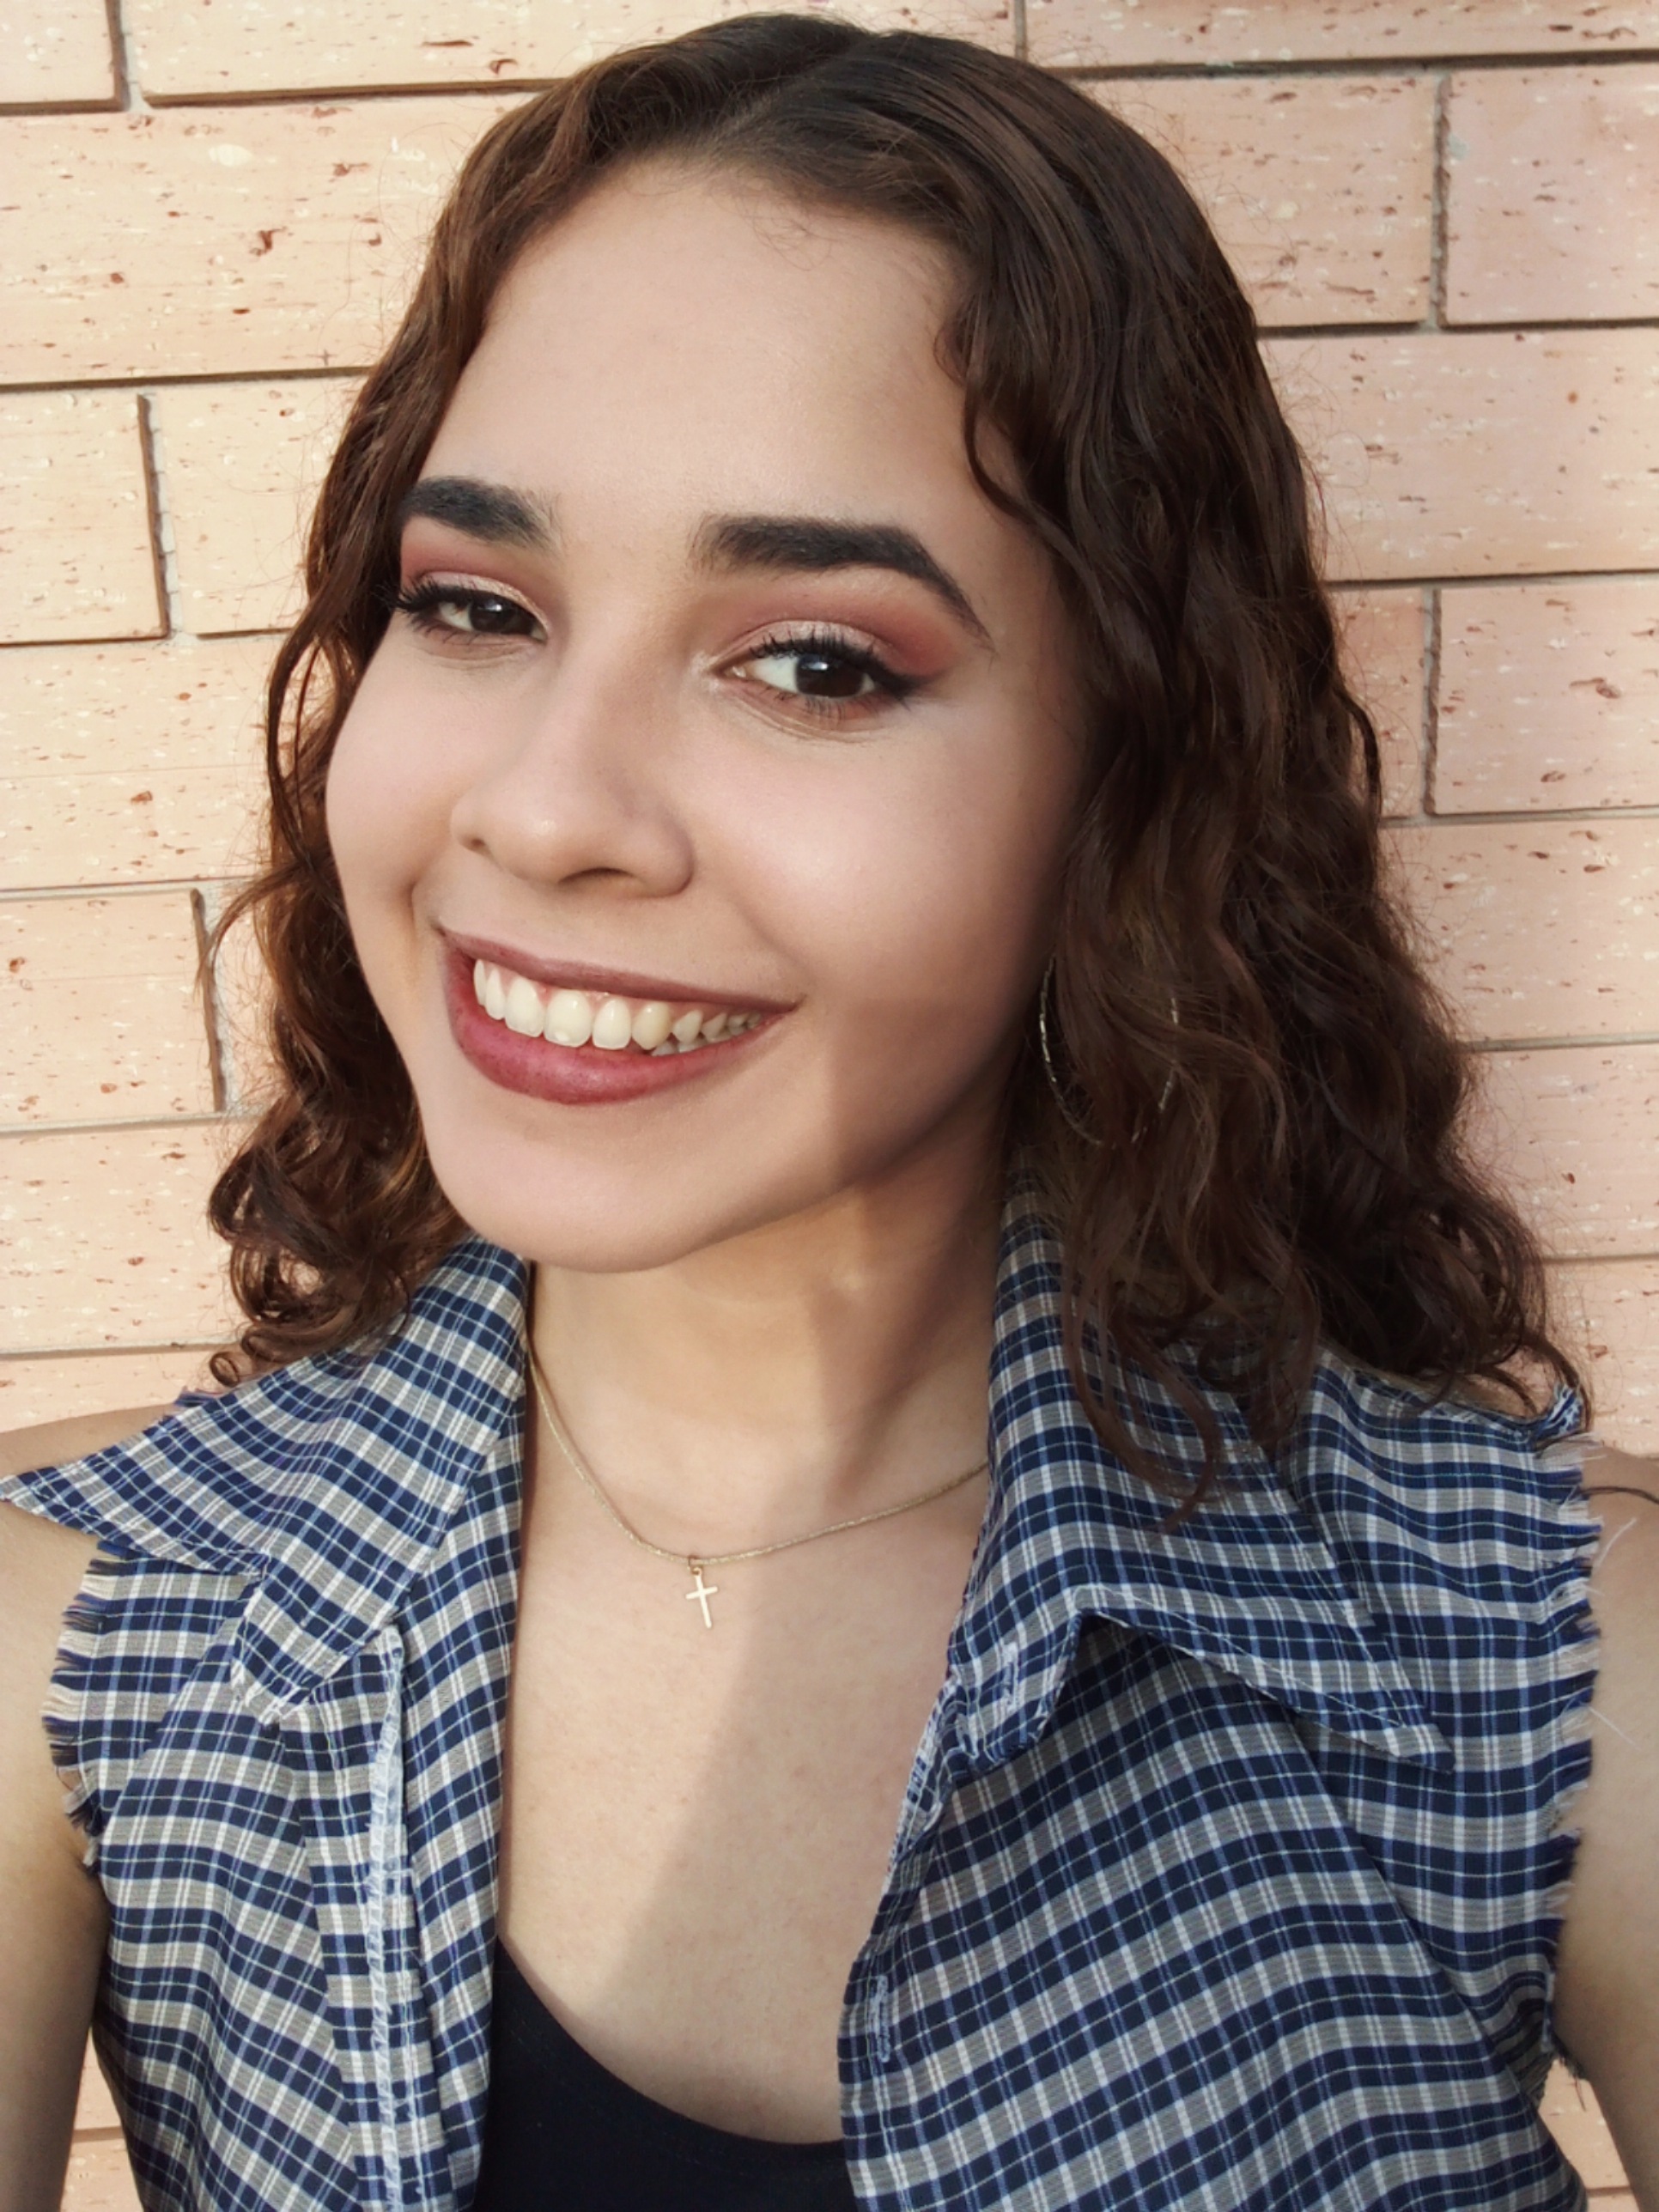
¡Espero que les haya gustado!
Disfruté mucho hacer este maquillaje. Nos vemos en la próxima.
I hope you liked it!
I really enjoyed doing this makeup. See you next time!
Gabrielys León.
Contenido original: @gabbbby13
Gabrielys León.Own content: @gabbbby13